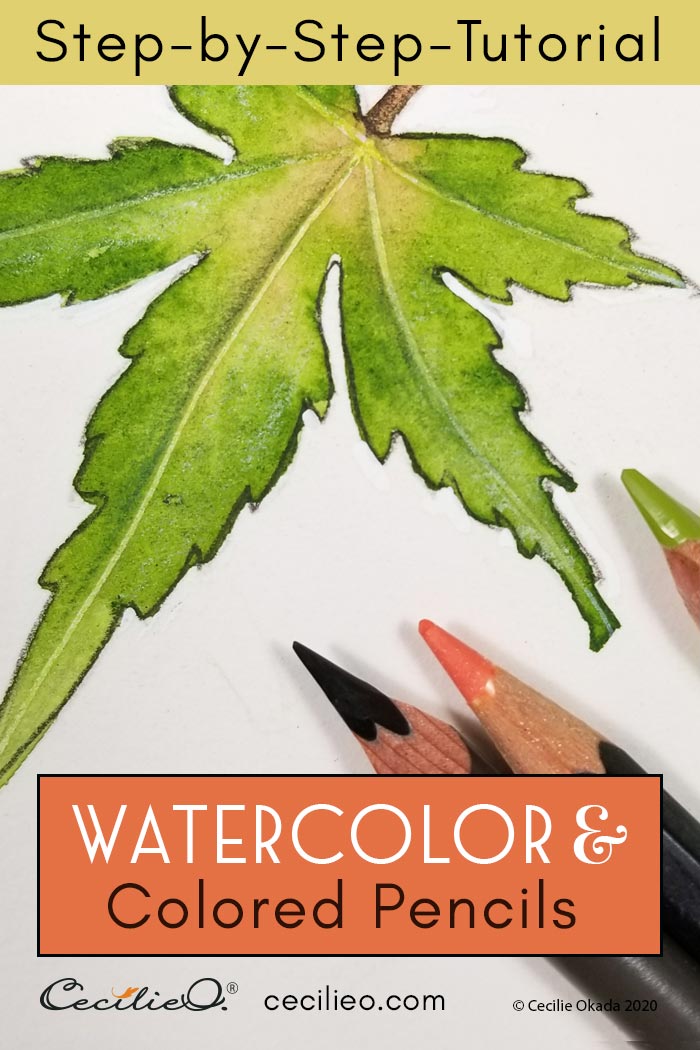
When you watercolor leaves as part of a flower, you can skip the details and paint with broad brush strokes. But if you take a closer look at individual leaves, you see that the veins on each leaf form beautiful patterns. How to portray such details?
In this step-by-step tutorial, you will learn how to paint 7 different leaves. Each has its own structure, colors, and veins. Use this skill when you paint flowers, and surprise yourself at the wondrous results.
The method is simple. Follow my step-by-step tutorial. You will use watercolor and add white gouache and colored pencils. In this way, you avoid tricky watercolor techniques.
Next time you take a walk in nature, poke your nose up close to flowers and trees. The sheer number of leafy shapes and sizes will make your eyes pop. Try it as an exercise in mindfulness. Marvel at nature’s creative genius.
The green-belt in my neighborhood is no exception. The 7 leaves in the collage below is a tiny selection from my morning walks. It was difficult to choose from the abundance.

If you want to learn to draw as well, leaves are a great place to start practice. But if you want to head straight to watercolor painting, you can download my drawing. Print out, trace, and transfer. The PDF also includes larger photos of all the leaves.
Learn how in this blog post: “How to trace onto watercolor paper”.
Step 1: Preparation- leaf outlines and colors
After tracing onto watercolor paper, touch up with a pencil where the lines are faint.


The leaves in the collage have different shades of green. In the color mixing photo, I’m showing you how to combine colors to create shades of green. Mix colors in a palette first. When you start painting, you can also add colors directly onto wet paint on the paper. This will create interesting pigment flows.

Step 2: Painting the leaves with various green colors
Paint each leaf with plain water first to allow colors to flow easily. When you start painting with greens, work on more than one leaf at the time. Don’t pay any attention to veins at this stage and splash out with all kinds of greens.
Look at the photos for cues, but don’t try to copy the photos is an exact way. Enjoy how the different greens flow into each other and make beautiful hues. Just play.


Step 3: Painting the veins with white gouache
When the watercolor is absolutely dry, you are ready for the next step.
Mix some white gouache in a palette with a little bit of water. With a very fine brush, draw the veins on each leaf. This alone creates a beautiful look. If you want to complete your artwork at this stage, you don’t need to do anything more.
If you want to add colored pencils, you can make the leaves look even better.

Step 4: Drawing with colored pencils
When the white gouache is dry, spread out all your different green colored pencils. Everything from light green to dark. Also light yellow or light ochre colors, as well as sepia brown.
For leaf A, draw with light red on the stem. Draw on top of the white veins with a light green or light yellow. Then draw a line with dark green or sepia next to the veins. This will create the illusion of depth.
Redraw the outline of the leaf with sepia. Add a touch of darker green as you see fit to create more variety and depth on the leaf itself. Clean up the area outside the outline with white gouache.

For leaves B and C, follow the same procedure. Leaf B has some interesting light dots. Use light yellow to draw these random dots.
On leaf B, side veins have a faint appearance. You make the veins faint and the yellow dots smooth by painting over with fresh green watercolor. Use a bigger brush. Make sure to do this very gently, and with a moderate amount of water. You want to avoid a puddle mix.

Download the line art for this tutorial, including larger photos of the seven leaves.
When dry, use a darker green and sepia to create the illusion of a slightly folded leaf. The light line along the outline adds to this illusion.

For leaf C, I have let the veins stay bright even though they are faint on the photograph. Use a white, aquarellable colored pencil to create the shiny highlights. Use a dark pencil for the shadows.
On leaf D, the veins are soft. I think it’s an ivy. It’s the only leaf in the collage that I can identify. The veins are soft and the color bright. Use a wet brush to smooth and soften the lines. When dry again, spice up with various greens.


To learn more, visit my autumn leaf watercolor blog post. It’s a video tutorial that has been seen by a few thousand people.
Thank you for reading my tutorial. My best wishes for your creativity! I would love to see your artwork. Please drop me a line.


