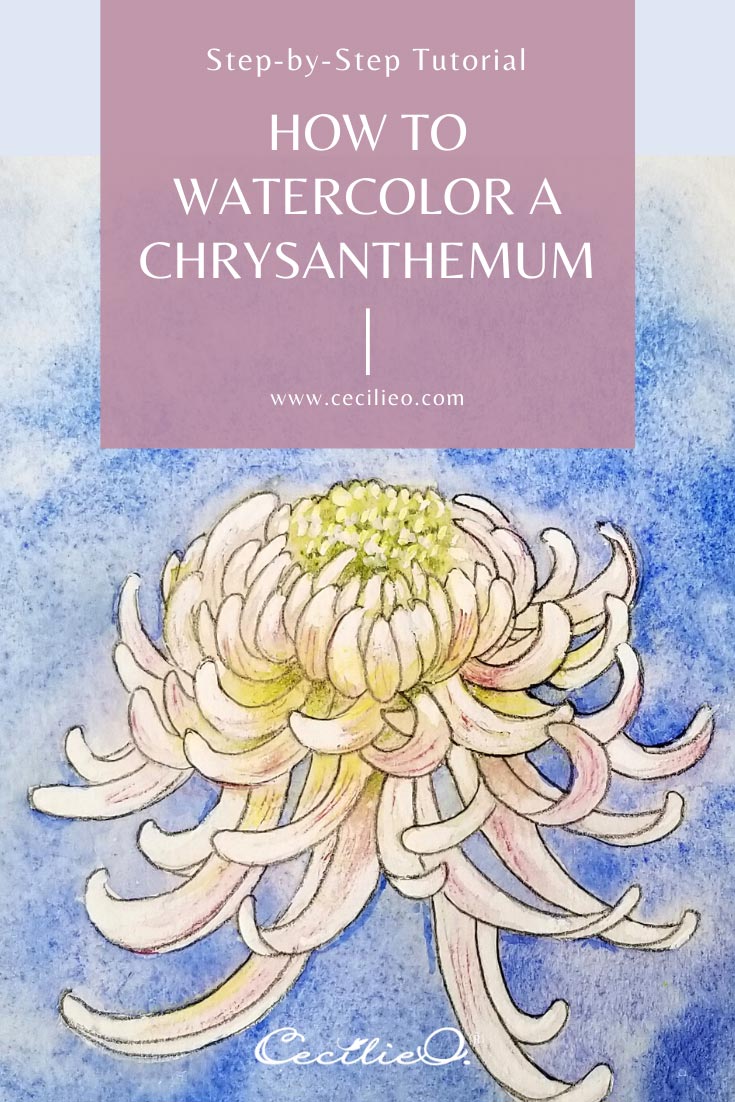
The graceful, ornamental petals of the Chrysanthemum flower inspired me to create this step-by-step watercolor tutorial. You will also learn how to use the dry brush method, as well as white gouache for highlights and colored pencils for depth.
Chrysanthemum enjoys a special status here in Japan with its captivating beauty. It’s part of kimono patterns, traditional crafts, and embellishments in temples and shrines. In botanical gardens, they grow endless varieties. And recently, Japan’s new emperor ascended the Chrysanthemum Throne.
The reference photo in this tutorial was taken by my friend Rebecca Arthur, who is a camera wizard. You can see her stunning collection of flower close-ups on her website.
If you’re not feeling up to drawing your own Chrysanthemum, you can download my pencil drawing for free and trace it. Read this article on how to transfer line art to watercolor paper.
You need watercolors, white gouache, and a few colored pencils for this tutorial.

Step 1
Since the flower we are going to paint is white, we need a colored background to make the whiteness stand out. To prepare for a beautiful free-flowing background color, paint with ample water around the outline of the drawing.

Step 2
Paint the background loosely with blue, dabbing your brush onto the paper. You can play and mix more than one kind of blue, but make sure to vary the intensity of pigment on your brush. Be careful to use moderate amounts. When done, use a watercolor sponge to soak up the edges to make the background fade out.

Step 3
Add the light green color to the center of the flower, spreading it loosely to cover more of the flower as you see in the reference photo. If necessary, sponge up pigments to distribute the color as you prefer. You get the light green color by mixing green with ochre.

Step 4
You are going to use a dry brush technique to make the maroon-colored stripes on the petals. Dip a small or medium size, round brush with the color. If the brush is a bit old and frayed, all the better. Dry the brush with tissue paper, and then practice on a separate sheet of paper until the brush leaves dry marks like those you see here. It’s important that very little pigment is left on the brush and that it is dry.

Step 5
It’s a good idea to practice this step first on a separate sheet of paper. With a light, gentle brushstroke, let your dry brush slowly draw the random red stripes on each petal. Make sure to move your brush along the curving of the petals.

Step 6
With a sepia-colored pencil, outline the flower.
You see that I have also painted a little bit of dry green in the center of the flower.

Step 7
Paint the white highlights that you see in the reference photo with white gouache. Gouache is opaque and will cover whatever is underneath. Place your brush at the tip of each petal and paint a little bit towards the start of the petal. Be free in the way you apply the white color; don’t try to copy the photo exactly. Remember: The reference photo is just a general guide.


Step 8
Touch up the flower with colored pencils, adding depth and highlights. Draw ever so gently with the pencils.

And… the Chrysanthemum painting is all done!
Happy painting to you!


