

Drawing peonies can be a headache, but painting this beautiful flower is easy. The Japanese have a way of doing it that is utterly inspired. You can paint a stunning peony by following my simple recipe. I will take you through the steps in this watercolor tutorial. I will also show you how to draw peonies without losing patience. You will learn a small trick that makes all the difference.
Peonies in Japanese art
Last year, I visited a serene zen garden with a small art museum in Kyoto. The artwork was beautiful, but a brochure at the reception desk caught my attention. It had a painting of a peony flower and bird on the cover. The Japanese word for peony is “botan”. It is considered the king of flowers, noble and wealthy. Kimonos come decorated with lush and beautiful peony designs. They are a favorite motif in every branch of Japanese art, crafts, and design.
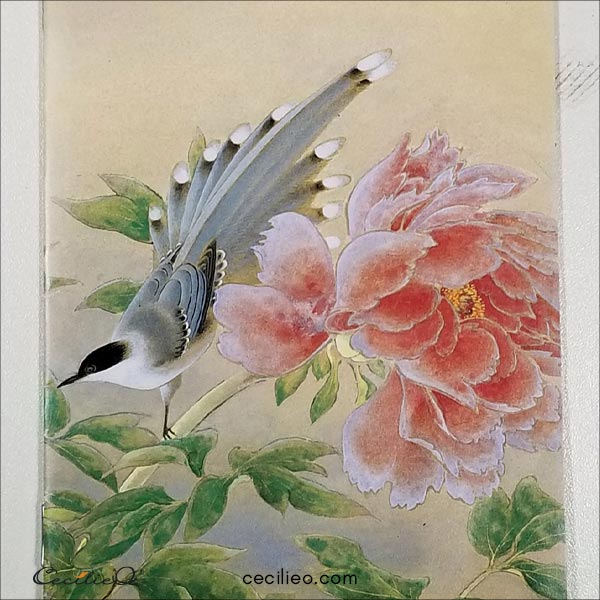
Some beautiful Japanese peonies:
More peonies by Sakakibara Shiho
Kimono with peonies
My Pinterest board with Japanese art and design (1586+ pins to lose yourself in)
Read about 9 Elements of Japanese Aesthetics
How to draw peonies
If you study Japanese peony artwork, you will see that it is not naturalistic renderings. These peonies look like freehand drawings, capturing the basic shape of the flower. The petals have imagination and flair. I could not do that without first mastering the form with realistic sketching.
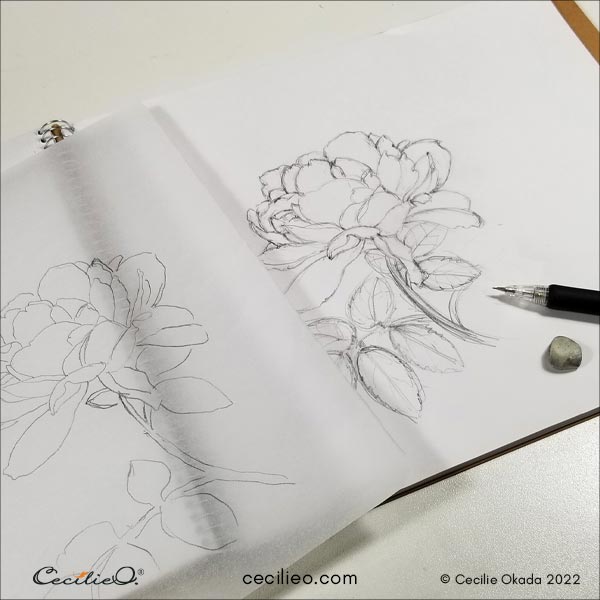
As much as I tried, I lost my patience with drawing realistic peonies. I got confused with all the layers of petals, trying one peony after the other. Giving up was not an option. I really wanted to paint a peony the Japanese way.
As a last resort, I traced a photo. The artwork never turns out nice when you trace photographs. At least not for me. It becomes dull and lifeless.
But I got rid of all the shadows and highlights that contributed to my confusion. Seeing the petals as simple lines, they suddenly became manageable. While keeping an eye on the tracing, I finally enjoyed drawing a peony flower. I even managed to simplify it a bit.
The One Tree Art Club library
In the free One Tree Art Club library, you will find many outlines for the watercolor tutorials in this blog. Tracing my drawings is a different matter; they are freehand drawings. You’re not tracing photos. The peony outline is in a membership option One Treee Art Club | Creative on the Buy Me a Coffee platform.
How to watercolor peonies
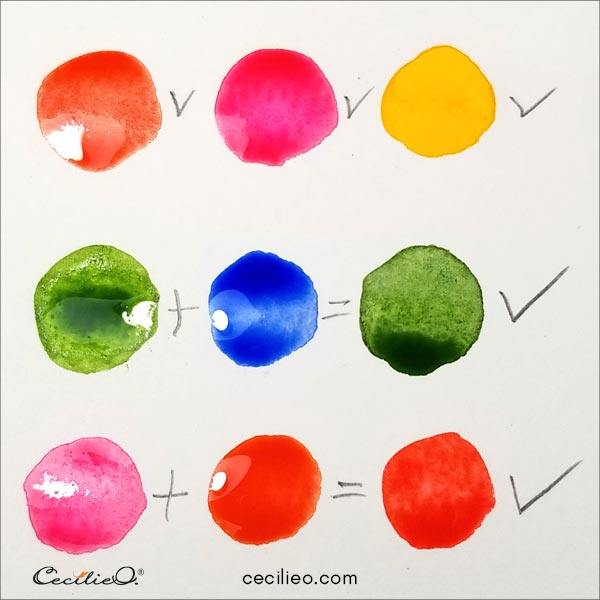
Now for my peony watercolor recipe. I used a simple mix of colors. In the first row in the swatches below are the colors I used for painting the first layer of watercolor. The green is for the leaves. The last row has a mixture that I used for shadows.
Step 1
Paint the flowerhead with plain water. It will provide an excellent base for colors to blend together.

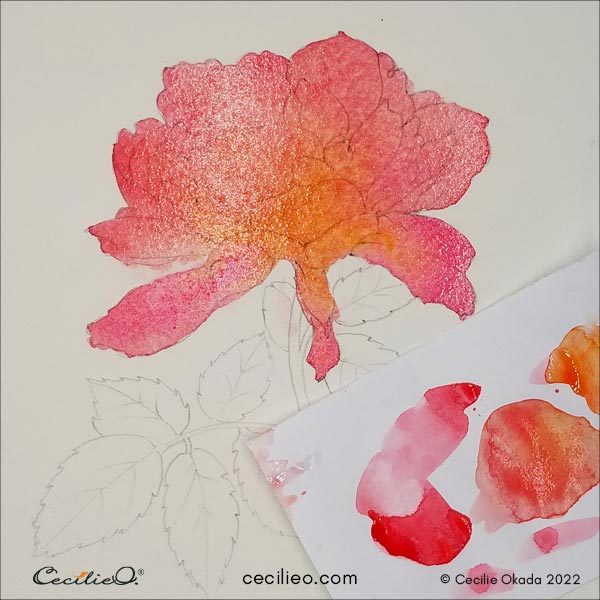
Step 2
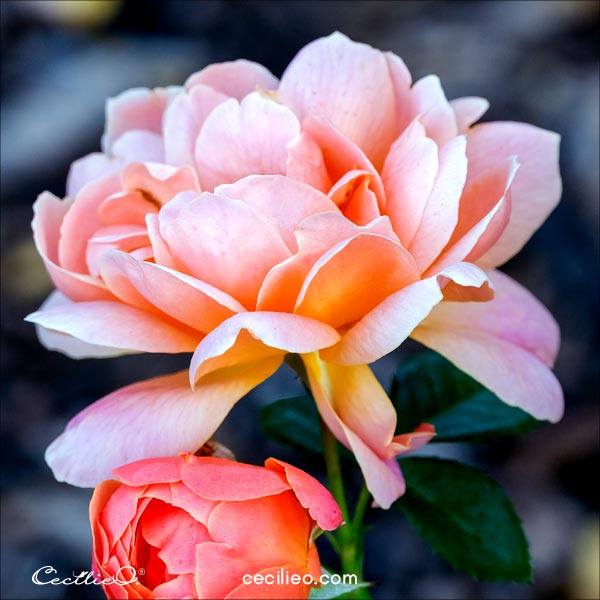
Paint the watercolor base, blending red, pink, and yellow. Look at the photo to see what color dominates where on the flowerhead. I always test the colors on a piece of scrap paper first.
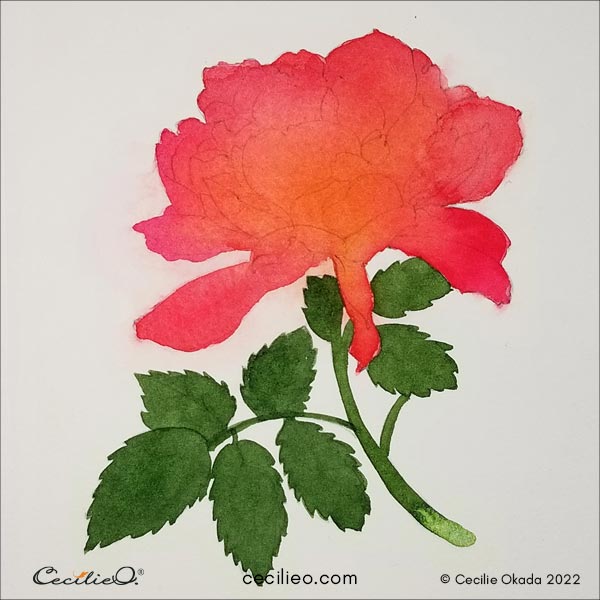
Step 3
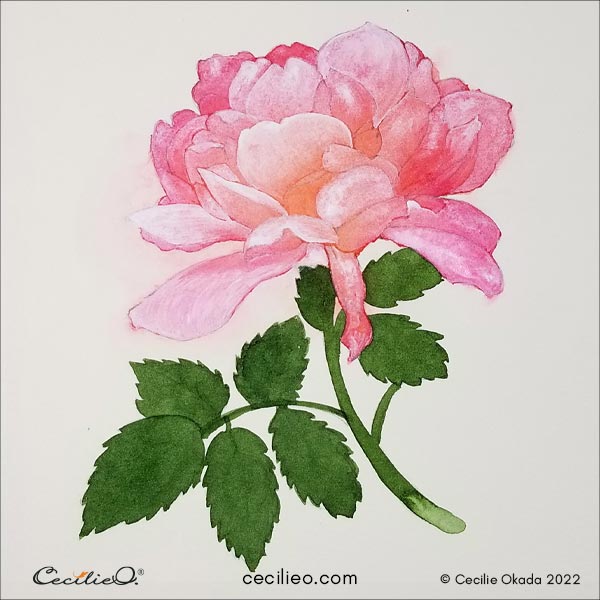
When the first watercolor layer is dry, paint a second layer with the same colors. You need vivid colors. Paint the leaves green. Make sure the color flows evenly. If you use too little water, the color will look choppy.
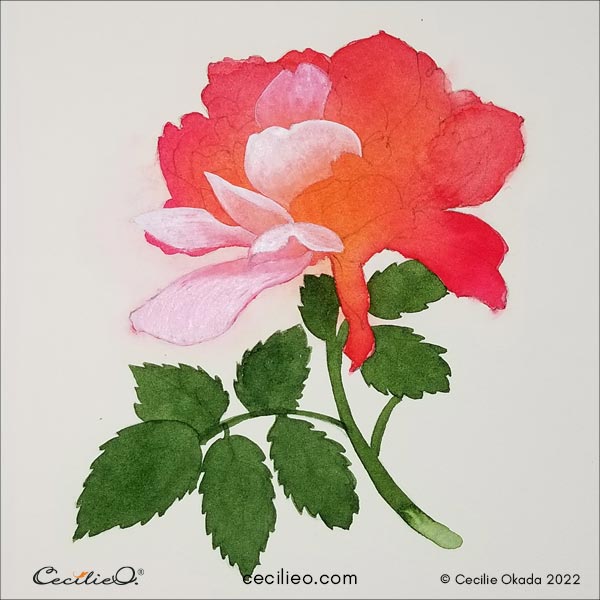
Step 4
Gently paint a layer of white gouache over the vivid color. Make sure the watercolor is bone dry first. Otherwise, the white gouache paint will get smeared with pink.
For a transparent gouache, dilute with enough water that it is not opaque. Practice painting the gouache on pink first! You may want to use a piece of watercolor paper for the practice. Observe how it turns out.
Paint one petal at a time.
To paint a gradient, do the following: First, paint from dense to light. Clean your brush, then move it in the opposite direction: from light to dense. The water on the clean brush will dilute the gradient and make it smooth. This is detailed, high-attention work. It will take some practice to get it right.

Step 5
Paint highlights with less diluted white gouache. Now the paint is opaque.

Step 6
Paint shadows with the pink-red mix. Use little water on your brush to keep control of the paint. Again, high-attention work.
Step 7
Mix white gouache with a little bit of green, and paint the fine veins on the leaves.

Step 8
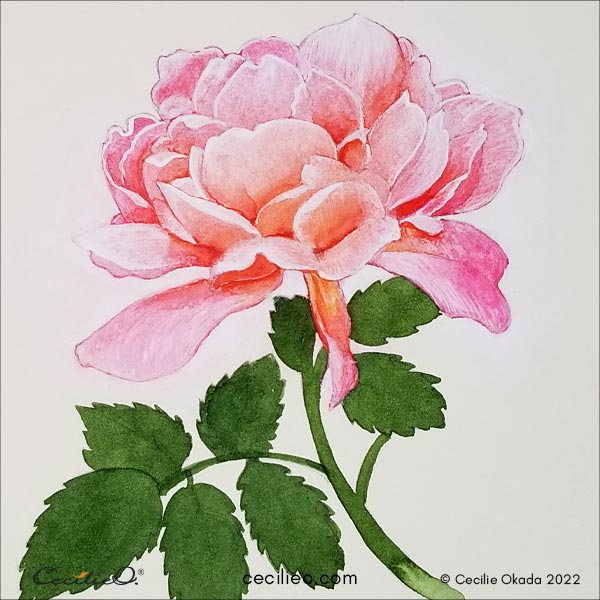
With a light green colored pencil, draw highlights on the stems only.
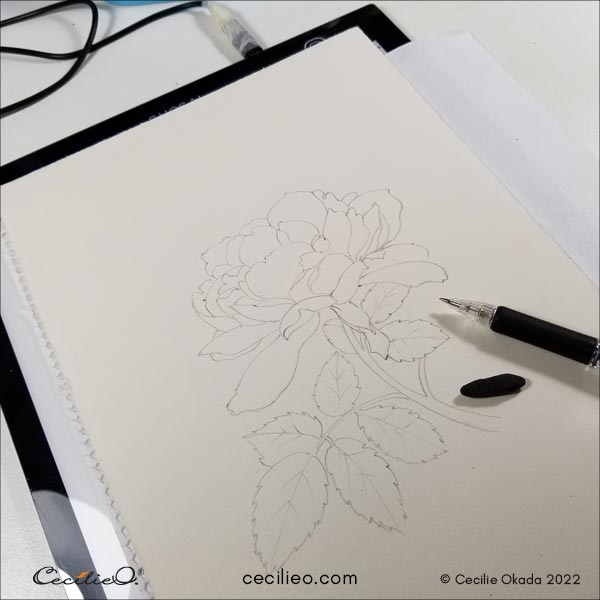
Use a razor-sharp, hard (H) graphite pencil to draw outlines gently. The reason for using a hard pencil is twofold. For a delicate watercolor like this, the outline should be subtle. Any soft graphite pencil or colored pencil can smear, and they also can not maintain a super sharp tip.

And now- voila- all done. Happy painting to you!

For a list of supplies needed for this tutorial, please go to Guide to Art Supplies


