Estimated reading time: 6 minutes
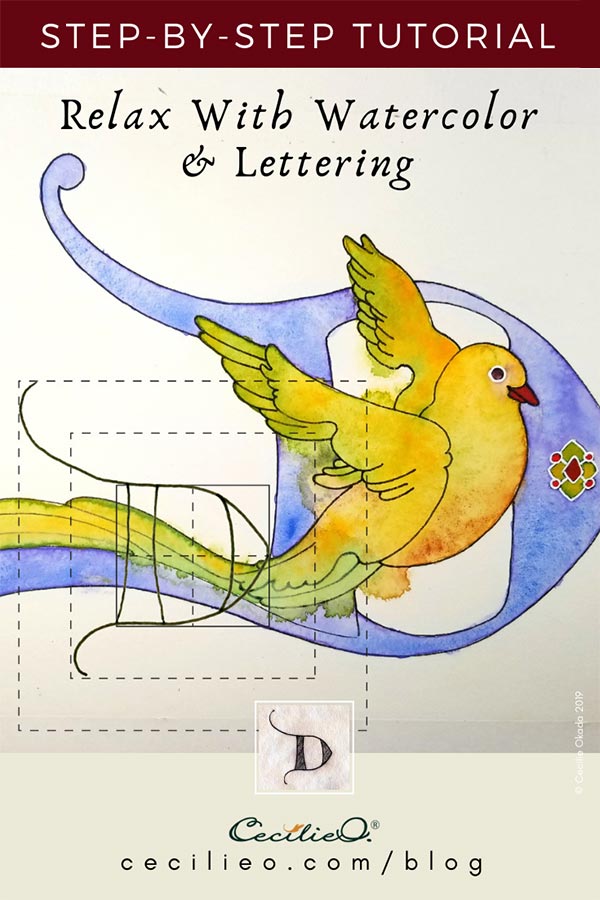
Watercolor painting is simple and easy if you just want to relax and don’t have a masterpiece in mind. It’s an excellent way to unplug and requires nothing more than a love of playing with color. I have drawn a simple illuminated letter D that you can download, print out and trace– and then play with colors as they create their own magic in a pool of water.
The letter D illustration is based on an alphabet that I have created, and the free download includes a practice sheet for the letter D as well. If you do journaling, you can cut out a smaller version of the D to paste in. Color it, and why not write an inspiring quote starting with the letter D?
Below is a step-by-step watercolor tutorial for the illuminated letter D.
First, let me show you the drawing I made. I drew the clean version with fineliner and that is the version you can download, big and small.


Before painting, I decided on a color scheme. I used Adobe Color, a simple, free website (or app) where you upload a photo to create a color scheme. It only allows for five colors, so I added red and blue when I mixed my watercolor palette. Update: We now have our own color picker tool. You can create an automatic or manual color palette.

I wanted the letter itself to be blue in order to contrast the yellow bird illustration. Here you can see how I mixed the colors in order to create the colors selected from the photo.

Follow these simple steps to trace the printout of the letter D illustration onto any kind of watercolor paper. In my case, I printed it out on 190g watercolor paper with a laser printer. I then stretched the watercolor paper onto a piece of wood. You want to avoid that the paper buckles with all the water; that’s the reason for making the paper wet, stretching it, and then fastening with watercolor tape. But you can also use ordinary sketching paper and fasten with any kind of tape. The paper will still buckle but less, and you can flatten the paper underneath a pile of books afterward.
Water is your painting tool! I painted the outline of the letter with WATER first, lots of water while excluding the bird and the little decoration to the right.

I then painted blue, and some purple. The water distributes the colors in beautiful, surprising ways. You dab some blue, then dab some purple, and magic happens. Don’t paint in a linear way, use your brush to just drop the colors, as in dropping dots. Then move your brush gently and see how the colors create beautiful shades with the help of the water. Watch what happens to the colors, then use your brush to refine.


When the blue was all dry, I laid down a base of sun yellow for the bird. Again, lots of water using the same process. I added the two greens (grass green and pastel green) and terracotta. This was a dance of back and forth, making sure to create sufficient contrasts. It could just as easily have turned into a dull soup of indescribable color. Contrasts create dynamism.


When the bird was dry too, I experimented with the muted purple, red and green to color the small details.


Not quite satisfied with the result, I added white lines with a white gel pen.

And finally- done! Now your turn. Try it out and see how satisfying it is to play with watercolor. My best wishes for your creative fun.


