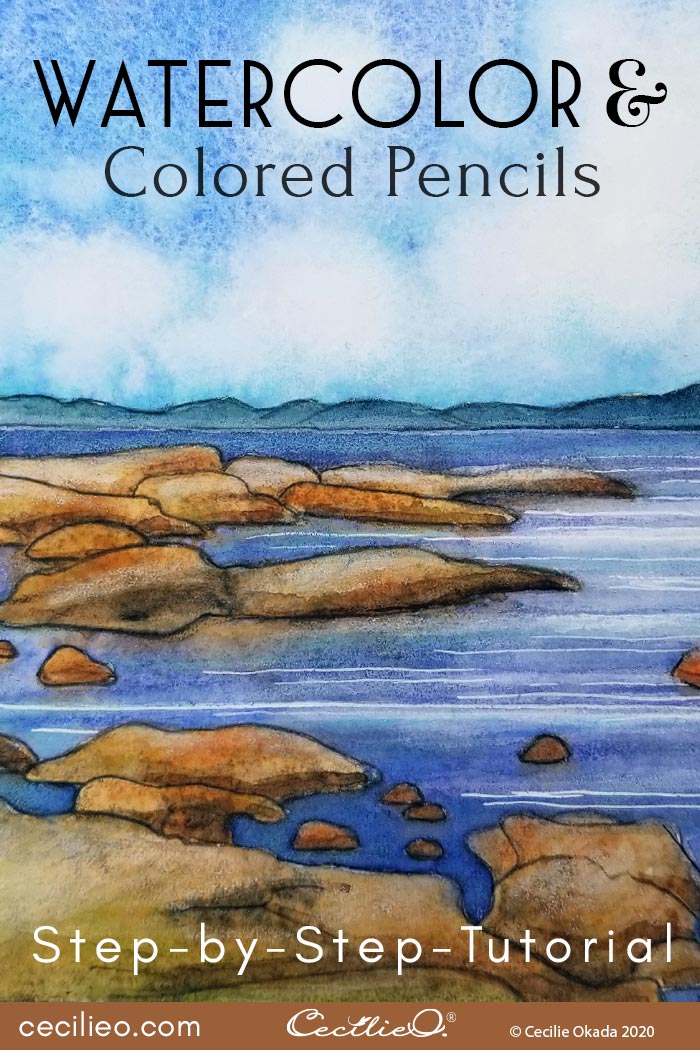
You can watercolor fresh landscapes without being a master. Great artists paint life-like water and clouds with a few brush strokes, but there is an easier way. In this tutorial, I will show you how to watercolor a realistic seascape with water, rocks, and clouds.
Cheating on hard-to-master watercolor techniques goes a long way towards creating satisfying artwork. Adding colored pencils to your watercolor gives you that freedom. There is no such thing as having to paint in a certain way. Creating art is about creativity, flow, and fun.
It is, however, useful to paint and draw in a certain order to achieve a good result.
What kind of watercolor paper was used in this tutorial?
Watercolor is often associated with a lovely, textured paper surface. With the method in this tutorial, a smooth surface serves you better. I use smooth, hot-pressed watercolor paper. The reason is that it’s easier for drawing with colored pencils. I also like the way the watercolor pigments behave on this paper.
Reference photo from the coast of Norway
I took the reference photo in Sandefjord on the southern coast of Norway. The beauty of the Oslo fjord coastline is stunning, and the photo hardly does it justice. In the summer, people swim among the rocks dotting the sea. They spend the day sunbathing on these softly rounded rocks. Summer holiday!

Let’s get started.
Step 1: Drawing the landscape
Get your sketchbook out and make a loose, free drawing of what you see in the reference photo. Don’t try to make a pretty drawing. Let your hand lead the way while you study the landscape. The key is to not concern yourself with the linework. Rather, focus on understanding what you are looking at.

Draw the landscape again on watercolor paper. This time, stick to clean outlines. You have learned the basics of the landscape by sketching it. This time around, you’ll find it much easier to draw.
It is better to wait until after you have mounted the watercolor paper onto a wooden plate to make your final drawing. If before, the pencil lines will be difficult to erase and correct due to the paper first getting wet, then dry.
When you draw on dry, mounted paper, erasing pencil lines are not a problem.
Stretching and mounting the paper will prevent bumps from forming when it gets wet with paint.
Step 2: Painting with watercolor
It’s a good idea to select and mix colors in advance.

Paint the sky with plain water first to lay the foundation for the paint. Use both a thick and a medium-size brush.

Paint with the light blue and turquoise, spreading the colors nicely.

Pick up the excess watery paint with a sponge. Where you want to place the clouds, sponge up the color until the white paper shows.

While the watercolor is still wet, paint the clouds with white gouache.

Paint the water with the deeper blue.

You can add a little touch of ochre where the stones reflect in the water. Next, soak up paint with tissue paper. Tissue paper creates a sharper edge than a sponge. Soak up where light reflections on the water look white.

You can download a free, high-resolution version of the reference photo in One Tree Art Club. The library has an extensive collection of free, printable line art that you can use for your art projects.

Watercolor the stones with ochre, light, and dark brown.

Step 3: Drawing with colored pencils
Wait until all is dry. With a sepia (dark brown) colored pencil, draw the outline of the stones and the distant shoreline.

Spice up with shades of ochre, terracotta, and green. Use tissue paper to smooth out the pencil marks.

Wet a tissue paper, roll it tightly and soak up some more color on the water.

When dry, enhance the water with a dark blue and a white polychrome colored pencil.

Do the same with the sky and cloud. Use a light turquoise or blue to create volume in the cumulus clouds. Notice that by now, I have cleaned up the outer edge of the painting with white gouache.

With a free approach, paint part of the rocks with dark brown watercolor. Look for the shadows in the photo, but only as a guide. It will lift your painting and also creates volume.
The last thing I did, was to add white lines on the water with gouache. I used a very fine brush. This was a final, creative touch.

My best wishes for your creative painting!


