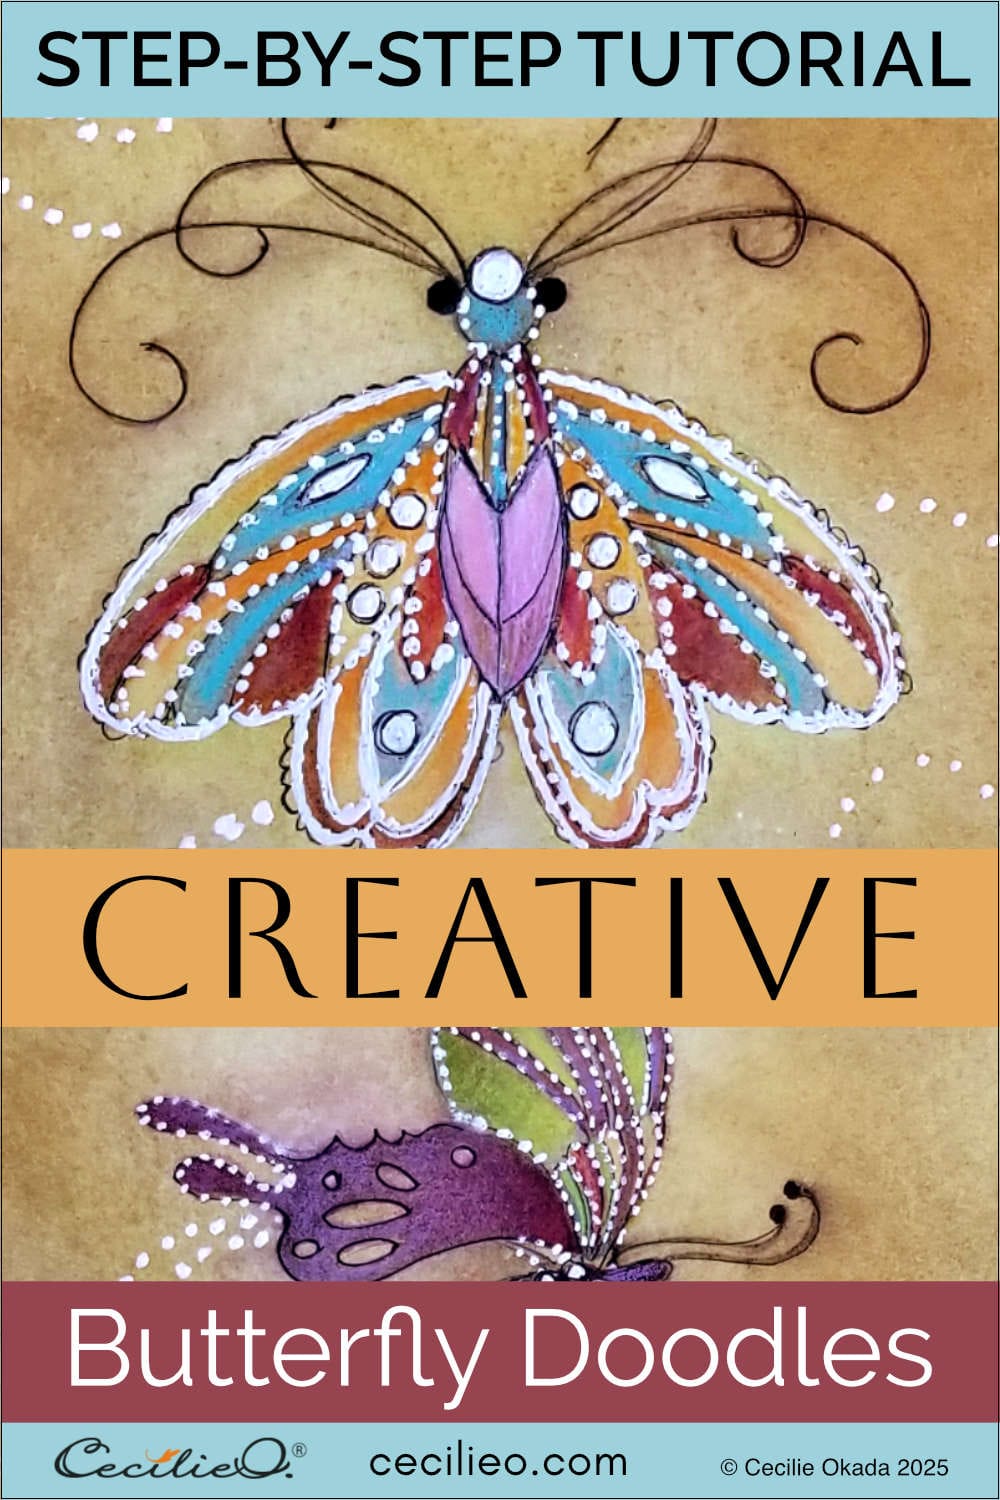

Butterflies never cease to spark our imagination. Let colorful butterflies lead your hand, and settle in for a relaxing, creative session. Once you catch on to a couple of simple rules, you are off to creating beautiful butterfly doodles.
Inspiration from Oriental textiles
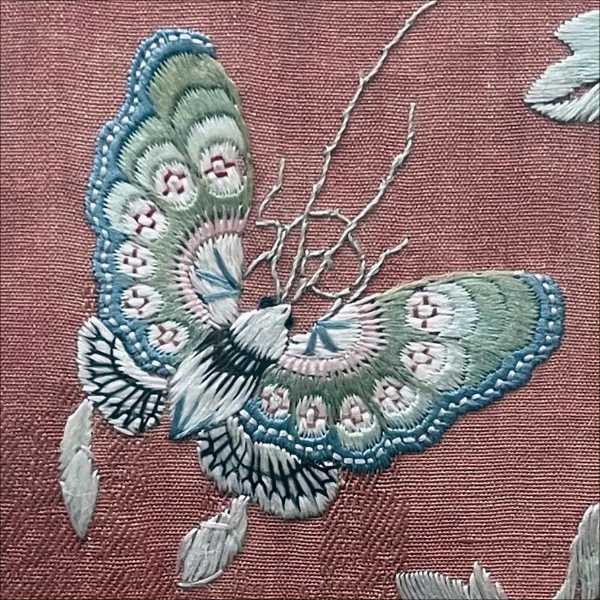
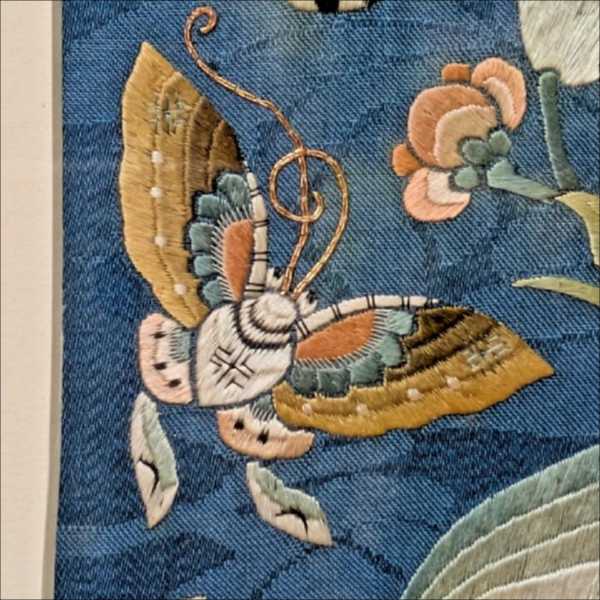
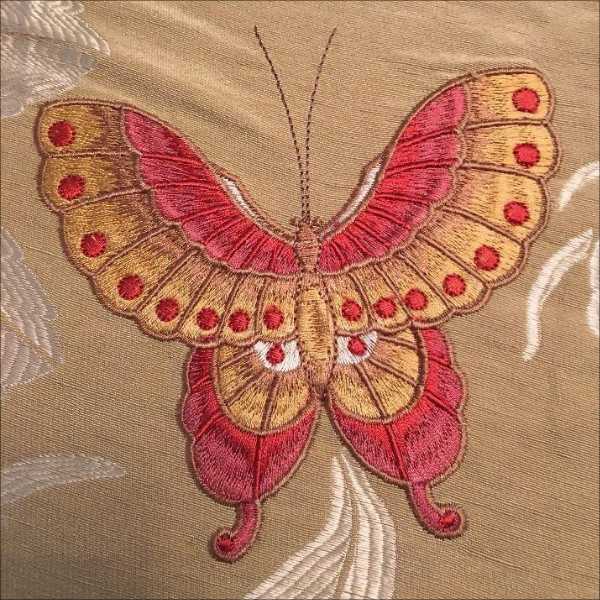
Stylized butterflies in Oriental textiles and silk embroidery inspire the doodles in this tutorial. The curvy lines and simple patterns make for dynamic, colorful designs.
Below are a few sample images:

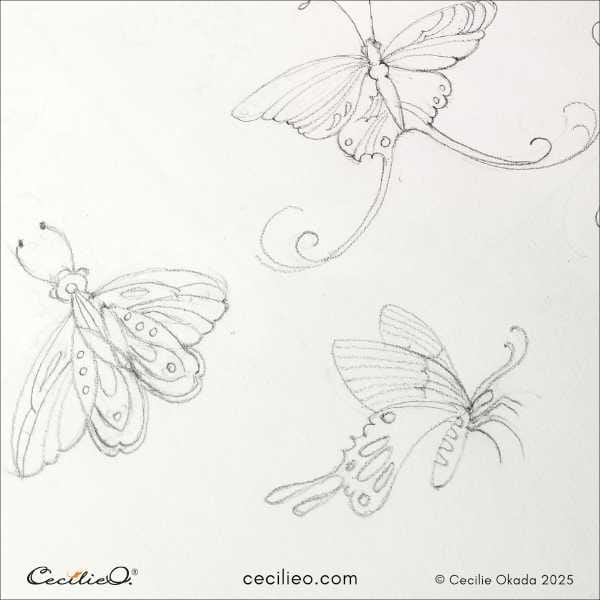
Start free-wheeling butterfly sketches
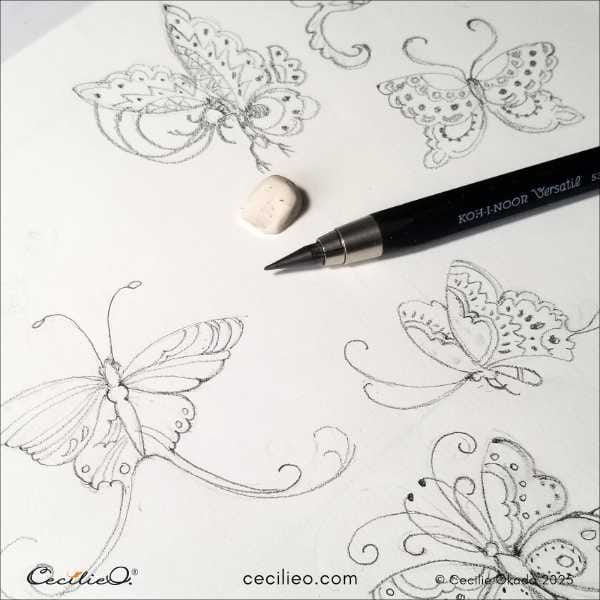
The first step in your doodle journey is to sketch casual imitations of the butterfly images above. By doing that, you get the hang of the style.
Next, you start doodling. Make curvy feelers and patterns on the wings. Pay no attention to making anything beautiful. Have fun, draw as you please. Don´t worry about symmetry.
If you need more inspiration, here are many beautiful, real butterflies.
The free One Tre Art Club library has free outline drawings for many watercolor tutorials on this website.
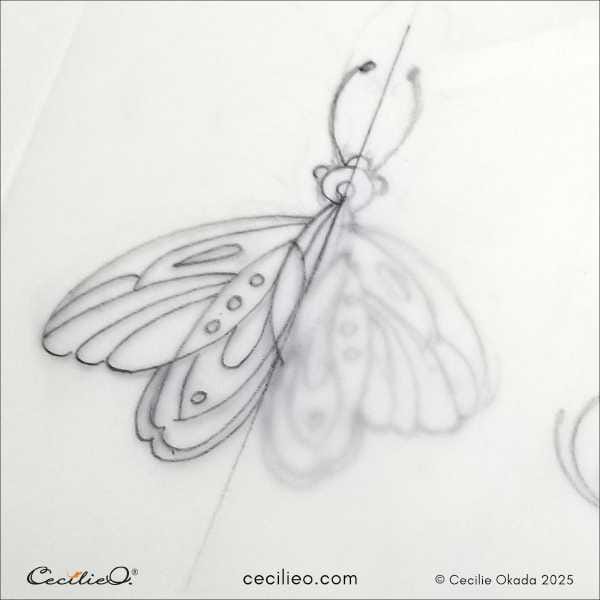
Trace your doodles onto tracing paper
Your sketches will not be symmetrical, but there is a simple way to make them so.
- Trace one side of the butterfly doodle.
- Flip the paper and put it next to the wing you traced.
- Fold the paper, and trace again over the traced wing.
VOILÀ! You got perfect butterflies.
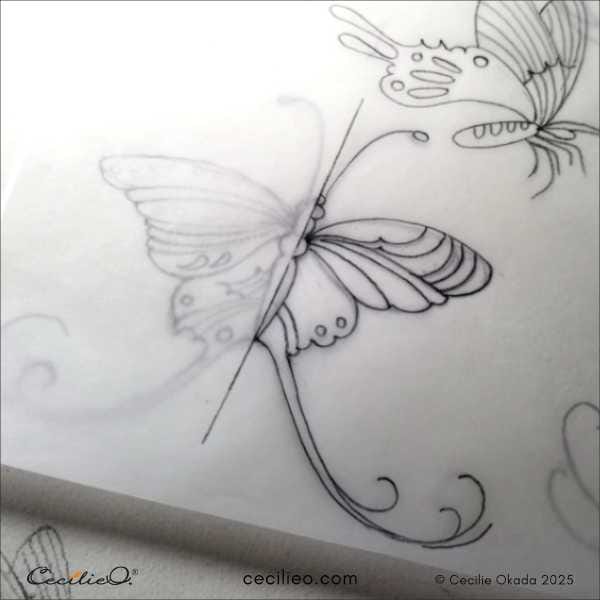
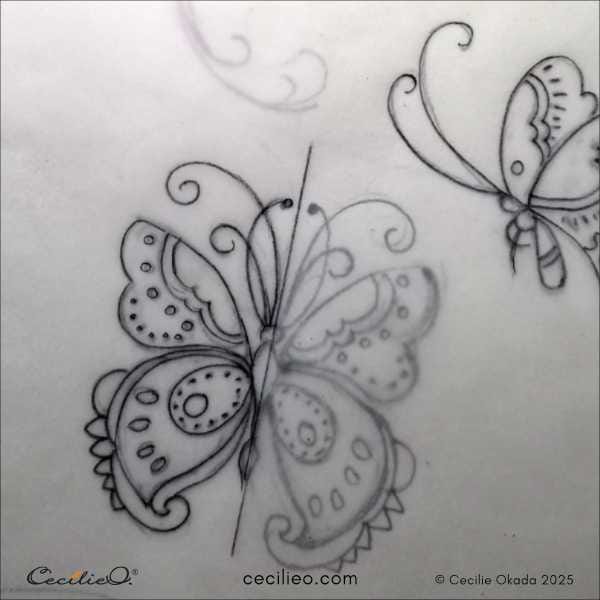
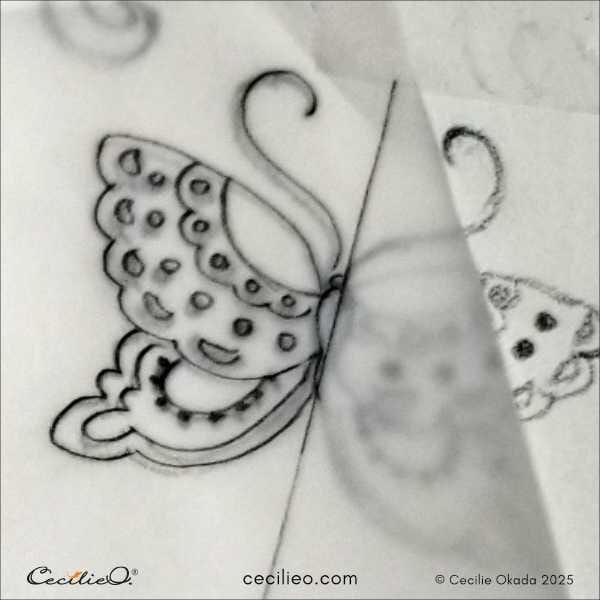
Since my butterflies are all over the paper, there are folds in many directions.
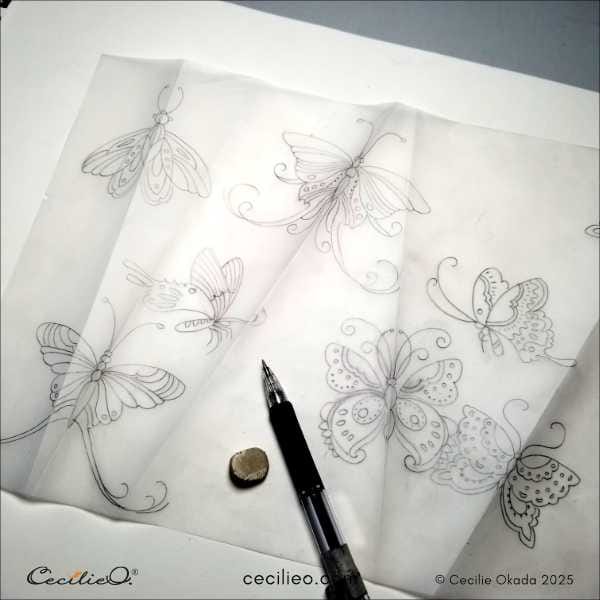
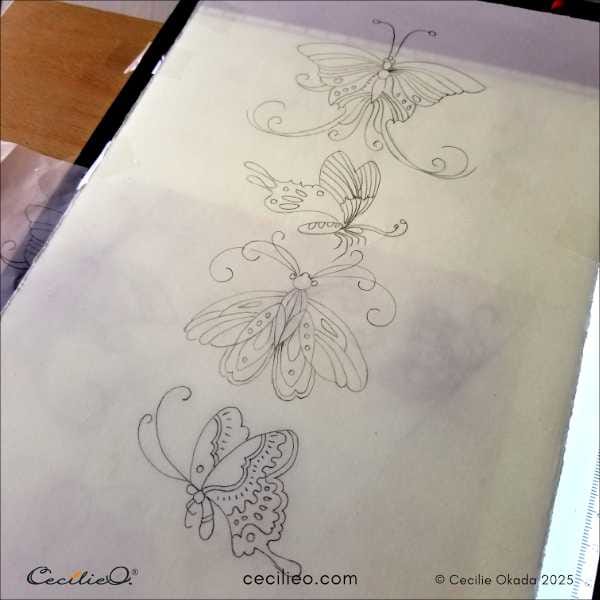
Select your favorite doodles
Trace your favorite doodles onto watercolor paper. I used an LED-light tracing board.
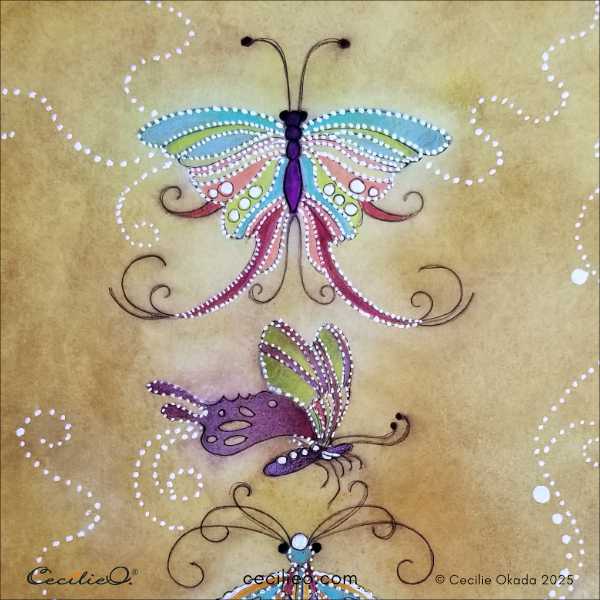
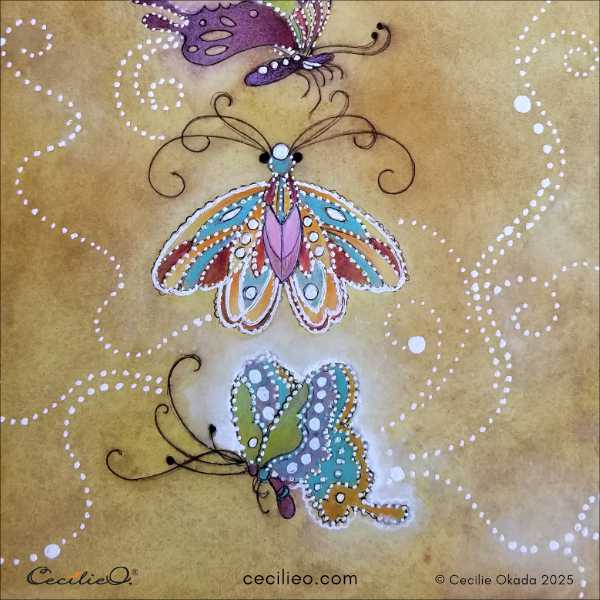
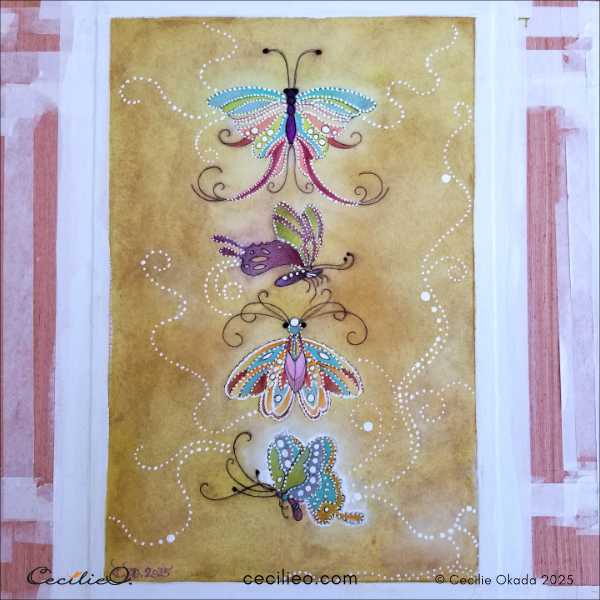
Let loose a riot of colors
Watercolor the butterflies first, and then paint a background color. A white gel pen is great for doodling, so you need colors on the whole sheet.
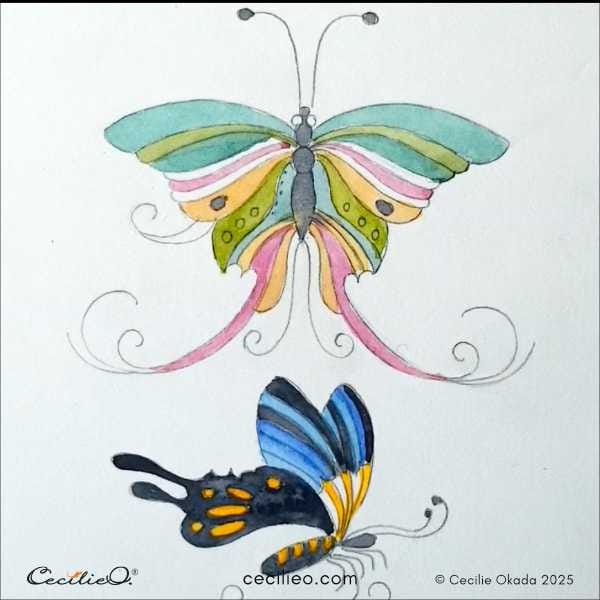
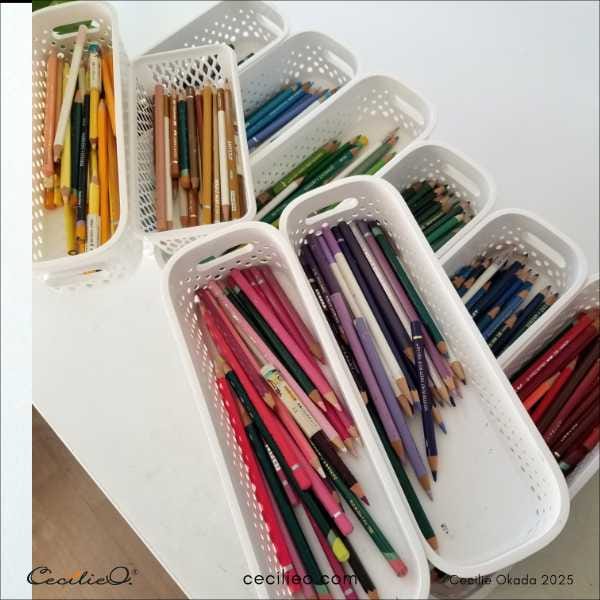
Next, dive into the best part. With no regard for color combinations or beauty, color the patterns with colored pencils. Make sure the watercolor is dry before you start.
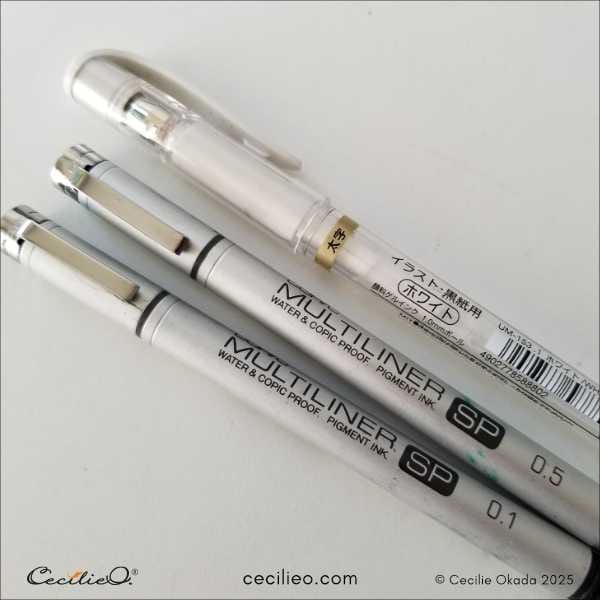
Draw outlines with a waterproof fine liner. Use a white gel pen to draw doodle dots and lines.
You can keep going for a long time, erasing and recoloring. Making dots and painting over them with water, only to redraw dots somewhere else.
Flitting as freely as butterflies do from flower to flower, let your hand create stunning butterfly doodles. In the end, you will be satisfied with your creation.

If you prefer to trace my butterfly outlines, you can get them in the Level Up library. Then you can focus on colors, dots, and lines.
Have fun!
Guide to Art Supplies
More butterfly and other tutorials:
How to Draw & Watercolor Four Colorful Butterflies
How to Use Watercolor Pencils: Colorful Butterfly
The Little Known and Easy Way to Watercolor Leaves
Easy Watercolor Landscape Tutorial With Sea and Clouds