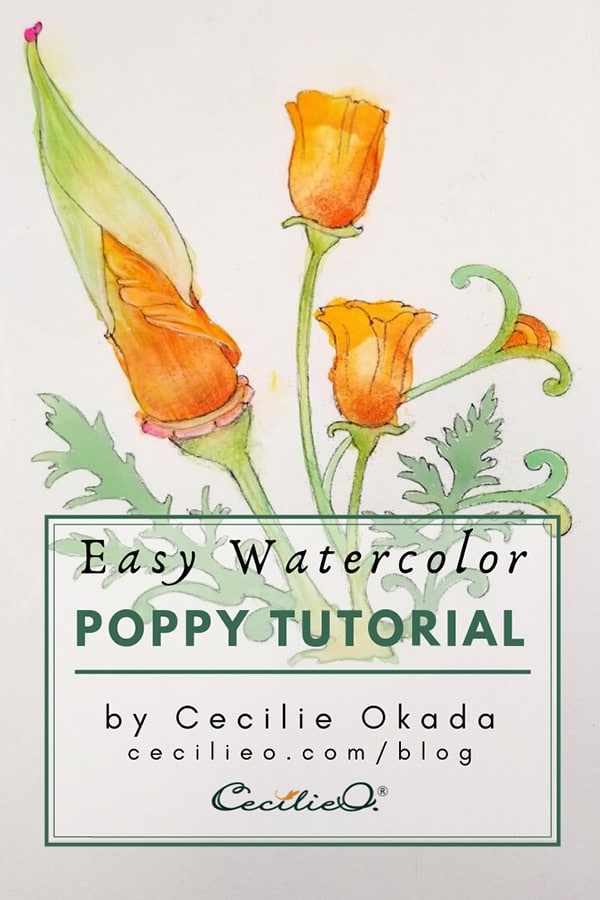
Poppy flowers in their vivid red and orange hues look like they are calling out to artists to pay attention. If you look closely, you will notice that the buds have an extraordinary shape. I couldn’t resist taking a close-up photo of these buds swaying gently in a very urban landscape. The mature poppy flowers became secondary.
I took some creative freedom by ignoring the real size of the bud when I drew these poppies. It makes it easier to focus on the details of the bud. We will use the collage below as a reference photo

Step 1
You won’t find the green colors used in this painting in any ready-made punnet. You will have to mix them yourself, using white to get the opaque, pastel quality we see in the photograph of the leaf.
Follow the recipe below to make the green colors. You need to experiment to get just the right mix. The outcome also depends on the base colors available in your punnets.
The orange color is simple, just add a little crimson red to sun yellow.

You can see I got too close to the edge of the paper when I drew the outline for the watercolor painting.

Step 2
So instead of painting on the original drawing, I printed out the scanned drawing directly onto watercolor paper. You can do that too, or simply trace the drawing. Learn how in the blog post “How to Transfer a Printable Line Drawing to Watercolor Paper”. You can download the line drawing for free in One Tree Art Club.
Here you see the first painting step. To preserve the opaque quality of the green color, use water sparingly.

Step 3
To add interest and variety to the stem and other green parts of the plant, paint with a modest amount of water first. The water will allow colors to flow. Then add the second green color and mix loosely with a bit of ochre.

Here the green colors are all dry.


Step 4
Paint the orange parts of the flowers with a lush amount of water first, then add color. Use orange, but also a bit of sun yellow and a tiny bit of crimson red to create shades.

Step 5
With a modest amount of water, paint the green “hat” at the top part of the bud, using a small amount of green and some ochre. You want to create the impression of a thin and delicate leafy “hat”. You achieve this by using less pigment and more water.

All the watercolor painting is done. Leave to dry.

Step 6
Making sure all is thoroughly dry, draw the outlines gently with a sepia brown colored pencil. Make sure the tip is very sharp.

Step 7
To enhance the form and texture of the bud, draw ever so lightly with a variety of colored pencils: Yellows, ochre, orange, red, greens and brown You want the watercolors to dominate, not the colored pencils.
Lastly, while paying less attention to the mature flowers, simply spice them up with some red.

All done!

For more insight into the process of adding colored pencils to watercolor, watch my maple leaf video tutorial.


