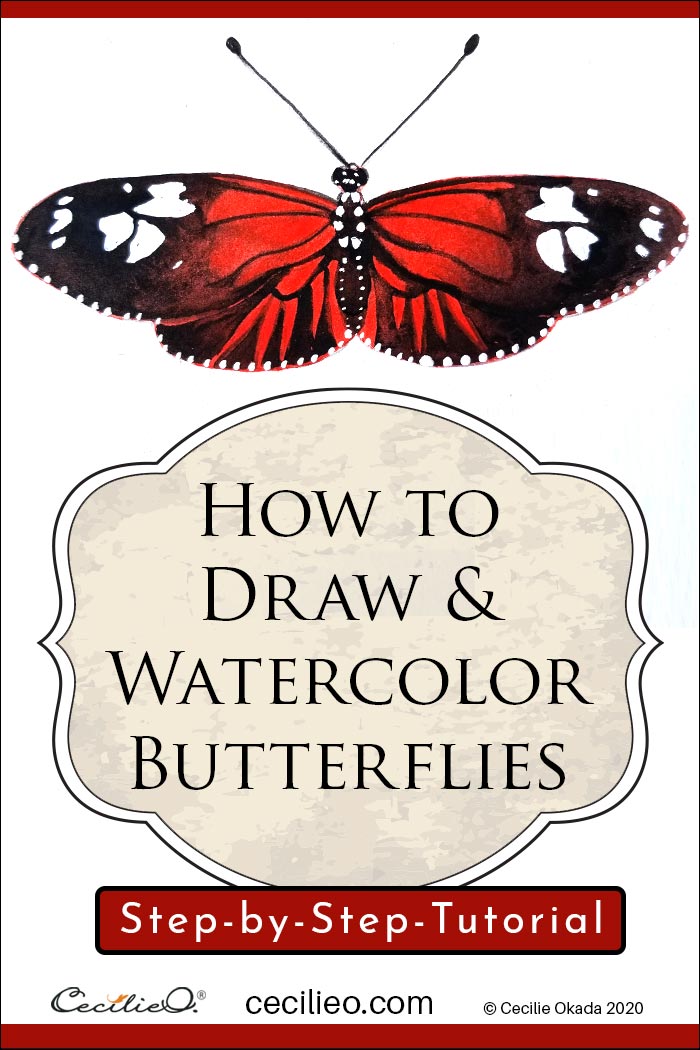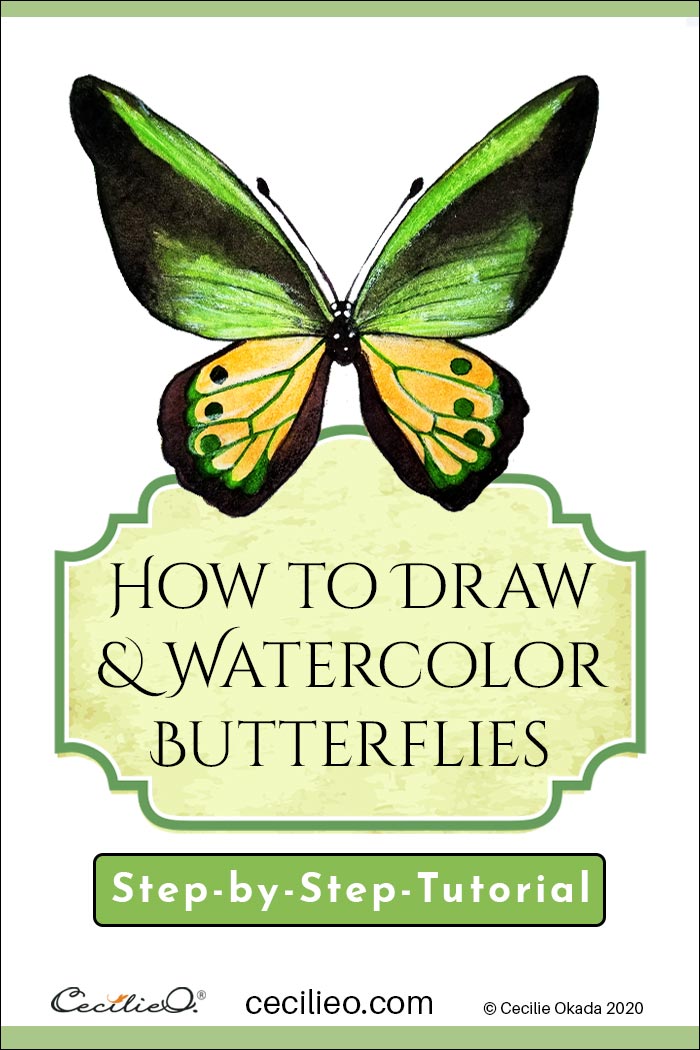
What if I told you that you can draw and watercolor butterflies by using an easy, systematic process? Capture these elusive, beautiful creatures by practicing the step-by-step instructions in this tutorial. Learn the basics, and then let your creativity loose.
First, I take you through the drawing and watercolor steps for one butterfly. Next up, I give you an abbreviated version for another three butterflies. In that way, you can see how the process applies to any kind of butterfly.
A determined butterfly inspired this tutorial
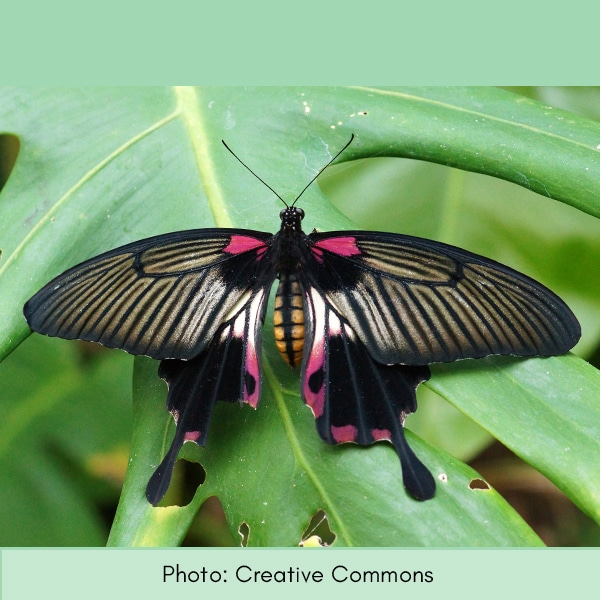
Have you ever had a butterfly lead your way? The other day, I went for a walk along a riverbank. All paved in an urban setting. Under a damp, gloomy bridge a large, dark something fluttered past. A bird or a bat? No, it was a big, black swallowtail butterfly with colored markings on the wings.
When I returned from the opposite direction, it was still there. The local chief butterfly was waiting for me, this time out in the open air. It flew ahead, leading the way for a while. It swooped down in front of me as if to say, “Look at me, don’t you think I’m pretty?”.
That was my inspiration for this tutorial.
Now let’s get to the task.
Finding reference photos
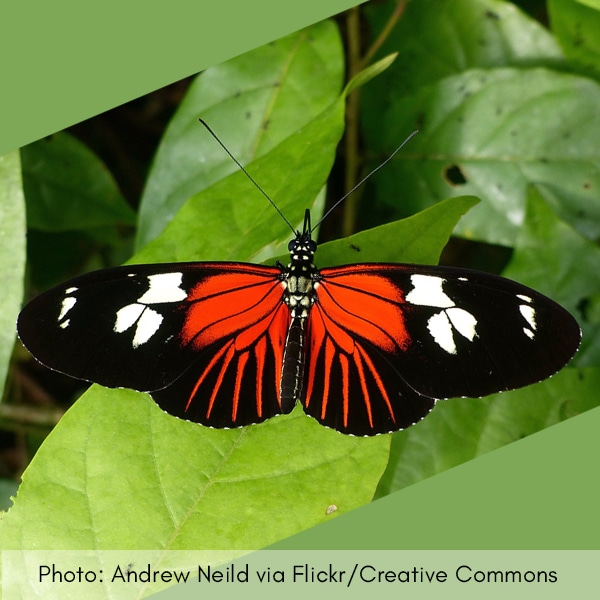
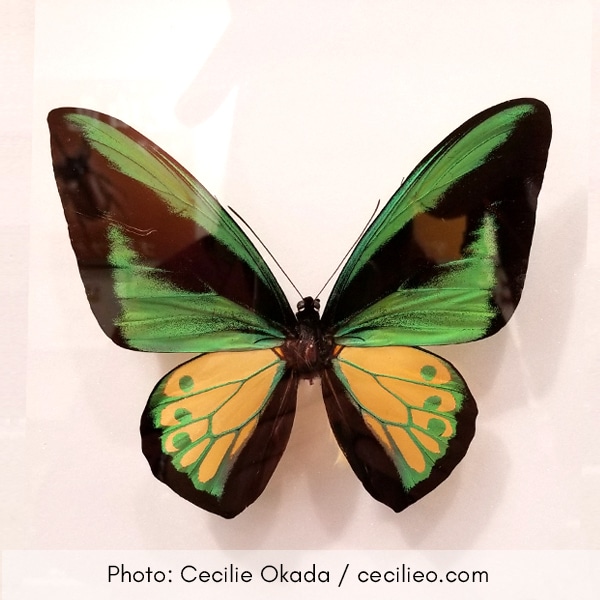
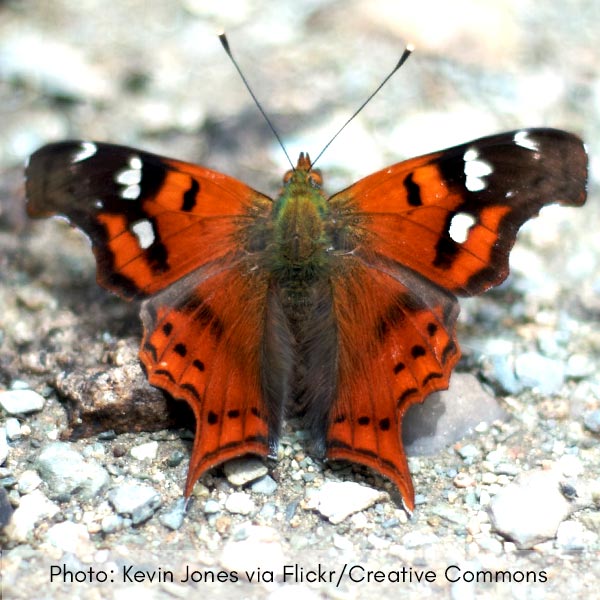
I chose each of the four butterflies for the shape of the wings. Butterflies come in an astounding array of shapes and sizes. We’re used to thinking of the monarch butterfly as a kind of standard. But shapes are as varied as the beautiful, colorful patterns on the wings.
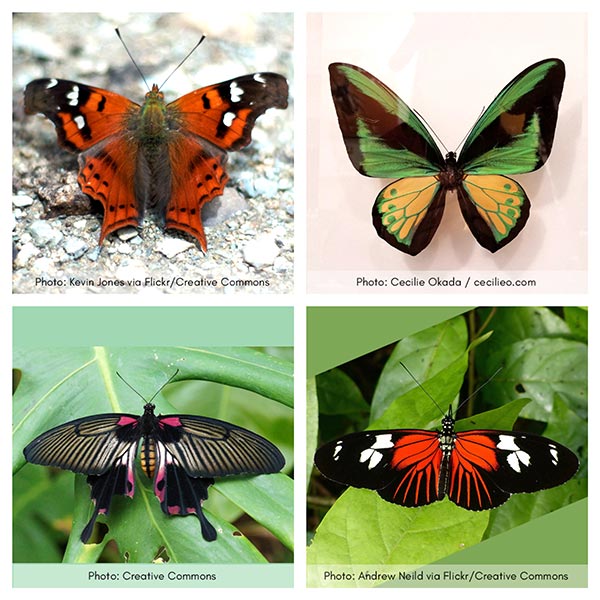
If you want to explore the wild variety of butterflies on this earth, I recommend Flickr. Many superb wildlife photographers showcase there. Narrow your search with scientific butterfly names OR exotic countries. This will lead to amazing search results. Many photographers add a scientific name to their photos, so just copy and paste that text in your search.
On my Pinterest board Color in Nature: Butterflies & Bugs I have curated a lot of beautiful butterfly photos.
How to draw realistic butterflies
Step 1
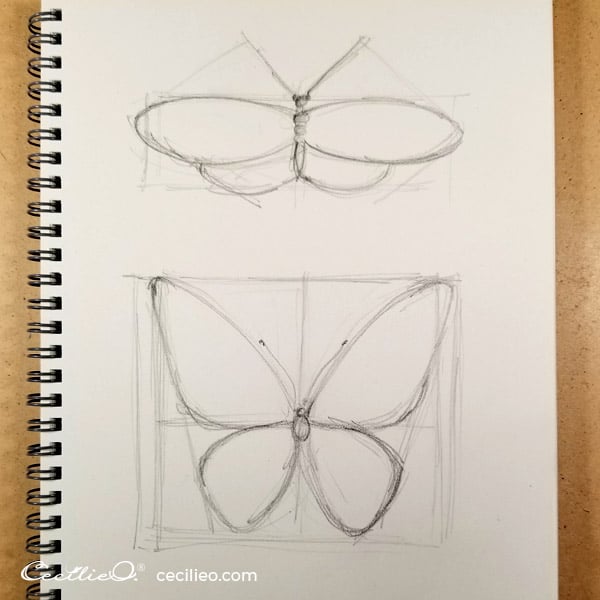
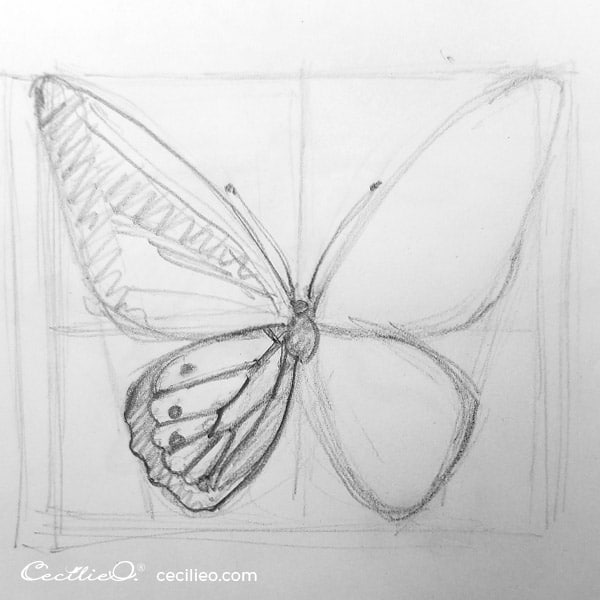
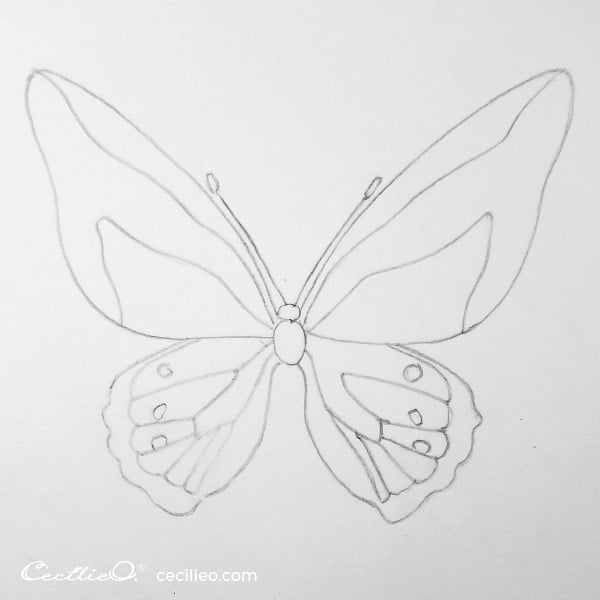
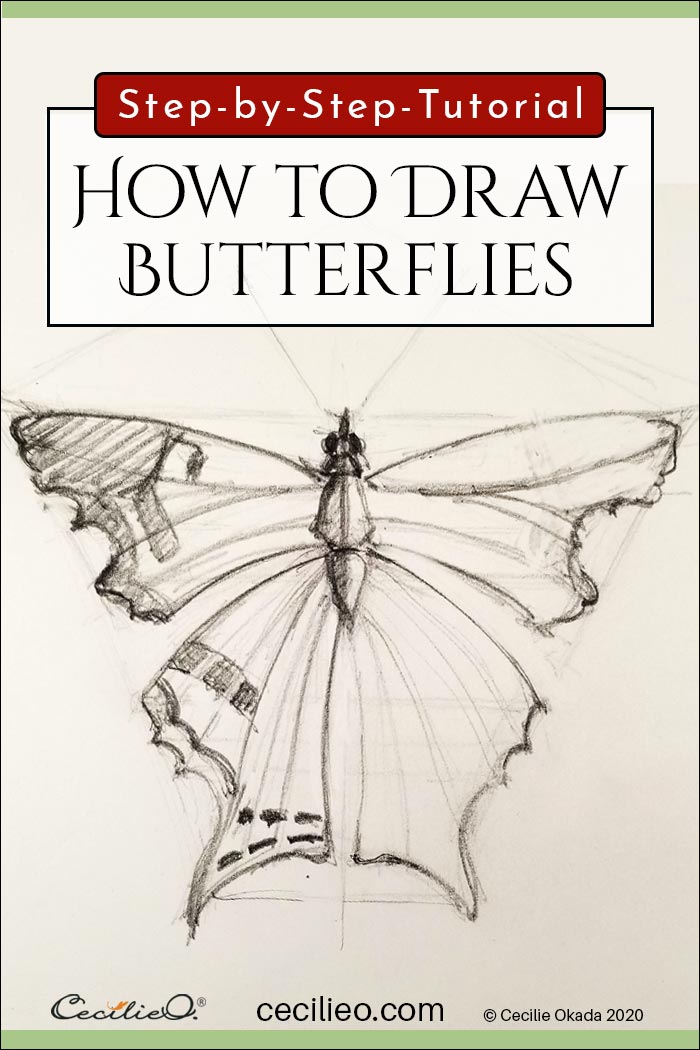
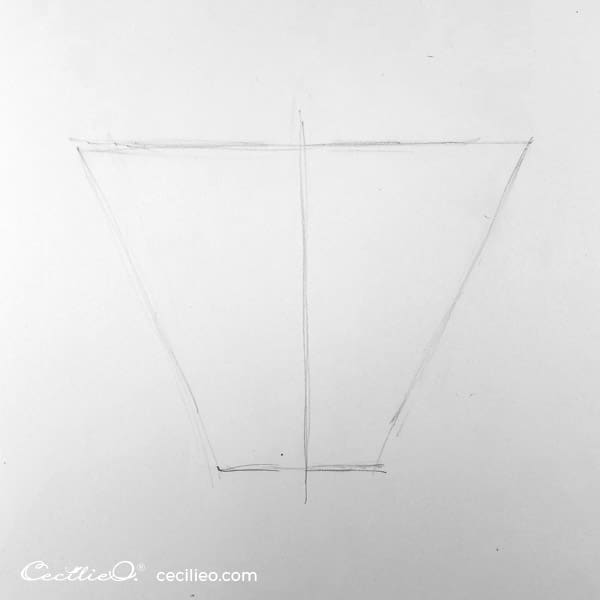
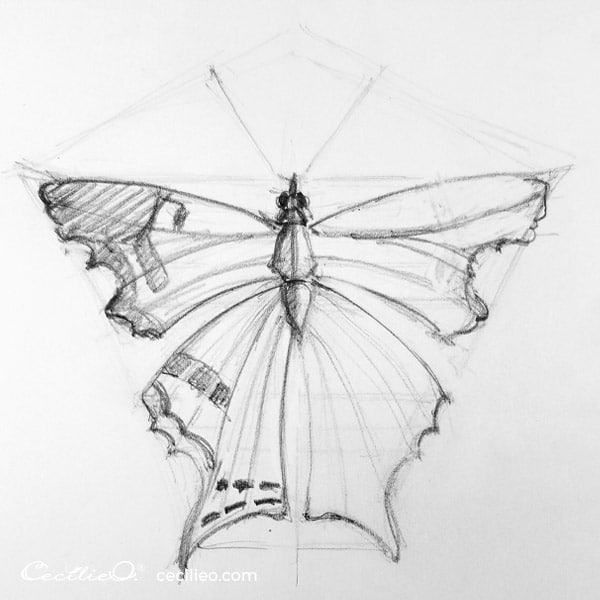
First, take a close look at the butterfly to suss out the over-all shape. Draw a corresponding, rough geometric shape. Add a centerline.
Step 2
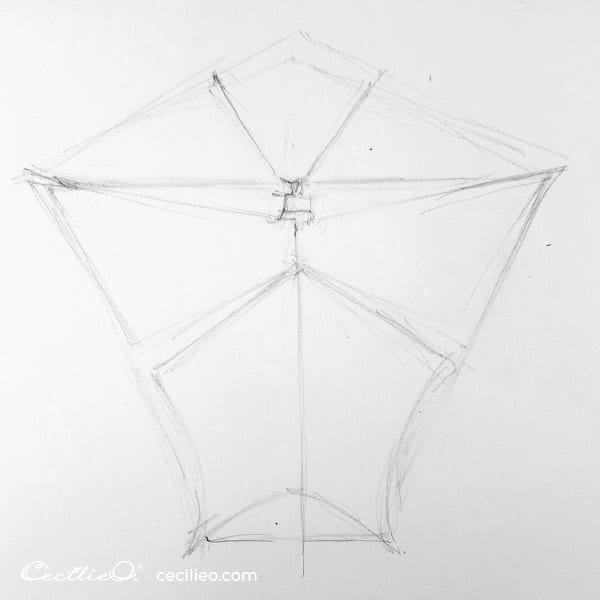
Look at the main elements of the shape, and divide accordingly. Still, use only straight lines.
Step 3
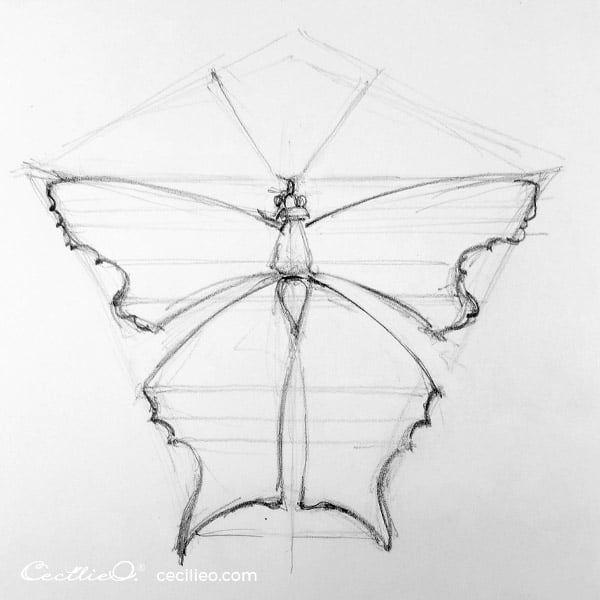
Draw an outline of the wings within the geometric shapes. Draw horizontal lines so that both left and right wings match up.
Step 4
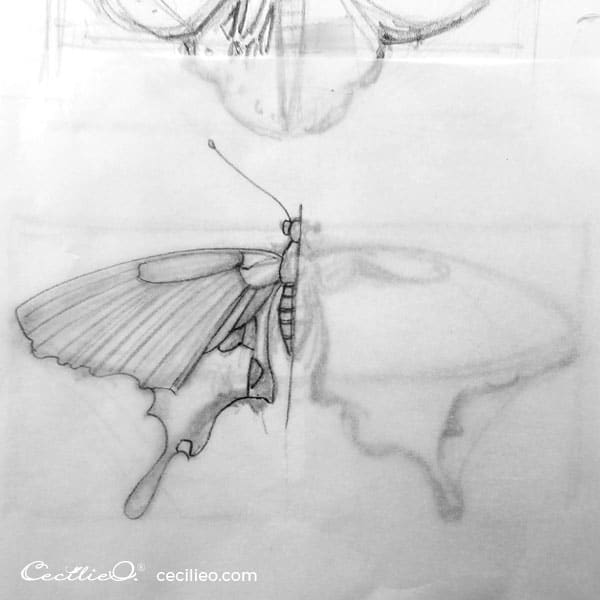
At this point, you will continue to draw on one side only. The front view butterfly perspective is symmetrical.
Except, not perfectly symmetrical. Just like a human face. That’s how nature’s design works. You will use this to your advantage when you start painting with watercolor.
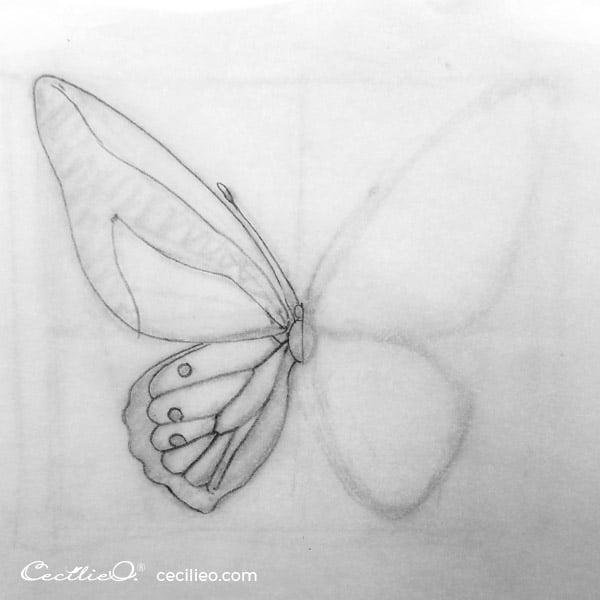
Draw the pattern on the left butterfly wing only.
Step 5
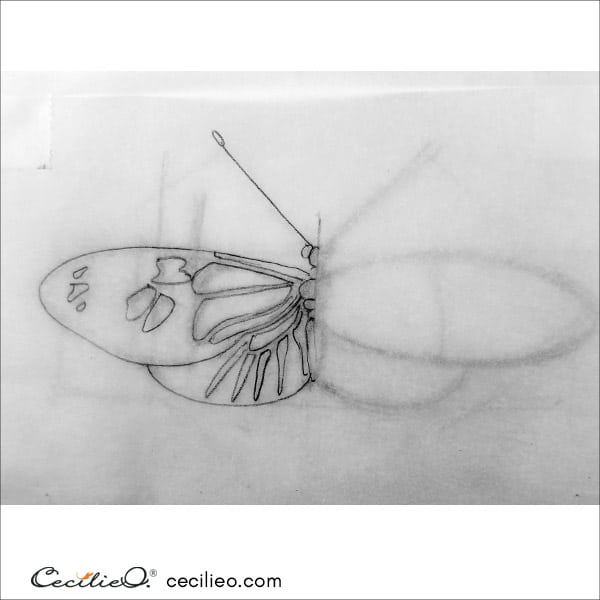
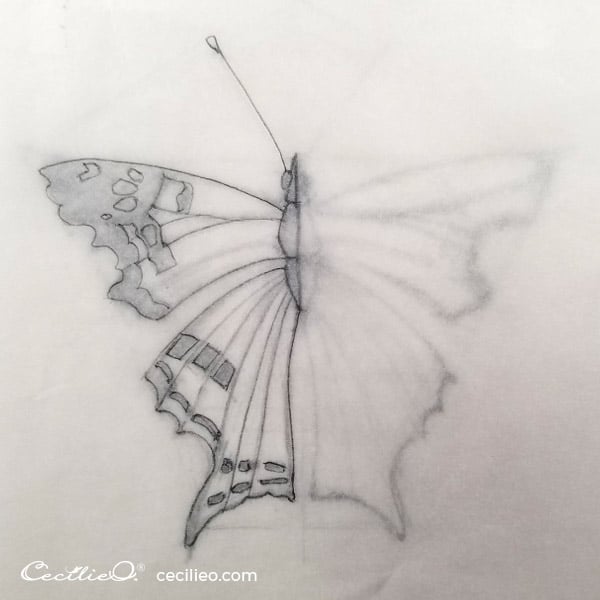
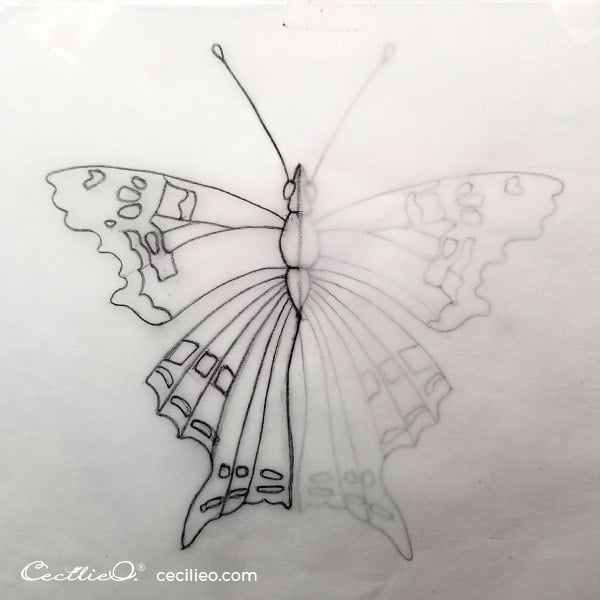
Place a piece of tracing paper over your drawing. Make sure to fasten the tracing paper with tape or paper clips. Otherwise, it will slide.
Draw over the left wing with a soft graphite pencil. Draw clear, crisp lines. That’s important for watercolor.
Step 6
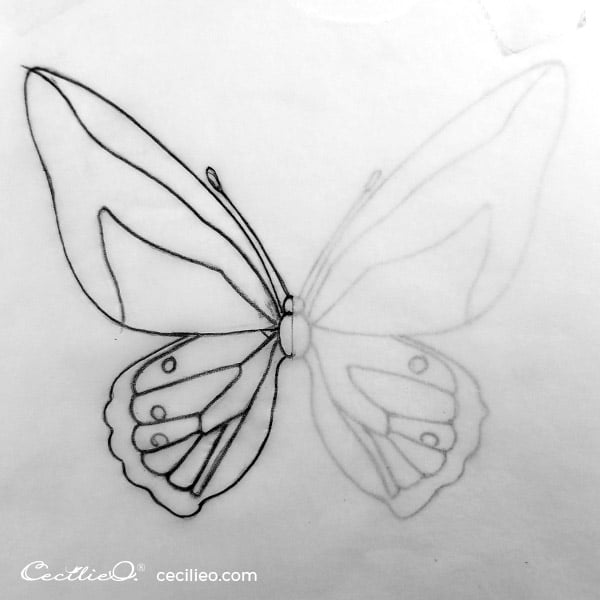
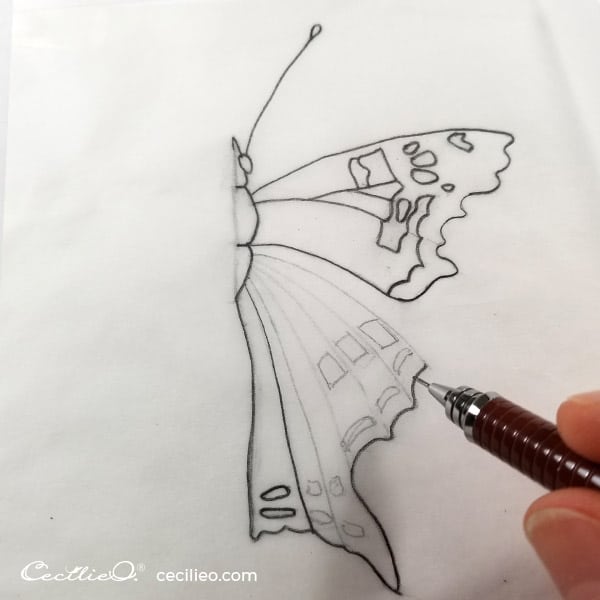
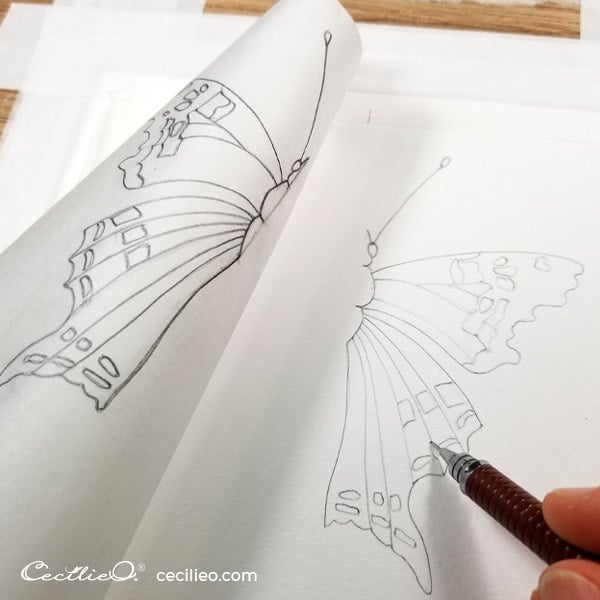
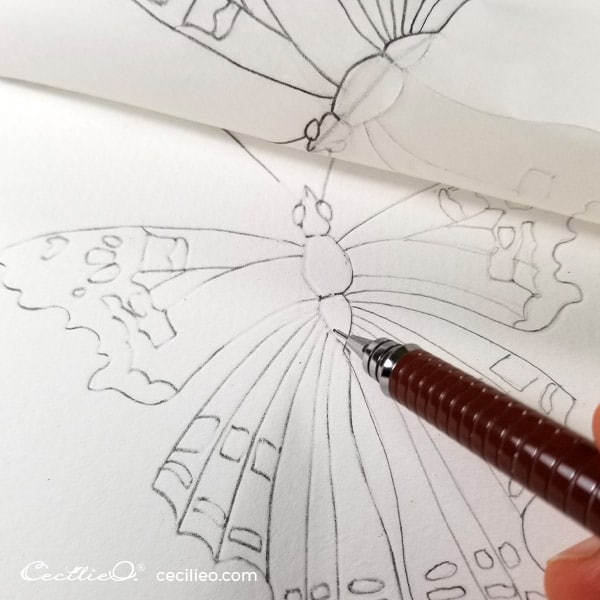
Flip the tracing paper over. The graphite drawing should be facing down on your watercolor paper.
On the blank side of the tracing paper, draw on top of the outline. The push from your pencil will transfer the graphite onto the watercolor paper.
There will be furrows in the watercolor paper, and not all lines will be clear. Draw over the transferred outline where necessary.
Step 7
Turn the tracing paper over again.
Line up the drawing of the left wing next to the right wing (that has already been transferred onto the watercolor paper).
Draw the outline over the left wing with a graphite pencil. This will transfer the left wing, and you now have a complete butterfly.
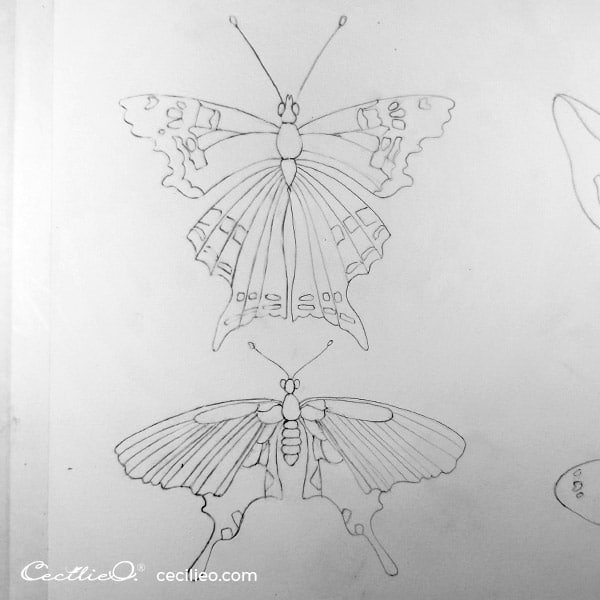

If you want to focus on watercolor and transfer the outline of my drawing instead of your own, you can download the free PDF here. One Tree Art Club has several free line drawings that you can transfer onto watercolor paper. Each drawing is related to a tutorial.
How to watercolor butterflies
Step 1
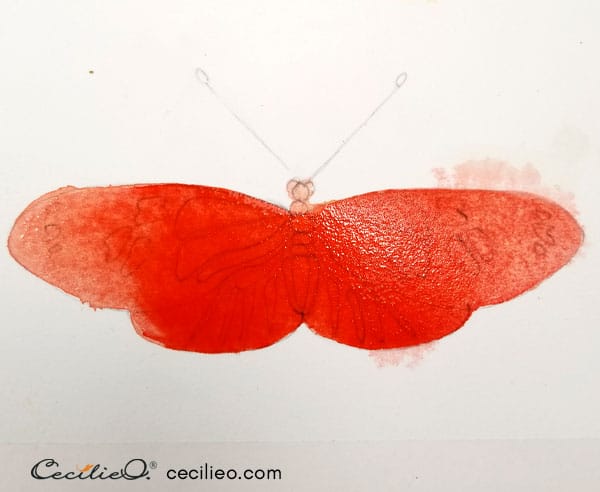
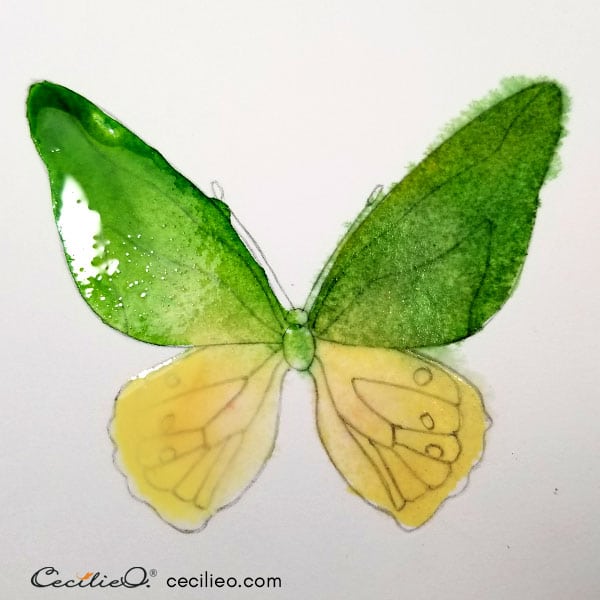
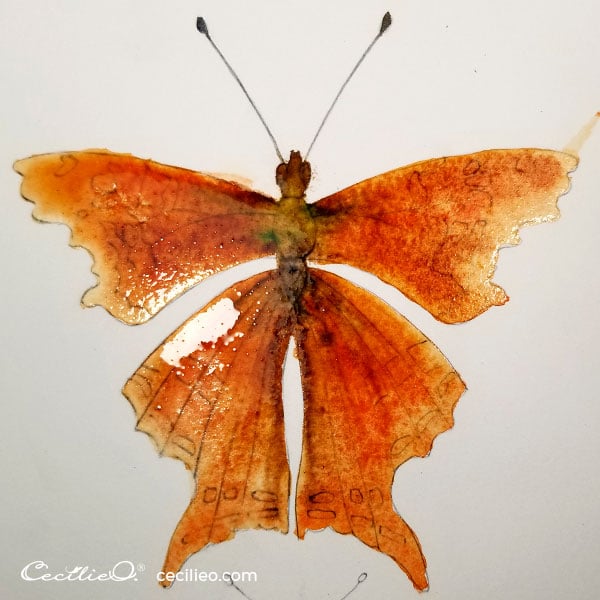
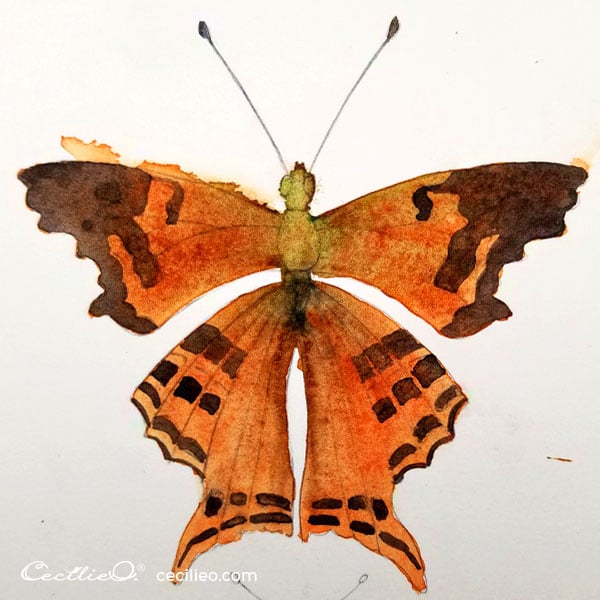
First, paint with plain water within the outline of the butterfly.
Then paint with colors such as terracotta, ochre, brown, and a tiny bit of green. Use the water to spread the colors from the center outwards on the wings. Dab more color pigments as you see fit. Paint freely and don’t try to make a photo-perfect butterfly!
Step 2
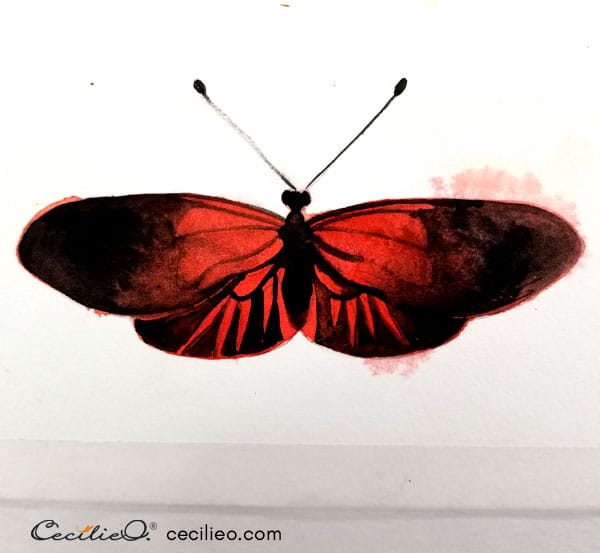
When all dry, paint the black pattern with dark brown. Add some brown to black to make a very dark brown watercolor.
Step 3
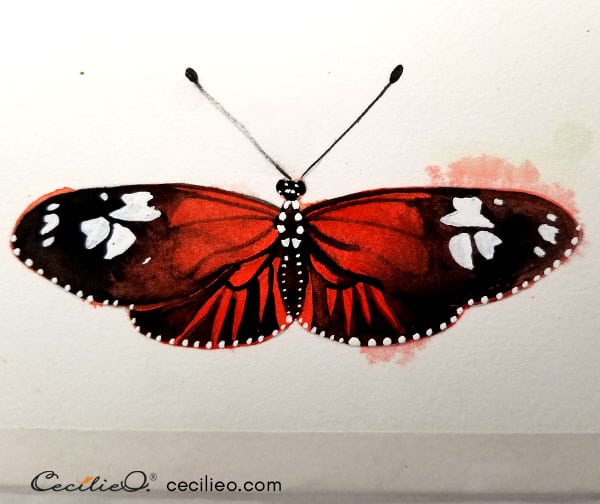
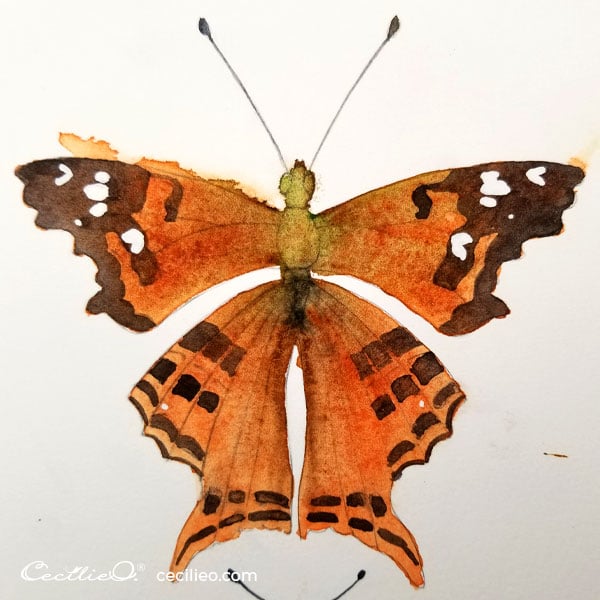
Paint the white pattern with white gouache. Gouache is opaque, as opposed to transparent watercolors. Gouache is a form of watercolor paint with highly concentrated pigments.
By now, the pattern on the wings is no longer perfectly symmetrical. Like a real butterfly.
Step 4
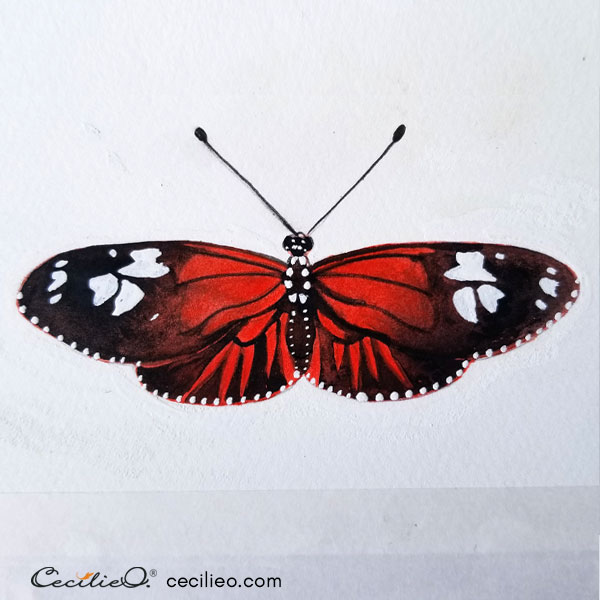
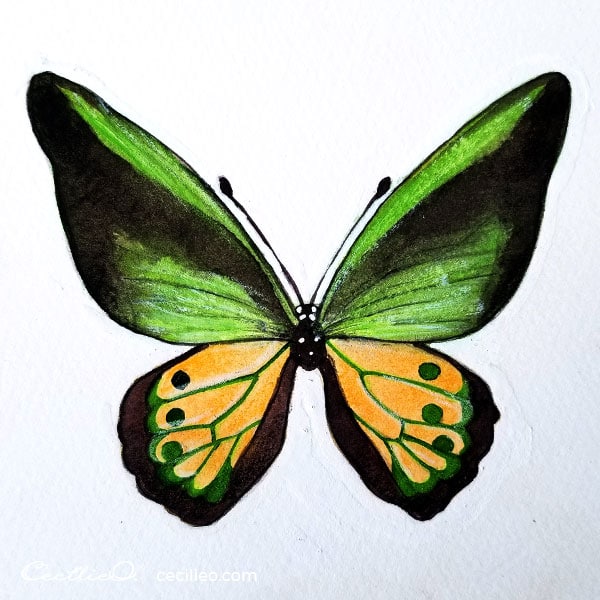
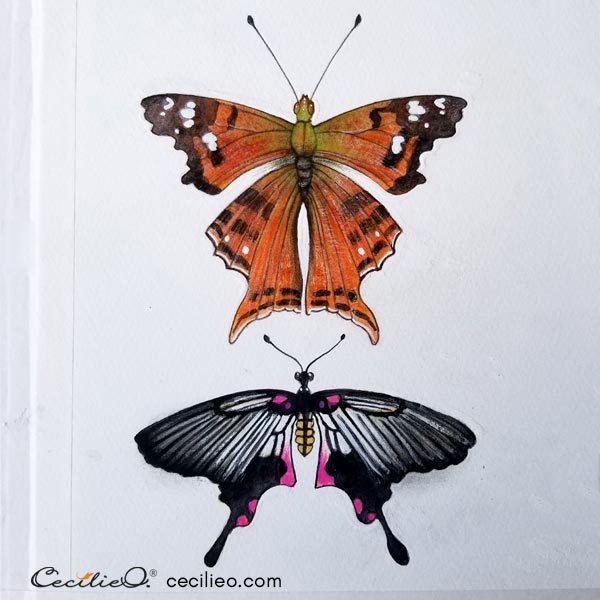
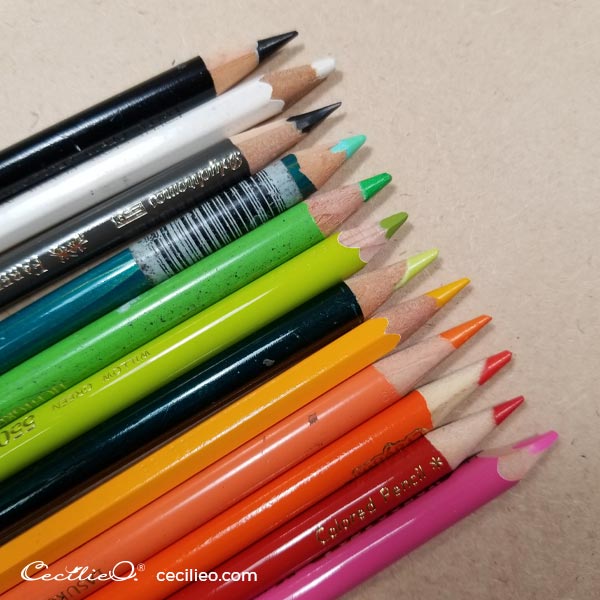
You can stop at step 3, but if you want to go further, now is the time to add colored pencils.
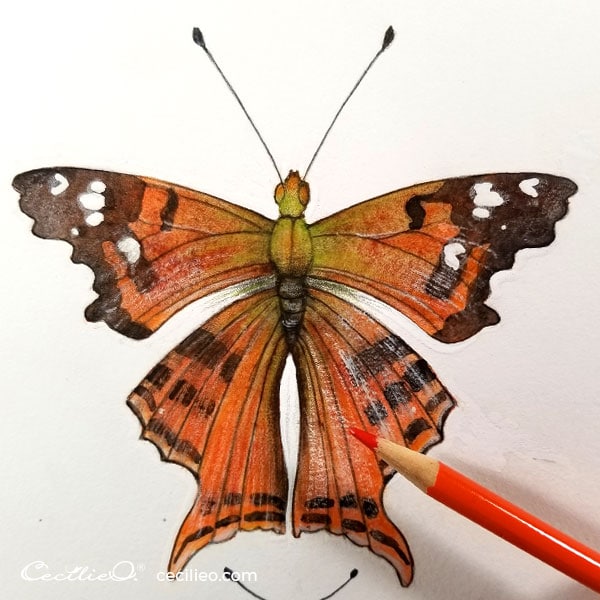
After retouching with colored pencils, I drew on the wings with a tiny bit of white gouache with a dry brush. This to create highlights on the wings. Draw from the center outwards.
Retouch with colored pencils here and there. I used light grass green on the central body. Browns and dark orange on the wings.
To complete the artwork, I cleaned up the outlines by painting over the spilled watercolor with white gouache.
And this, my friend, is how you draw and watercolor a butterfly.
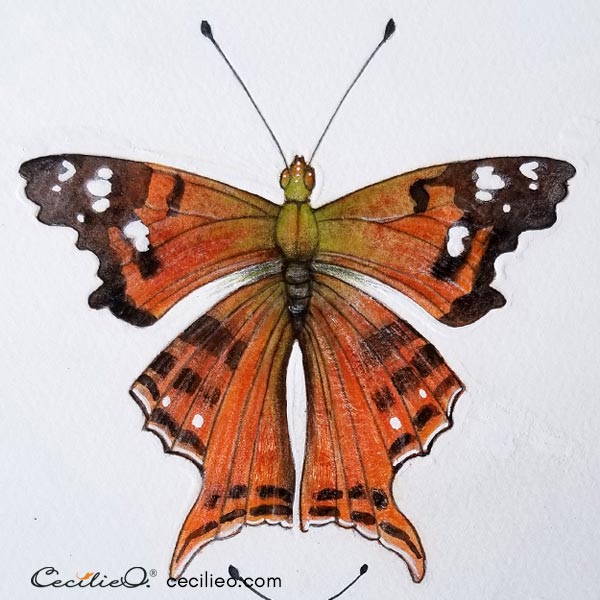
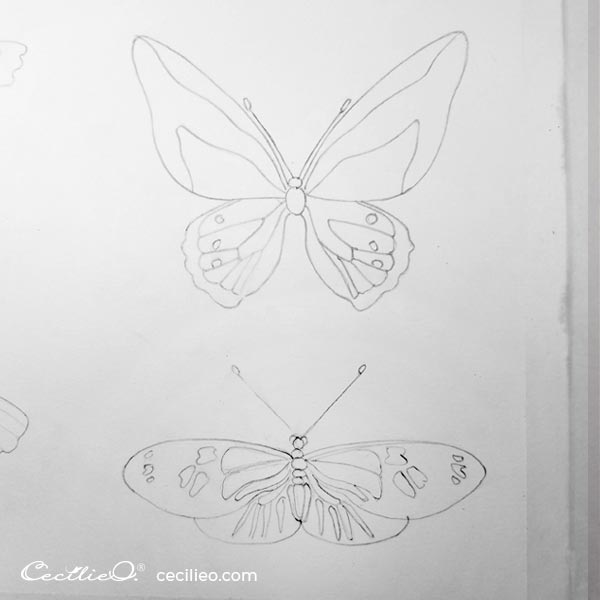
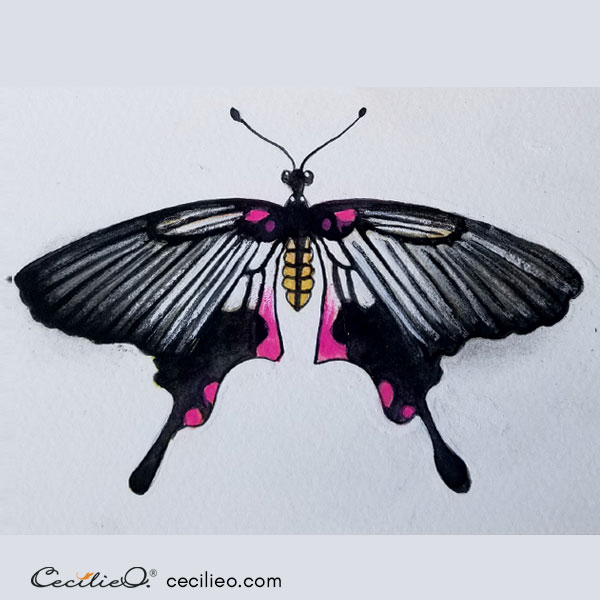
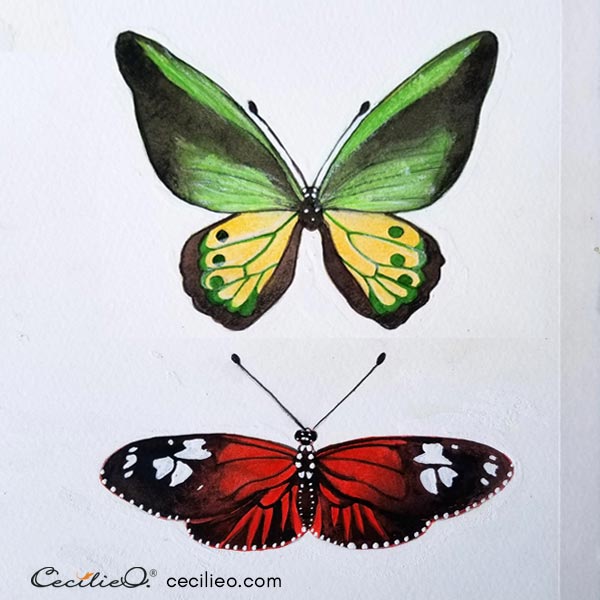
For the next three butterflies, I’m adding photos only. You’ll see the same process at work.
Enjoy drawing and painting butterflies with watercolor!
In pictures: Drawing and watercoloring 3 more butterflies
