Estimated reading time: 7 minutes
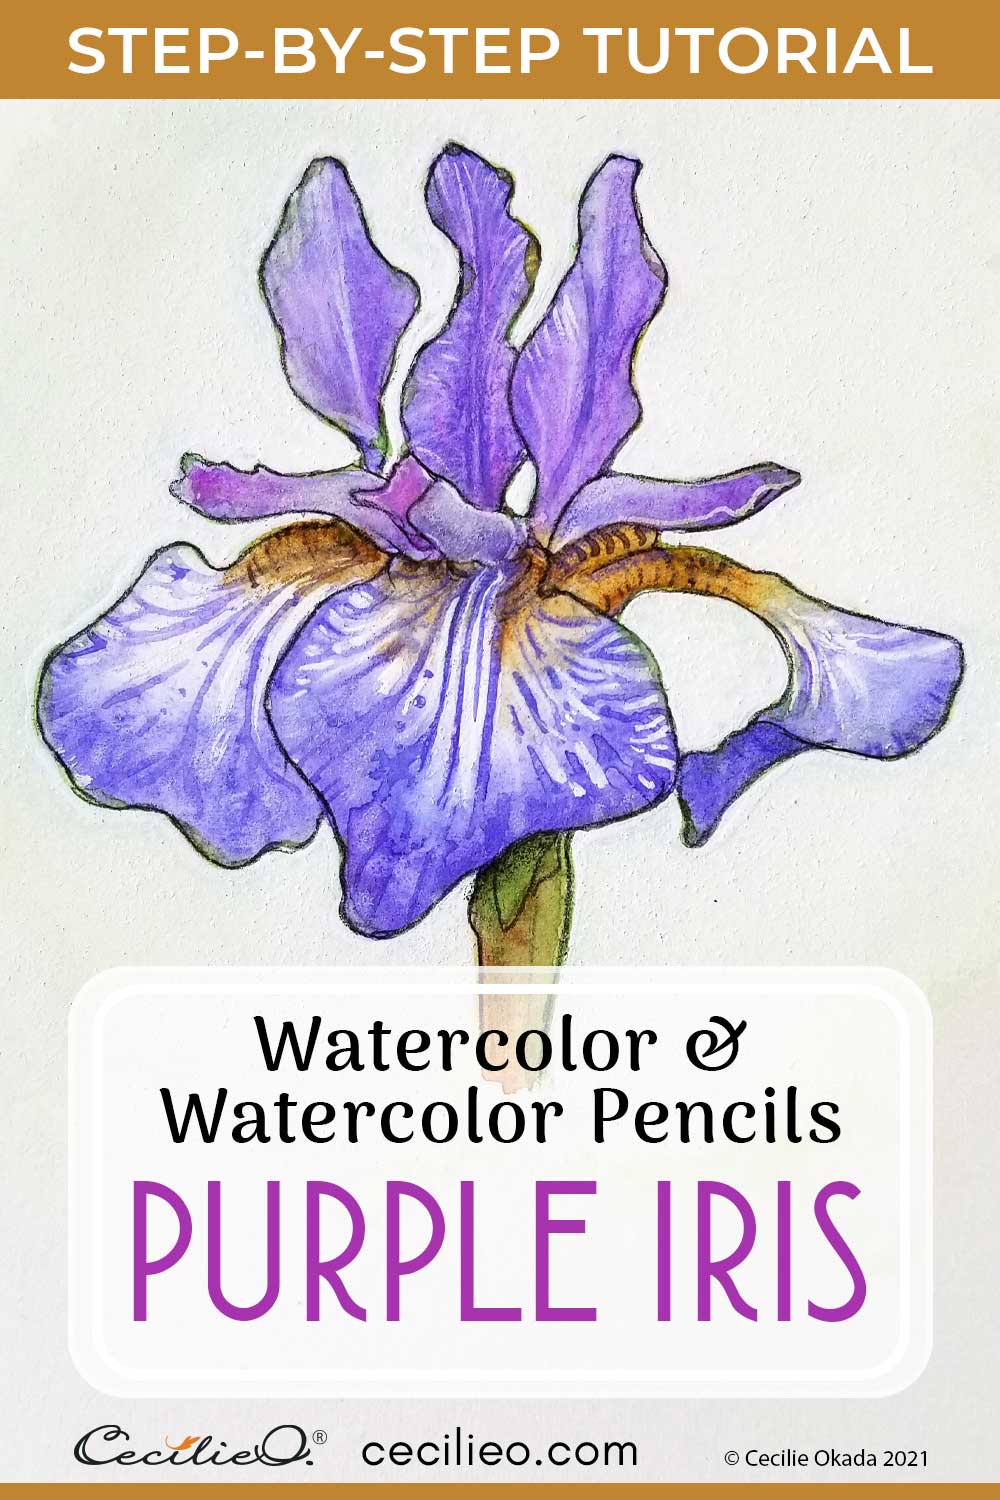
The iris flower with its frilled petals can be bewildering to draw and watercolor. Its beauty holds an irresistible attraction for many artists. Yet, it engenders struggle. The most common way to render the iris in watercolor is to leave out white spaces in-between purple. In this tutorial, I take another route. Relax and paint a watercolor iris with a somewhat different, step-by-step process.
You can download and trace my drawing of the iris flower for free in the One Tree Art Club library. (Members: check your newsletter for access).
In a previous tutorial, I demonstrated how to watercolor a Japanese iris. It is a beautiful, speckled, white wildflower that grows by the wayside. This tutorial is more involved. Make the finishing touches with watercolor pencils.
Iris flower symbolism
Curious about the meaning of the iris, I learned that Fleur de Lis is an adaptation. Stemming from the middle ages, it has been a French royal symbol ever since. I bet you have seen a Fleur de Lis pattern more than once in your life. It proliferates as decoration on all kinds of objects, like fabrics and house decor.
I remembered that I saw some stunning Fleur de Lis many years ago during a visit to Paris. The beautiful, medieval church Sainte-Chapelle is full of it. The image below is from two photos I took of the interior of the church.
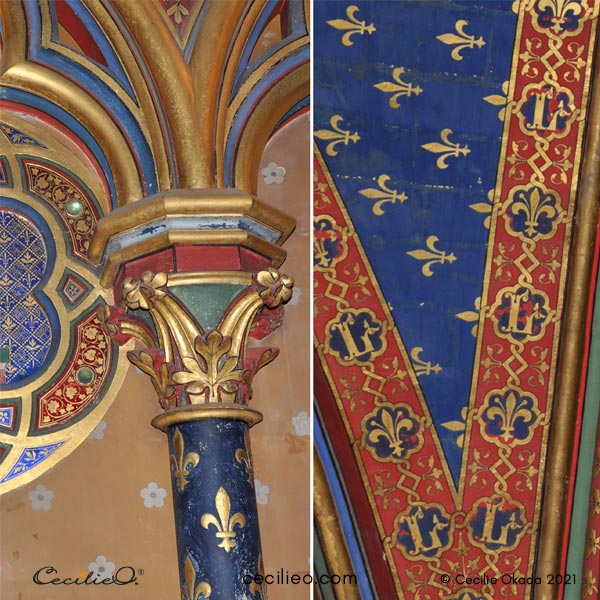
As far as symbolism goes, iris signifies royalty, wisdom, hope, trust, and valor. She is the goddess of the rainbow in Greek mythology.
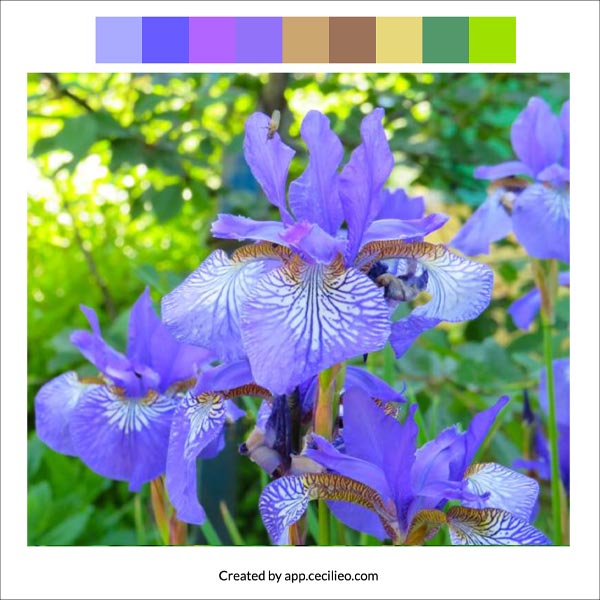
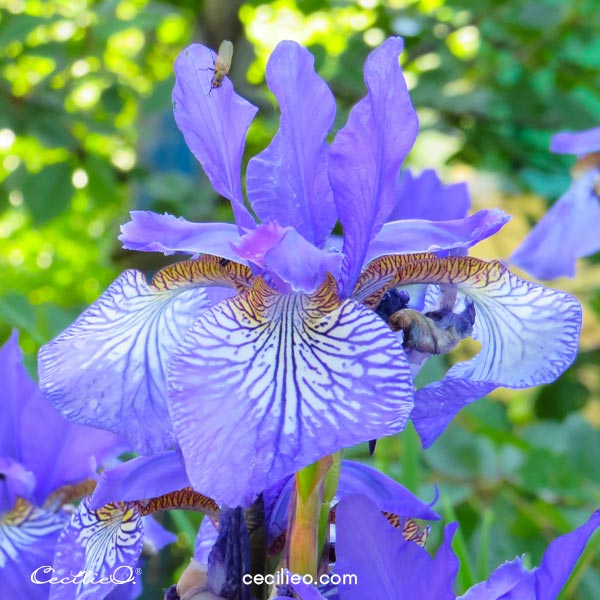
The reference photo with the purple iris flower
When I saw this photo, I just wanted to paint it. The colors are so fresh and vibrant. I discovered it with our free ideas tool for sketching and watercolor. I created the color swatches with another free tool; select color palette from images.
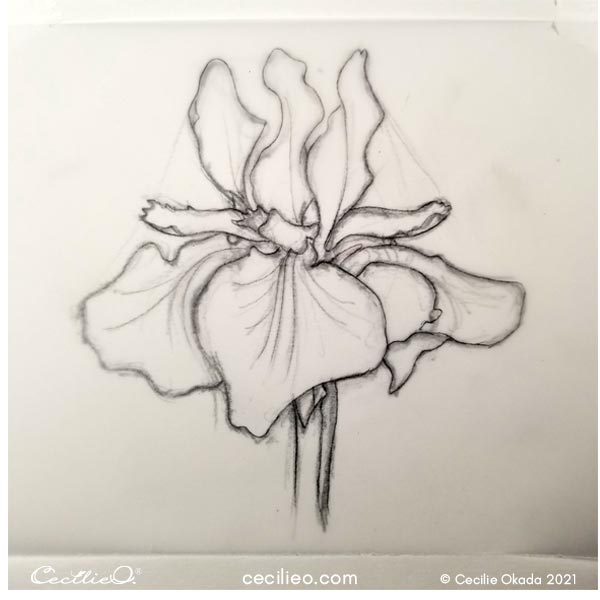
Drawing the iris flower
In the drawing below, I traced my sketch to make a clear outline. I then transferred the outline onto my watercolor paper. The sketch was my third attempt to get this complex flower right.
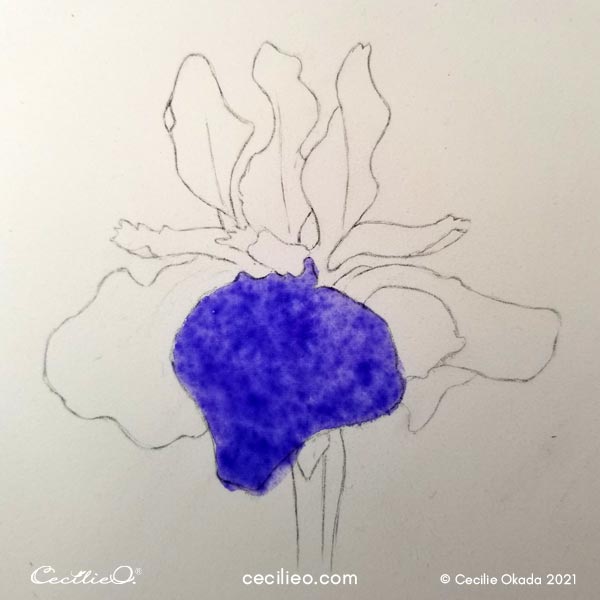
Paint the watercolor base first
Paint the main petal solid purple instead of struggling with lines and white spaces. Use ample water.
With a sponge, soak up pigments in the light areas of the petal.
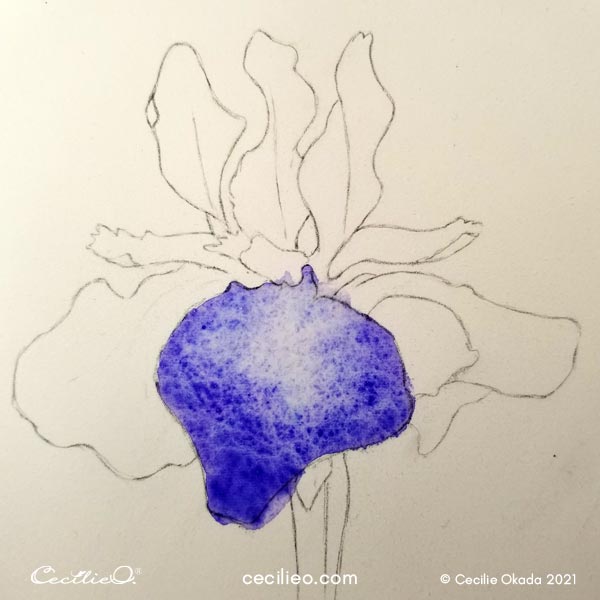
When almost dry, draw arbitrary lines with your brush to mimic the lines in the photo. Don’t be precious about it.
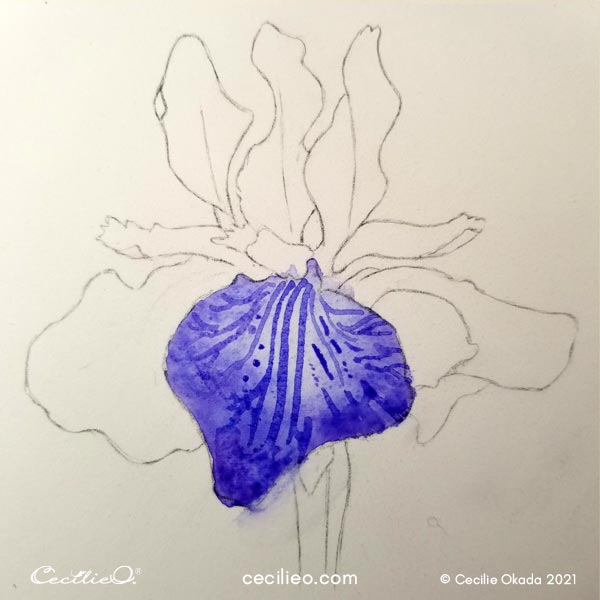
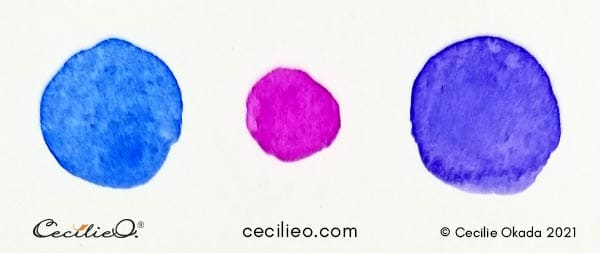
Still using plentiful water, paint the rest of the flower purple. Add pink to the upper petals. Soak up pigments with a sponge in the light areas.
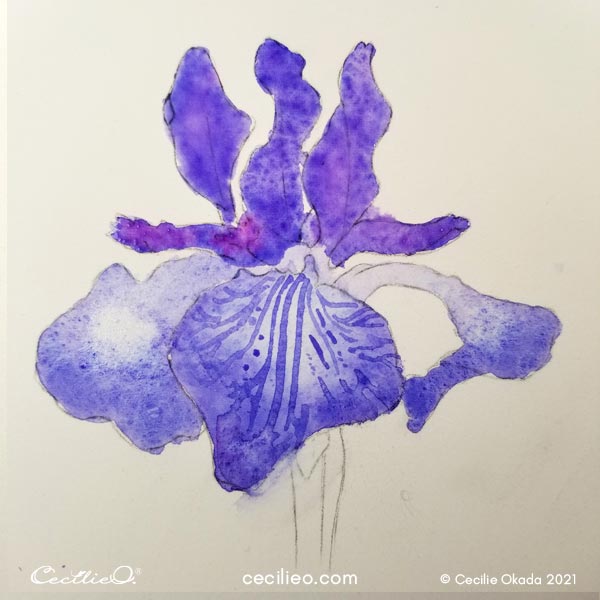
With ochre-yellow watercolor, paint those areas.
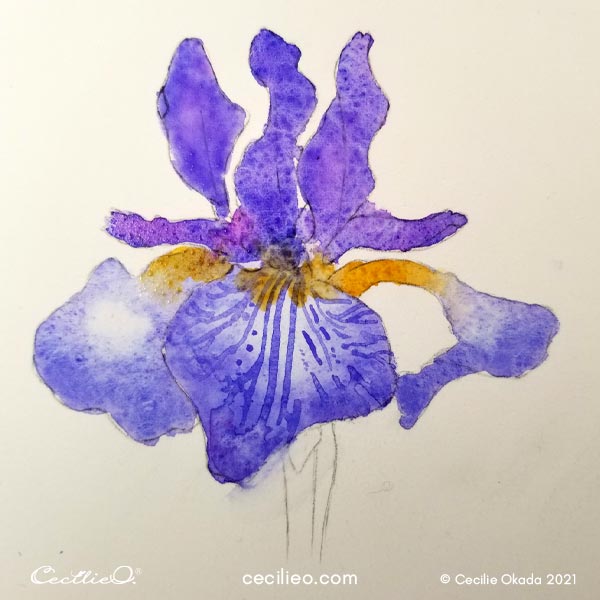

On top of dry paint, add dark brown stripes. Paint the lines on the remaining petals.
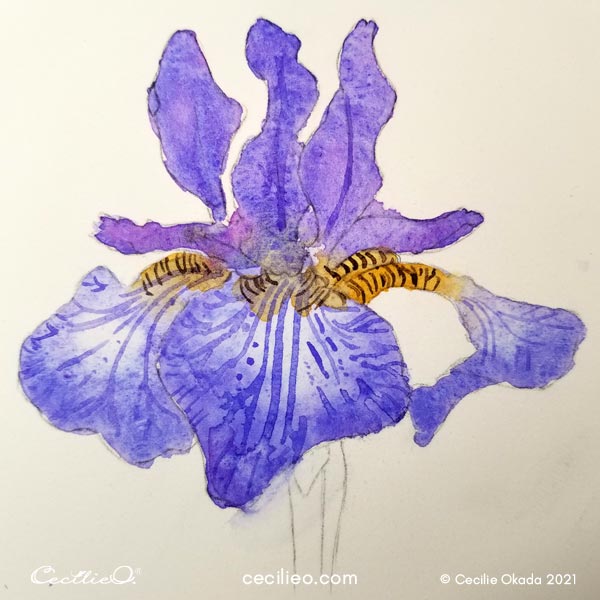
Use white gouache to brighten the petals of the watercolor iris
First, re-draw the outline with a sepia-colored pencil.
It’s time to go about the details of the iris flower. Now you need to apply your artistic judgment. With white, opaque gouache, paint the white spaces. Use a little bit of water to smooth out the white paint. This way, you will get smooth transitions between the white and purple.
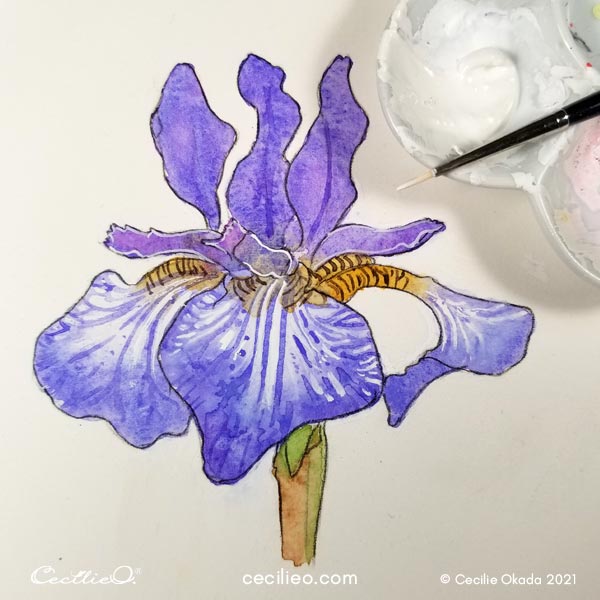
Add details with watercolor pencils
Use sparse, white gouache on the upper petals too. Select watercolor pencils in pink and purple hues, and draw more details.
Activate the watercolor pencil drawing with a little bit of water. Move your brush to mimic the lines on the petals. Use a sponge where necessary to brighten up areas.
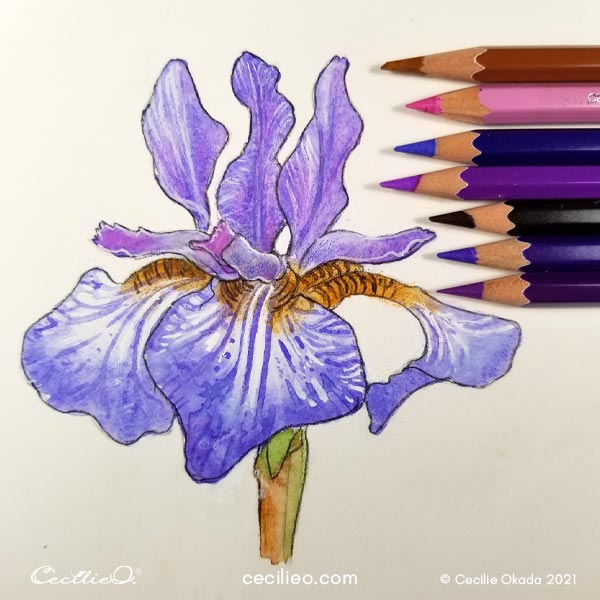
What about the green background?
I fell in love with the bright greens contrasting the purple in the photo. So I thought, let me paint a fresh, green background. It didn’t turn out too well. I thought it looked gaudy, not my thing.
So I added some colored pencil, but still no good.
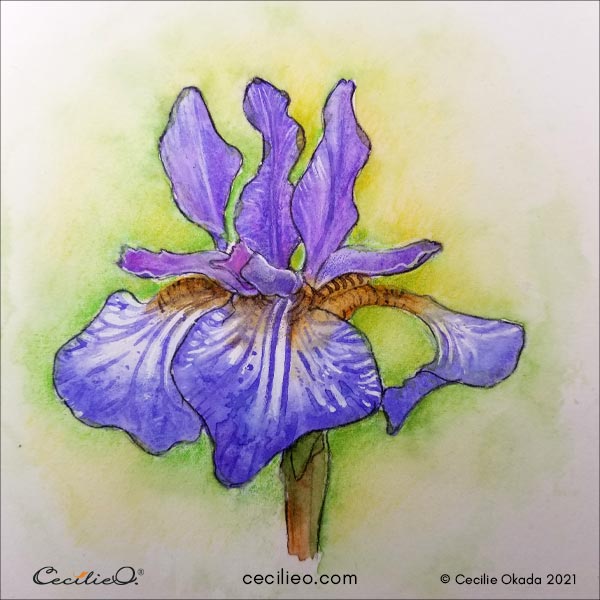
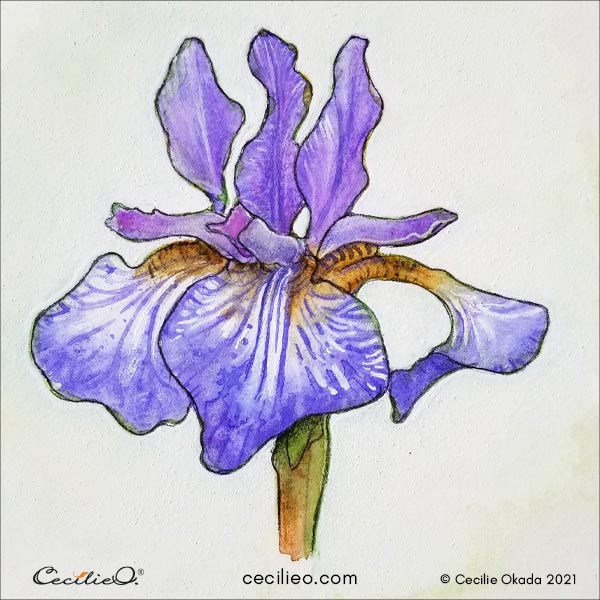
In the end, I covered the green colors with white gouache. Thus I ended up with a background I liked, but almost white again. Not much like the reference photo. Would you add a background to this watercolor iris flower?
When you sign up for the One Tree Art Club library and newsletter, you can join our Facebook group too. Get feedback and support from fellow artists. Hope to meet you there!
If you wonder about the kind of art materials you need for the tutorial, my Guide to Art Supplies should be of help.
Here are some more watercolor tutorials:


