
Estimated reading time: 6 minutes
A snapshot of a tiny plant inspired this yellow watercolor flower. The heart has a radiant mandala-like structure. Learn how to watercolor the petal layers and the beautiful glow at the center. Drawing the flower outline is an exercise in focused mindfulness.
I have no idea what flower it is. It was growing by the wayside, and hard as I tried, I found no match online.
Drawing the flower with focused mindfulness


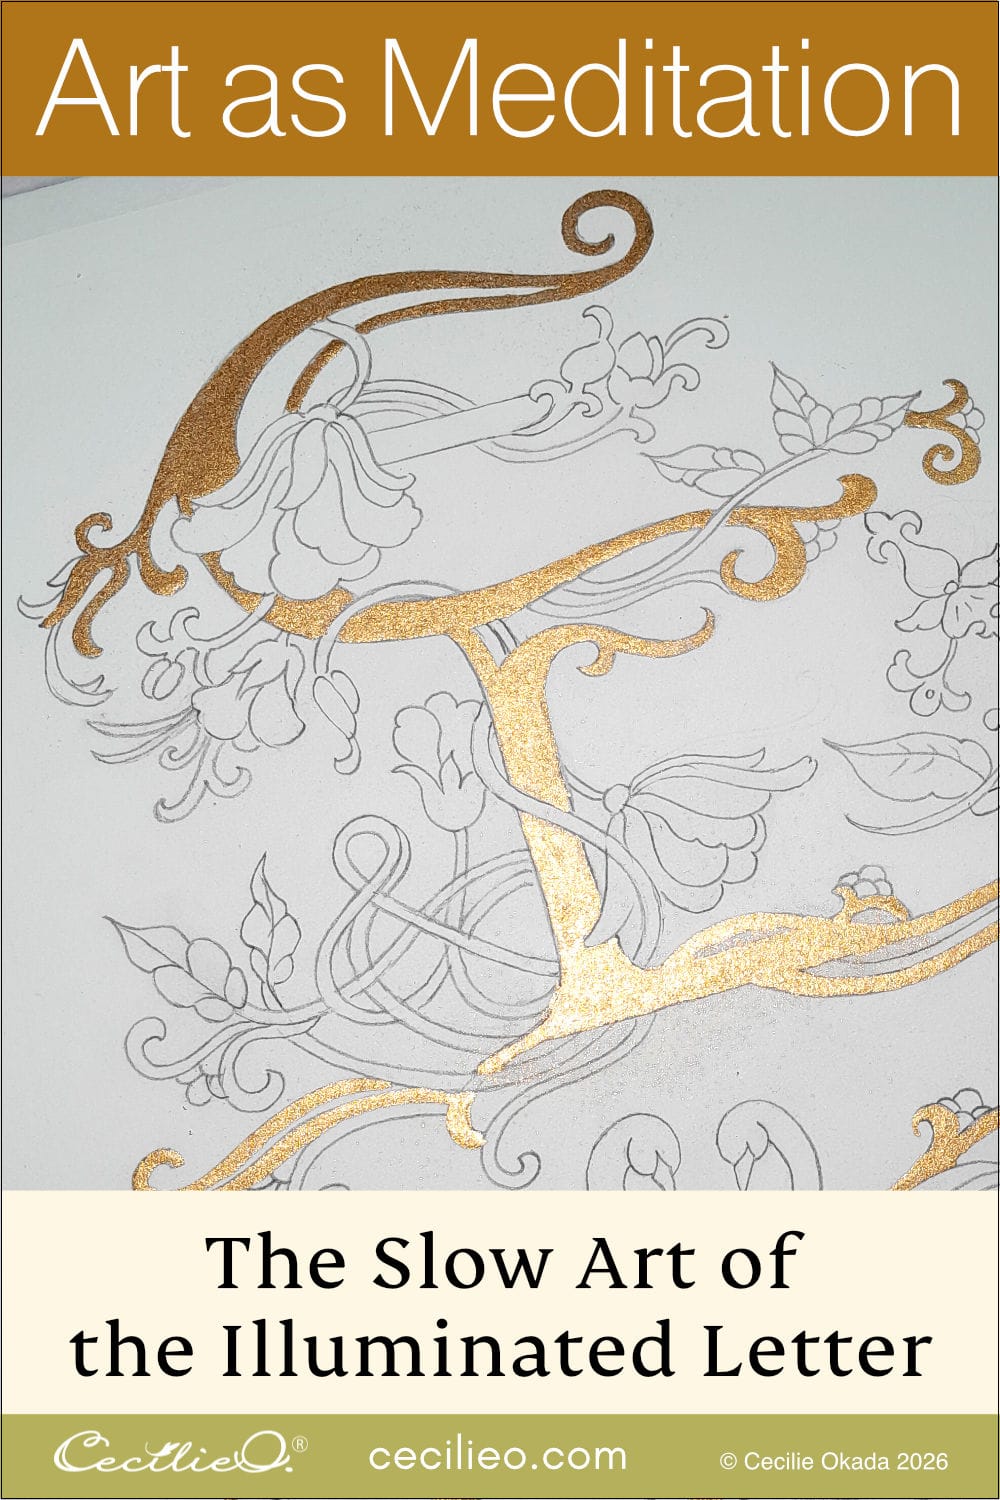
Drawing all these petals by freehand can be fun but requires focus. The other day, I saw a beautiful Buddhist scroll with immaculate Japanese calligraphy. I thought, how can you write like that without a single mistake? In Japan, copying Buddhist sutras (verses) with calligraphy is a form of meditation. The absolute focus brings on a peaceful state of mind. I experienced something similar in drawing this flower, even making many mistakes.
You have three drawing options:
- In this case, I think it is ok to trace the photo.
- To draw it freehand, keep turning the photo around as you draw. That’s how you keep track of the petals without getting dizzy. Draw a circle first to have a boundary. Add the zig-zag at the end of each petal when the whole flower is complete. Each petal has 5 “teeth”.
- You can access and trace my drawing by becoming a member of One Tree Art Club | Creative on the Buy Me a Coffee platform.
When you subscribe to One Tree Art Club, you can enter a library with lots of free outlines. Each outline is for a watercolor tutorial on this blog.


Painting the yellow flower watercolor
For a starter, pick up color swatches from the reference photo. You may be surprised because adjacent colors can deceive the eye. In any case, you will get a clear idea of the colors involved. You can use our free image-to-palette tool.

Paint the whole flower lemon yellow with a thick brush, like size 6.. Use plenty of water to spread the color evenly, and avoid the outer edges with the zig-zags.

With a fine brush, paint the zig-zags with attention to detail. Leave to dry.

Paint the shadows under each layer of petals. Use shades of ochre. You can see that even though there is no moss green in the photo, I used it a little bit. Gently smooth the transition from dark to light using a brush with little water and no color.

The central petals need some bright egg yolk yellow.

Painting details on the petals and flower center
Paint light stripes on each petal with an ochre-moss-green color. Use a fine brush and little water. Paint the dark edge around the center with a terracotta brown.

When all is dry, paint one more layer of lemon yellow. With a sponge, soak up pigments at the edge of the petals to make them brighter.

Use the egg yolk yellow watercolor for the filament of the stamen.
For the dots of bright yellow on the anthers of the stamen, use a whitish gouache. You get the color by mixing white gouache with a little watercolor yellow.

Final details
I realized the yellow dots needed to be brighter, so I repainted them. To enhance the watercolor overall, I used a few colored pencils. Just a touch.

And that’s it. The yellow flower watercolor is complete. Enjoy painting a mandala-like yellow watercolor flower. Happy painting!


For a list of art materials needed for this tutorial, go to Guide to Art Supplies.