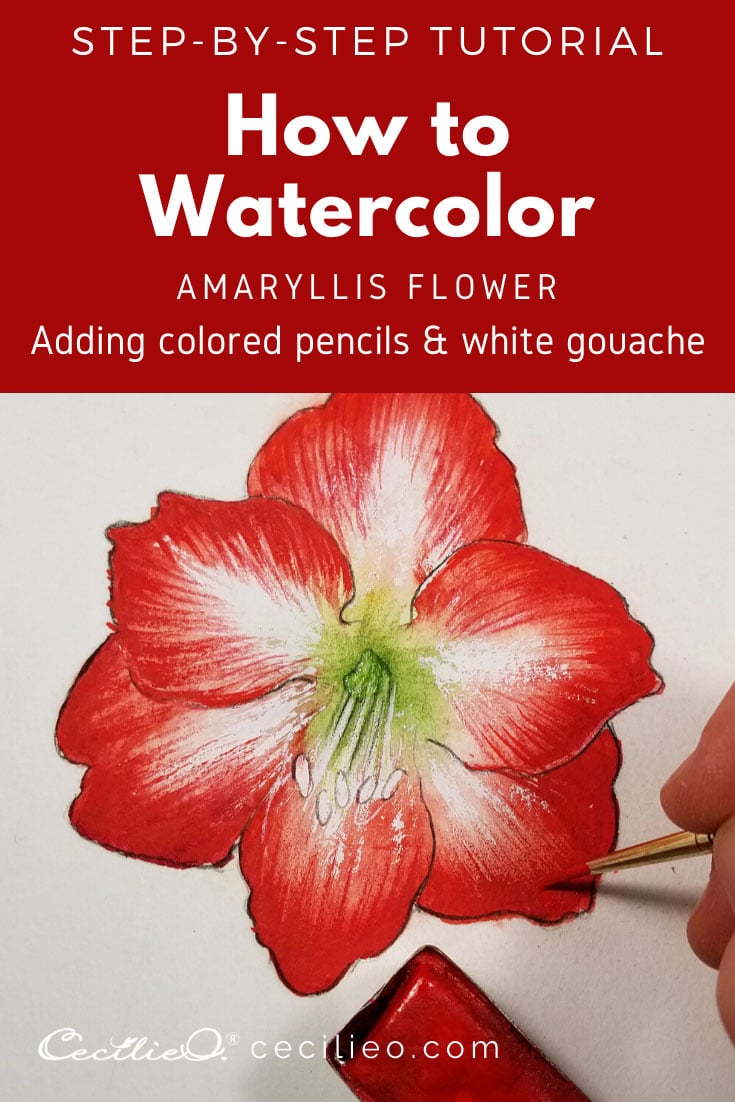
The sparkly red Amaryllis flower is a reminder that Christmas is not far off. However, the striped petals present a particular challenge for the artist. If you want to learn how to watercolor this flower, keep reading. I will show you how, but as usual, I add colored pencils and white gouache to achieve a realistic look.
Amaryllis belongs to a Greek legend, symbolizing pride, determination, and beauty. It takes determination to learn something new, pride is earned when the task is accomplished and the result is beautiful…
You can download the outline drawing for this tutorial for free in One Tree Art Club. If you are already a member, check my latest newsletter for download info.
Let’s dive in. The reference photo is from Pixabay.

Step 1
Wet the flower within the boundaries of the outline. Dab some green mixed with ochre in the center of the flower and let it spread out. Soak up excess spreading with a watercolor sponge. Let it dry. You can use a hairdryer to speed things up.

Step 2
Paint part of the top of the petal with crimson red. Dry your brush and carefully drag paint down towards the center, creating stripes. Don’t fuss, just do this in a free manner. The direction you move the brush is what matters.

Step 3
Repeat step 2 on all the petals. Add some more wet, red color including darker red. Sponge each petal to dilute color edges and stripes a bit. Then, moving from the center outwards, use a paper towel or sponge to remove red so that you have a white star going out from the center. Fortify the center with some darker green.

Step 4
Now you will make the white star really white. Add white gouache to your palette. If you have an old brush where the hairs are slightly parted, use it for this step. You can also part the hairs of a good brush with your fingers. Keeping the brush dry, pick up white paint and paint away from the center of the flower, creating loose dry stripes.


Step 5
Redraw the outline with a sepia-colored pencil. With a dark red pencil, draw stripes freely. Here you draw in in the opposite direction, namely from the edge of the petals towards the white part. Look at the reference photo to mimic the curving of the stripes. This is what will give the petals volume.

Step 6
With an ample amount of crimson red pigment on your brush, paint the outer part of the petals again. Move your brush from the rim of each petal toward the white. You are fortifying stripes and the 3D effect of the petals.

Step 7
Last but not least, touch up the green and slightly yellow center of the flower. Touch up the outline again with the sepia-colored pencil. Paint around the outline of the flower with white gouache to mop up stray red paint and pencil marks.

The amaryllis flower is done!


