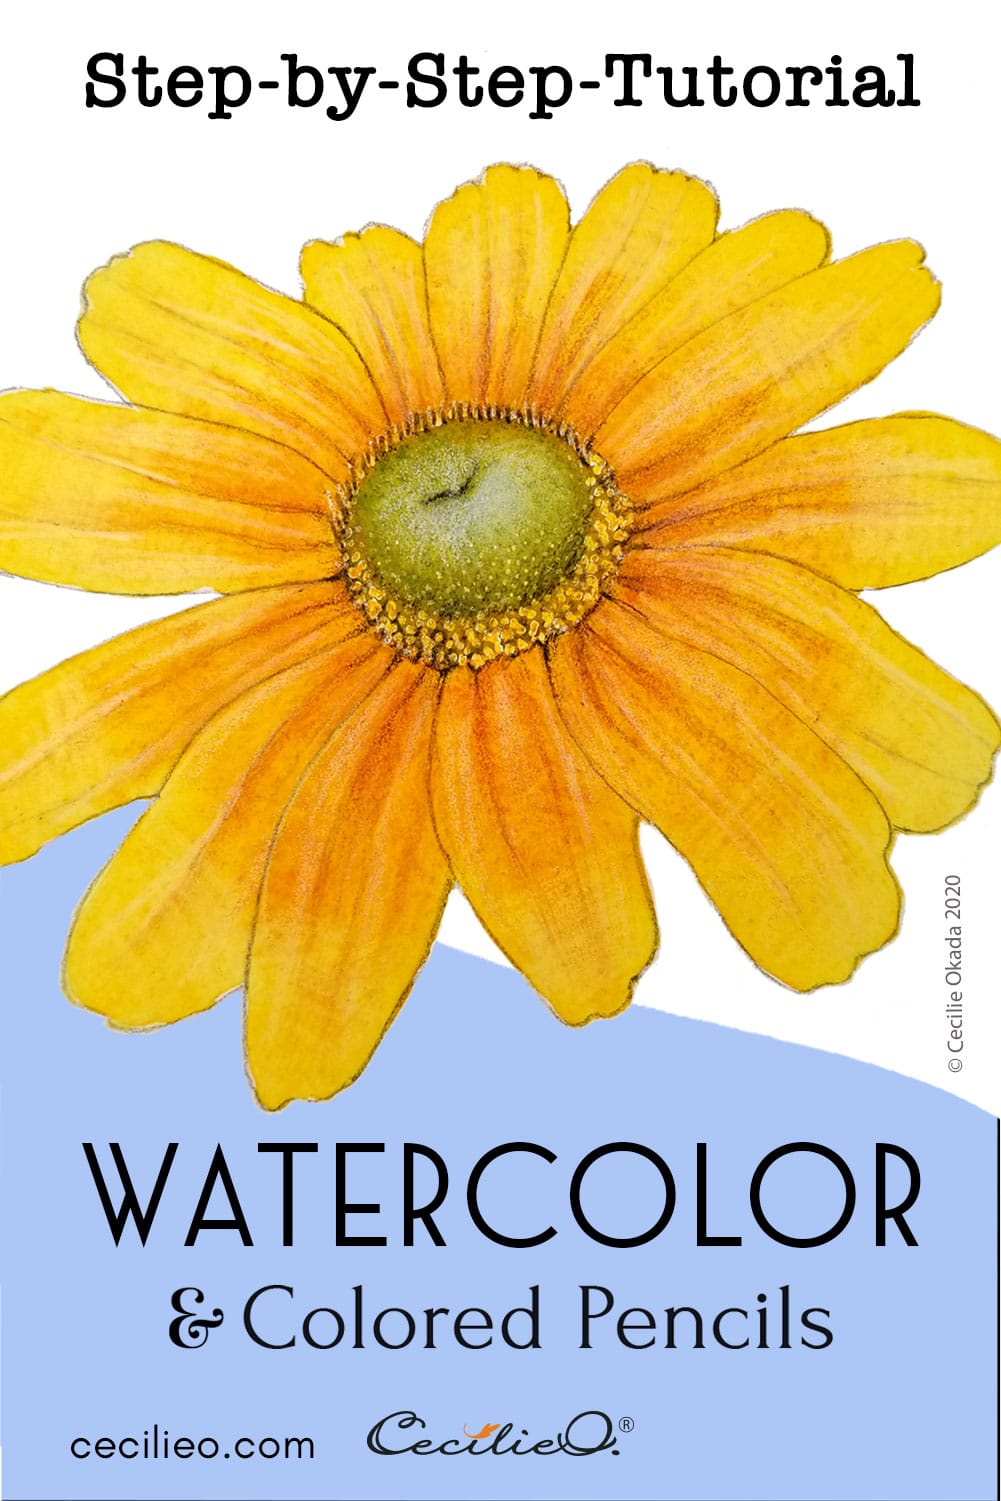
Prairie sunflower is the wild cousin of the common sunflower. The cheerful yellow flower is an attractive subject for the artist, and it’s easy to watercolor. In this tutorial, you will learn how to create a sunflower that looks so realistic that you can put it in a vase. How?
By drawing with colored pencils on top of dry watercolor.
Native to North America, the wild sunflower is growing there in abundance. My encounter was in Kyoto Botanical Gardens here in Japan. I was mesmerized by the blanket of brilliant yellow. Yellow is my favorite color; it makes me feel good.

The prairie sunflower holds a special place in Native American tradition. When blooming with many flowers it was a sign of abundant rain and a rich harvest. It’s also a sacred food. The root was used for worms, colds, sores, snakebites, swelling, and earaches. To the ancient Incas of Peru, the sunflower was a revered sun symbol used in adornments made of pure gold.

When I drew the flower, I was frustrated by not getting the petals quite right. I surrendered and traced the photo. It is a first for the many tutorials on this blog. Tracing a photo generally leads to a stiff, lifeless drawing. It’s a no-no for any artist. But for this tutorial of a simple flower head, it worked.

You can download the drawing for free in One Tree Art Club. Learn how to trace a line drawing onto watercolor paper.
Let’s watercolor this beautiful, golden flower.
Step 1: Watercolor shades of yellow, and green for the flower center
Mixing the watercolors in advance.

Paint the petals with plain water first. This will allow colors to mix in a free-flowing way.

Paint a base of sun yellow.

Paint an inner circle of orangy-yellow.

With a fine brush, draw the orangy-yellow from the center and outward.

When the yellow petals are dry, paint the flower center green. Add a tiny bit of ochre at the outer rim.

Wait until the watercolors are dry. With white gouache, paint the structures at the rim of the green center. At the top, paint lines, for the rest, paint white dots.

Again, wait until everything is completely dry. You can use a hairdryer at this stage to make sure it’s dry.
NOTE: Generally, you must let the watercolor dry naturally to form nice shading. Drying with a hairdryer will mess up the distribution of watercolors and form “rivers”. The yellow and green watercolor in this painting should dry naturally.
Step 2: Drawing with colored pencils
The colored pencils used in the tutorial.

Colored pencils color swatches for this tutorial

Draw over the white dots and lines with yellow and ochre.
Create a 3D effect for the green center by drawing with greens and a white oil pastel pencil. Use sepia (dark brown) to shade dark areas, but lightly.
Draw in-between the dots with sepia to create depth. Do the same for the areas where the petals join the center.

Draw the basic shades on the petals with terracotta, maroon and sepia pencils. Draw lightly. Use tissue paper to smooth out the pencil marks.

With an assortment of colors, complete highlights and shades on the petals.

With a light, pale yellow pencil, draw on one-third of the leaves. You see how the lighter yellow is distinct in the reference photo.

You can download the outline drawing for this tutorial in the extensive One Tree Art Club library.

Add more sepia to the petal joints to create more depth.

Redraw the outer outline ever so lightly with a sharp sepia colored pencil. Clean up the outline with white gouache.

And voilà- the sunny sunflower is all done. Best wishes for your creativity!


