Wild roses are easier to watercolor than garden roses. They don’t have all the layers of swirling petals. But as with any flower watercolor, we need to get the perspective and shadows right. If you’re doing a loose watercolor, you can do simple, intuitive splashes. But if you want a more botanical look, you need to pay attention to form and depth. In this watercolor tutorial, you will learn how.
Roses are a tribute to love in every culture under the sun. The yellow rose is the outlier. Instead, these bright, cheerful flowers are symbols of friendship, joy, and caring.
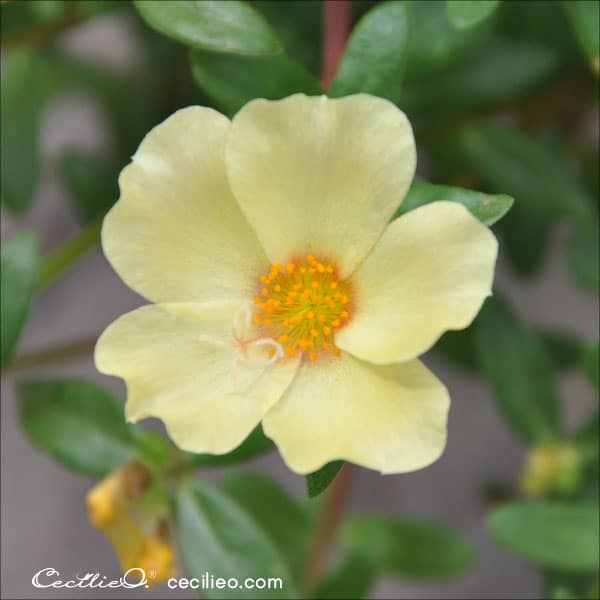
I fell in love with the contrast between the pale yellow petals and the sun-yellow center of this wild rose. I can’t remember when I took the photo, but it was somewhere in my neighborhood. Every spring the local community grows a splendid rose garden for all to enjoy. They cultivate many kinds of rose varieties.
Lets’ see how we can paint this beautiful wild, yellow rose and get on with the watercolor tutorial.
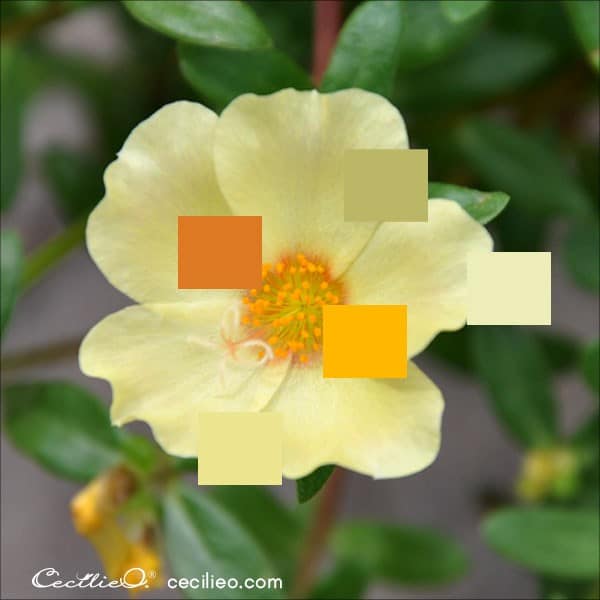
It can be tricky to see what colors are really present in a photo. This flower looks all yellow, but in reality, the shadows on the petals are olive green.
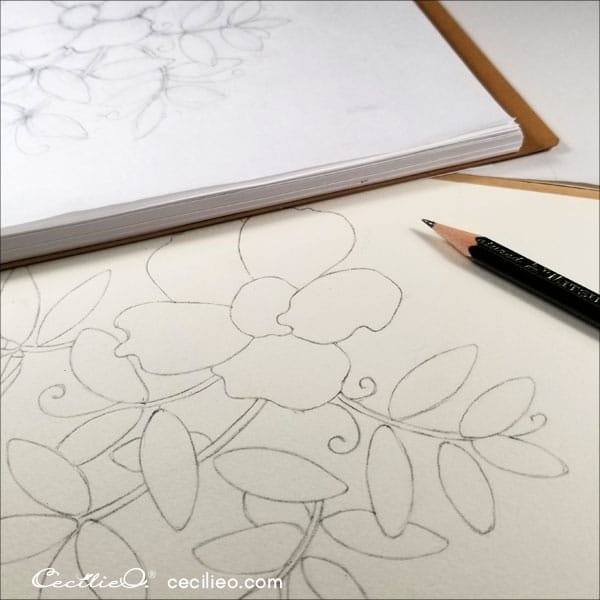
Step 1: Sketching the wild rose
Sketching the rose took a couple of rounds before I understood the dimensions of the petals. Perspective so easily deludes our eyes. To test my first sketch, I did a little trick. I placed a small piece of tracing paper on my laptop screen and drew the outline (lightly!). When I compared that to my drawing, I saw how much it was off.
The second time around, I got the sketch right. Almost. The next day, I saw more lines in need of correction. It will never be perfect. Because there is no such thing. To me, striving for photorealism is boring. I want to express myself and be in a creative flow that springs from the soul. That’s what I call mindfulness through art. How about you?
If you want to use my drawing, you can download the printable, clean outline for free in One Tree Art Club. Trace and transfer the line art onto watercolor paper.
Step 2: Watercolor the yellow petals and the leaves
The pale yellow petals lean more towards lemon-yellow than sun-yellow. In the image below, you can see how I mixed the watercolors used in the painting and the colored pencils that I used.
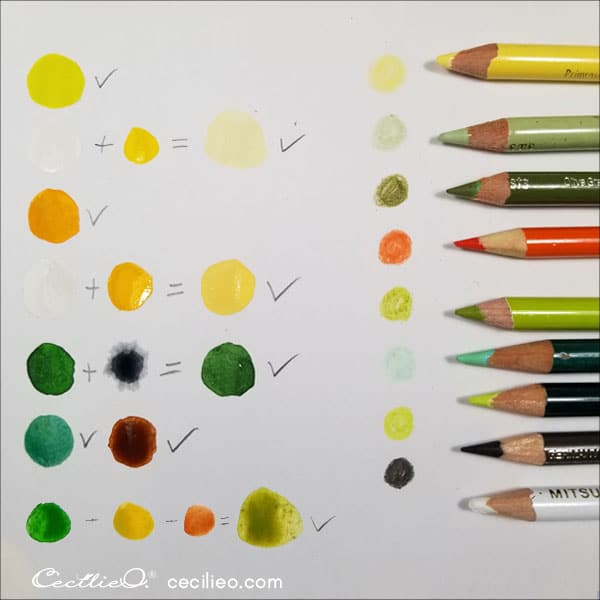
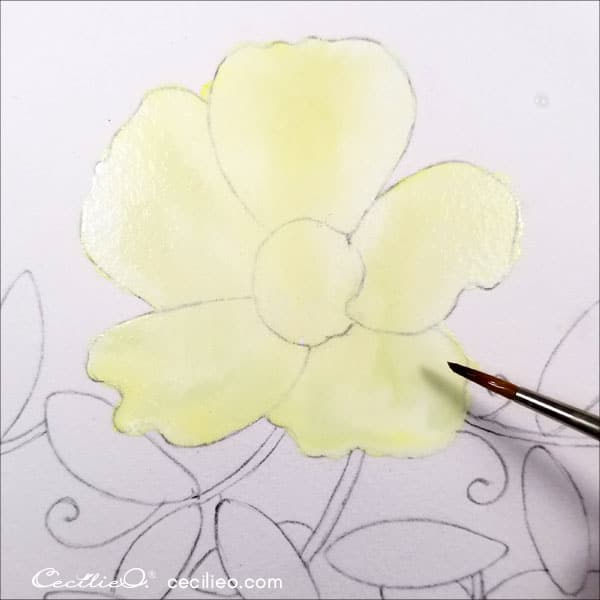
At first, paint the petals with plain water. Then watercolor a layer of lemon yellow. The water allows the pigments to distribute freely.

While the lemon yellow is still wet, paint on top with pastel yellow. You get the pastel yellow by mixing white with a tiny bit of yellow. For white, I use a tube of gouache. Gouache is a kind of watercolor with a higher concentration of pigments.
Paint freely, don’t try to be exact. Add some light olive green too, loosely, where you see shadows on the photo.
Next, paint the center with water first. Then, with bright sun-yellow. Allow it to bleed into the petals.
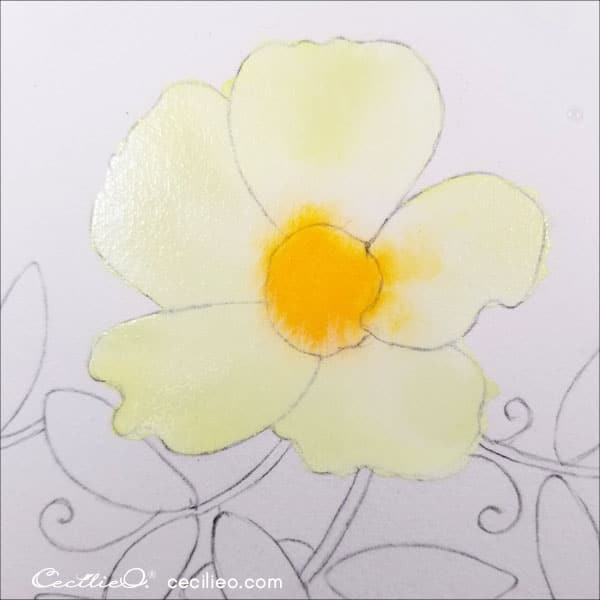
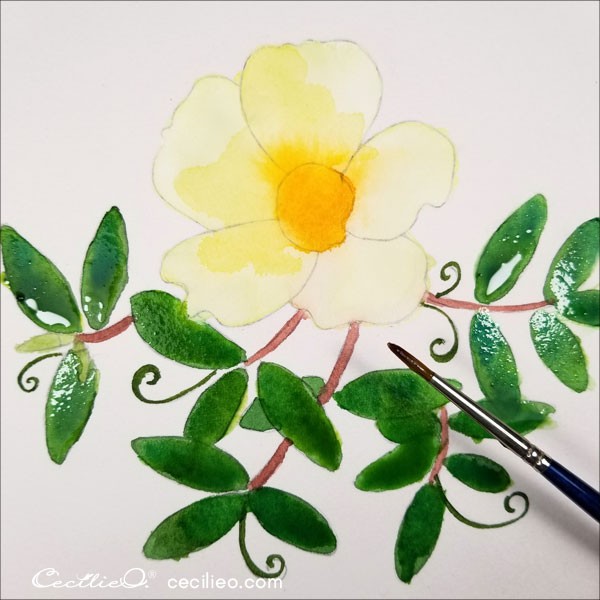
While the flower head is drying, paint the leaves green. Use the same process of painting with water first.
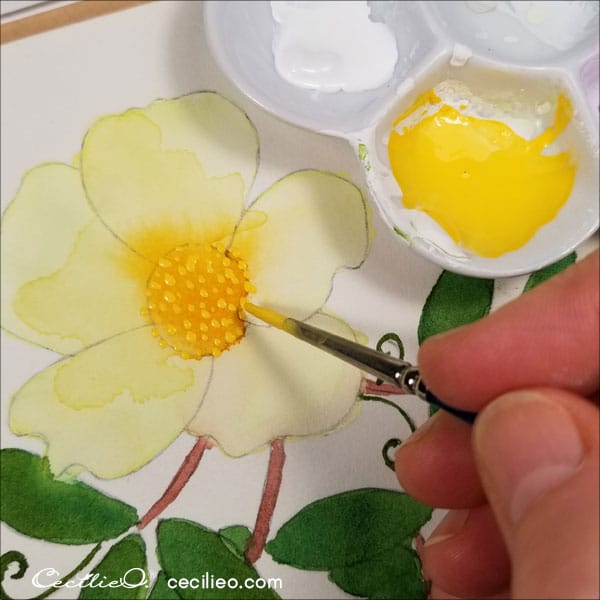
To paint the dots in the center, you need to make a new paint mix. Add sun-yellow to white gouache. The creamy consistency of the gouache paint is very useful. Here, we can paint solid dots on top of the watercolors.
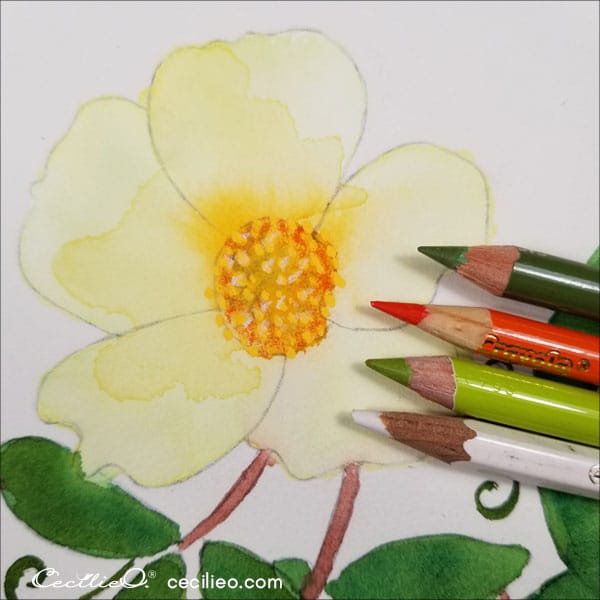
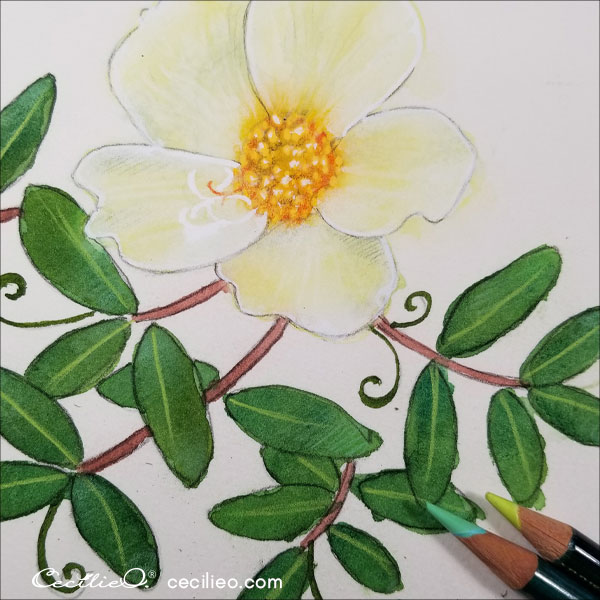
Step 2: Bring the rose to life with colored pencils
When everything is bone dry, it’s time to start enhancing with colored pencils. If the paint is still slightly damp, the color pencils won’t take. Use similar colors to mine from your own colored pencils collection.
You can download my colored pencils color chart in One Tree Art Club. The reference number for the colors I used in this tutorial are Yellow-2, Orange-4, Green 1-1, Green 1-2, Green 1-4, Green 1-9, Blue 4-2, Brown 3-5.
The center has orange color at the rim but also greens in-between.
Draw with a white pencil for highlights on the petals. Use the pale straw yellow to intensify the yellow color.
Then it’s time to play with the shadows. Draw with a subtle green for shadows. Draw lines to mimic the texture of the petals. You can use sepia brown for more shadows too. But gently.
With a really sharp sepia brown, draw the outline around the flower. Ever so lightly.

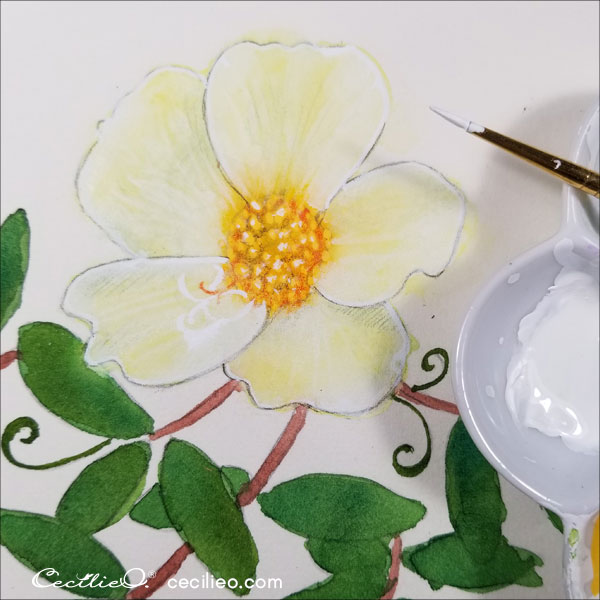
The white pencil can’t create sufficient contrast. So you need to add some white gouache to highlights. Don’t be too precious; let your brush roam freely with white paint. Paint the little curl sticking out from the flower center, too.
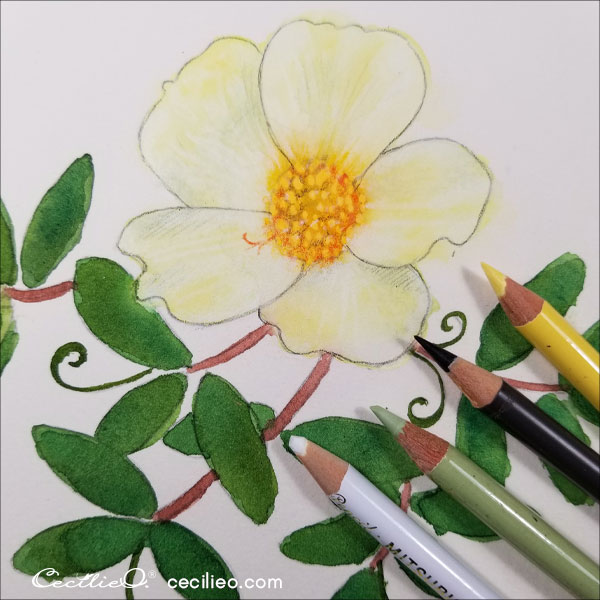
The leaves need some more life. Use lime green and turquoise-colored pencils to spice up the leaves. I decided on a straight line for veins. No need to go into details on the leaves.
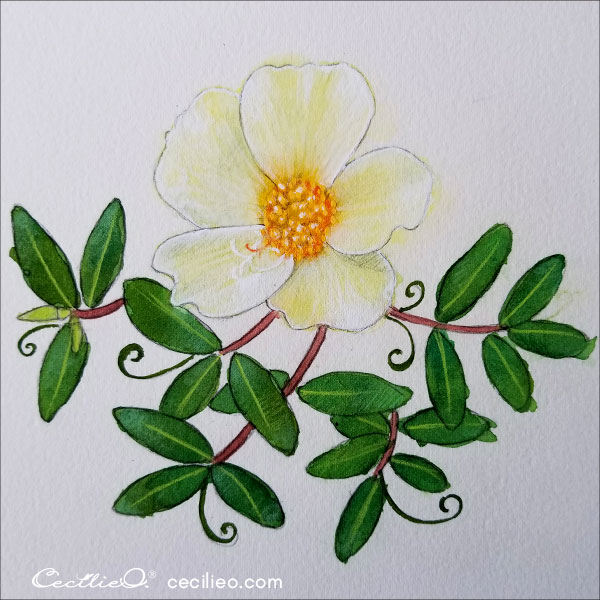
And that’s it. The yellow wild rose is all done. Imagine how lovely the scent must be.