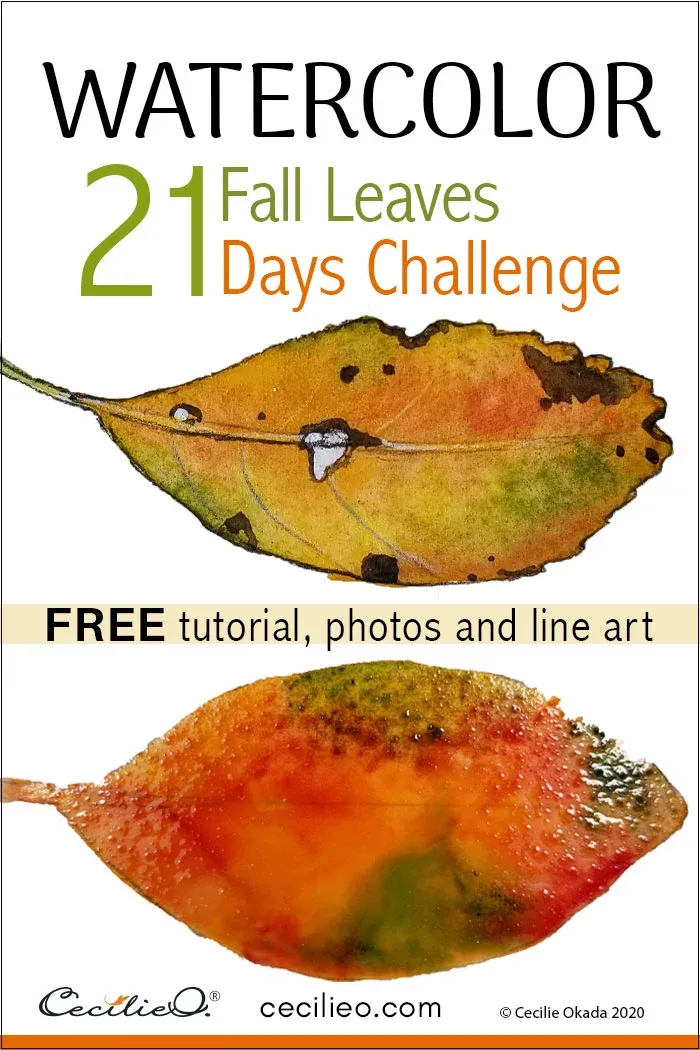
If you are looking for an easy watercolor project, there is nothing like colorful fall leaves. Jumpstart your creativity and practice blending colors all in one go.
In this 21 days watercolor challenge, I provide you with 21 superb, free reference photos. (Note: If you are already a member of One Tree Art Club, please check your newsletter for information on access to the library! This goes for all the links to free resources). You can also download free printable line art for all the leaves. These you can trace onto your watercolor paper. Each leaf is unique and different from each other.
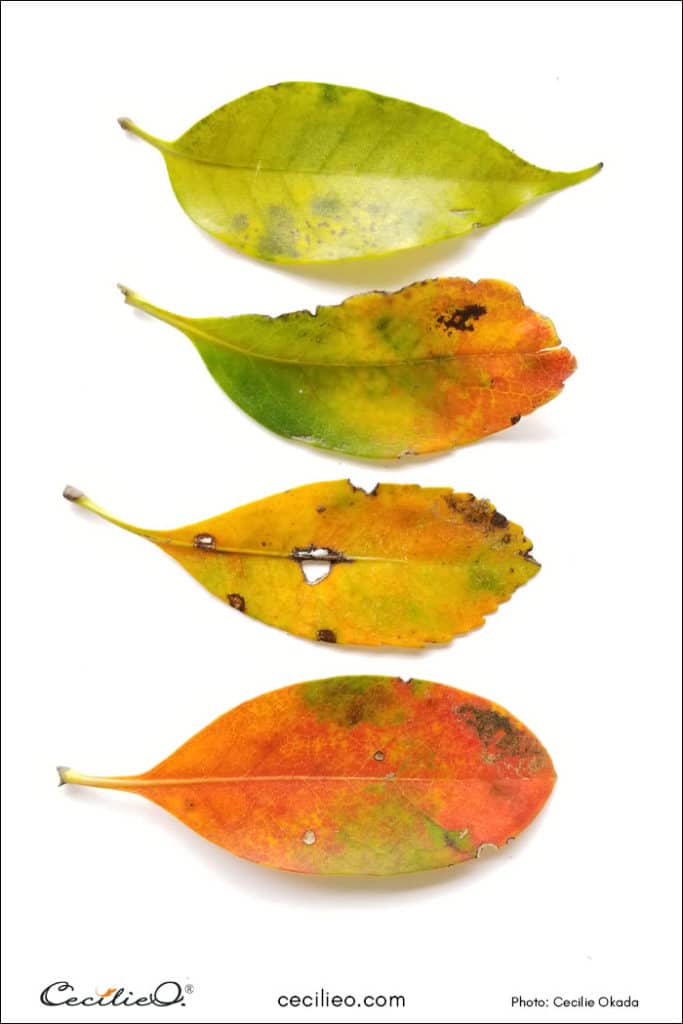
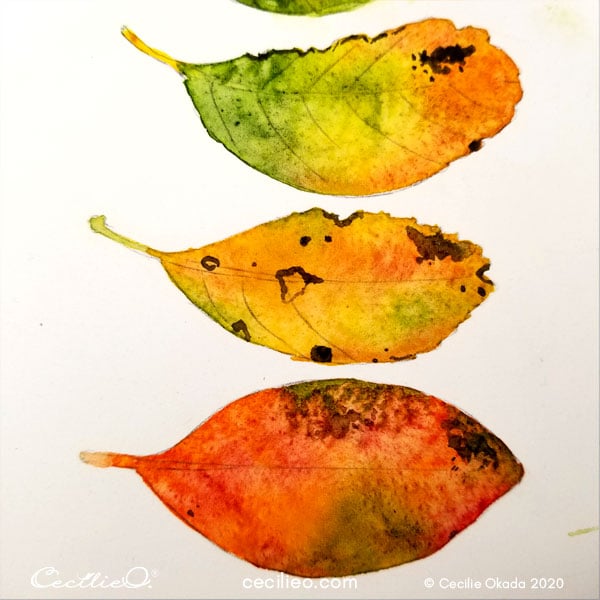
The reference photo I use for this tutorial has a series of four leaves in a progression of colors. The remaining 20 photographs are one leaf at a time.
How to enter the watercolor challenge
All you need to do to enter is to sign up for the One Tree Art Club library (if you are not a member yet). It’s free, and the library also has a lot of line art that goes with other watercolor tutorials.
You can watercolor as many leaves as you like in one day. The important thing is the practice of free play with watercolor. Exploring creative options, going beyond the script. The inspiration you get from each leaf is your prompt.
Getting feedback and support from fellow artists is invaluable. Whether you are new to watercolor or a seasoned painter, it’s equally beneficial to hear from others. I have created a new, closed FB group for One Tree Art Club.
Once you sign up for the One Tree Art Club library, you are eligible to join the new FB group. I’m looking forward to meeting you there!
About the 21 reference photos
I’m endlessly fascinated by beautiful leaves. Whenever I see a pretty leaf, I snap a photo. The 21 photos for this watercolor challenge is a curated selection. My collection of leaf photos has piled up over a few years. I hope you enjoy the leaves!
An easy watercolor leaf tutorial
In addition to the tutorial in this blog post, you are welcome to watch a video where I show you how to watercolor a maple leaf. The video is at the end of this article. The basic technique is explained in both the video and in this tutorial. You will be well prepared to enjoy painting watercolor leaves with both resources.
Step 1: Leaf one. Blending watercolors to create colorful leaves
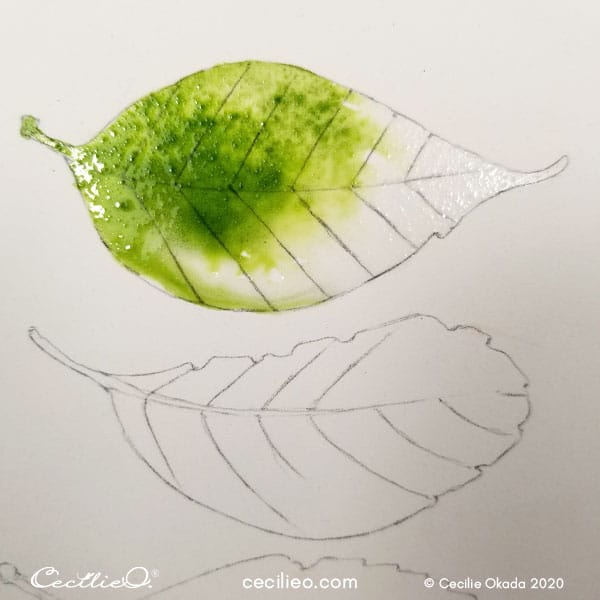
Start by painting the first leaf with water. Then paint it with a fresh grass-green color. If you don’t have grass-green, mix any green with ochre and you will have it. You make orange by adding a bit of crimson red to sun-yellow.
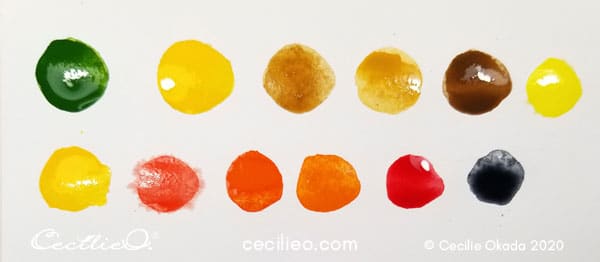
The colors in this chart are a selection of the colors to use for the four leaves. Colors will be merging and mixing directly in the painting itself.
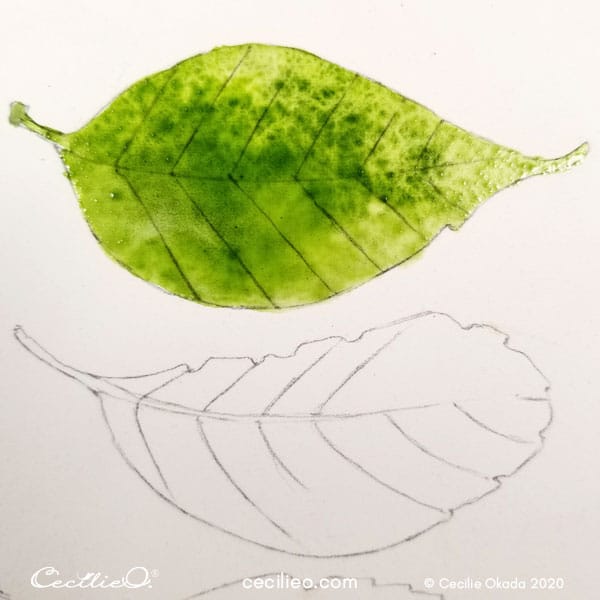
Add some yellow to the painting and spread out.
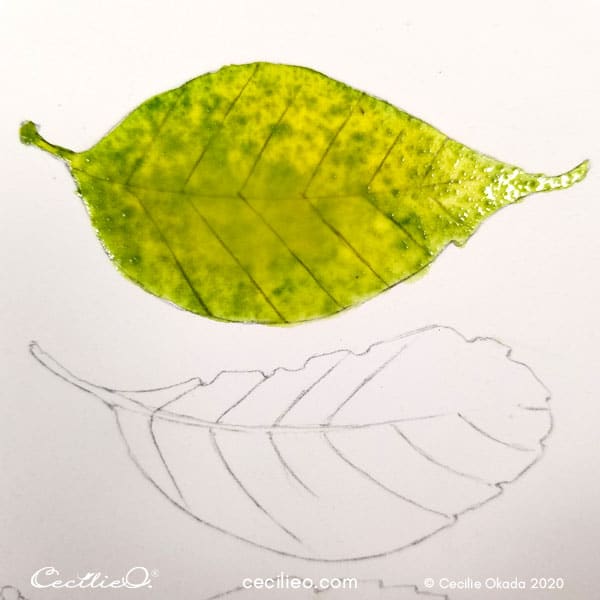
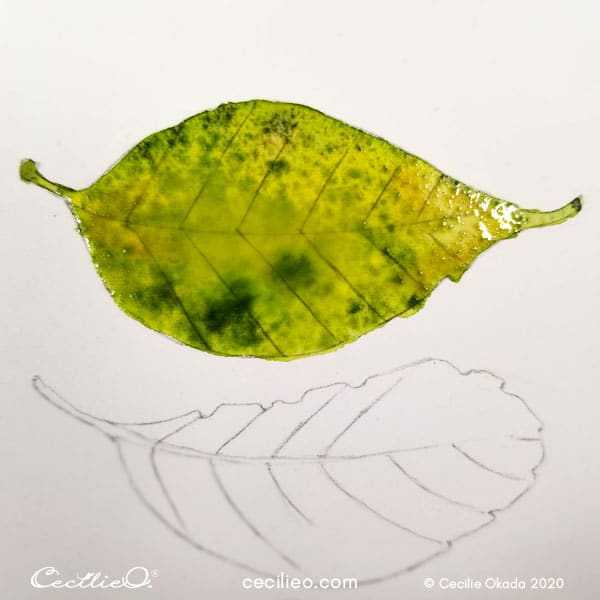
Add a little bit of ochre here and there. Add small blobs of dark green, dipping your brush on the wet paint.
Step 2: Leaf two & three
With leaf no. two, you start out with green again. But then you add yellow, orange, and a bit of red. Spread out with plenty of water again. It’s the water that creates a lovely blending of colors.
You can control the distribution of colors with your brush. Don’t paint with lines. Dip your brush into the wet paint and let the colors feather. You’re moving pigments around.
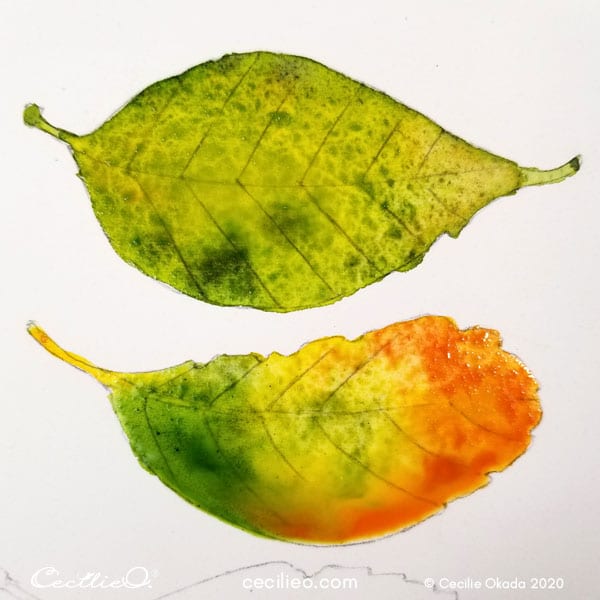
For leaf no. 3, start with golden yellow color; sun-yellow and ochre.
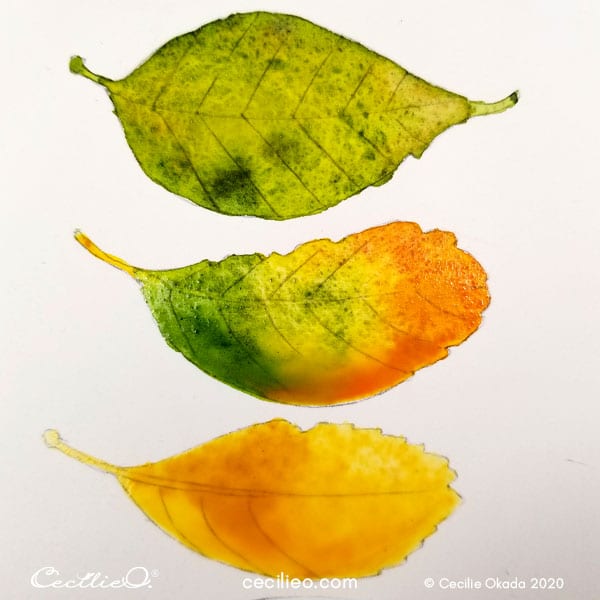
Move on to dipping a little bit of green, orange, and light brown here and there.
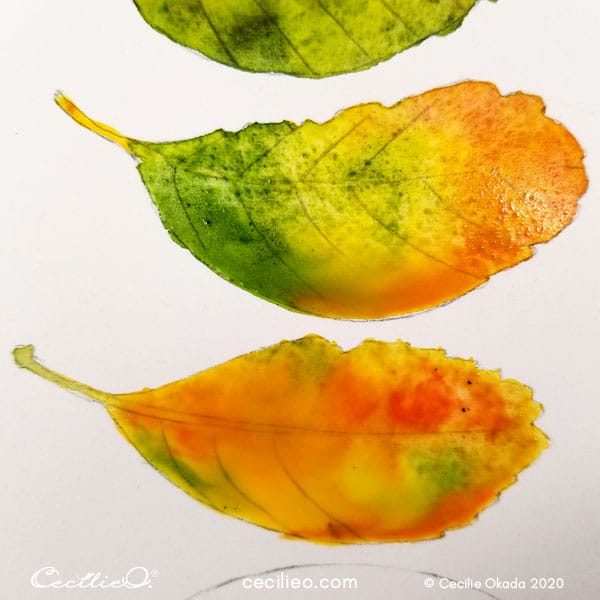
Step 3: Leaf four
Start with orange and red.
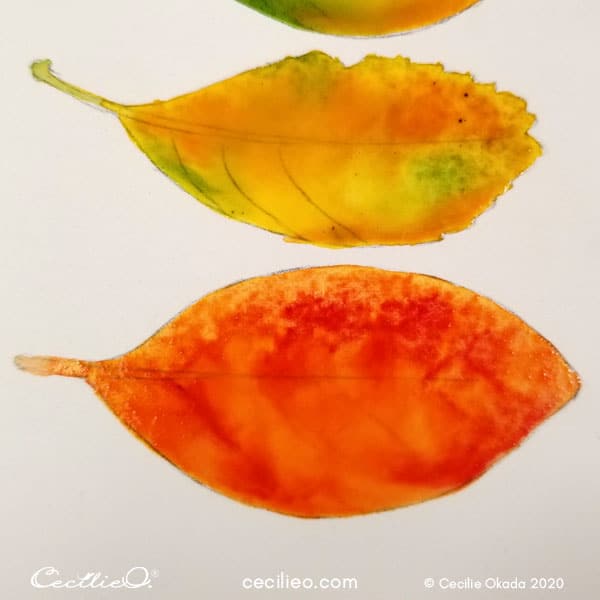
Proceed to dip a little bit dark green and brown, as well as yellow.
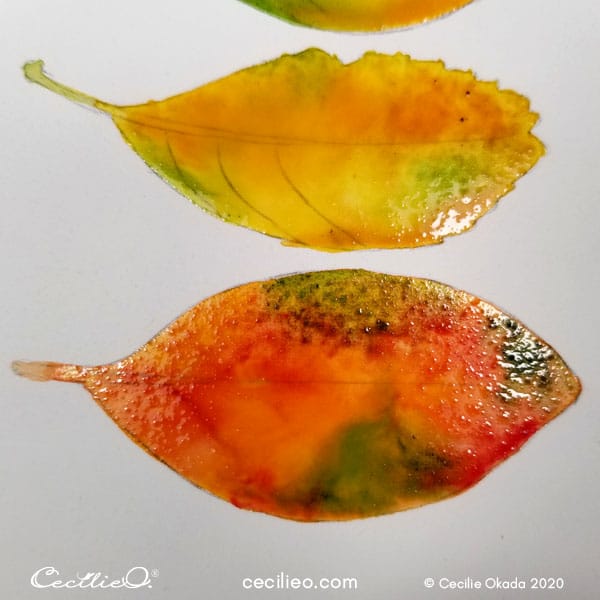

Step 4: Painting details when the watercolors are dry
Paint the dark brown spots on the three bottom leaves.
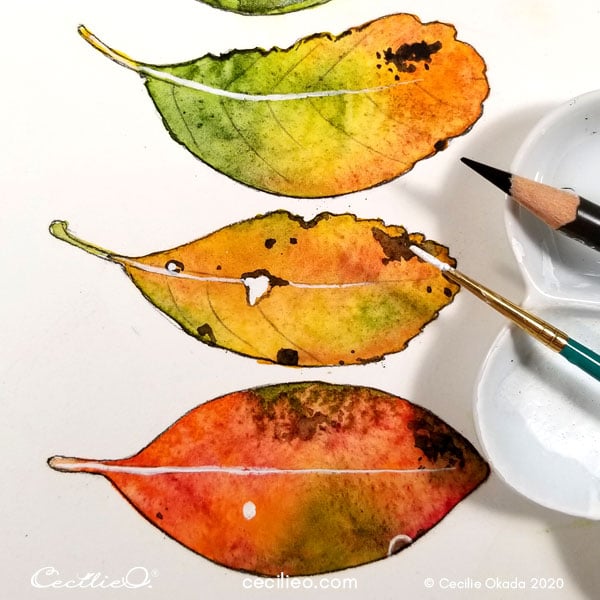
Paint the main veins as well as the wholes in the third leaf with white gouache. (Disclosure: The white gouache link is an affiliate link, meaning, at no additional cost to you, I will earn a small commission if you click through and make a purchase. )
Step 5: Retouching with colored pencils.
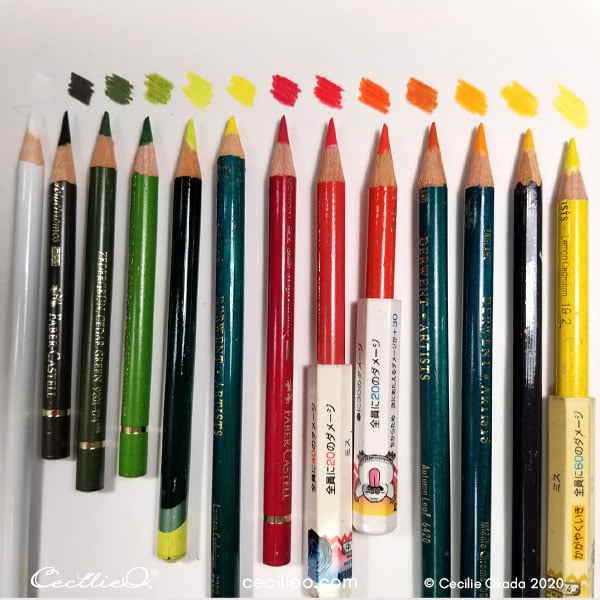
These are the colored pencils I used for drawing on my watercolor. Match the colors as best as you can with your own. It doesn’t matter that you use different colors. Just play and see what works.
I started with the top leaf. As you can see, I’ve added some more watercolor. It’s a bit rougher now than the photo.
When you retouch with colored pencils, draw very lightly. You are only enhancing what’s already there. (Actually, the photo below was taken before I painted the white veins.)
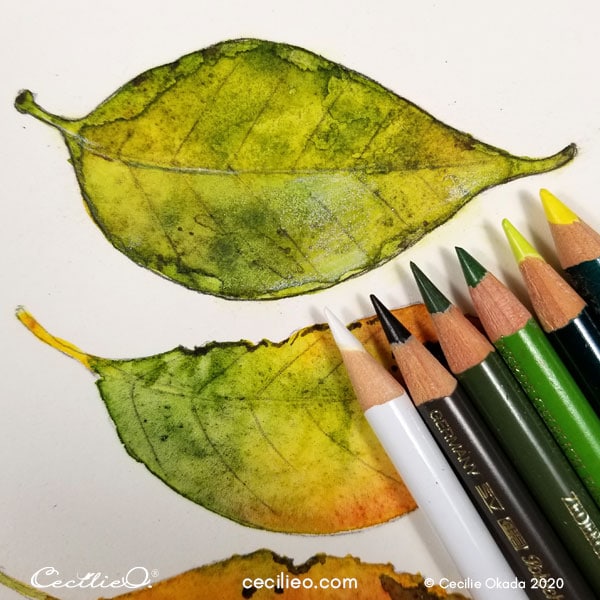
Draw with colored pencils on top of the white veins. And there you have it, four colorful fall leaves.
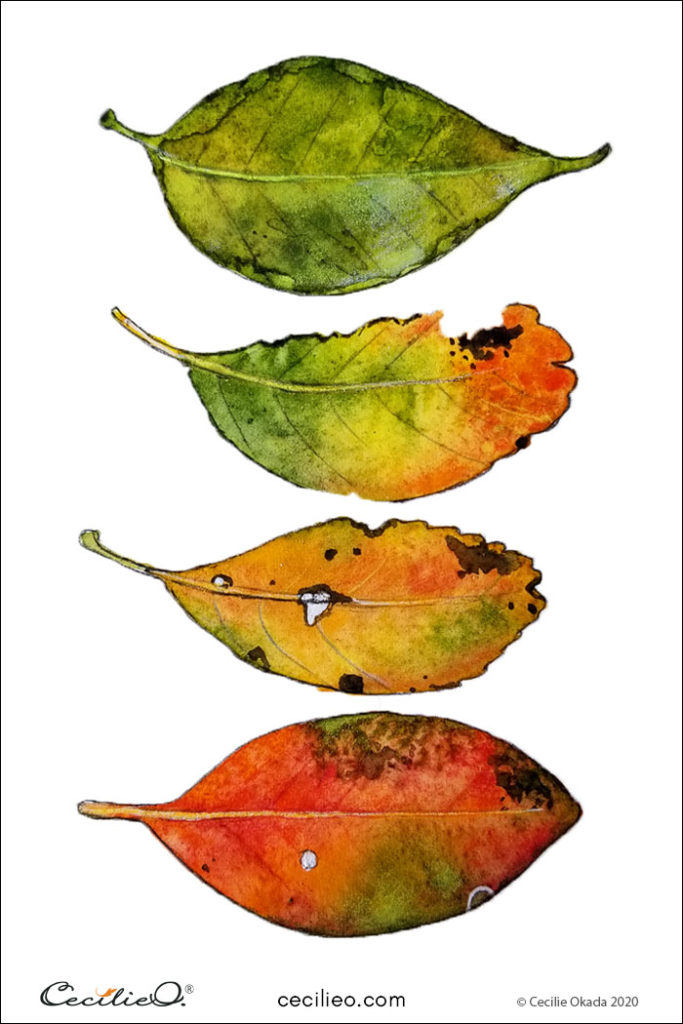
I’m looking forward to seeing your watercolor leaves! Happy painting!
If you’re wondering about what kind of supplies you need for watercolor painting and colored pencils, you may find my guide to art supplies helpful.
Below is the maple leaf video that explains the process in detail.
I created the maple leaf video for the following blog post: How To Paint Watercolor Maple Leaves
Here is one more tutorial that goes into depth about painting watercolor leaves, using colored pencils to brush up: The Little Known and Easy Way to Watercolor Leaves


