Estimated reading time: 6 minutes
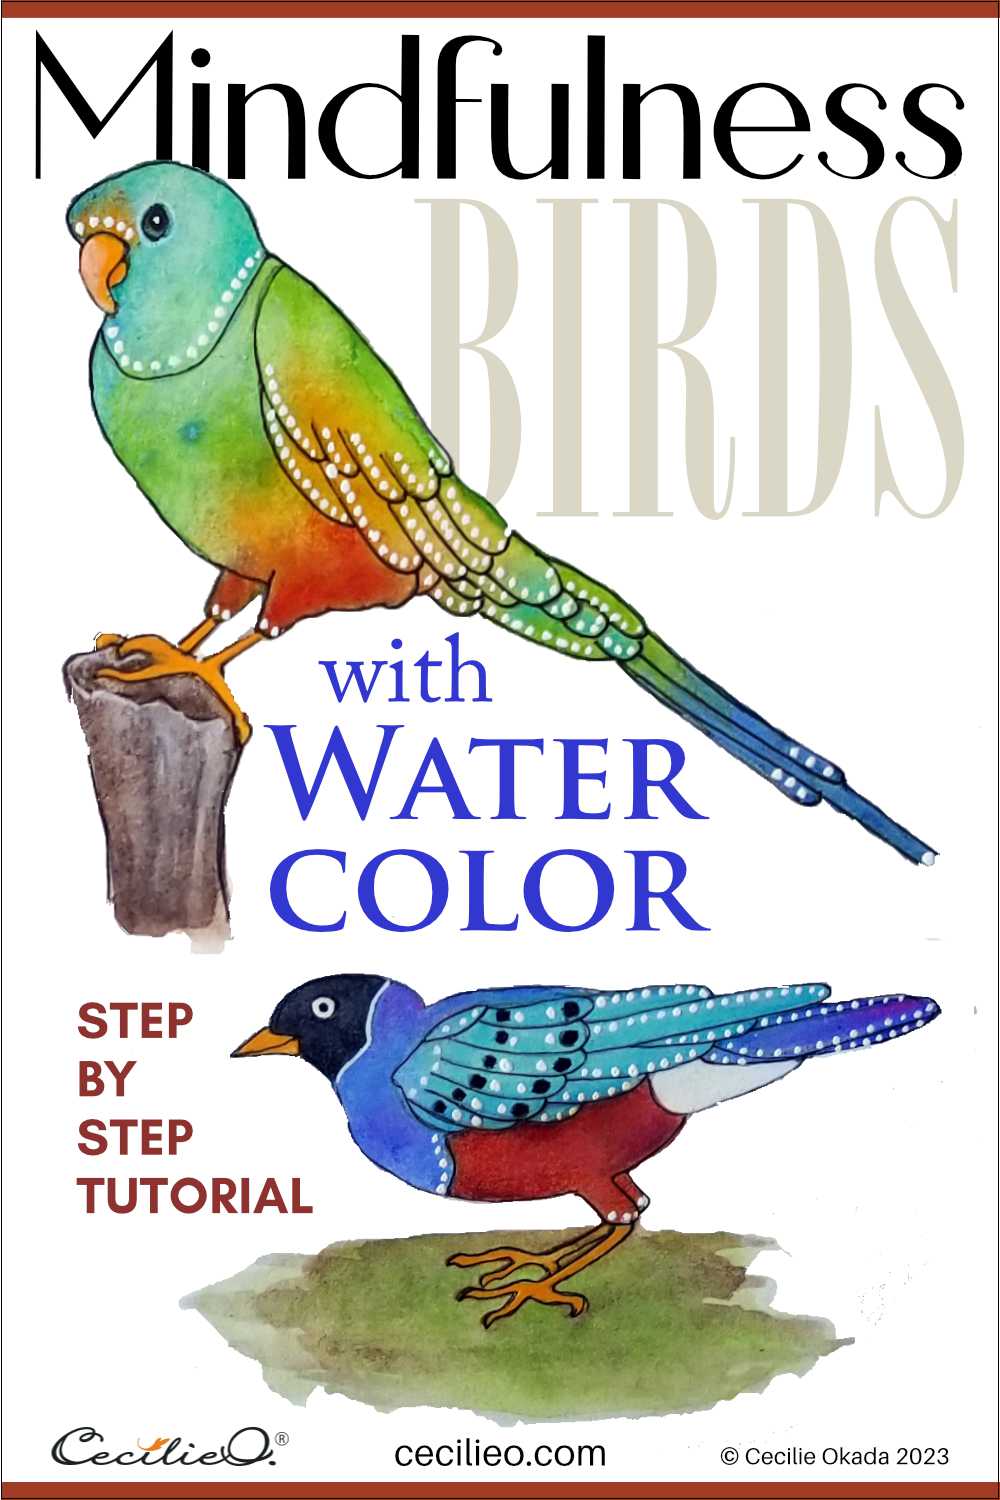
While the ground is bursting with the vitality of spring, let’s paint the colorful blooms that grace the sky. With their myriad hues, shapes, and sizes, birds are an invitation to play with watercolor. In this tutorial, we also explore the joy of sketching birds. Take flight with their vibrant colors. Unlock serenity with this mindful, creative exercise.
I often sketch birds and flowers to enter a calm, creative space. Once I get going, I don’t want to stop. But there is always a project waiting, demanding attention. So it feels a bit like a guilty pleasure. The birds and flowers pile up, and I look for projects to incorporate the drawings. My book “How to Draw Flowers Step by Step” is one such project. The birds here are new creations made especially for this tutorial.
Step 1: Sketching birds
When you sketch birds, don’t try to be anatomically accurate. Birds are easy to draw because the form is simple. Head, body, wings, and two legs. It takes more to get a bird wrong than a four-legged animal. Besides, in a creative exercise, there is no wrong.
All birds have the same basic shape. My Pinterest board, “Colors in Nature: Birds.” have an extensive collection of beautiful, colorful birds. Start there. Sketch with abandon. Long beaks, short beaks, round or slender, elegant or cute. It’s all there. Have fun!

If you want to skip the sketching and get right into painting, you can trace my bird drawings. Become a member of One Tree Art Club | Creative.
I also have a free One Tree Art Club library, with outlines for many tutorials on this website. (Members: Check your newsletter for library link and entry details.)
Let’s start the color feast.
Step 2: Pick up color swatches
We have a fabulous free tool on this website. It allows you to pick up color swatches from a picture you upload, and it is simple to use. No bells and whistles. Picking up colors before you start painting makes your task so much easier and fun.


Step 3: Watercolor the parrot with abandon
Start with the colorful parrot. Paint with turquoise, green, and blue colors. Let them flow into each other. Don’t pay too much attention to the photo; it is only inspiration. Focus on blending the colors, using ample water to get the blending effect.

Once the first colors are half dry, add yellow and red.

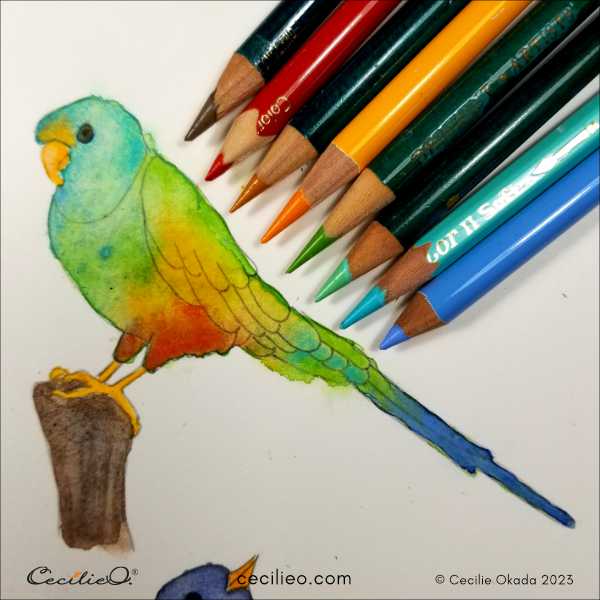
Step 4: Use colored pencils to enhance the colors
When watercolors dry, some of the brilliance is lost. Make sure the watercolor is truly dry, and draw with colored pencils to enhance the colors. Experiment and have fun. Use an eraser freely.

Step 5: Redraw the outline with a fineliner
Redrawing the bird outline with a fineliner allows the form to be concise. It is suitable for a creative, decorative look.

Step 6: Play with white gouache
Dilute the white gouache from a tube. Paint dots to your heart’s desire with a small, pointed brush. You don’t need to copy what I have done here. Do it your way and enjoy.
Clean the area around the bird by painting over it with the same white gouache.

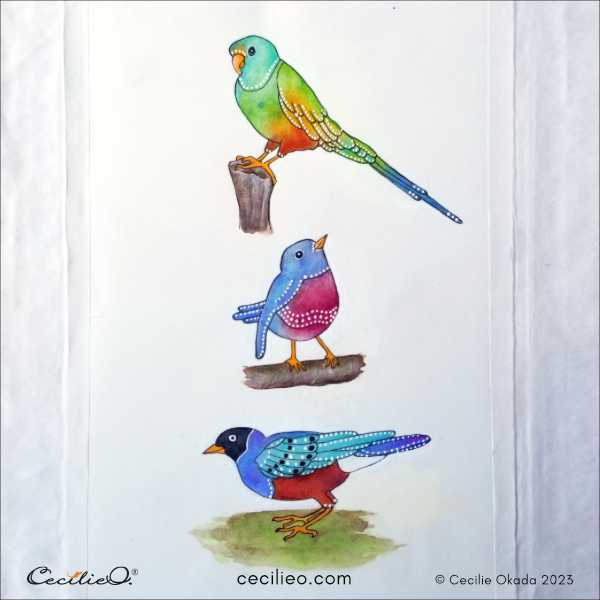
Step 7: Repeat for the remaining two birds

Now that you know the process, do the same for the other two birds. If your birds look nothing like the photograph, all the better. Remember: this is about relaxing, focusing, and having fun. Mindfulness. It is not about learning to paint naturalistic birds. There is plenty of other tutorials on this blog for that.


Explore more tutorials:
To see a list of art materials you can use for this tutorial, go to my Guide to Art Supplieshttps://cecilieo.com/guide-to-art-supplies/


