

Estimated reading time: 8 minutes
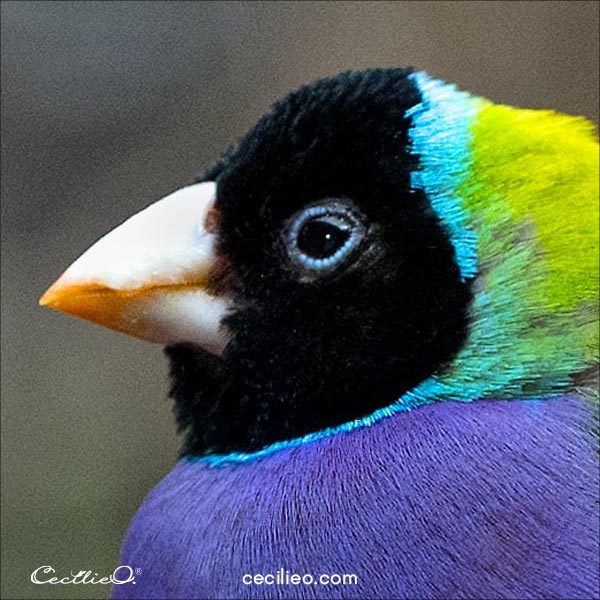
I think of Nature as a great designer. She must have had a lot of fun designing the Gouldian finch because I have spotted at least seven colorways. If you are anything like me, I think of colorways as something to do with textile patterns. Not birds. A watercolor bird with such cheerful colors has got to be an enjoyable project. Add details with colored pencils, and the chubby little thing might even take off from your paper.
In this step-by-step watercolor tutorial, I will take you through the watercolor process. Lastly, we add colored pencils to bring the bird to life.
Did you know that the colorful finches originate in Australia? There are hardly any left these days because of the pet trade. For this reason, breeding takes place in captivity. People love these birds. Never mind that they don’t like humans to touch them. But between themselves, they are very social.
Let’s get started with our watercolor and colored pencils project.
Step 1: Deciding the color scheme.
If you prepare your color palette ahead of painting, your watercolor task will be a breeze. Our free tool lets you select a color palette from an image. It is your best friend in this regard. Simply click on the image and make a custom palette. Delete a swatch by clicking on it. I don’t think it can get easier than that.


Step 2: Transfer the drawing of the bird.
This step is easy too because you don’t need to draw the bird. Use my drawing and get on with painting. You can download the outline for free in the One Tree Art Club library. (Members: Check your newsletter for instructions). Learn how to transfer line art to watercolor paper.

Step 3: Paint all the colors of the watercolor bird.
The first out is green. Paint with water first to make for a nice shading with green.
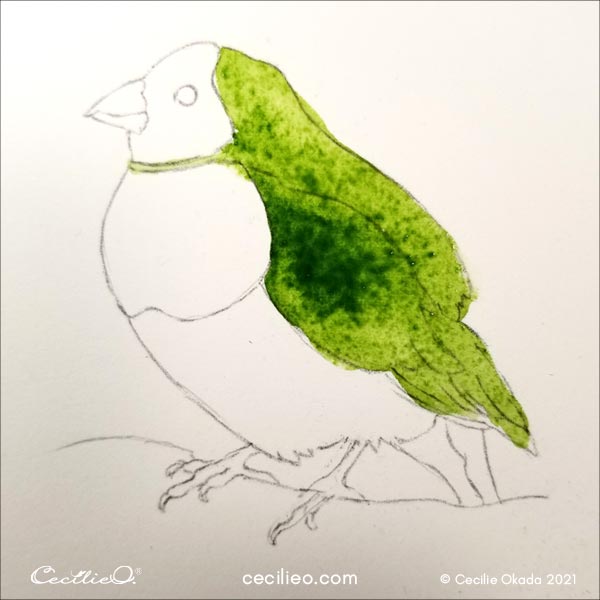
While the green is wet, add some turquoise to the upper part. Let the colors blend. Paint the beak, feet, and the darker side of the wings.

When the green is dry, you can venture into the purple and black part of the bird.
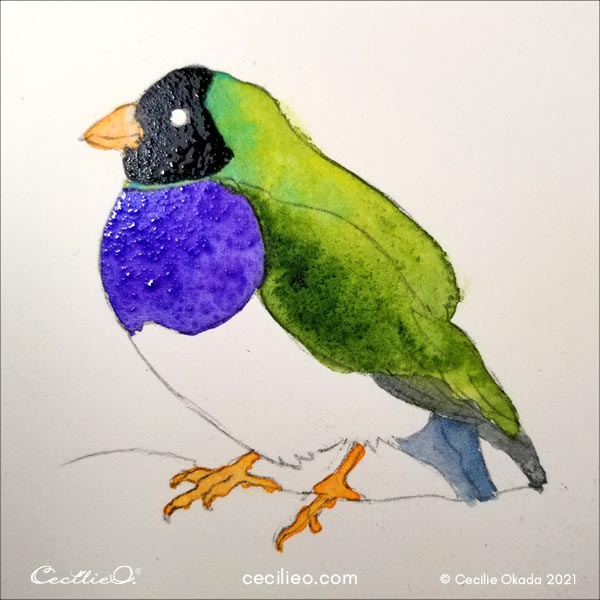
Add the brown wood the bird is sitting on, but make it light and inconspicuous.
Lastly, you can paint the yellow chest when all is dry. Do not let other colors bleed onto the yellow. It would make the yellow dull.

Step 4: Painting feathers with white gouache.
The fine lines that you see below are painted with opaque, white gouache. Or should I say drawn? These lines form the basis for the feathers.

Expand the white lines to cover the whole body. In the image below, I have already started to draw over the white lines with colored pencils. That is the combination that makes for realistic-looking feathers.

Step 5: Drawing with colored pencils.
Get all your colored pencils out for this step. It doesn’t matter if it’s regular colored pencils or watercolor pencils. The pencils will be used in dry form.
When you draw on top of the dry, white gouache, mix light and darker versions of each color. Green, purple, yellow. The turquoise has one shade only. Look at the photo to emulate the light and dark feathers.


Step 6: More white gouache.
To create a sense of 3D, you need to keep building up the feathers. Now that the green wing is ready, you can paint the overlapping feathers. This small step goes a long way to make the painting realistic.

Step 7: More colored pencils, and the eye.
At this stage, there is a to-and-fro thing with colored pencils and white gouache.

Get into the details of the eye. The enlarged eye photo below helps to understand what’s going on there. It is not just a black circle with a white dot. Try to capture some of those details. Use light brown and black colored pencils, as well as white gouache and a turquoise pencil. I have drawn the eye larger than the photo to make it easier.
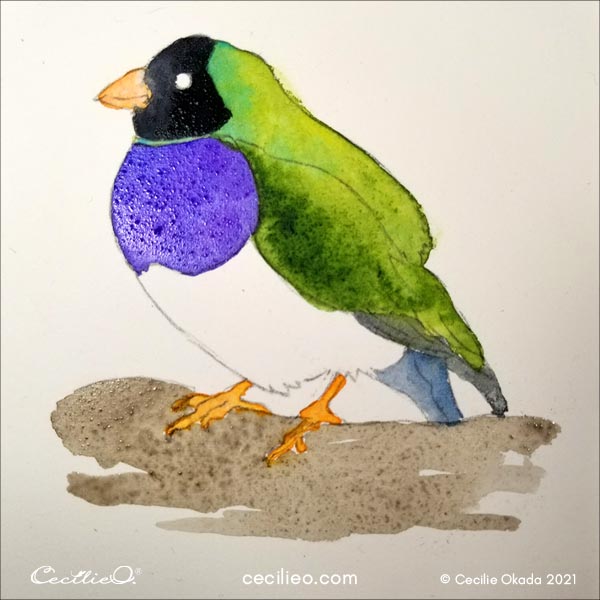
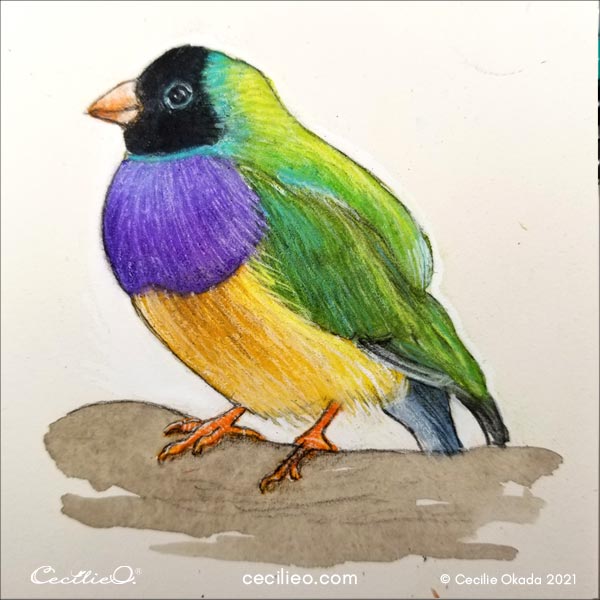
The image below is as far as I could go in this first session.
Step 8: Finish the details in the next day or two
Putting your artwork aside is a great way to understand what you need to improve. There is nothing like looking with fresh eyes. A few more details down the road, and I’m happy with the result. Don’t over-work your painting. But- do the necessary adjustments that your fresh eyes will point out. This is my watercolor bird, all done with fluffy, colorful feathers. And a little smile.

By the way, do you notice the color difference between the last picture and all the preceding ones? I took the last photo outside in natural light. The other pictures are taken in my studio with artificial light. It is the same for almost all my tutorials.
Best wishes for your creativity!
If you wonder about art materials for this tutorial, my Guide to Art Supplies tells you what you need.
Check out more bird tutorials here, and some more:


