
You may think that a standing, static horse is an easy posture to draw. The truth is, a horse in motion is a far easier subject. The legs of a running horse display marked angles. The curves of the running horse's body are beautiful.
For this tutorial, I have selected a photo of a white horse. You can see the muscles clearly, instead of straining your eyes on a dark-colored horse.
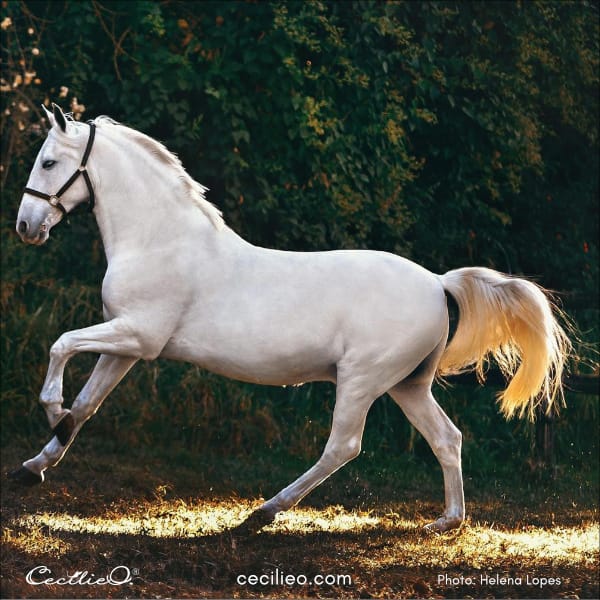
A soft 2B pencil and textured sketching paper will give you the best result. You can vary the line work when you use a soft pencil. Pressure creates variations from light, soft to strong dark lines.
Do some warm-up sketching first
It is a good idea to do some simple sketching first. I always start by sketching a few fish to warm up my hand. The photographer François Libert has a stunning array of fish in his Flickr feed. Each fish has a different arrangement of eyes and fins, yet it is a simple form to draw. I also have a post with sketching suggestions from the ocean.
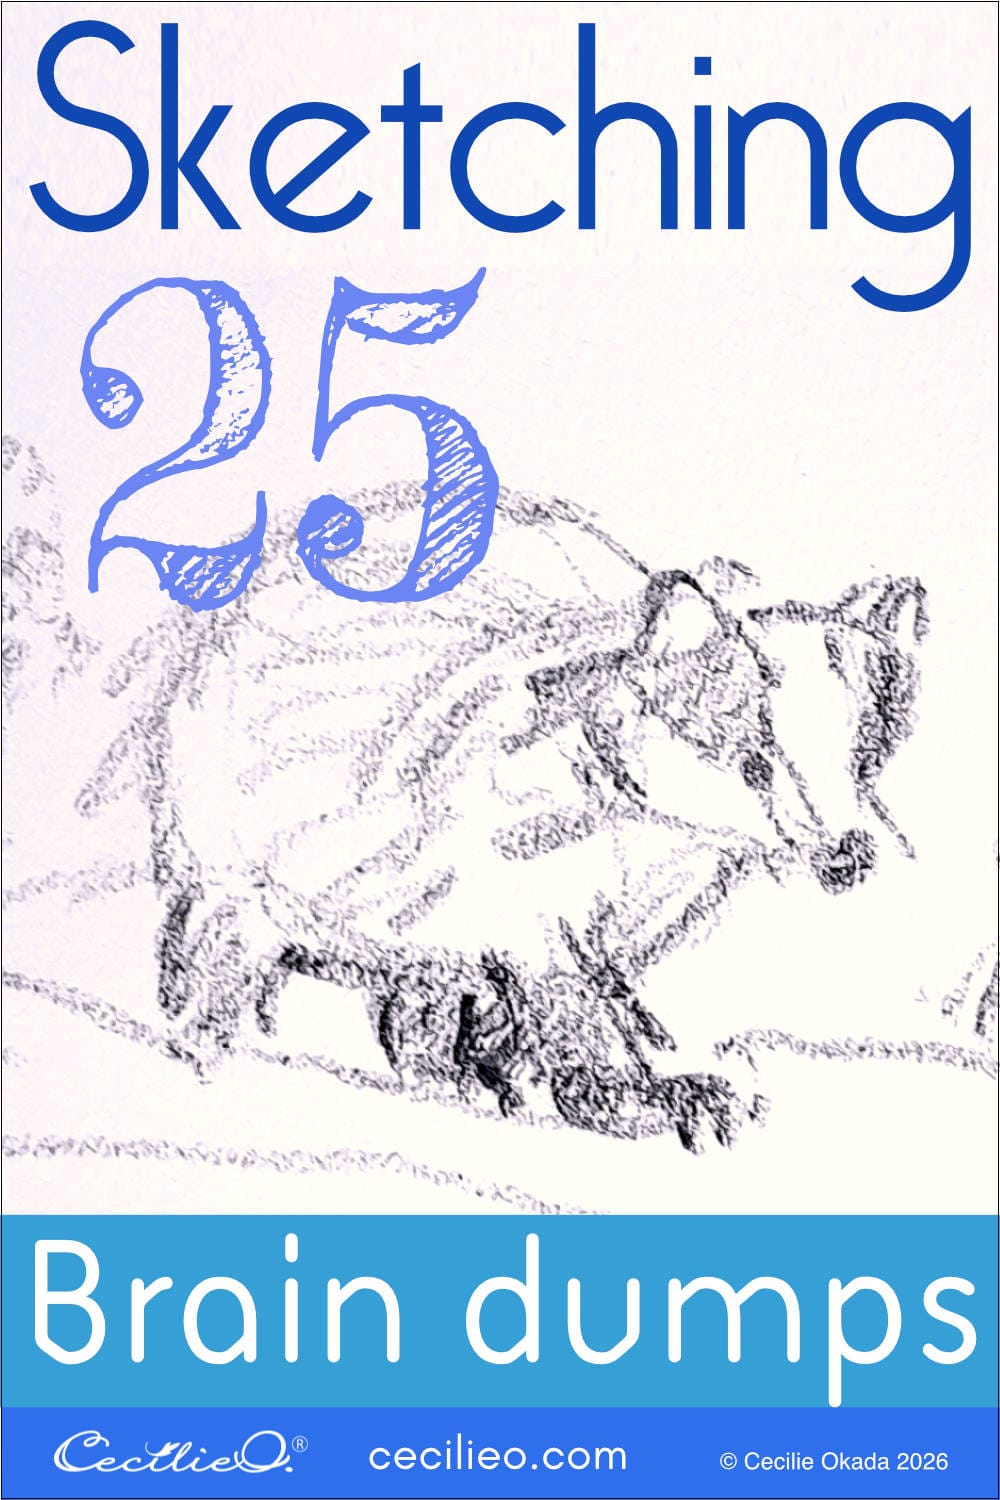
When your hand is ready for more, try some quick, loose horse sketching. A Google image search for horses will give you plenty of subjects. Don´t think about accuracy. Just draw mindlessly to get used to the horse form.
After I drew the tutorial horse, I painted it with watercolor. To accentuate the muscles and shadows, I continued drawing with a colored pencil. Level Up members can watch this process on my video recording. Level Up members also get the drawing outline.
The free One Tree Art Club library has many outline drawings for watercolor tutorials on this blog.
Drawing the horse step-by-step
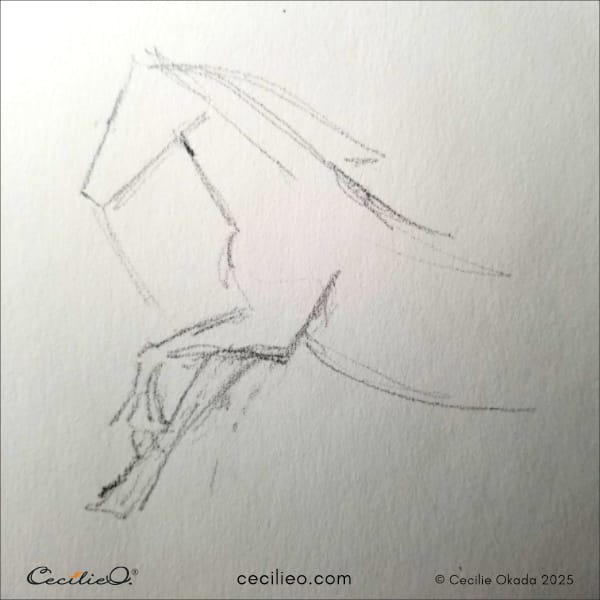
Step 1: Outline the body
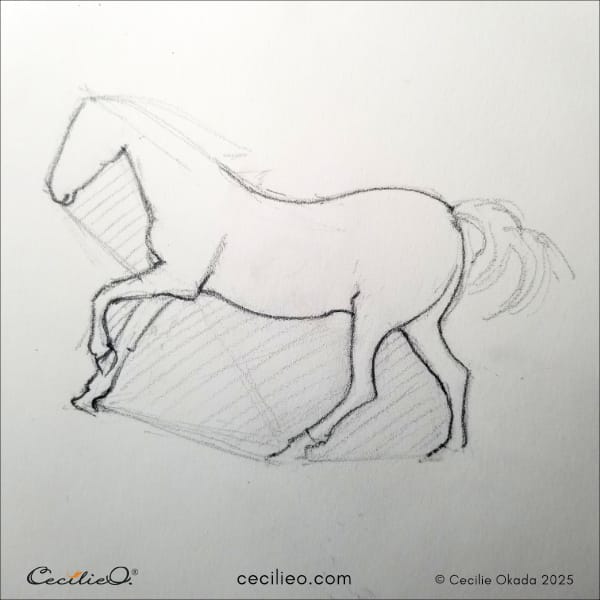
Draw the basic shape of the head, front legs, and some of the torso. The purpose is to assess the main structure.
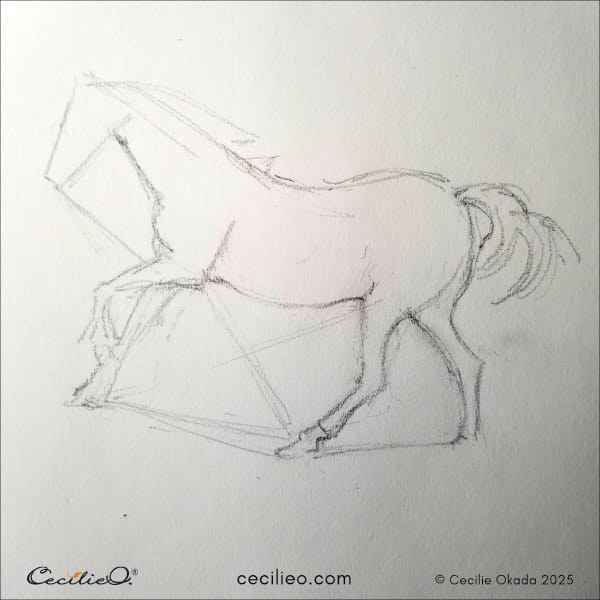
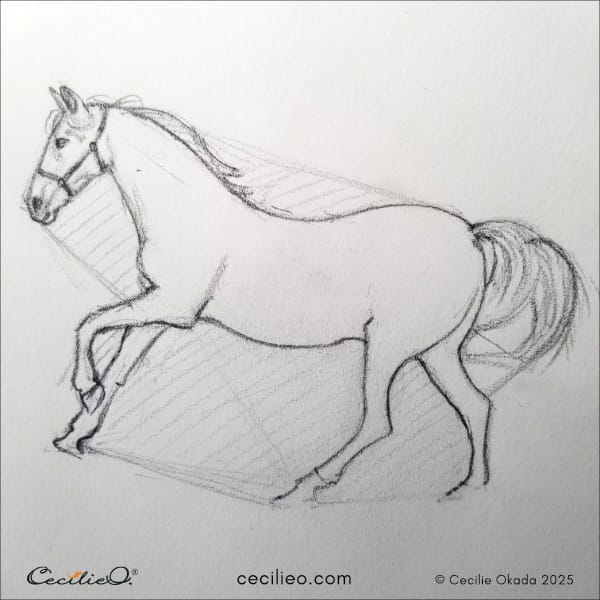
Outline the whole body including the legs and tail. Note all the straight lines between parts of the body. Study the reference photo and assess the angles between body parts. Draw them as lines. This will make outlining the horse easier.
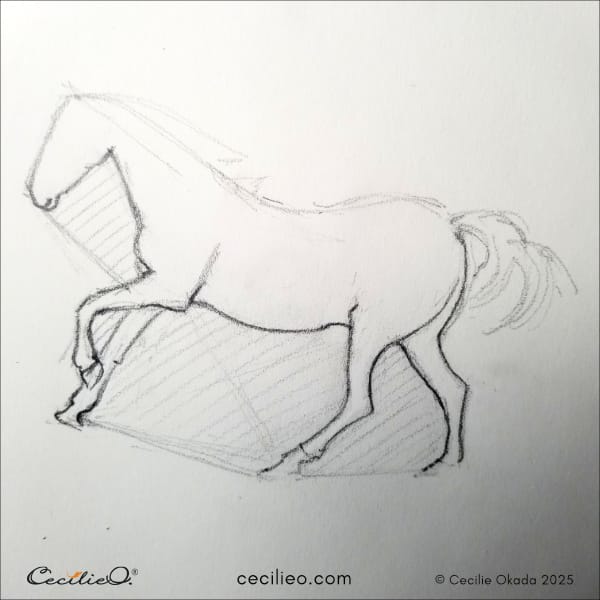
Step 2: Refine the outline drawing
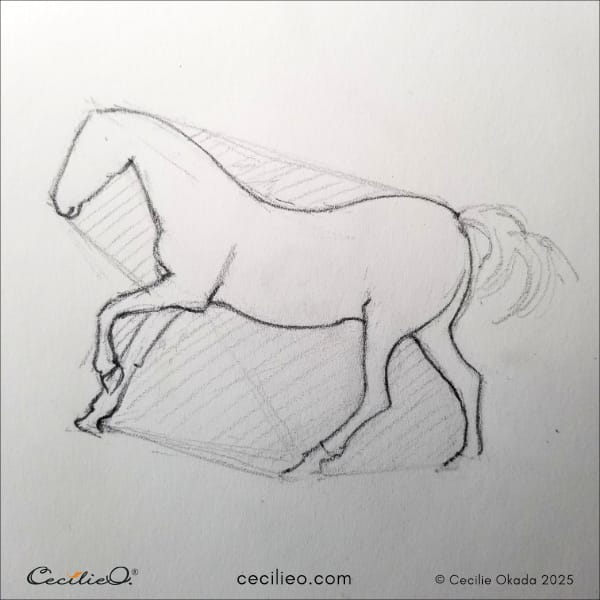
Now you should assess the negative space between body parts. Negative space is defined as follows: "Negative space in art, also referred to as "air space", is the space around and between objects."
Negative space will help you to define the shape of the horse. Start with the legs. The dramatic angles make for unique negative shapes. Draw a clear, dark line where the shape has been finalized.

Draw the lower part of the horse´s face.
Next, draw the curves of the upper part of the body
Check that the angle between the head and the tail are correct. Draw the negative space for this.

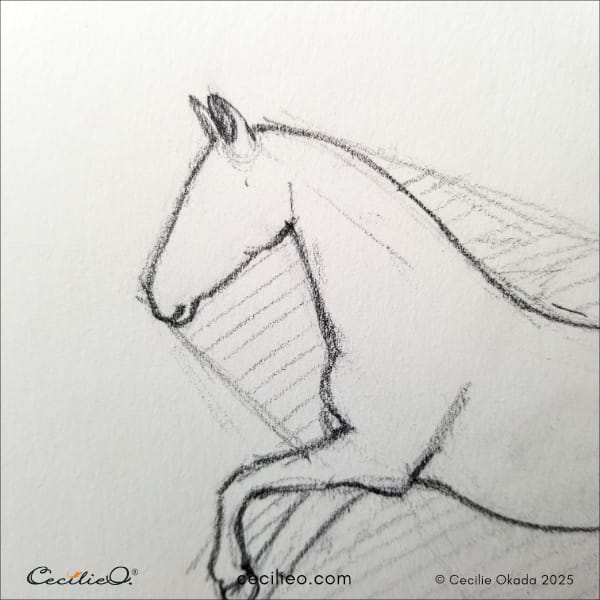
Step 3: Drawing the details of the head
Draw the ears.
Draw the details of the horse´s face. The bridle helps you assess the relative distance between elements in the face.
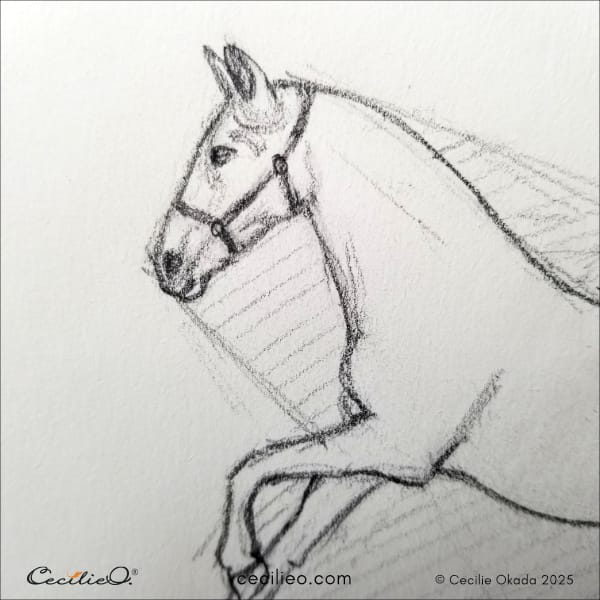
Draw the details of the tail.
Step 4: Draw the missing hoof and muscles
The right hoof is hard to see in the reference photo. It is black, and the background is dark. Draw the hoof. With a gentle hand, draw in some of the shades and muscles on the horse´s body.

The horse drawing is complete.
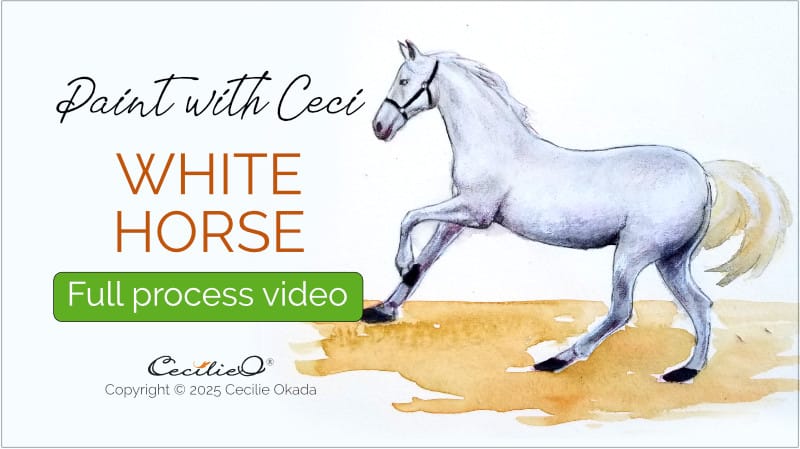
Painting the horse with watercolor
I transferred the outline of the horse to watercolor paper. After painting it with watercolor, I continued drawing with colored pencils. The pencils highlighted shadows and muscles.
To watch the video of how I painted the horse, become a Level Up member.
Happy painting!
Guide to Art Supplies
Here are some more watercolor tutorials:
How to Draw an Elephant Easily, Step by Step
5 Ways to Make a Quick Horse Drawing in Pencil
How to Draw a Realistic Mushroom
How To Trace Onto Watercolor Paper