

Estimated reading time: 6 minutes
Do you think it is hard to draw animals? If you try to pin down basic shapes first, you may be in for a frustrating try. Drawing animals accurately is about looking intently at your subject. Your eyes on the paper are the lesser part. In this blog post, I will show you how to draw an elephant easily. Follow the steps, and you will succeed.
Observe variations on the elephant shape
There are myriad factors that will distort a shape. Take a look at elephant photos. If you try to capture the basic shapes first, you will have to draw something different for each photograph. The angle, shadows, position of limbs and trunk, etc. varies greatly. It is not possible to draw a blueprint of shapes that make up a particular animal. Unless, of course, it is something super simple for a child.
Making a few basic observations will help your first step. You may think these observations are obvious. Yes, they are, but they represent specific drawing challenges. Here we go: The elephant has a long trunk that sometimes curls. Some have husks. The body is big, bulky, and round. The limbs are chubby and shapeless. The tail is thin and seems insignificant.
Do a few quick sketches first
Your first step should be to find a few elephant photos. Sketch them fast, without thinking about the result. The result may be crappy but it does not matter. Sketch 3, 4, or 5 elephants. In this way, you will get used to the particulars of the elephant shape. You are putting your initial observations into practice.
Do you need a new sketchbook? 8,5″ x 11″ sketchbooks with covers from my tutorials are available on Amazon. It includes sketching tips.
Notice how a turn of the head makes the elephant shape altogether different. Or how about front view vs. side view? With all these variations, an anatomically correct elephant drawing can seem elusive. Unless …
Zero in on the starting point for your drawing
Start your drawing with a simple step. The elephant in the reference photo is facing left. Originally, it is facing right. Why did I flip the image? I am right-handed, so I start by drawing on the left side of the paper. In this way, I don’t smudge the pencil marks with my hand.
Also, it is easier to start with the head than the tail. The head is the focal point of a live animal, just like us humans. It sets the tone, everything springs from there. Animals have self-awareness too, and they have emotions. Your drawing will look alive when you capture this expression. It is not a conscious thing that you do. It springs from a sense of connection with the subject you are drawing. Elephants are highly intelligent, family-oriented, and demonstrate complex emotions.
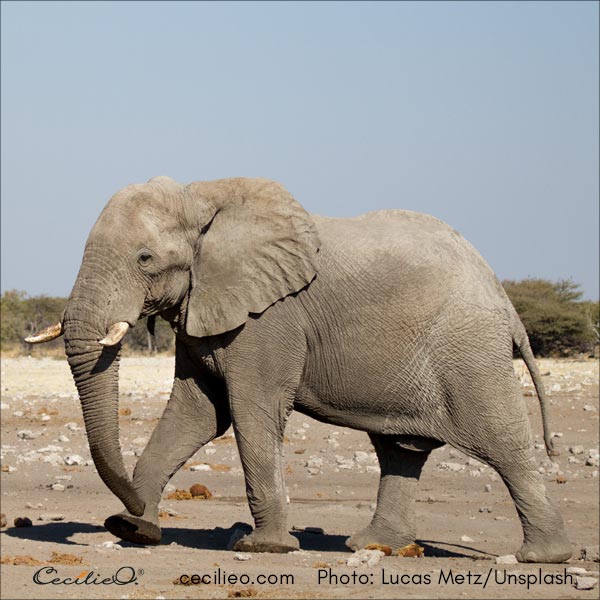
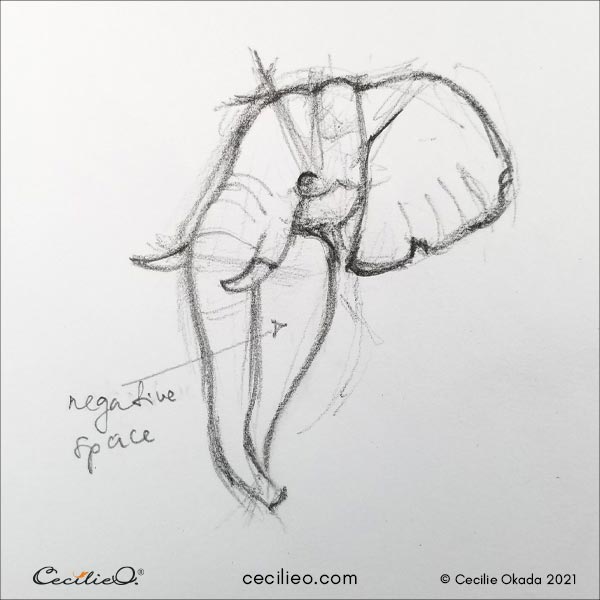
Step 1: Draw the elephant’s head
Draw three straight lines to outline the angle between the top of the head, the trunk, and the bend of the trunk.
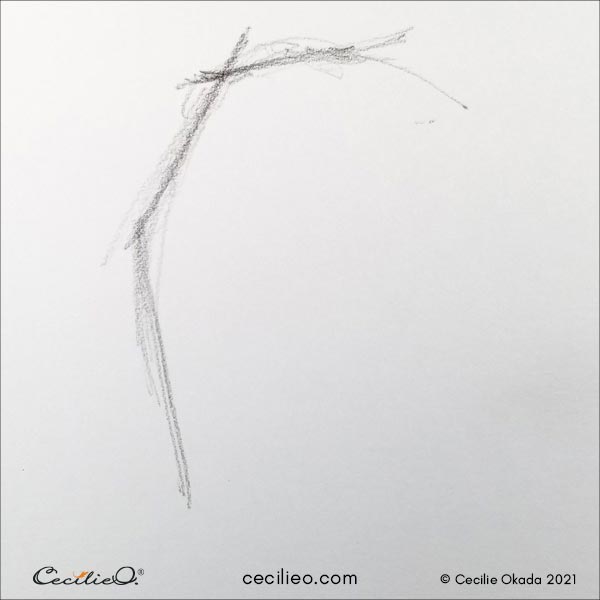
Fill in the curved lines of the same area, letting the straight angles guide the placement.
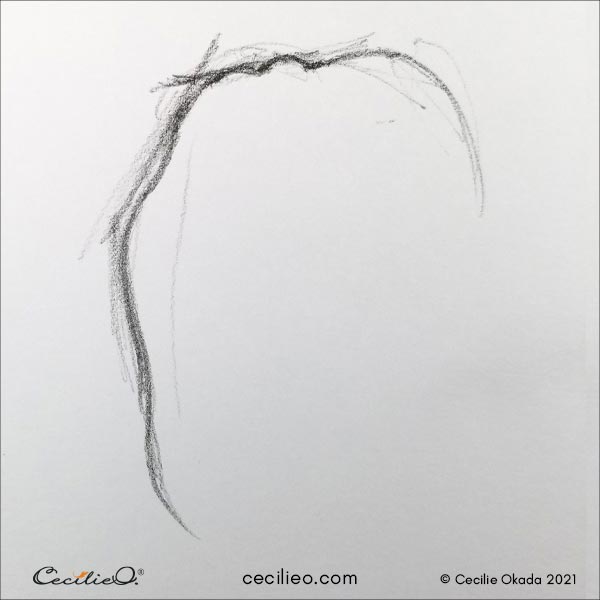
Draw straight lines from the top of the head to the eye. Indicate the position of the tusks with another straight line. Fill in the details by placing them according to these angles.
One of the hardest things when drawing mammals is placing the eye in the right place. Drawing many intersecting lines will help you position the eye in the right place.
Show the roundness of the trunk with curved lines on it.
Step 2: Complete the ear and the trunk
This elephant is walking with the right leg forward. To capture this movement, draw the negative space between the trunk and the leg. Complete the trunk.
Make sure the ear is big enough by placing the bottom relative to the tusks. Get the angle right by drawing a straight line first.
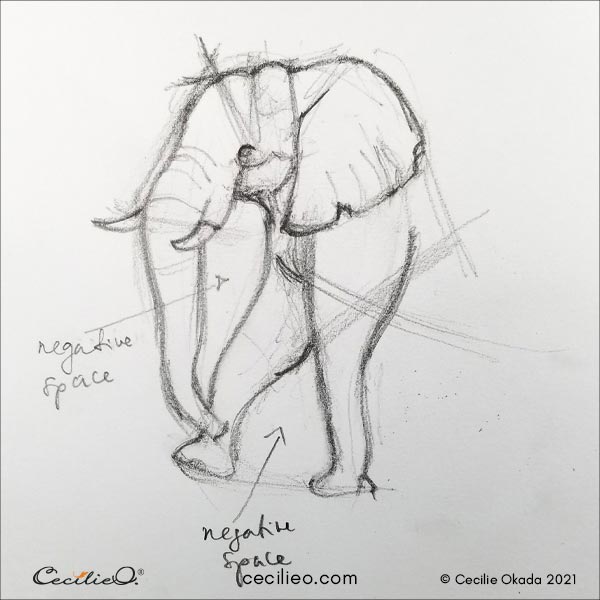
Step 3: Draw the front legs with a focus on negative space
The left leg starts somewhere close to the edge of the ear (in a vertical line from the ear). Don’t look at the legs only. The space between the legs will help you determine their position and shape.
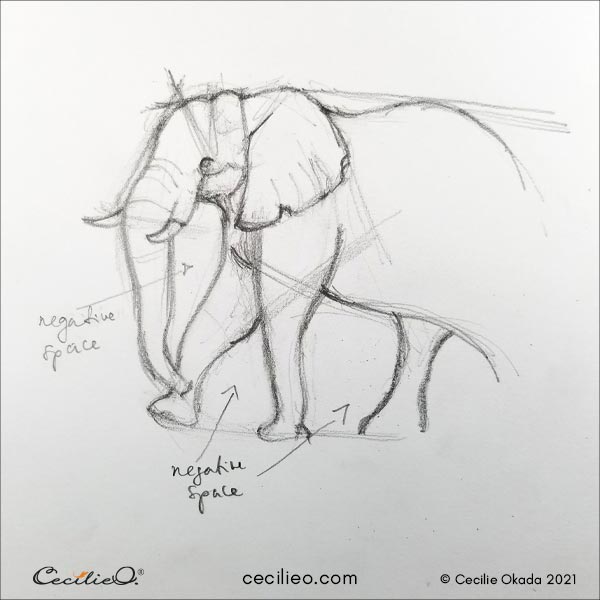
Step 4: Get the main body and motion in place
The left hind leg of the elephant in the photo has a pronounced angle with loose skin. Getting this angle right will be a key to expressing motion. One of the most common flaws in animal drawings is a static, lifeless look.
The underbelly of the elephant starts as a small line between the front legs. You should extend this line to draw the rest, merging into the left hind leg that is in motion.
The hunched back follows the length of the underbelly and extends to the leg that is underneath.
Draw the floor angle between the left front foot and the right, back foot. Fill in the shape of the leg.

Step 5: Complete the elephant
Finish the drawing of the hind legs. Draw the line from the underbelly to the tail to make sure the tail is of the correct length. Draw the loose skin with a single curved line. Add some detail to the feet.
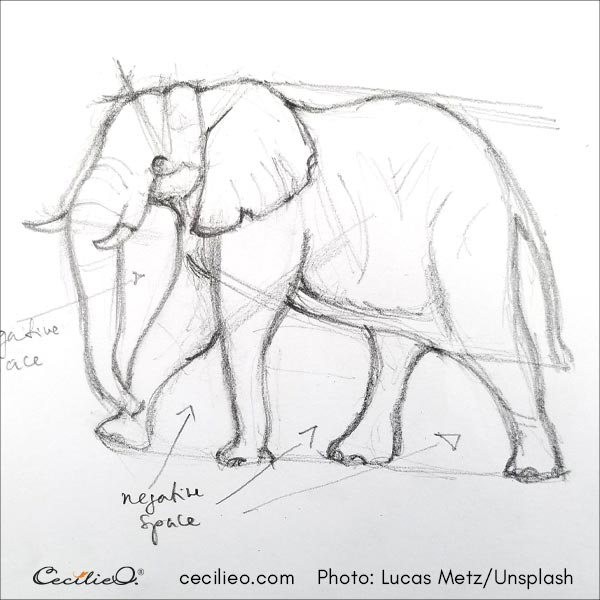
Use your drawing for a watercolor painting
Now you know how to draw an elephant easily. If you are happy with your drawing, you can trace the outline and transfer it to watercolor paper. When you paint the elephant with watercolor, focus on light and shadows.
If you want to learn how to draw flowers, you may find my book “How to Draw Flowers Step by Step. 46 Easy Designs” helpful.
More drawing tutorials:
Happy drawing and painting!


