Estimated reading time: 6 minutes
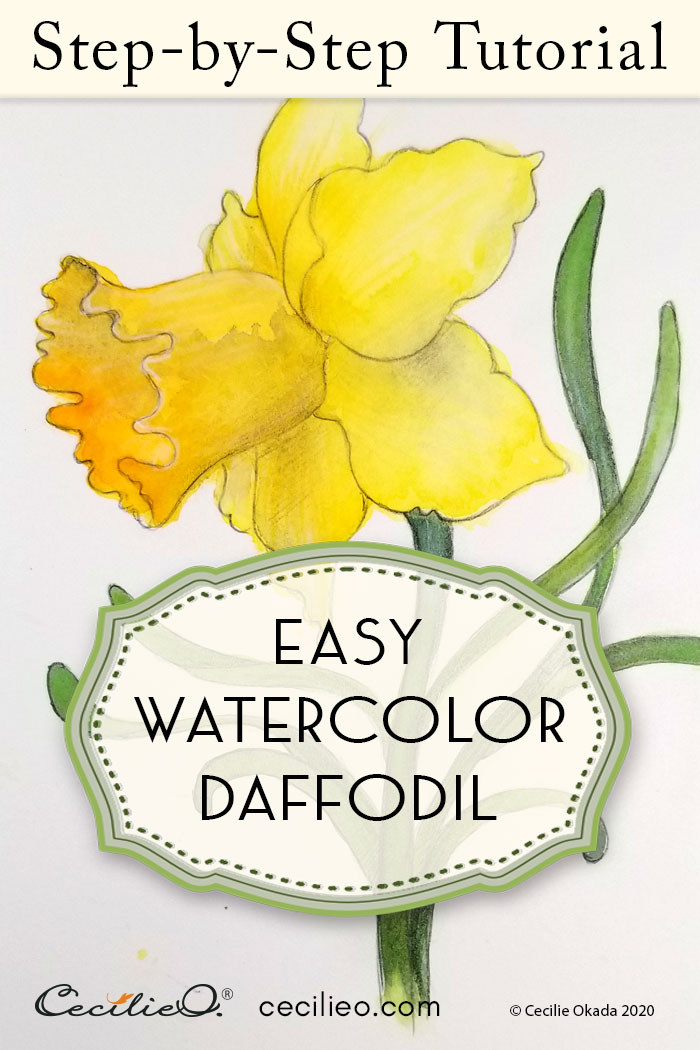
The daffodil is the symbol of bright, new beginnings. This humble flower embodies hope, rebirth, and inspiration. Follow my step-by-step watercolor tutorial and catch the cheerful vibe in the process. It’s an easy flower to watercolor with its sunny yellow hues.
In my neighborhood, we have a volunteer group that plants beautiful, communal flower beds. I captured the daffodil photo that I used for this tutorial during an early morning walk.
Another name for the daffodil is Narcissus, named after the Greek god who was in love with his own reflection. Hard to imagine, but he drowned as he tried to capture his reflection. Daffodil flowers got his name due to their beautiful reflection in the water.
For the tutorial, I have drawn an outline of the flower that you can download for free from One Tree Art Club.

Let’s get started.
Step 1: Tracing the outline
I had a few goes with this drawing and scanned the final version.
I printed out the final drawing. Next, I traced it onto watercolor paper that was mounted onto a piece of wood. Learn how to trace onto watercolor paper. Here, I used an old embossing tool to transfer the pencil drawing. A hard pencil will do just as well. Learn how to mount watercolor paper without getting bumps.
The tracing creates a kind of depression in the paper. I haven’t drawn over the lines yet to make them clear.

Step 2: Mixing colors
You will use lemon yellow, sun yellow, and orange-yellow to watercolor the flower petals. If you don’t have all three variants of yellow in your palette, you can make your own.
To make the sun yellow, add a tiny bit of crimson red to lemon yellow. Add a little bit more to make it orange-yellow.
You make the bluish-green color of the stems and leaves by mixing the following:
With a base of jade green, add a bit of terracotta and ultramarine blue. The terracotta dulls down the brightness and the blue adds the right bluish hue.

Step 3: Painting a yellow base
First, paint the flower head with water only. This will allow the color pigments to flow nicely. Next, you apply various shades of yellow. Look at the photo to decide where to distribute the tones.
Remember, you don’t need to be exact. Let yourself loose and add dashes here and there. Soak up pigment with a sponge or a tissue where you want to have light parts.

Step 4: Adding depth and shadows
Let it dry after the first coat of yellow. Wet the painting again with water, but not too much this time. Just enough to add the next layer of paint without creating hard edges.
Add orange-yellow to the bell-shaped part of the flower, and a teeny tiny dash of black for shadows. Teeny-tiny black becomes grey when it mingles with the water you have already applied to the flower. Look at the photo to decide where to add shadows. Again, nothing has to be exact. It’s your impression you are going to convey, not a botanical rendering of a daffodil.

Paint the stem and leaves green. No need to wet them first, just paint directly onto the shapes that are green. Apply the amount of pigment unevenly to make it interesting. Sameness is monotonous.

Step 5: Spicing up with colored pencils
Once the paint is completely dry, you are ready to enhance your painting with colored pencils.
Use your imagination when you choose colors for highlights. I used a dark, dull blue-green and apple green for the stem and leaves. Sepia brown for outlines and a bit of cross-hatch drawing on the shadows. Orange-yellow for the petals. A greasy, white pencil for highlights.
Draw lightly with colored pencils. It’s for highlights. Be careful to let watercolor be the main impression of your artwork.

And that’s it, all done. My best wishes for your creative effort! There is only one thing that makes a master: Practice.

For a list of art materials, go to Guide to Art Supplies.


