
The peculiar flight of the tiny hummingbird is endlessly fascinating to us humans. In this watercolor tutorial, the focus is the beautiful, shimmering feathers. Learn how to paint a watercolor hummingbird that glimmer in the light.
The approach I take to solve the glimmer riddle is unconventional. It may look messy too. But if you follow the steps, you will arrive at a beautiful hummingbird watercolor.
I use a combination of three tools. They are watercolor, colored pencils, and not least: white gouache. I use white gouache often in my watercolor tutorials. But in this tutorial, white gouache takes on a prominent position. It’s the secret to making the feathers shimmer.
The hummingbird is a symbol of joy and good luck. Flitting to and fro in search of sweet nectar from flowers, they embody playfulness. The tiny bird can fly great distances, and it’s the only bird that can fly backward. The hummingbird reminds us to be resilient and optimistic in the face of obstacles.
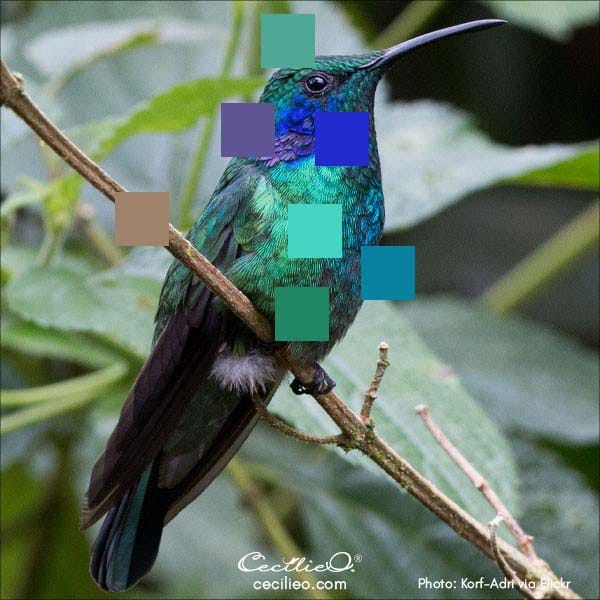
I selected a photo of a hummingbird resting to focus on the feathers, not flight.
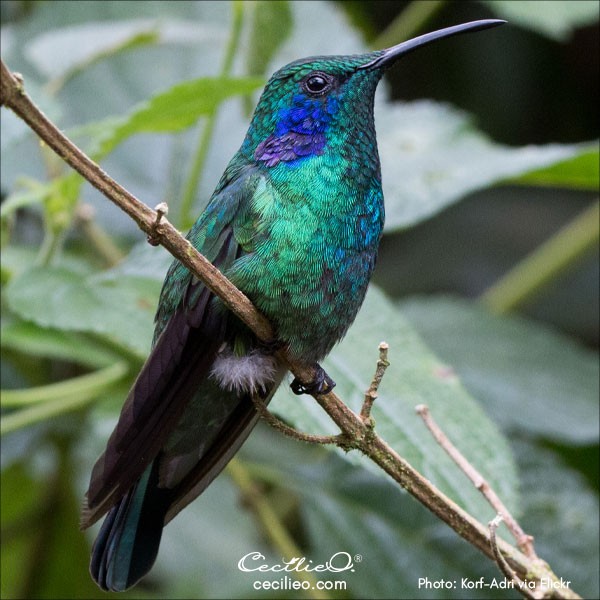
Let’s take a look at the colors present in the photo. We find an array of colors, most prominently shades of turquoise.
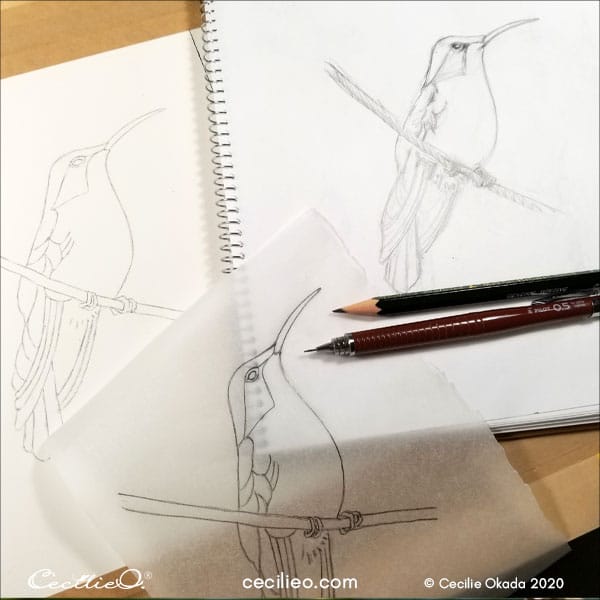
Step 1: Sketching the hummingbird
I first made a loose drawing of the bird in my sketchbook. Then, I drew a clean outline on tracing paper and transferred it to watercolor paper. You can download my line drawing for free in One Tree Art Club. Learn how to trace onto watercolor paper.
Step 2: Painting the body of the hummingbird with loose watercolors
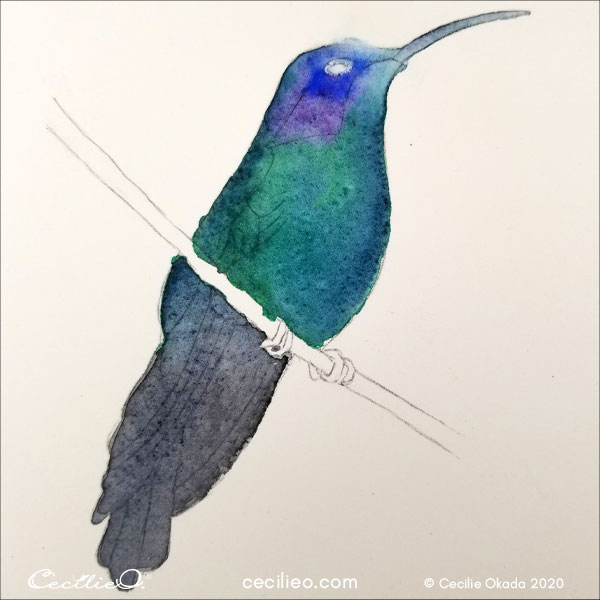
Paint the whole bird with water. Don’t include the eye, beak, and branch to avoid bleeding of colors. For a starter, I painted the body with light turquoise and grey.
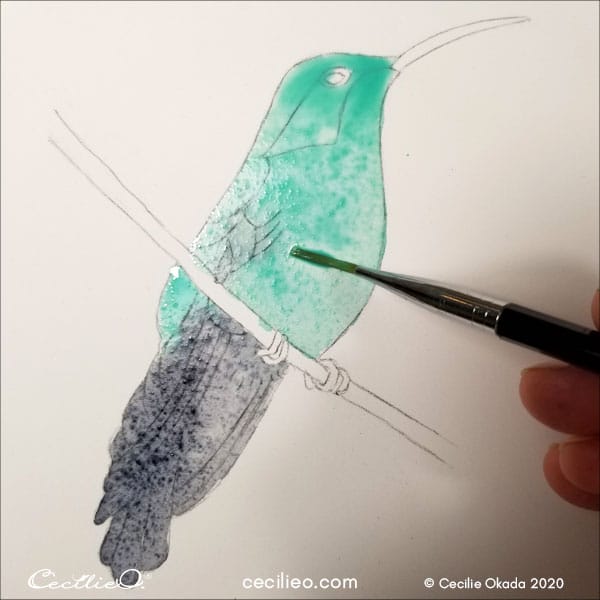
You’re going to build the feathers with layers of white gouache and colored pencils. To do that, you need a darker watercolor foundation.
With ample water, let the various colors bleed into each other. Don’t paint the eyes, claws, and branch just yet.
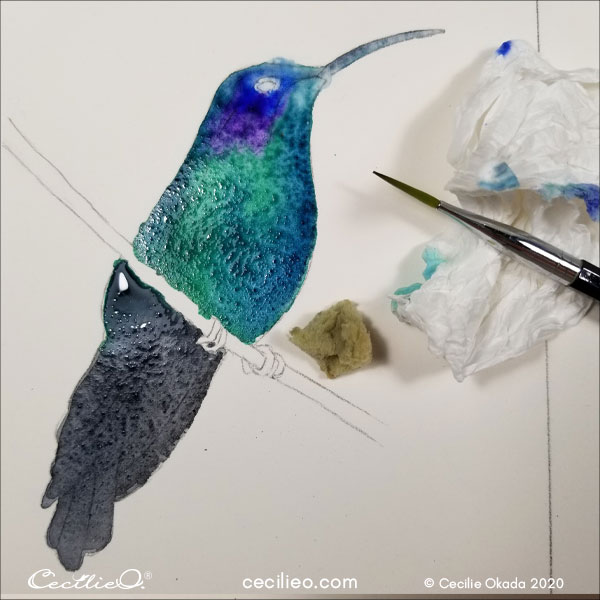
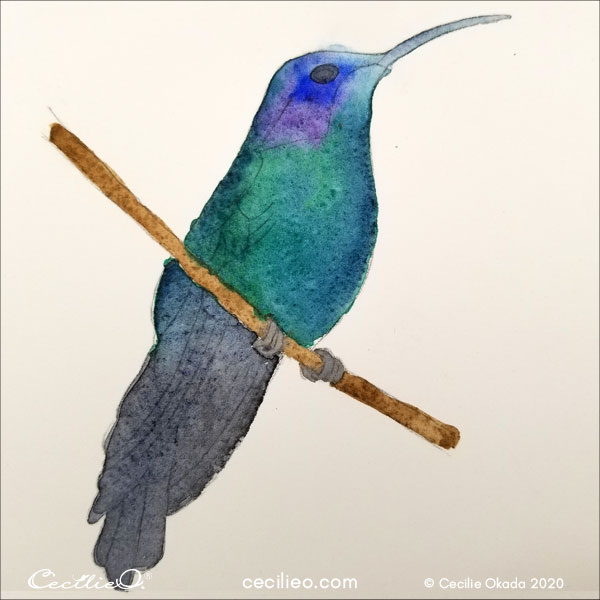
When the paint is completely dry, you can paint the eyes and claws black and the branch brown.
Step 3: Painting the foundation for the feathers with white gouache
Now the adventure starts.
You need a very fine brush for the next step. You’re going to paint some very fine, white lines on the feathers. Before doing that, draw overlapping round feathers with an ordinary pencil. These lines will serve as guides for the white gouache stripes. Don’t try to be exact with your pencil lines.
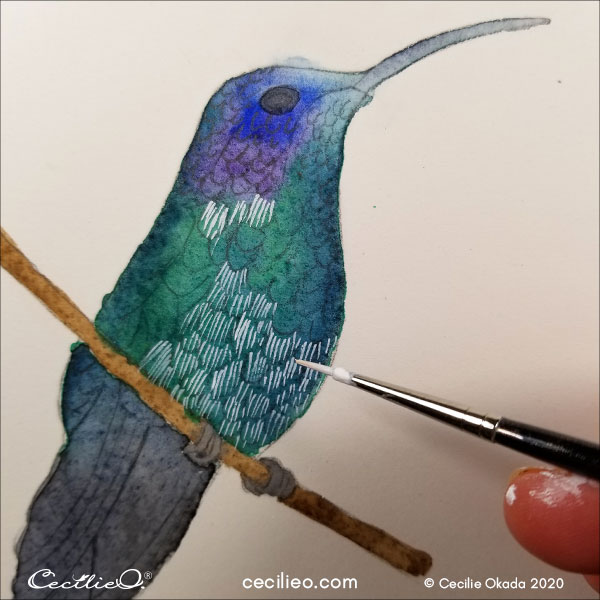
Expand the white lines to cover most of the body. Leave out the area to the left and the tail beneath the branch.
Step 3: Building the feathers toggling white gouache and colored pencils
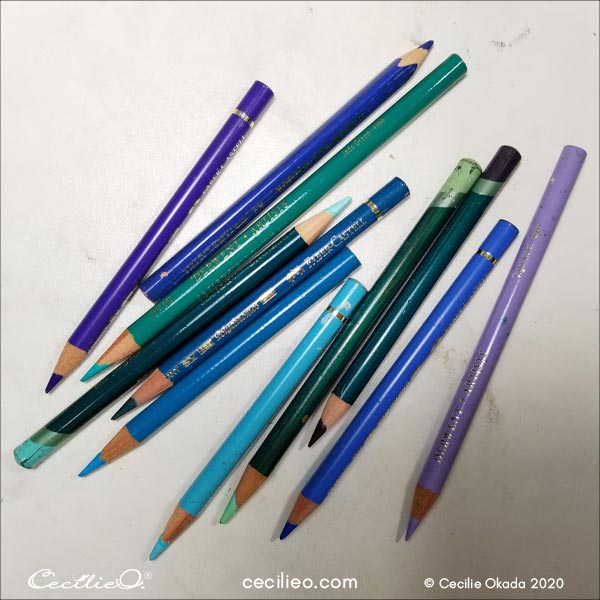
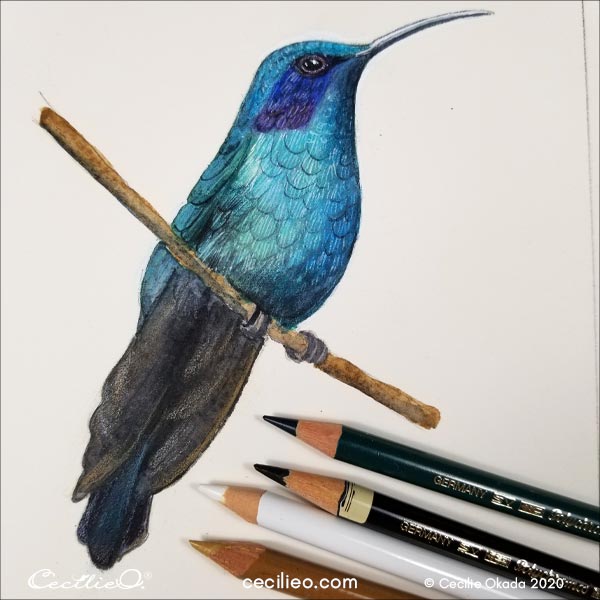
We’re going to work on the part of the body above the branch. From your collection of colored pencils, pick up any shades of turquoise, whether light or dark. You also need ultramarine blue and purple colors.
Below is my range of turquoise-like colored pencils, as well as blue and purple. I’m missing a strong turquoise that leans towards green. That’s why my watercolor is not as green as the hummingbird in the reference photo, but rather on the blue side.
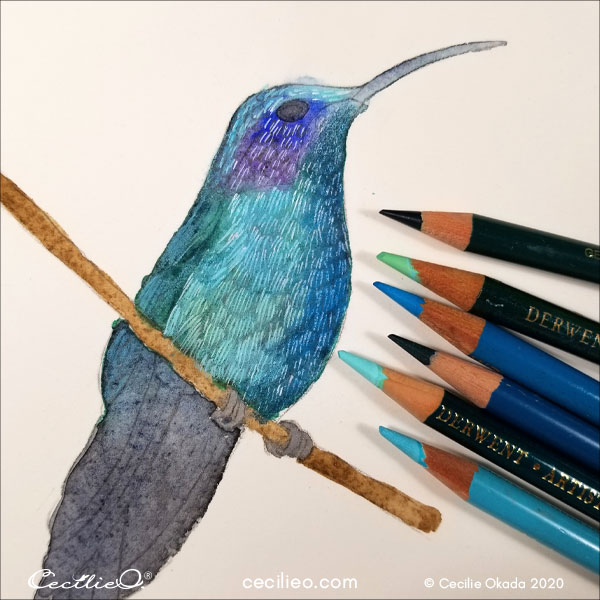
You will now alternate between colored pencils, white gouache, and black watercolor. The black watercolor is for shading. As you toggle between these three tools, the feathers will come to life.
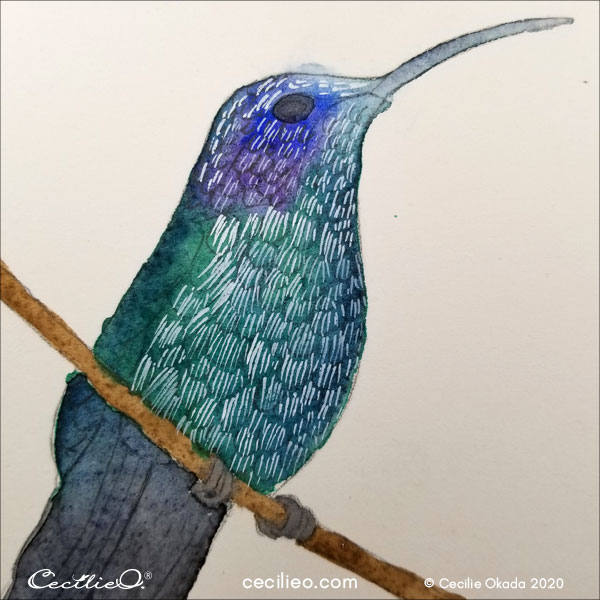
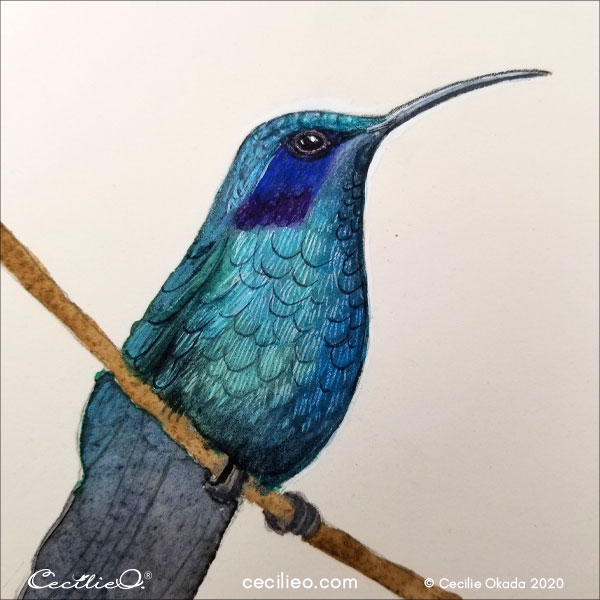
It’s time to get on with the eye. My painting is a bit too small, so I mess up at first. The drawing you can download in One Tree Art Club is bigger. That will make it easier for you to paint the eye.
Use the fine brush to paint two lines around the eye. Draw with a black colored pencil to darken the eyeball and a dark purple around the eye. Lastly, paint a bit of white reflection in the eye.
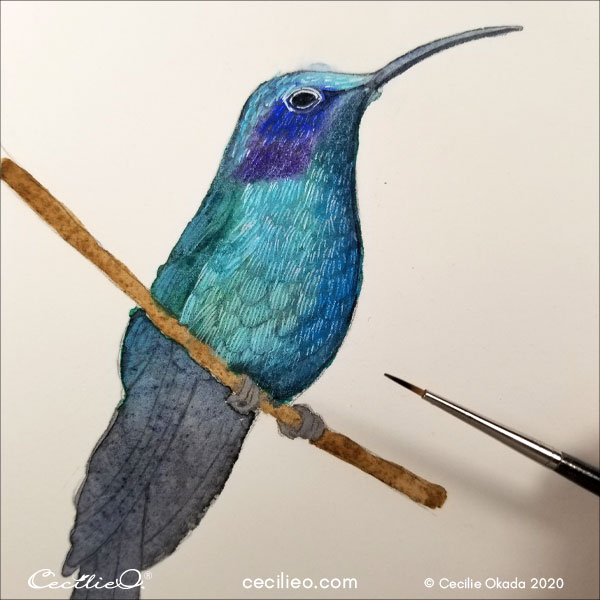
I’ve added a bit more white here and there, and some more colored pencils for highlights and shadows. This is a continuous process where you look at the reference photo and decide what to improve next.
Paint the beak white on top and dark on the underside.
Along the way, clean up the outline with white gouache. For this kind of detailed artwork, it looks better without bleeding edges.

Step 4: Adding final touches
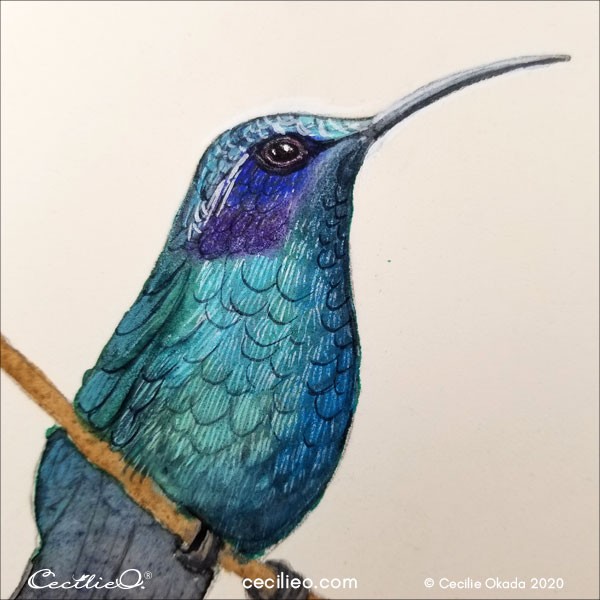
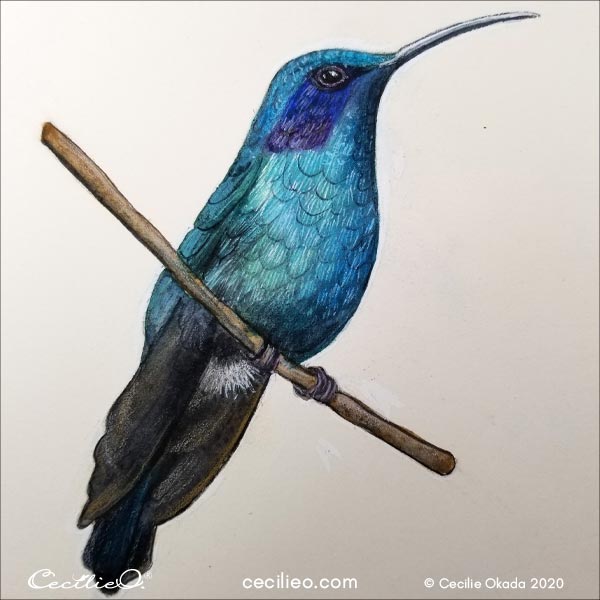
The blue and purple feathers underneath the eye don’t look too good. I painted over again with clear ultramarine and purple watercolors.
I continued to add white lines to the blue and purple feathers, as well as other highlights.
Paint with a bit of black watercolor for shadows on the brach and claws. Paint the tail and folded wings with black watercolor.
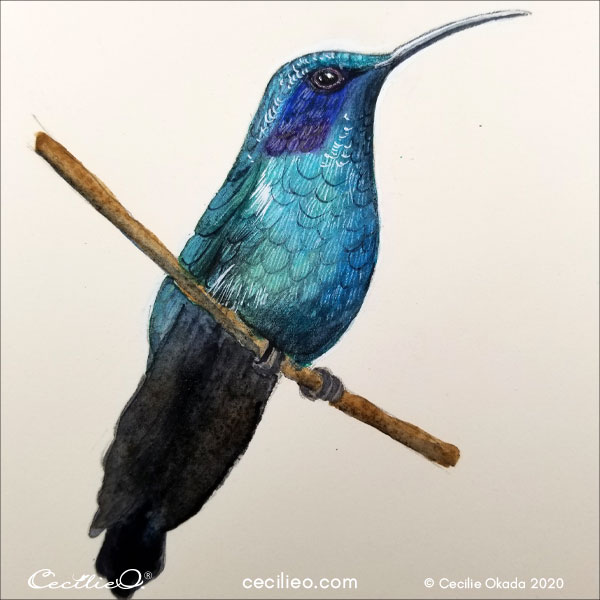
On the tail and folded wings, draw with colored pencils; ochre, dark blue-green, black and white. This will bring out the shapes.
Paint the white, bushy feathers under the branch. With a very light touch, draw over with black colored pencil to dampen the whiteness. Draw a clean outline for the branch and claws.
Draw clean black lines to separate the tail from the folded wings.
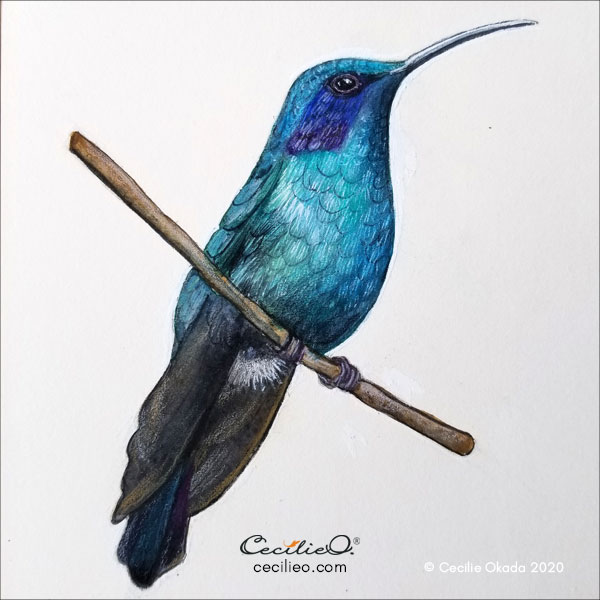
And that, my friend, is how to watercolor a hummingbird with shimmering feathers.
My best wishes to your creative joy!
Here’s another bird watercolor tutorial. It has a video, so you can watch me going through much of the same process.