

Estimated reading time: 9 minutes
The ethereal beauty of azalea flower buds is a captivating subject to watercolor. This humble and lush flower seems to invite itself. Learn how to watercolor exquisite azalea flower buds in this step by step tutorial.
The watercolor tutorial uses a combination of watercolor and colored pencils. It’s an easy technique that yields great results.
Every spring, azaleas in white and shades of pink lighten up the entire island where I live. They bloom much later than cherry blossoms, who have a very short life. Cherry blossoms display the same kind of ethereal quality. Both flowers are immensely cherished by the Japanese people.
For centuries, the Japanese have written poems about azaleas. More than 300 years ago, they cultivated many varieties. Today, there is even a yearly azalea festival in Tokyo. Europeans and North Americans imported these lovely flowers in the 19th century.
It’s hard to believe, but there are more than 10.000 varieties of azaleas today! In any case, they are symbols of self-care, modesty, and homesickness.
Let’s get started with the watercolor painting.
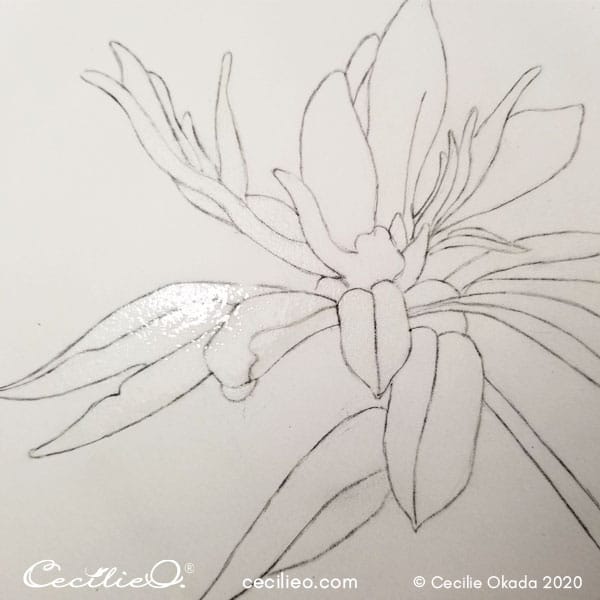
Step 1: Sketching the flower buds
I took the reference photo a few years ago, and it’s been my desire to paint this lovely bud for some time now.
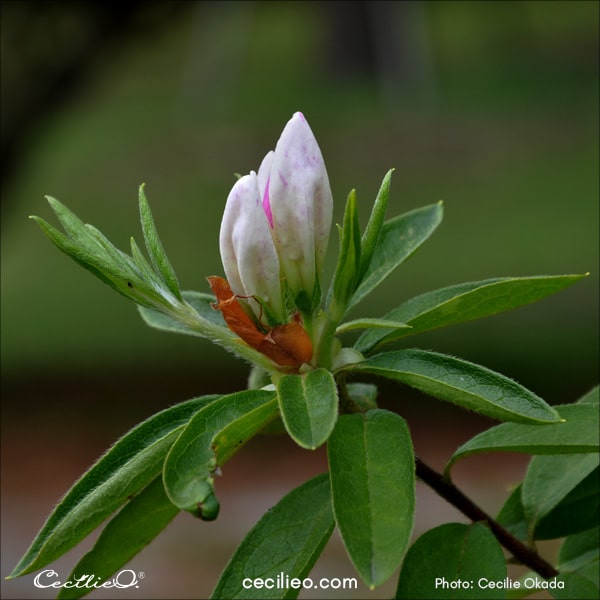
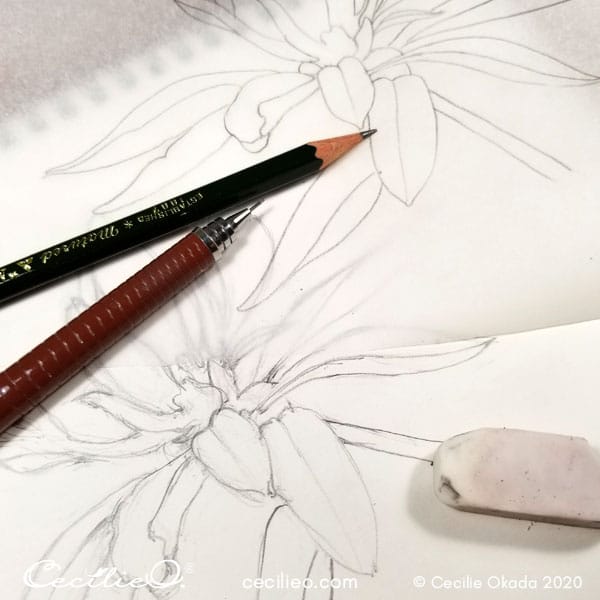
A usual, I sketched the flower in my sketchbook first. It was easy because the photo has an ornamental quality. I could draw with a degree of freedom without compromising the likeness to the flower.

I drew a clean outline on tracing paper and then transferred onto the watercolor paper. You can download the outline for free in One Tree Art Club. Print it out and trace it onto your paper.
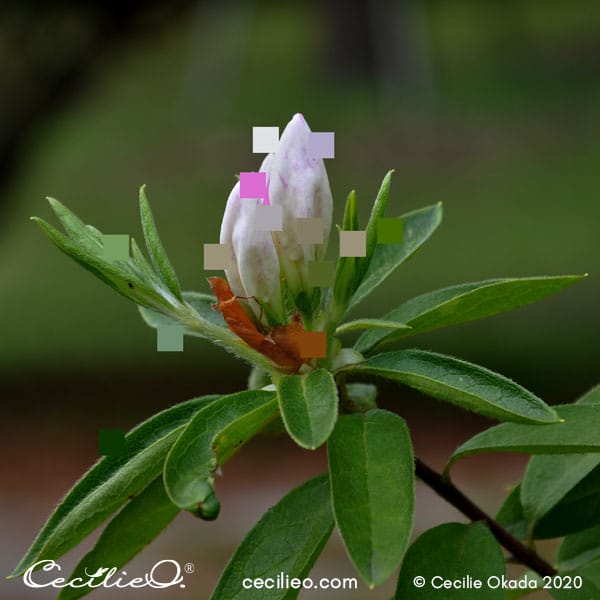
Step 2: Defining colors that are not obvious in the photo
Trying to define the colors in the bud itself, you’re up for a surprise. With the naked eye, white, pink, and light green seems to be it. If you use a color picker, you will see something different.
Shades of light greyish-brown make up the bulk of shadows. And the green isn’t all that light. What the eye sees is always relative to the surroundings. If you’ve ever looked at optical illusions, you know what I’m talking about.
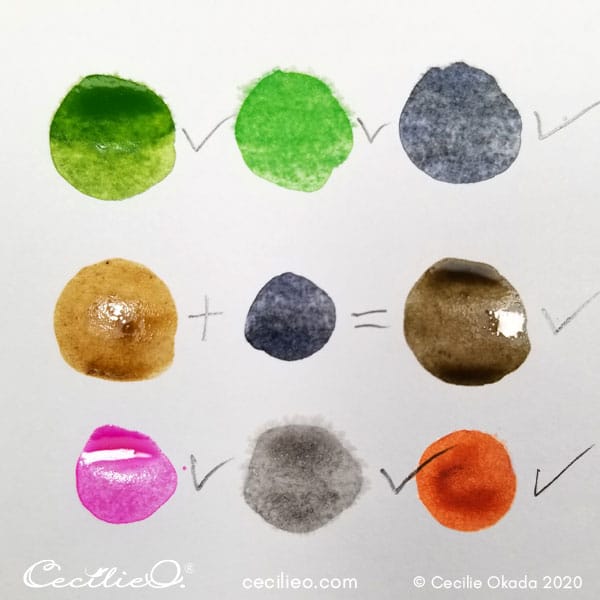
Here is a chart of the watercolors we will use.
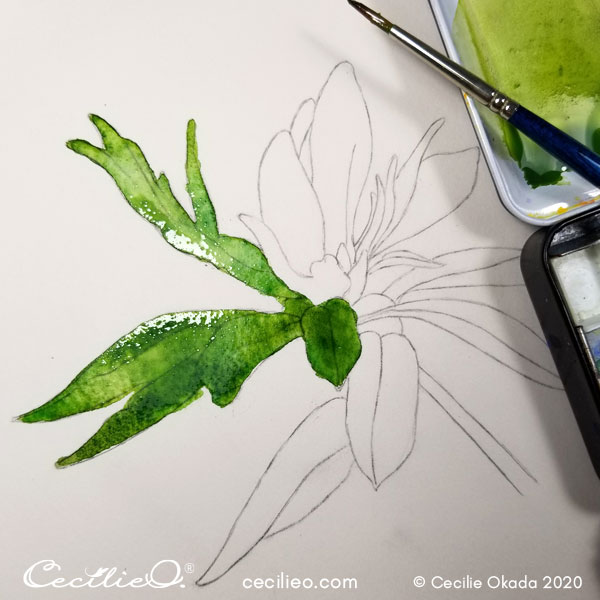
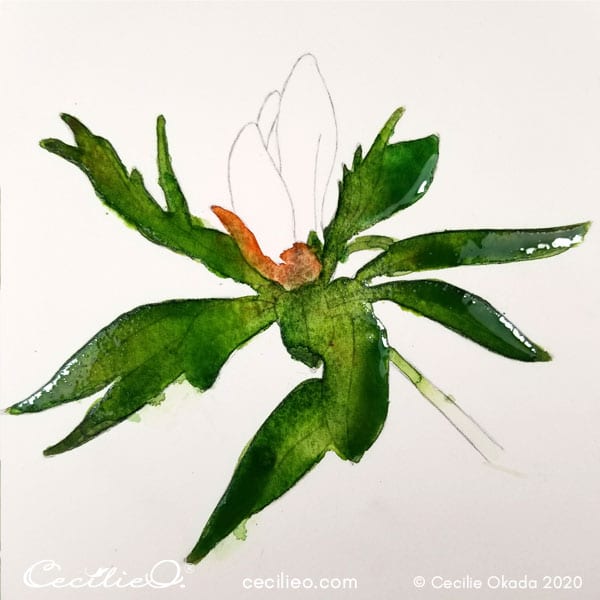
Step 3: Painting a watercolor base for the leaves
Start with the leaves; they are the easiest. Do it section by section, since there are a lot of leaves in this painting. Paint with plain water first to allow the pigments to flow freely.
Use more than one type of green to create nice shades on the leaves. Add drops of water on top of the already painted watercolors. This makes the colors spread even more unevenly.

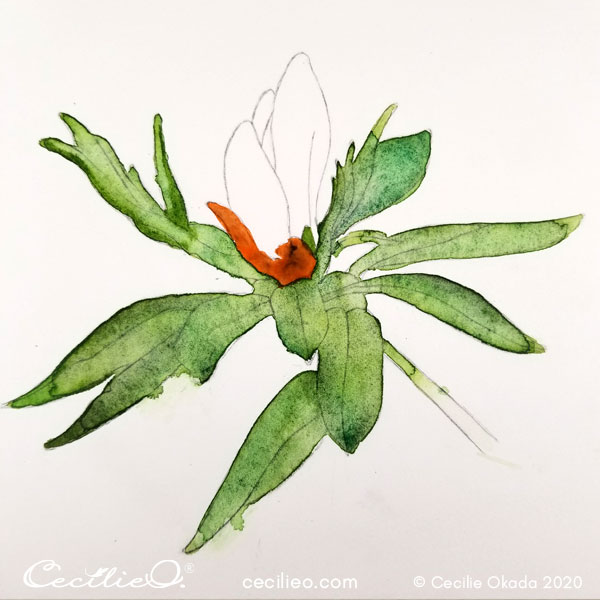
The watercolors are all dry. You can see I’ve added the terracotta too. But there is a problem.
Step 4: Observing the effects of watercolors on the type of paper used
Usually, I paint on a smooth, hotpressed, and completely white watercolor paper. It works beautifully when you draw with colored pencils on top of the dry watercolors. Colored pencils need a smooth surface to do well with my technique.
For this watercolor, I have chosen another paper. I have too much watercolor paper lying around that I need to use up. The paper I’m using here is also a smooth, hot-pressed paper, but it’s a different manufacturer and it’s cream, not white. And not as smooth as the white paper.
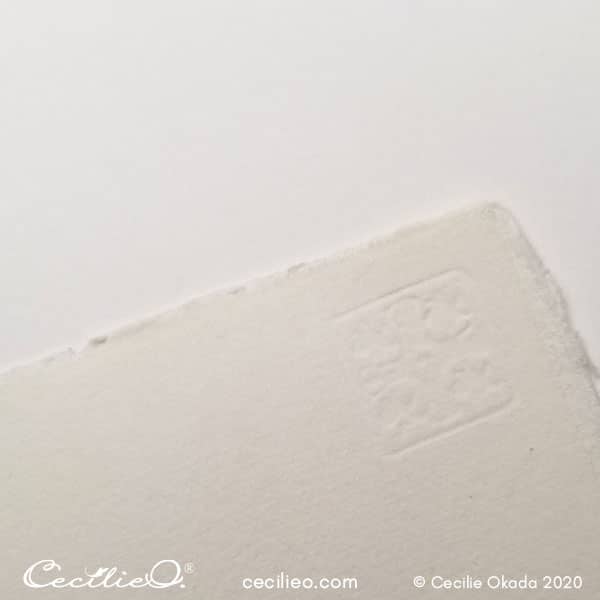
Different manufacturers use different techniques. This paper is more absorbent than the other, white paper. What does that mean for my painting? More pigments are absorbed into the paper. I need to add some more green colors to get a saturated, darker green watercolor base.
The reason is that I’m going to use lighter green colored pencils for highlights and texture. That’s an easy way to make leaves beautiful.

Step 5: Painting a watercolor base for the flower buds
Paint the buds with a very light greyish brown. That means using very little color on your brush, thinned out with water. Paint the same color for darker shadows and creases.
Use water sparingly; otherwise, you can’t control the flow of brown pigments. But use enough water to effect smooth transitions.
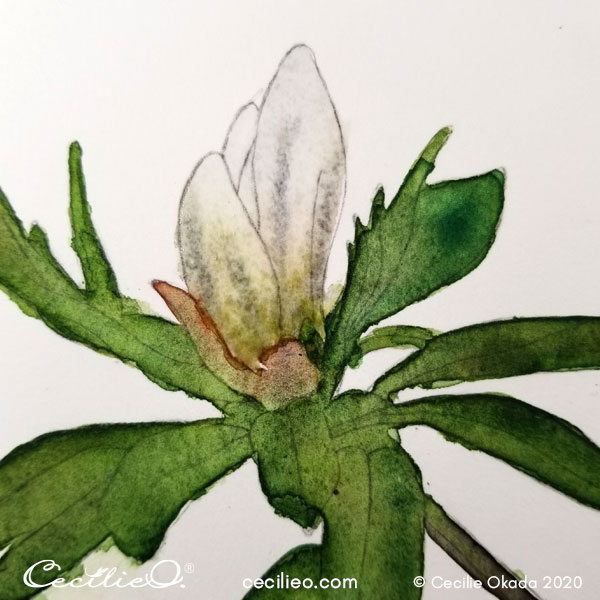
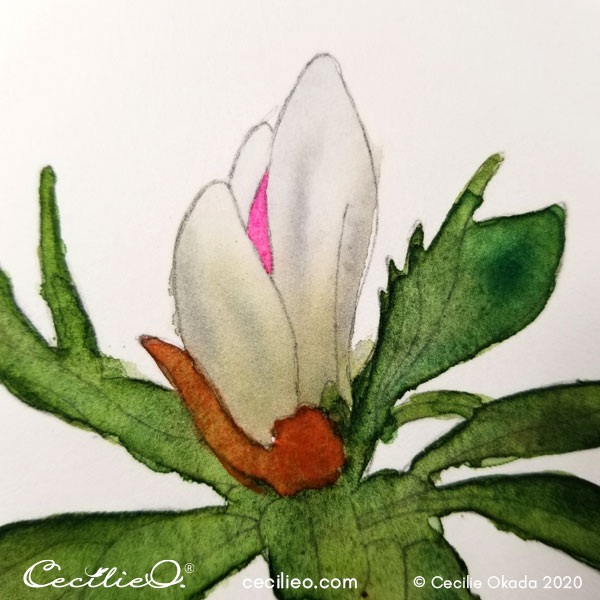
The brown watercolor looks quite different when it’s dry. Add pink watercolor to the snippet if pink as seen in the photo.
To paint the highlights you see in the reference photo, you will now add white gouache. Use very little water. With a damp brush, spread the paint to make smooth edges.
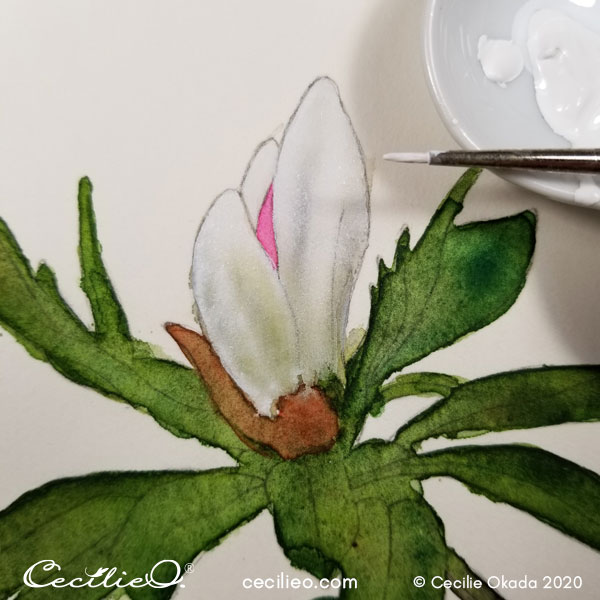
Paint another layer of white.
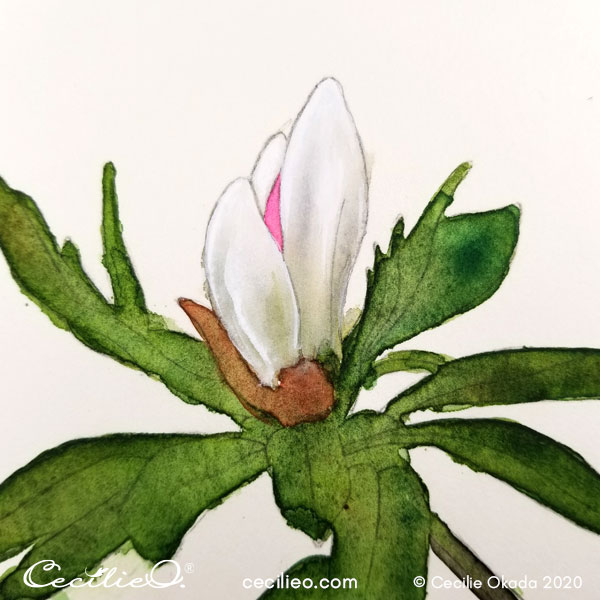
It’s time to add the pink specks. Use a pure magenta if you have. Add the specks very gently. Also, paint a faint sheen of pink on the buds as you see in the reference photo. At this stage, it’s a back and forth between the white and the pink. Look at the reference photo while giving the pink a subtle appearance.


Let it dry thoroughly.
Step 6: Retouching with colored pencils
Next up, retouch with colored pencils. This is what gives the final, unique look to the watercolor.
The first thing you need to do is redrawing the outline with a sepia-colored pencil. Make sure the pencil is very sharp. You will need to sharpen the pencil a few times as you redraw the outline.
When done with the outline, tidy up the bleeding watercolor. The leaves look messy. With a fine brush, paint with white gouache around the edges to create a clean outline. Make sure not to paint over the sepia line; only cover the bleeding watercolor.
Draw with light green colors on the leaves, creating highlights and some texture. You can deepen shadows with dark green. Ignore the fuzziness on the leaves in the reference photo.
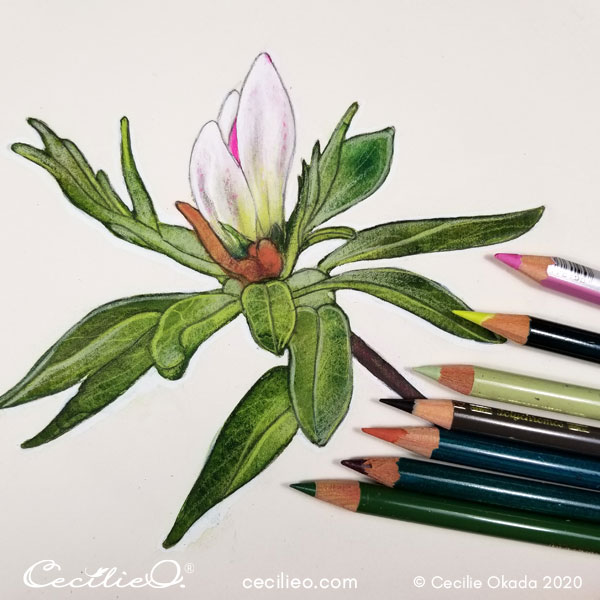
On the buds, draw smoothly with a light green. Use a pink pencil to retouch the pink specks, and brown and darker green to work on the shadows. This is a process where you need to draw very gently.
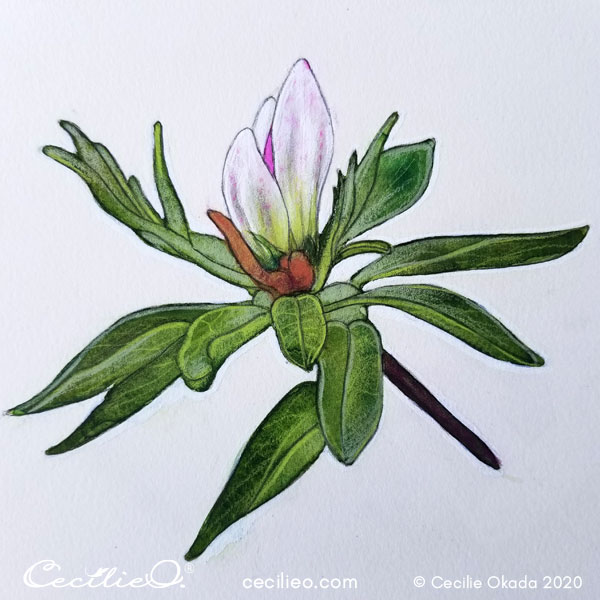
Use your intuition to finalize the result. Come back to the painting the next day to retouch some more.
Your fresh eyes the next day see things much better. You can even leave the painting for a few days without looking at it. You will be surprised at what you see with even fresher eyes.
And that’s how you watercolor a lush and humble azalea flower bud. Thank you for following to the end, and my best wishes to your creativity!
Pick a few more tips with these watercolor tutorials:


