

Estimated reading time: 6 minutes
Do you feel bewildered about how to watercolor trees? Thousands of leaves casting shadows, patchy forms strutting against the sky; where to start? Watercolor masters move their brush with ease and paint trees with a few brush strokes. But you don’t have to do that. You can paint vibrant, beautiful trees in three easy steps. In the last step, you can get creative with colored pencils.
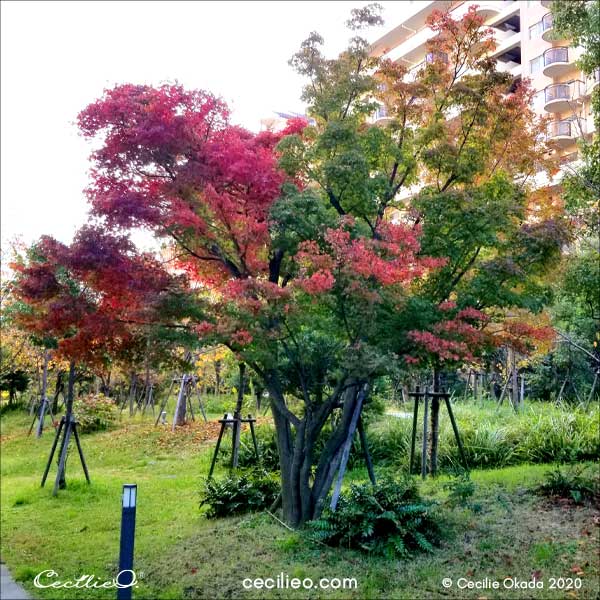
Recently, I took a snapshot of the tree we will use as a reference. Trees in orange, red, gold, and green are glorifying my neighborhood right now. The Japanese people are famously in love with the beauty of this colorful season.
Trees are imprecise shapes
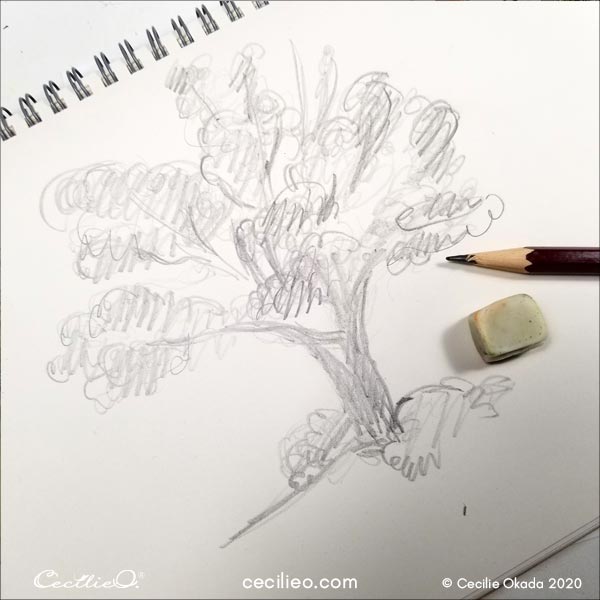
It’s a good idea to make a quick sketch of the tree before you start painting. In this way, you will acquaint yourself with the basic shapes that make up the tree. There is no need to sketch an outline of the tree on your watercolor paper.
Your watercolor tree does not need to look like the reference photo to look good. It’s a different ballgame than painting flowers, birds, or animals. Trees are nebulous forms, inviting creative freedom.
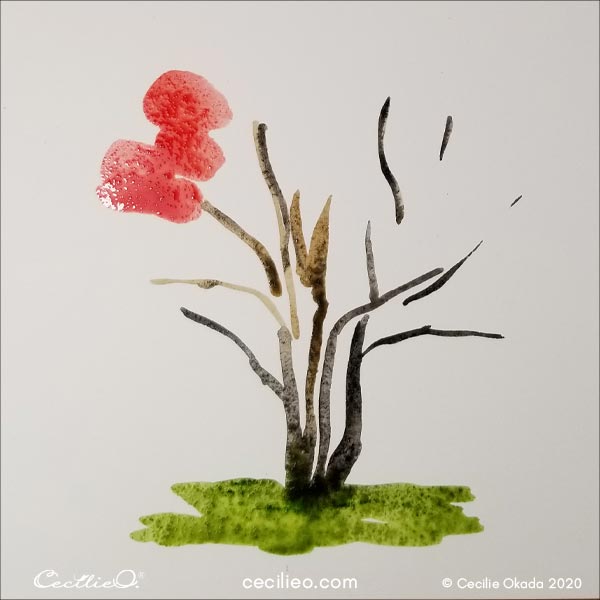
Step 1: Watercolor the trunk, branches, and leaves with simple strokes
Use a round, pointed brush. I used a size 10, but a smaller one is fine too. Draw lines for the trunk with dark brown watercolor. Turning your brush around as you paint for thinner or thicker strokes.
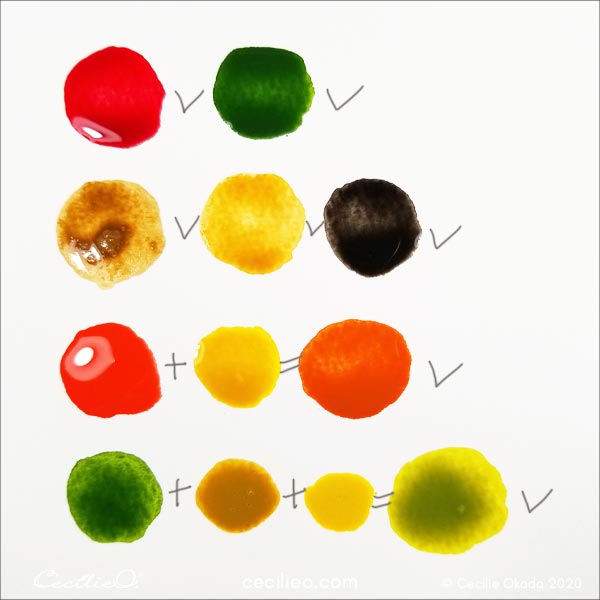
Below are the colors I used. Mix the colors in advance, and keep a good supply. You will use a generous amount of color to paint the tree.
With a rather wet brush, paint the leafy shapes with broad strokes. Make sure to leave spaces of white in-between, and avoid details. Play with reds, orange, and greens.
When should you stop and not overwork your piece? Pay attention to how the colors swirl and make beautiful patterns. If it’s pretty, stop. If you don’t stop in time, it will become a muddy brown.
But what if it doesn’t get pretty? It means you have too much pigment or water on your brush. With the right amount of color and water, it will be beautiful.
You may want to practice painting this on sketching paper first. Then you can unleash on precious watercolor paper. This way, you will get a feel for how much pigment and water to use. You can watch me paint in the quick video below.
How to watercolor a tree by Cecilie Okada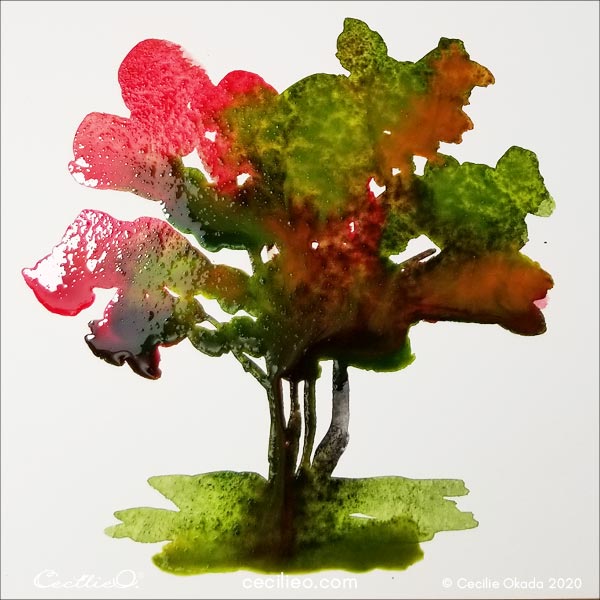
You can let it dry naturally, or use a blow dryer. If you use a blow dryer, the paint will move around due to the wind. You will get some exciting shades by controlling the movement of the water.
You can consider your watercolor painting completed, or go on to the next steps.

Step 2: Applying watercolor with a dry brush for look-alike-leaves
Before you get on with this step, practice using a dry brush on sketching paper.
Use an old brush, because you’re going to press it down hard and apply dry paint with a fan-like motion.
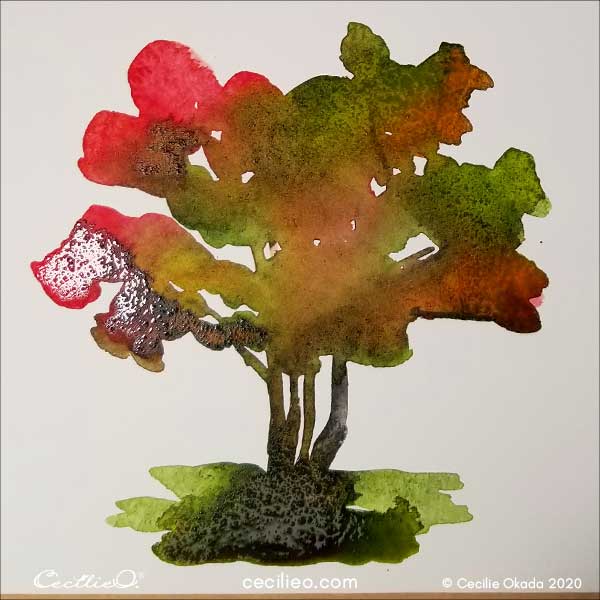
Wet the brush and soak up the water with tissue paper. Apply paint that is barely wet. Move your brush around in various directions, letting the hair spread out in a fan.
Apply the fan-like motion at the edge of the leafy structures. This will give you the realistic-looking leaves sticking out.
Look at the photo for inspiration on where to apply the dry brush.
When done, repaint the branches in-between leaves with a dark brown or black.
Step 3: Get creative with colored pencils
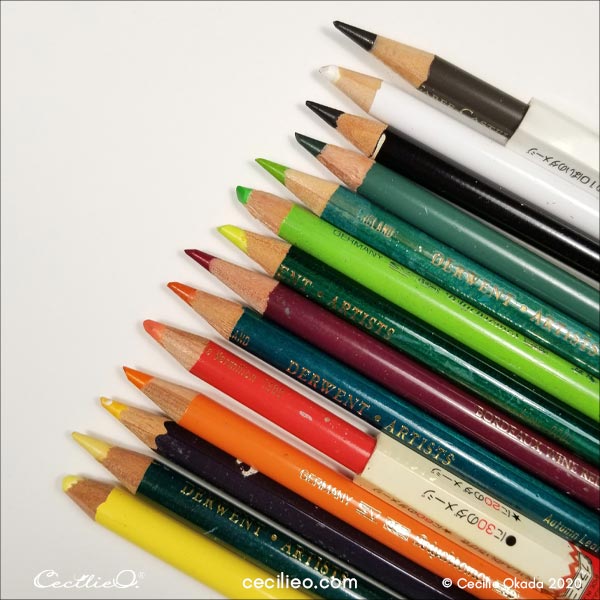
It is not necessary to match my colored pencils as depicted below. Use what you have in similar color ranges.
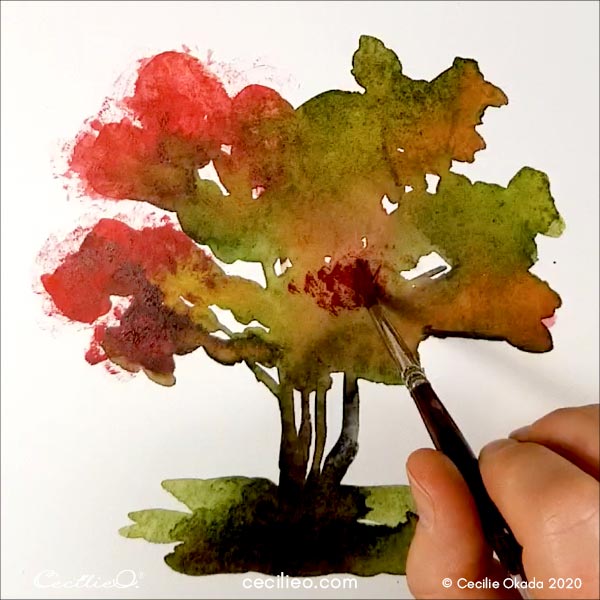
Our tree looks a bit messy from the dry brushwork. You’re going to take advantage of this very fact. With colored pencils, let loose and amplify the uneven blotches of color. Use light and dark colors for light and shadow.
Your colored pencils should not be sharp. Draw with a circular motion. Notice how you get texture from colored pencils on top of the watercolor layers.
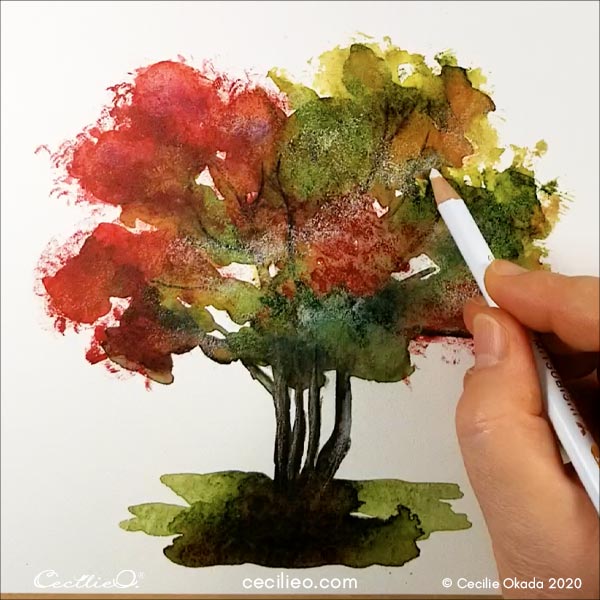
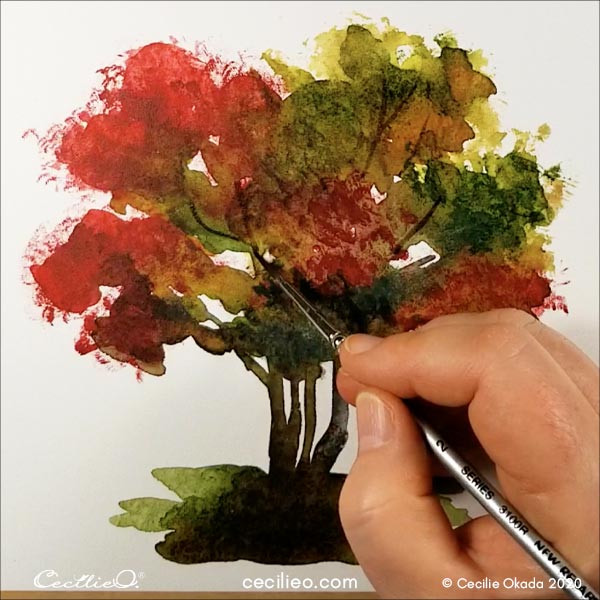
Lastly, I drew a bit of glow on the right side.

After looking at the tree once again, I decided it needed more pronounced shadow and light. And some more red color.

It’s all done.
Happy painting to you! If you wonder about relevant art materials for this tutorial, I have written a Guide to Art Supplies that I hope you fnd useful.
Do you want to learn more? Explore these tutorials:
21 Days Easy Watercolor Leaves Challenge


