

Estimated reading time: 8 minutes
Some flowers elicit awe with their delicate, luminous beauty. Queen Lily, also known as Turmeric flower or Siam Tulip, is one of those. A member of the One Tree Art Club requested a tutorial about the transparent petals of this charmer. It wasn’t until I remembered that I have a tea called Curcuma-Lemon that I found a suitable reference photo. There aren’t many decent turmeric flowers on the net, you see. Curcuma is the botanical name. This watercolor lily tutorial is all about luminous petals.
It is perfectly possible to achieve luminosity with watercolor alone. Here, I will teach you how to use white gouache for this effect. Gouache is a denser form of watercolor. By taking the help of watercolor pencils as well, we can get a good result with ease.
What is unique about Queen Lily?
There are many varieties of the Curcuma species. Wikipedia lists 128, and the variations include both ginger and turmeric roots. It so happens that I am in the habit of drinking a homemade brew of turmeric and ginger every day. It has cured a painful finger, and it tastes good too (with a bit of sweetener).
The medicinal qualities of turmeric and ginger are marvelous and well documented. But we won’t go into that here. I any case, the golden powder has a significant symbolic meaning as well. It stands for fertility, prosperity, and purity in India, where it is a native plant. Curcuma is native to most of Asia.
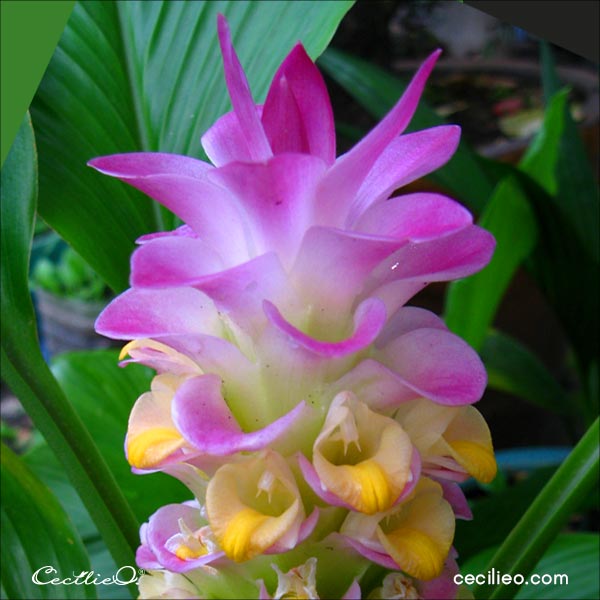
Photo: VanLap Hoàng via Flickr/ creative Commons.
Discover many beautiful flower photos in our Sketching and Watercolor Ideas tool.
Lets’ enjoy the pretty flower and start painting!
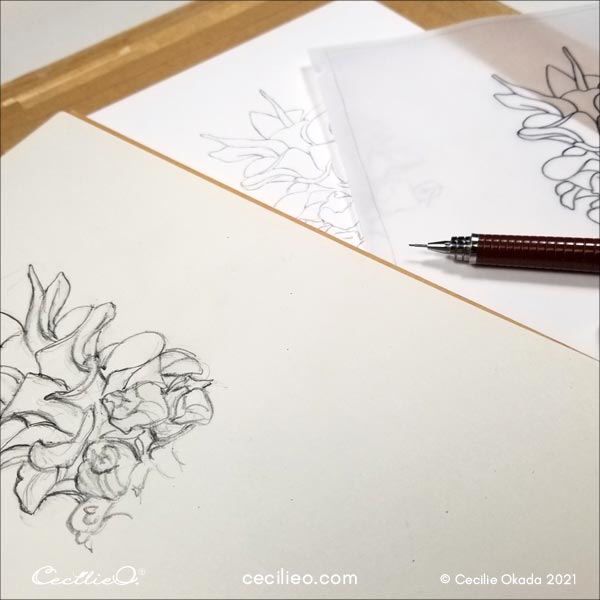
Step 1: Drawing the flower.
This flower is a bit intricate. If you prefer to trace mine, you are welcome. You can download it for free in the One Tree Art Club library. Well into the painting process, I saw that my drawing was on the narrow side, and expanded the petals. That is the version you can download.
Step 2: Finding the color palette
As you can see in the picture below, the color range in this flower is simple. I picked up the colors with our manual color picker.
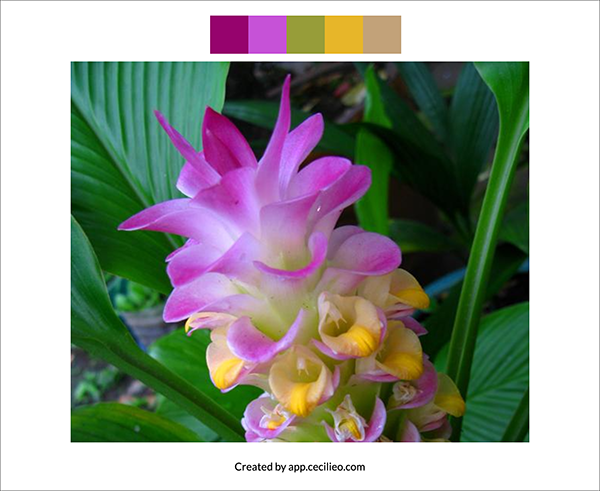
If you have a clear pink in your watercolor set, you’re good. If not, use the closest option. If you don’t have the type of green shown, mix a little bit of ochre with green. The ochre will soften the green and skew it towards olive. For the yellow petals further down, any kind of yellow will do.
Step 3: Painting the watercolor lily.
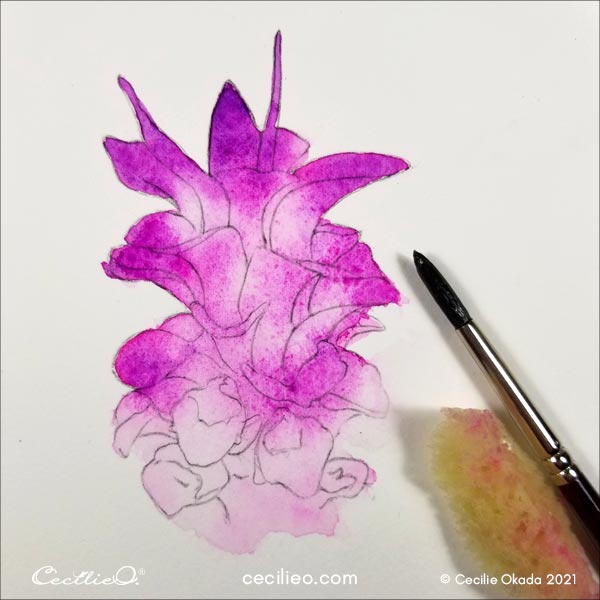
First, paint the whole drawing with water. Paint with pink all over. If you have variations of pink, you can paint some dynamic tones. Use minimum color on the bottom half.
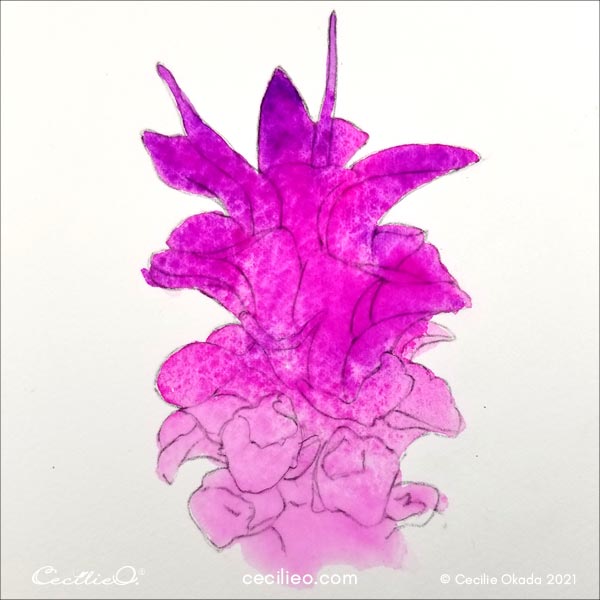
Make sure you have a watercolor sponge at hand. You are going to need this to soak up pigments to start the process of painting luminous petals. When you soak up color, it will never be exactly like in the photo. Photo-realism is not the purpose of watercolor painting, anyway. The image is a guide, but your creative hand is the maker.
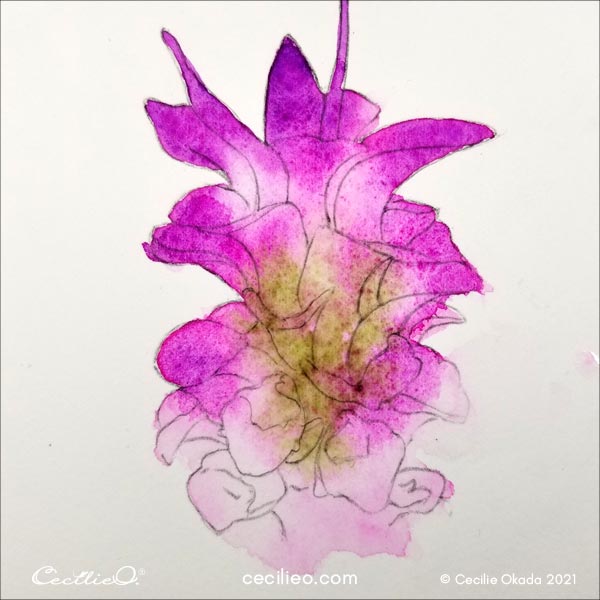
While the picture is still wet, add more pink here and there. Look out for spaces where color is missing.
Paint green like you can see in the reference photo. Since the painting is still wet, you can let the green bleed into the pink.
Paint the bottom yellow petals. The pink color already there will skew the yellow towards a warmer version.
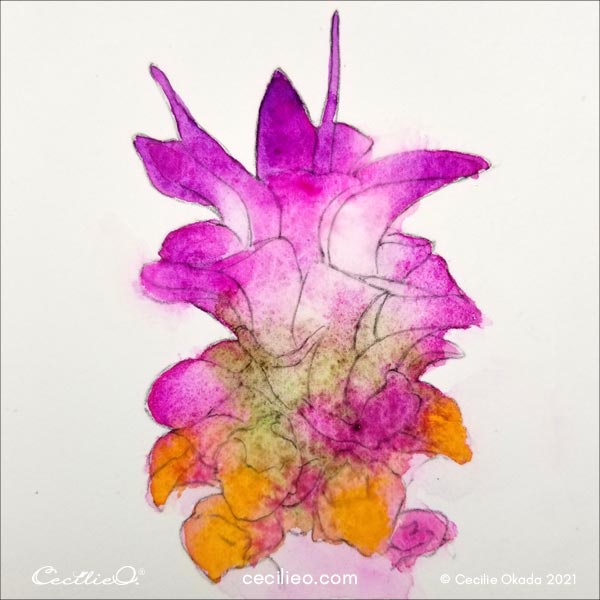
At this point, I realized that the flower was too narrow. I expanded the petals, but you don’t have to that if you traced my outline drawing.

Step 4: Clarifying shapes and colors with watercolor pencils.
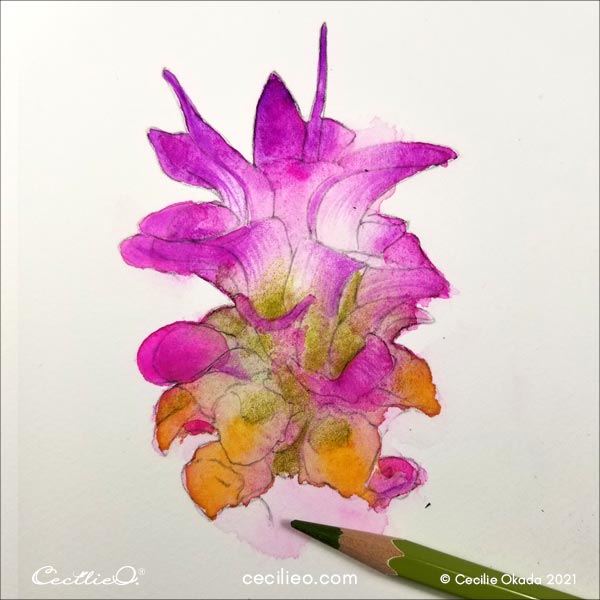
When the watercolors are dry, it is time for the petals to get some more structure. Pick up a magenta or deep purple watercolor pencil and draw faint lines on the petals. Refer to the photo. Also, softly draw some more pink where there are gaps in your painting. Often, the sponge soaks up more color than you would like it to do.
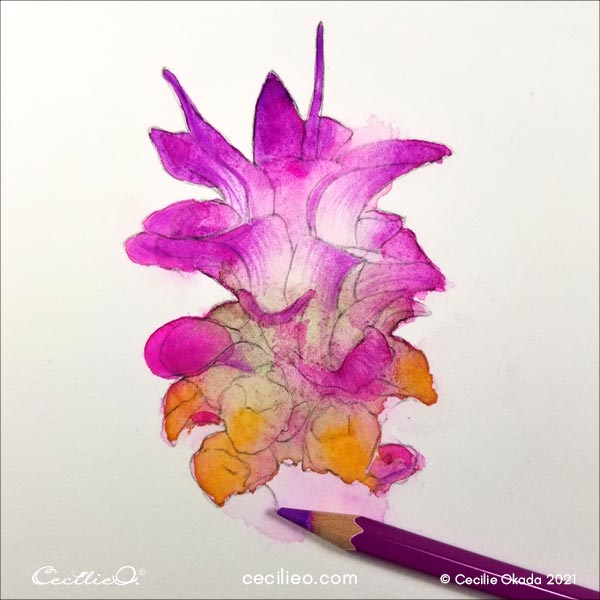
Next, draw green as you see in the photo.
Lastly, draw the yellow and orange.
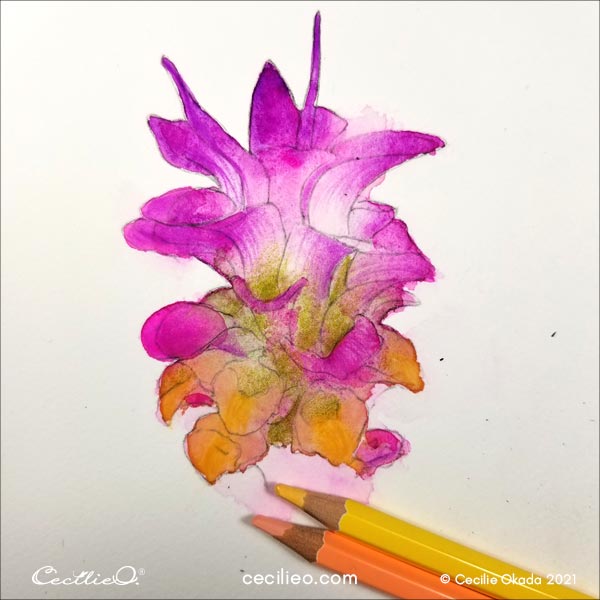
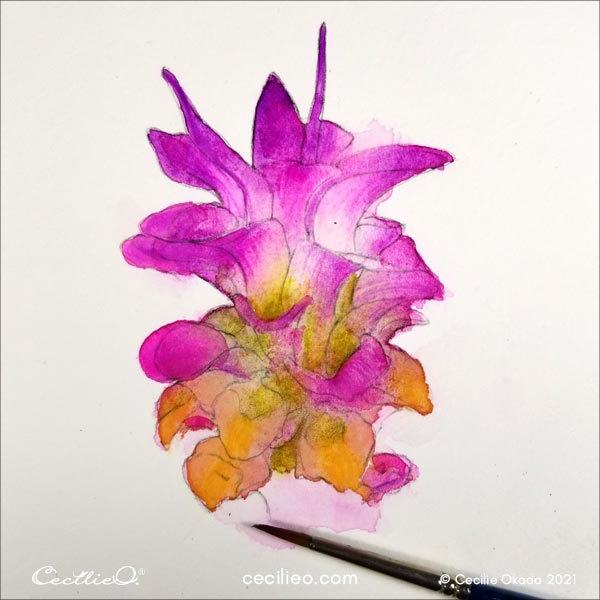
Activate the watercolor pencil with water where you want softer gradients.
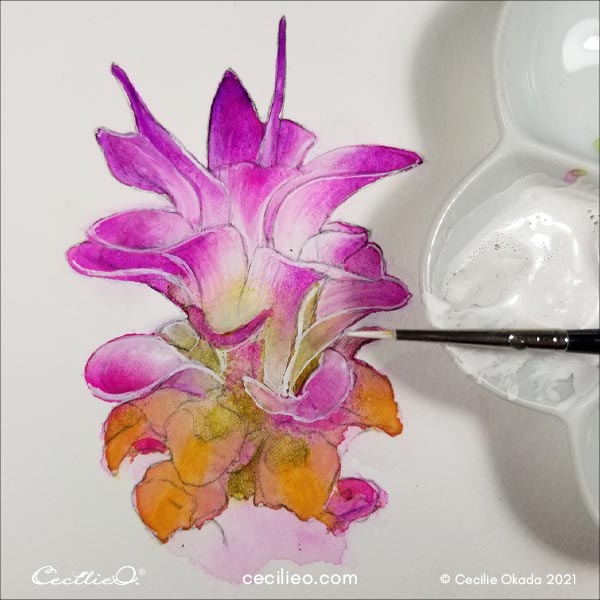
Step 5: Painting the petals transparent with white gouache.
In this step, you will go into the details of each petal of the watercolor lily. Look closely at the photo and paint it with white gouache. To get smooth gradients, be careful to use water sparingly.
It is also a good idea to use a fine brush. (I used size 00). To have full control of the white paint, a small contact area between the brush and the paper is essential.
Then again, the drawing is small. To make it easier for you, I have enlarged the outline that you can download in One Tree Art Club. You may not need a brush quite as small as mine.
You can see that I have drawn thin, white outlines as well for many of the petals.
There is no need to pay much attention to the yellow petals at the bottom. Rather than focusing on realism, I decided to draw white lines to mark out the shapes.
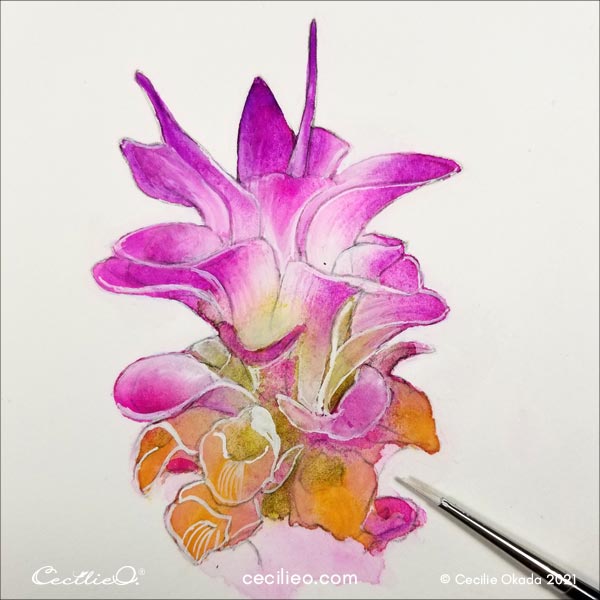
Next, use darker greens to mark out the shadows inside the yellow petals for a touch of realism. I used a little bit of dark purple here and there when finishing the painting.

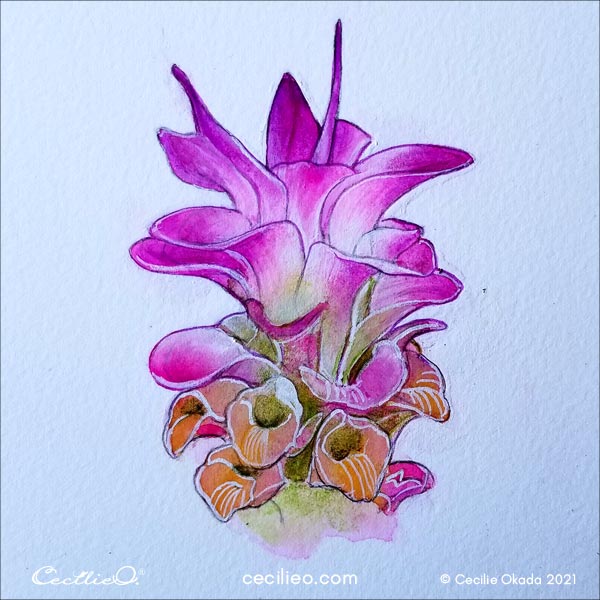
Completing the watercolor lily.
I gently redrew outlines too. Dark purple for the pink petals and dark brown for the lower part. The watercolor lily is all done.
The photo below is taken outside on our balcony. The colors look different. That is because the sunlight has another color spectrum than the lamplight indoors.
You can find a full list of art materials needed for this tutorial in my Guide to Art Supplies.
This blog has many watercolor & colored pencils tutorials. Here are some:


