

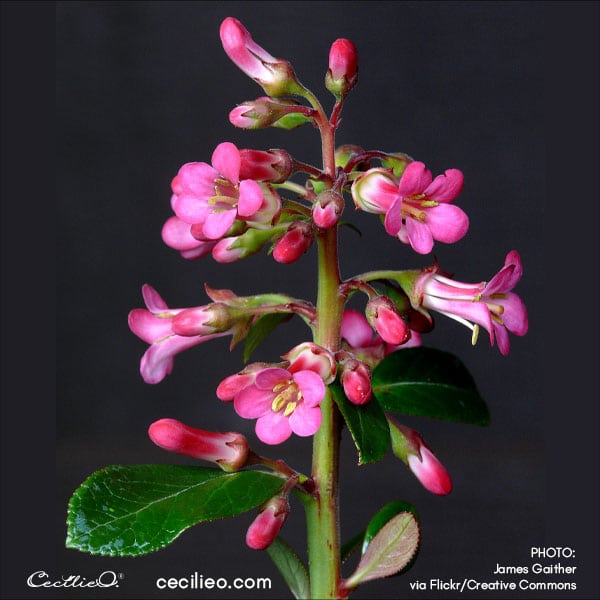
Learn how to paint flowers in watercolor with a beautiful, flowering garden shrub. Pink Princess Escallonia stands tall with dark, shiny leaves and honey-like fragrance. The pink blossoms are easy to watercolor.
In most of my tutorials, I use my photos as a reference. But this photo is a favorite by James Gaither on Flickr. You will learn how to paint the fascinating color nuances on the stems, as well as the many variations of pink spread across the flowers (did you notice the different pinks?).
Step 1: Figuring out the color scheme
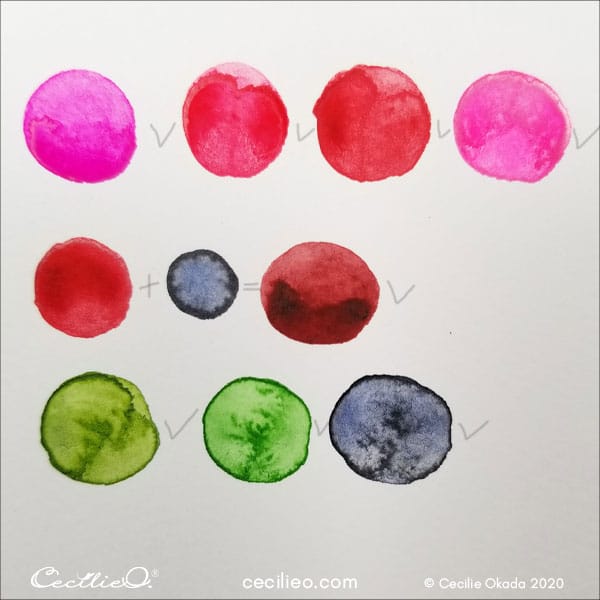
Let’s first find out what colors are present in the photo.
You can see that the flowers have two kinds of pink and deep red. The stems have shades of green and maroon.

Try for yourself to select colors from a photo with this color picker. You can assign five colors to your photograph.
For this flower, I have selected hues of pink and red from my watercolor punnets. Depending on your watercolor set, choose the available variations. Magenta is the best starting point. You can mix magenta with red to get shades of pink. You probably have to make a maroon color.
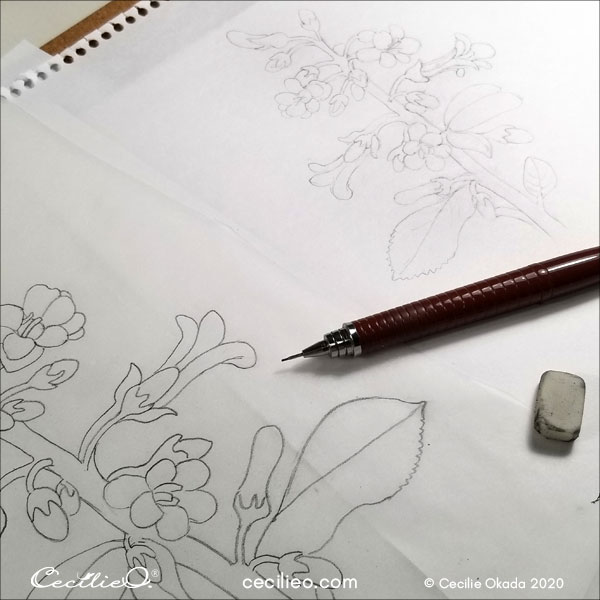
Step 2: Transferring the drawing to watercolor paper
My drawing of this flower was a bit small, so I scanned it and enlarged it. I then traced the outline and transferred it to the watercolor paper.
You can see in the photo that I used an old embossing tool to transfer. A hard pencil will do the job just as well. The point is to press down the lines to make the graphite stick to the watercolor paper.
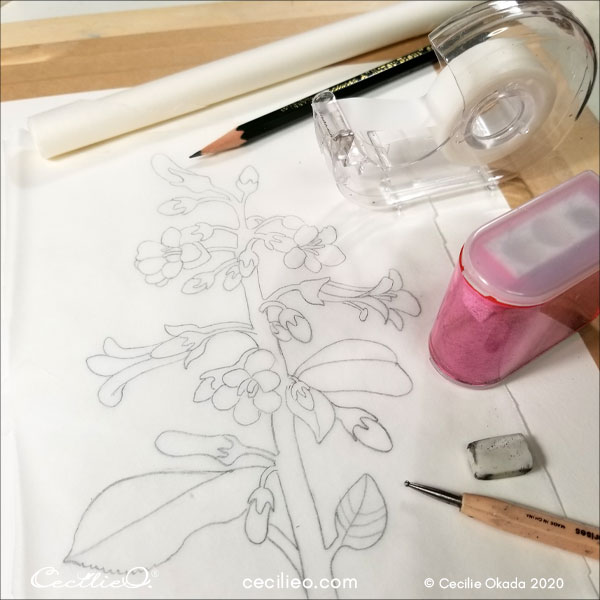
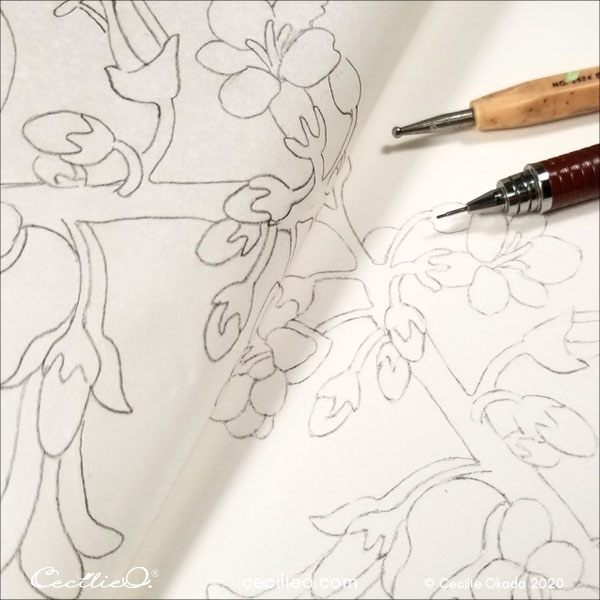
You can download my drawing for free in the One Tree Art Club library.
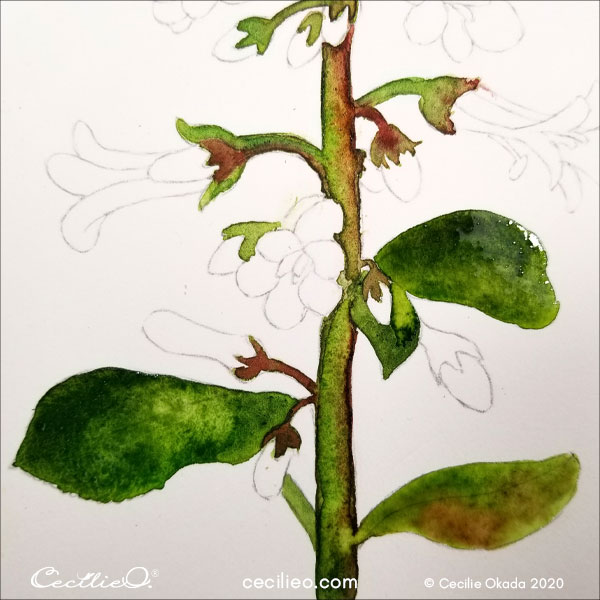
Step 3: Painting the stems and leaves with watercolor
First, apply green watercolor. Be careful since the drawing has a lot of intertwining stems and flowers. Stay clear of the flowers so that they don’t get wet.
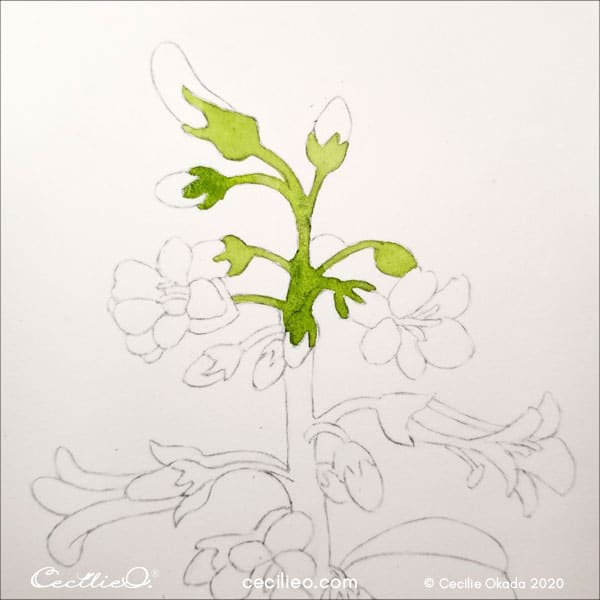
Next, apply maroon watercolor. With a generous amount of water, let the green and maroon flow into each other. It is the fun part, seeing how you can adjust the flow by moving your brush. You do this while still letting the wet colors lead the way.
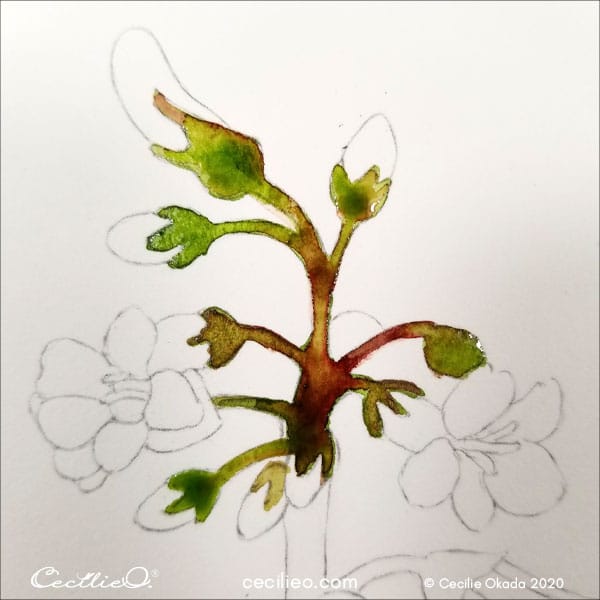
Paint all the places in the drawing that will be green and maroon. Don’t try to imitate the photo precisely. Use your creativity when applying the colors.
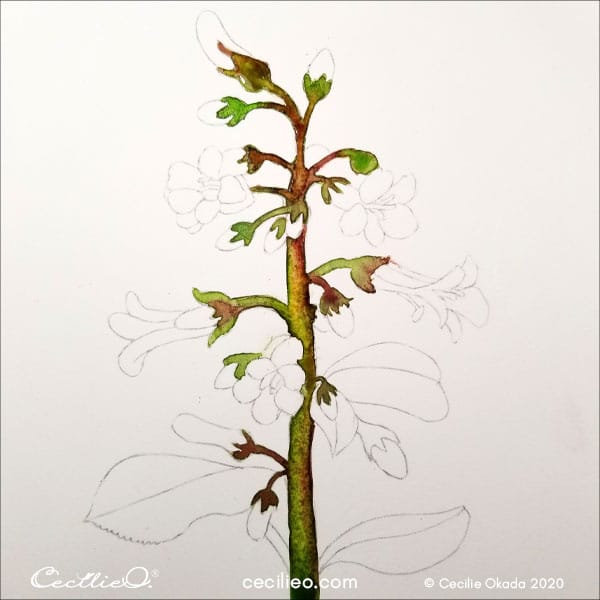
Lastly, paint the dark green leaves. Try to distribute the paint to mimic the bending of the leaves.
Step 4: Painting the flowers with watercolor
When the stems are dry, you can let loose with various pinks and red. Since each flower or bud is rather small, use tissue paper to soak up pigment for the white areas. A sponge is too broad.
Later on, you are going to refine the white areas with a white pencil and gouache. So don’t worry about getting the white parts “right”, as it were.
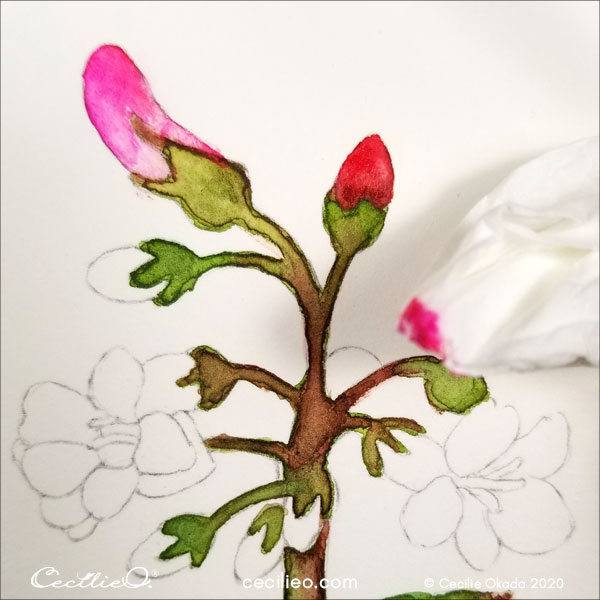
Next, complete painting all the flowers and buds with shades of pink and red.
Step 5: Adding details with colored pencils
It’s time to add details to make the flowers stand out. Assemble a variety of colored pencils: Light and dark pinks, dark red, reddish-brown, light and dark greens, sepia, and white.
Look at the photo when you draw in the details. Bring life to the painting by adding highlights and shadows with colors and white. The sepia (dark brown) is for drawing outlines.
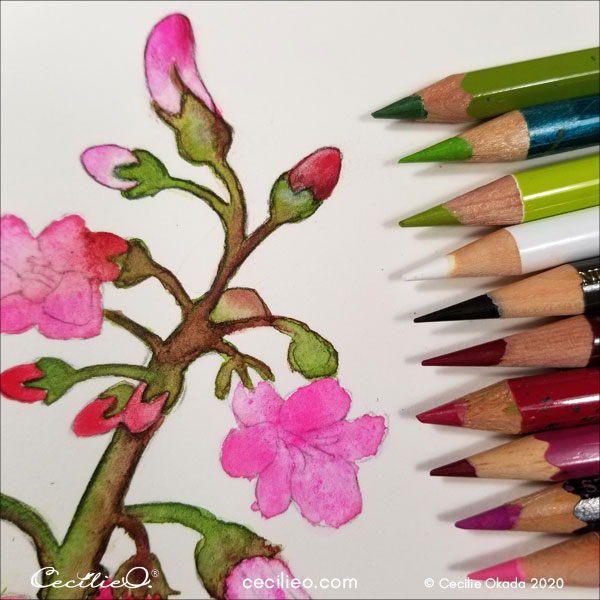
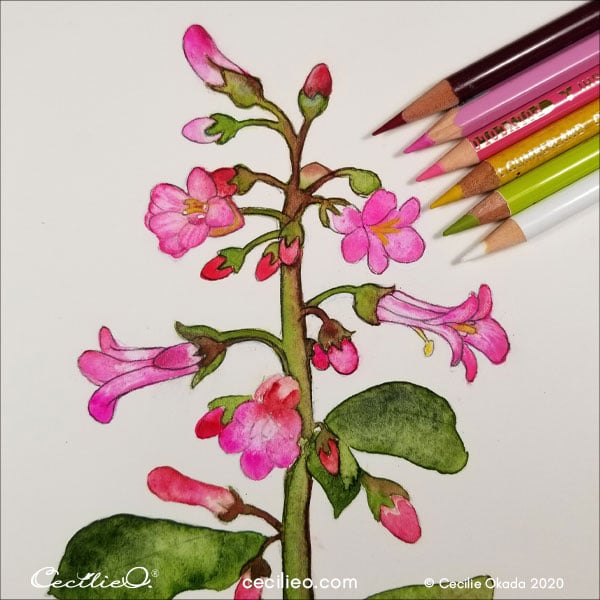
To make the highlights even better, paint the white areas with white gouache. Use a fine brush. You can also clean up around the outline with white gouache. There is always some stray paint.


Draw the stems on the leaves with white gouache. When it’s dry, draw with light green on top of the white. Use both light and darker-colored pencils to create the shadows. This way, you make the illusion of bending leaves.

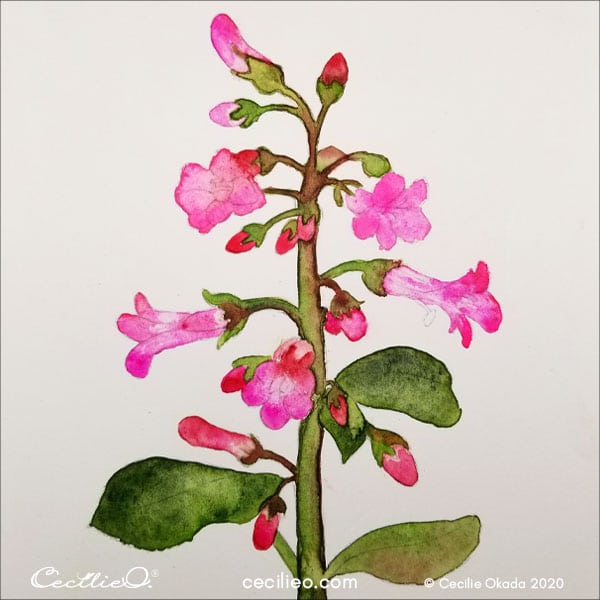
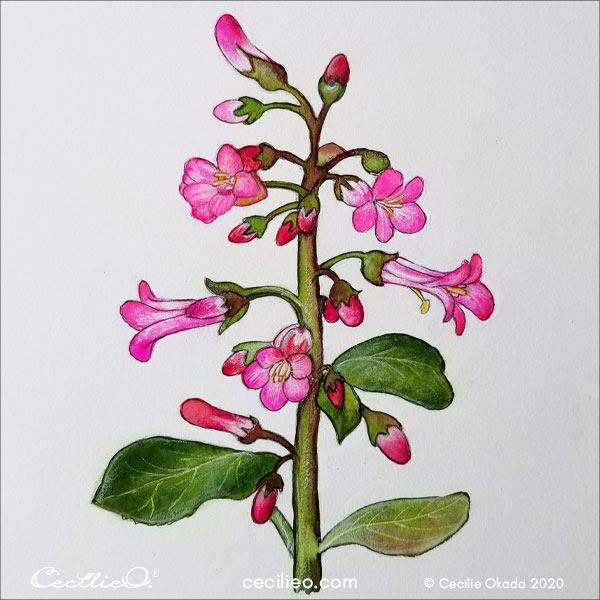
Without being too picky about the details, the Pink Princess Escallonia painting is all done. That’s how to paint flowers in watercolor. I wish I could smell the honey-like fragrance.
I have written a Guide to Art Supplies that provides a list of useful art materials for this tutorial. I hope it is helpful.


