

Estimated reading time: 6 minutes
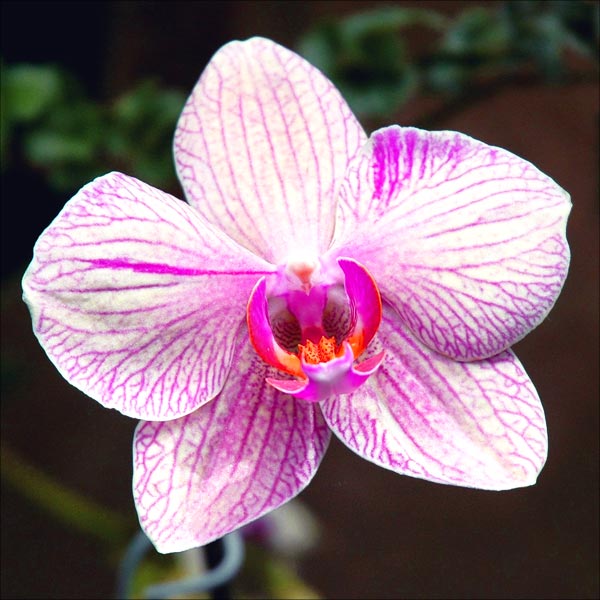
Creating art with watercolor pencils is very different from painting with ordinary watercolor. In this orchid tutorial, we will make use of the unique qualities of watercolor pencils. The irregular lines on the orchid petals are well suited for this purpose. By activating the pencil strokes with water, we get those uneven, blurred lines.
Orchids are the subject of endless fascination, with fan clubs all over the world. Take a look at this list of planet-wide orchid societies if you have any doubt about that. In another watercolor orchid tutorial, I discuss orchid symbolism.
Let’s get started.
Step 1: Drawing the pink orchid outline.
When I started drawing the orchid, I realized it was a bit like drawing butterflies. The petals are arranged symmetrically, and this poses a specific challenge. If you draw a butterfly without perspective, you can get away with drawing only half. Trace that and then transfer the flipped half and voilà! you’ve got a butterfly.
But orchids don’t come that easy. Even a “headshot” has a slight perspective, as in the reference photo for this tutorial. I found no exceptions in my photo search.
My book “How to Draw Flowers Step by Step. 46 Easy Designs” is a helpful tool for practicing flower drawing. No perspectives, realism, or decoding of flowers. Just clear, simple steps to draw 46 different flowers.
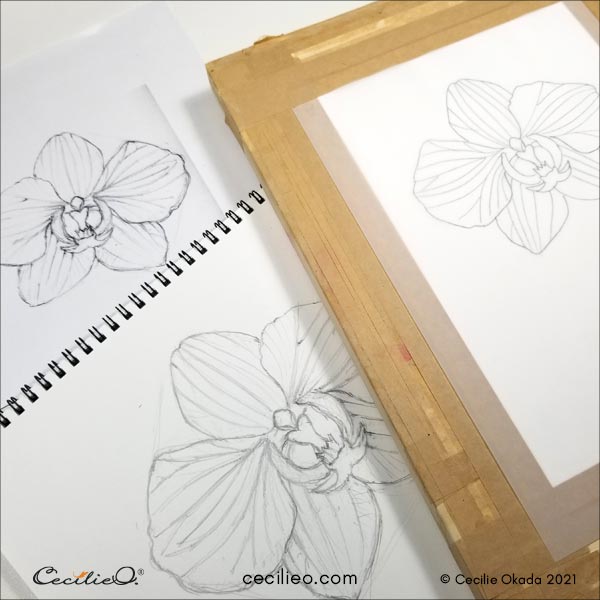
The orchid drawing in this tutorial is available as a free download in the One Tree Art Club library. (Members: check your newsletter for access). You can trace and transfer it to your paper.
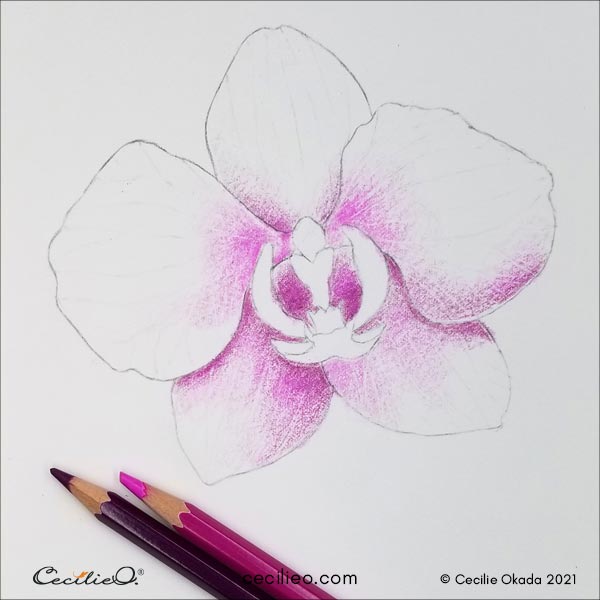
Step 2: Drawing the shadows with watercolor pencils.
Before you start drawing, choose the pencils you are going to use. My Arteza watercolor pencil set has many colors, so I selected shades of pink and purple. One of the colors is even called Orchid Purple.
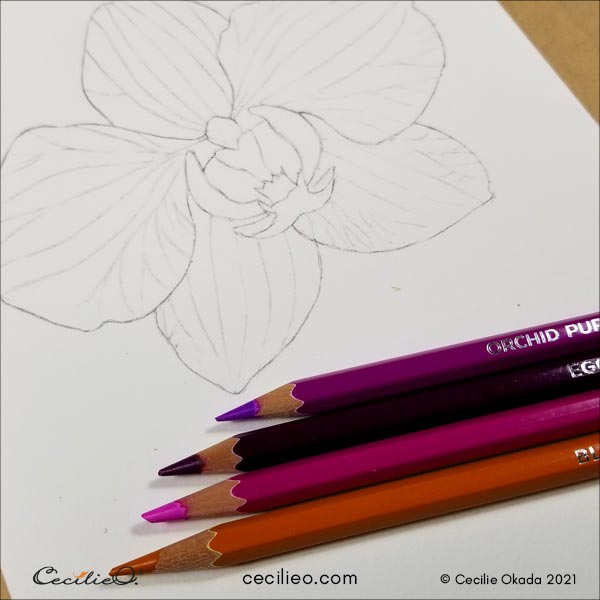
I transferred my own drawing to watercolor paper. Afterward, I erased the lines on the petals lightly. With a tiny amount of graphite left behind, you can still see the lines. The reason for this is to avoid smudging by the dark pencil mark. The purple lines will come out “dirty” if drawn on top of pencil lines.
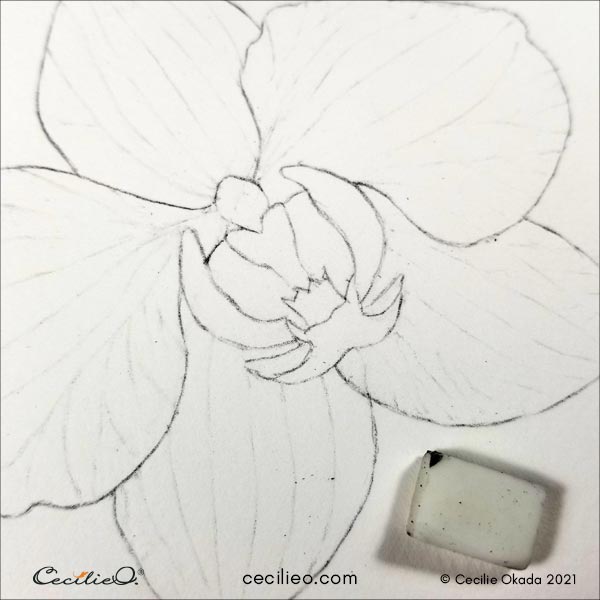
Squint your eyes to see the dark areas of the petals clearly. Then draw the shadows first. Make soft gradations, just like you do with ordinary pencils. I used a darker purple, with a pink overlay in some places.
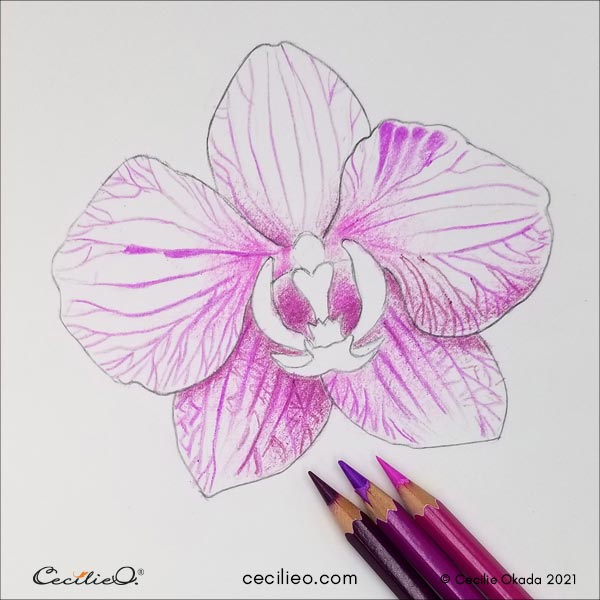
Step 3: Draw the lines on the petals.
You don’t need to be exact when you draw the lines on the petals. The reference photo is a guide only. You are going to create your own beautiful flower, not a carbon copy. Still, look at the photograph to guide you.
Drawing the lines takes a bit of patience. To avoid getting bored, I suggest you listen to a podcast while drawing. You may even find yourself wanting to draw more lines once you get in the flow.
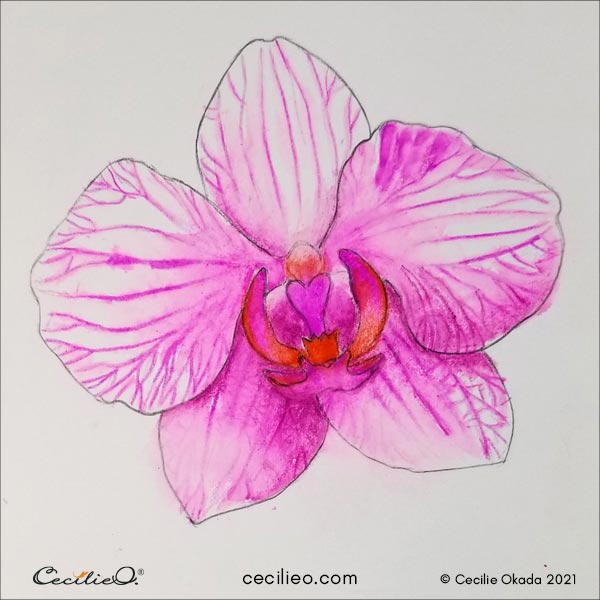
Step 4: Activate the watercolor pencil drawing with water.
You need to be careful with this step. If you add too much water, it will turn into one big pink mess. Start at the center of each petal and gently spread the wet pigments. You can use a thicker brush for this. I used a size 6 synthetic sable brush. For the lines, use a finer brush. Ever so lightly, draw over each line with your wet brush.
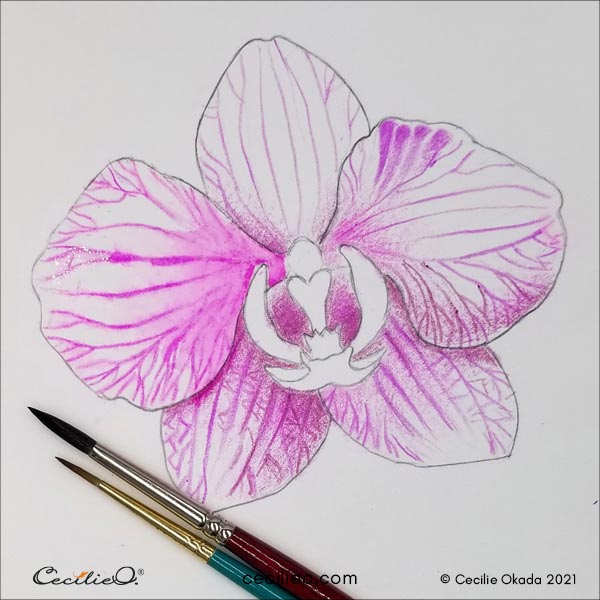
As you progress through each petal, use your artistic judgment. How much of the pencil marks do you want to dilute? Remember: You control the colors with the amount of water you use.
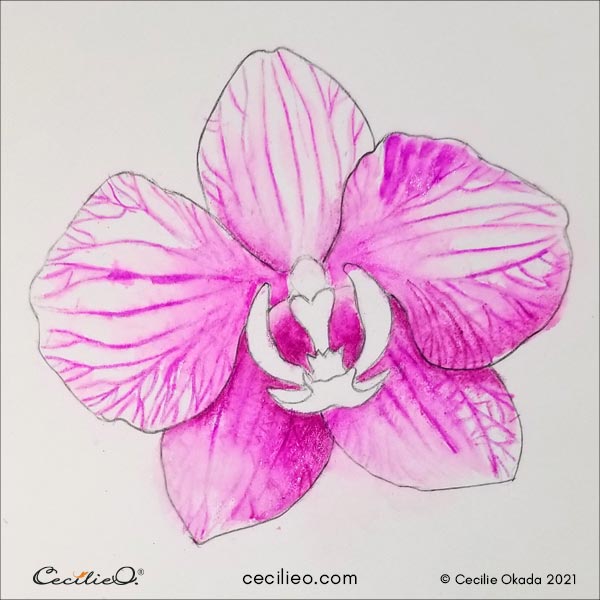
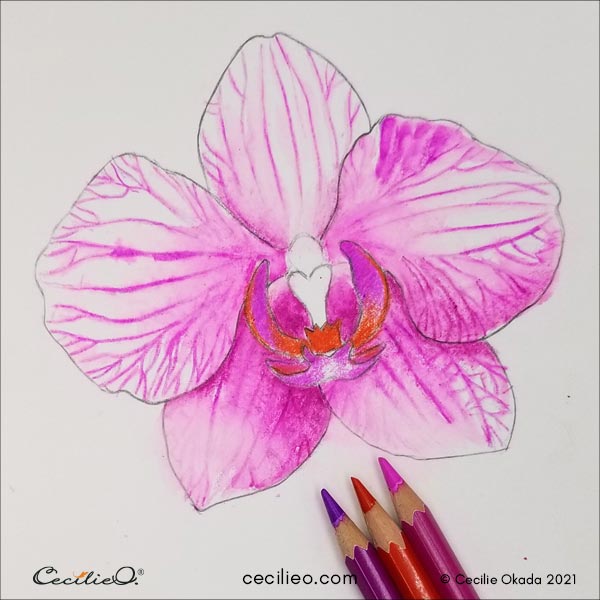
Step 5: Coloring the central part of the orchid.
The center of the orchid is the trickiest part. You are still working with shades of pink and purple, but adding orange as a dominant color. Shadows on the petals that fall underneath the central part are quite dark. I first used a white polychrome pencil for the highlights. But, after activating the other colors with water, the white disappeared.

Step 6: Adding white gouache for highlights.
In the end, I used my default method of painting highlights; white gouache. It is so easy to do. Use very little water and a fine brush. In that way, you can fine-tune your painting. To finish off, I painted the tiny dots with watercolor.
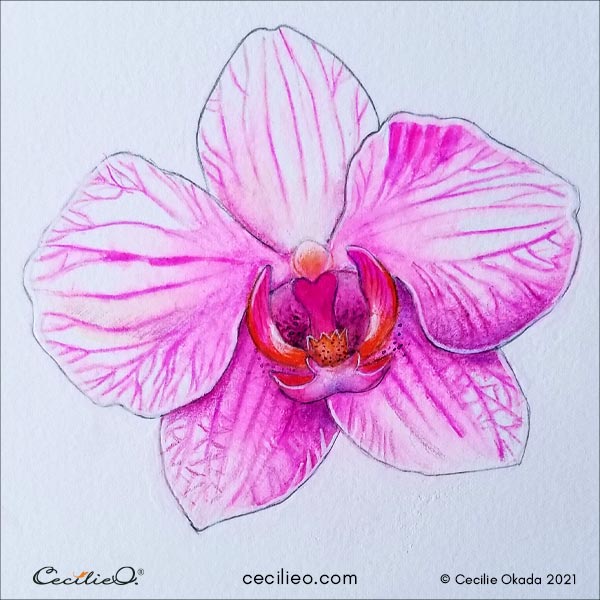
And that, dear fellow artist, is how you can create art with watercolor pencils. Happy drawing and painting!
This blog has many watercolor tutorials. These are some:


