

Estimated reading time: 9 minutes
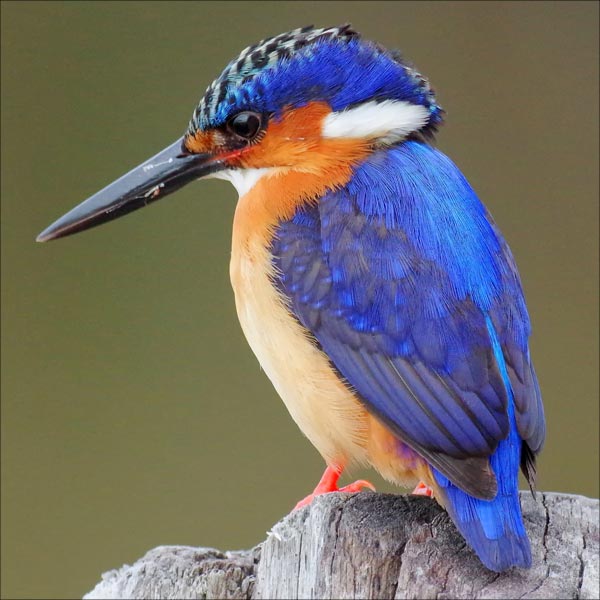
The dazzling plumage of the azure kingfisher inspired this tutorial. If you want to learn how to draw realistic, this endearing little bird will help you. The outline is simple. Your challenge is to get the feathers right. The magic happens when you draw with colored pencils on top of dry watercolor. Adding white gouache, you can draw a bird that looks like it can fly off the paper.
Kingfisher symbolism
Before we start, let’s get to know the kingfisher. It has a rich presence in mythology. One legend goes that when it flew from Noah’s Ark, it got the orange color from the sun and the blue from the sky. Peace, prosperity, and love are common themes.
It also has a deep spiritual significance. The kingfisher has incredibly sharp eyes and high-speed flight. This allows them to catch prey with precision. Symbolism includes gaining clear insight from intuition and taking swift action.
Let’s draw this beautiful bird.
Step 1: Outline of the kingfisher
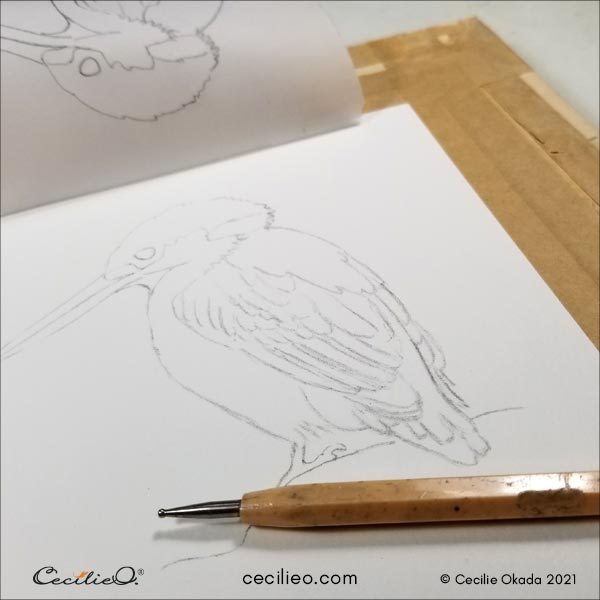
A short body and a long, thick beak are characteristic of the kingfisher. Getting these proportions right is the focus of drawing an outline. A left-facing side view is the easiest to draw if you are right-handed. Start with the head and work your way down. If you prefer to skip drawing the outline, you can download it for free. (One Tree Art Club members: please check your newsletter for access). Trace and transfer to your watercolor paper.
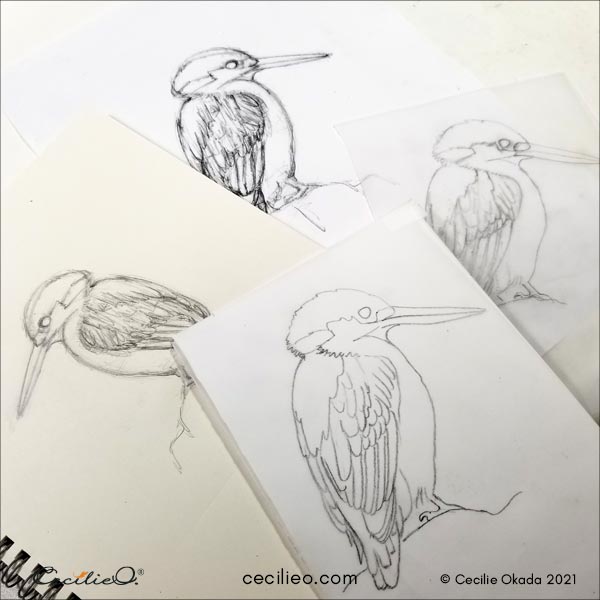
My sketch was too small, so I scanned and enlarged it. To simplify the drawing, I then traced it. To simplify even further, I repeated the step. This final drawing I transferred to watercolor paper. Learn how to mount the watercolor paper to avoid bumps.
Step 2: Getting a handle on the colors
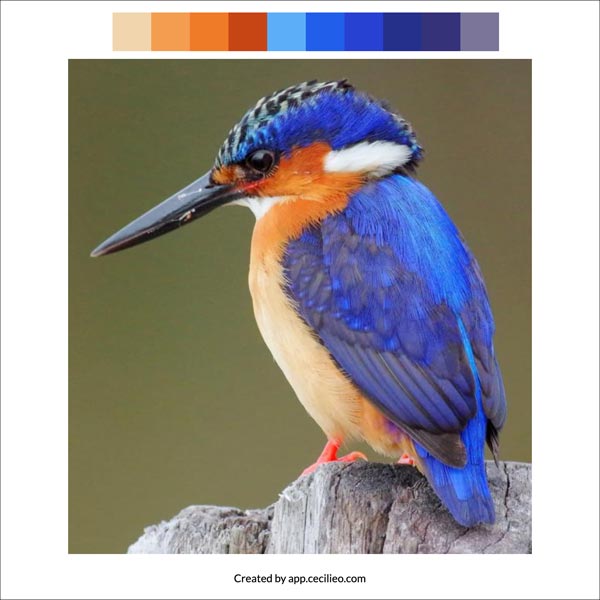
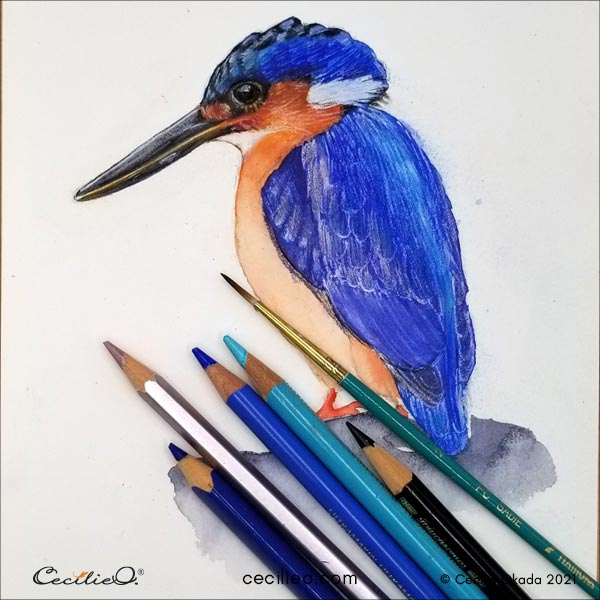
I used our free tool manual color picker from image to select swatches to guide the drawing. There are two main color scales: rust-red and blue. The blue includes some greyish-purple. I ended up using whatever blue colors I could find in my colored pencils collection. The same goes for the rust-red. Your colored pencil set is different from mine, so use what you’ve got.
Step 3: Painting a blue and orange watercolor base
Before you start drawing with colored pencils, paint a watercolor base. It makes a big difference to the quality of your colored pencil artwork.
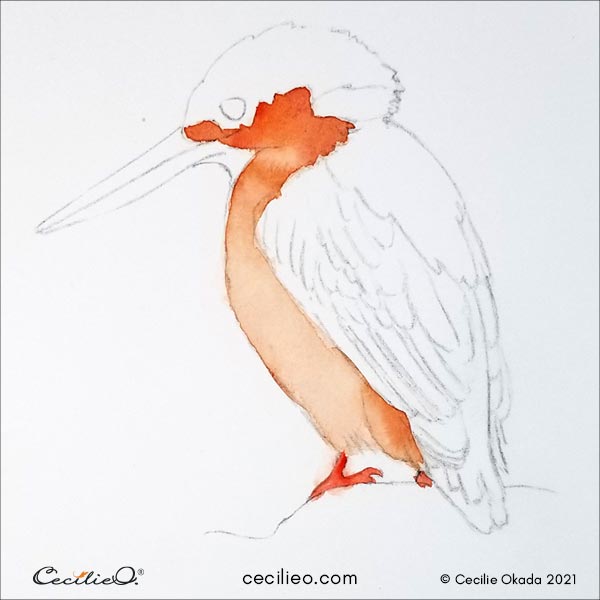
The color swatches below are a guide only. The first line shows you how to make the rust-red in case your watercolor set doesn’t have it. The red at the bottom right is for the feet.
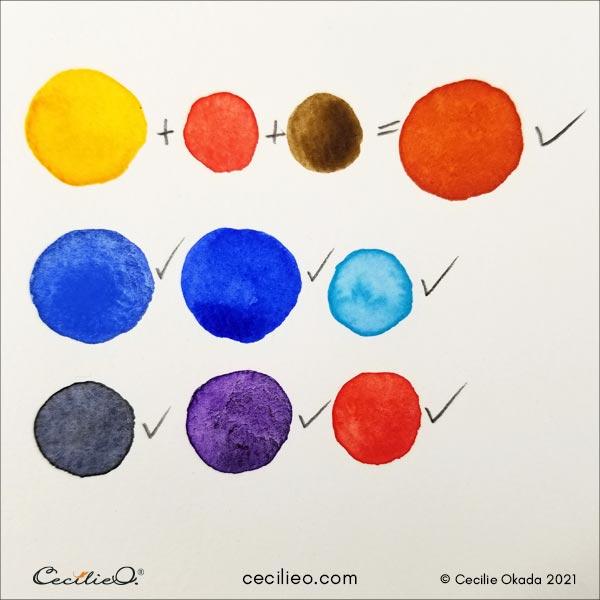
Paint the rust-red parts and red feet first and let them dry.
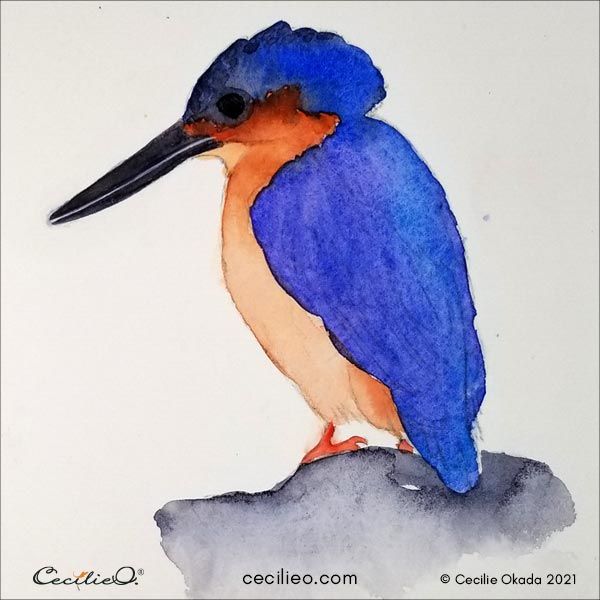
Next, paint the beak and parts of the head black. The rest of the body you paint with shades of blue. The black and the blue will bleed into each other while the paint is wet.

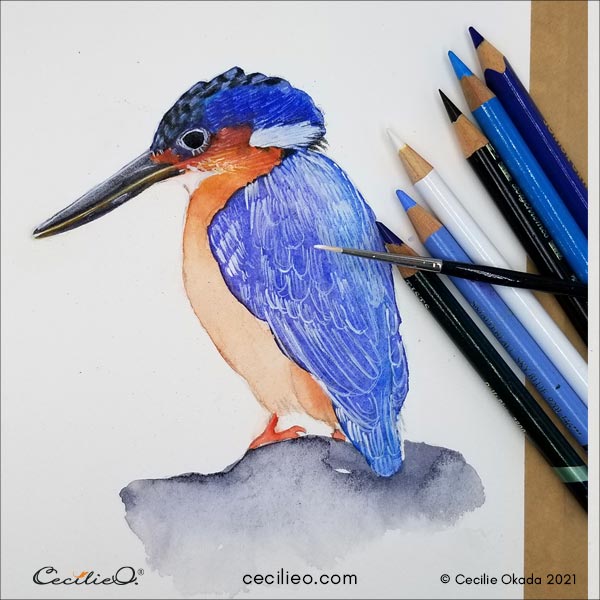
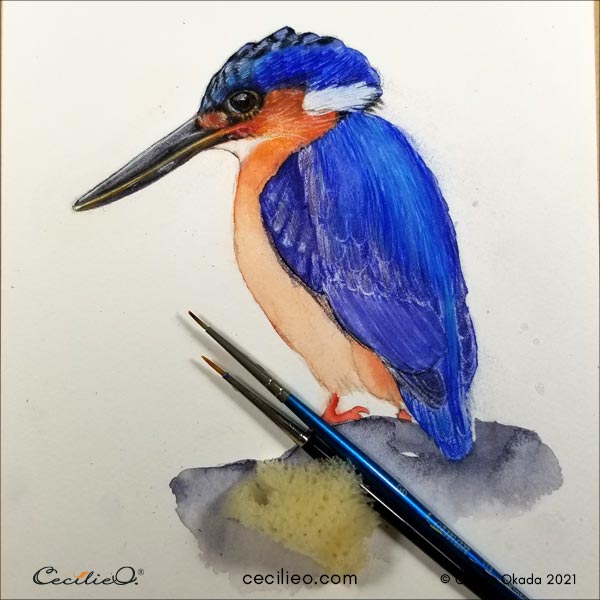
Step 4: Draw lots of fine lines with white gouache
First, paint the beak and the eye once over with black to make them more clear. With a fine brush, draw the dividing line on the beak.
Draw arbitrary white lines for feathers. Use the white gouache for the dusk of white on the cheek as well. Outline the eye.

Cover the rest of the bluer feathers with white lines that signify the direction of the feathers.
Step 5: Draw the details of the head and eye with colored pencils.
Make sure the paint is bone dry.
Get all your blue colored pencils out and color the feathers on the head.
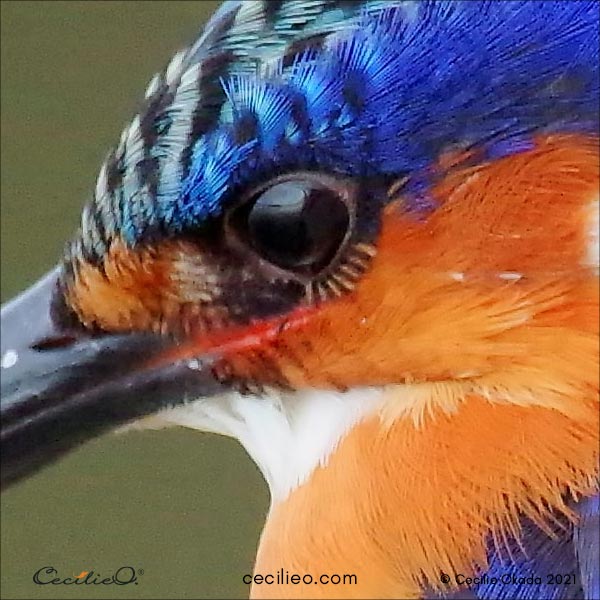
It’s a good idea to get the eye out of the way before you get on with the body. The eye is enlarged in the photo below so that you can see the color variations in it.
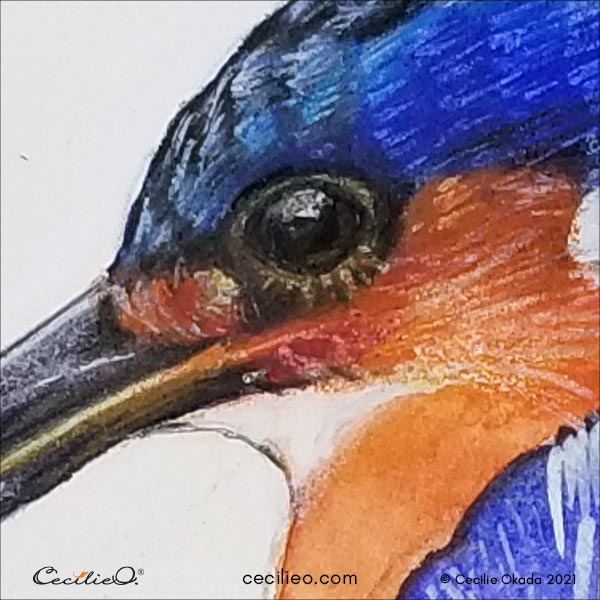
Start by drawing the eye brown. After that, get your black, brown, and ochre yellow colored pencils out. Draw what you see. Use white gouache for highlights. Draw with colored pencils on the rust-red feathers too.

Get all your colors out and play around! Drawing highlights and shadows is a play with colors. It is not possible to tell you exactly how. Use your artistic judgment. Don’t be afraid of drawing colors on top of colors, because these layers add to the sense of 3d.
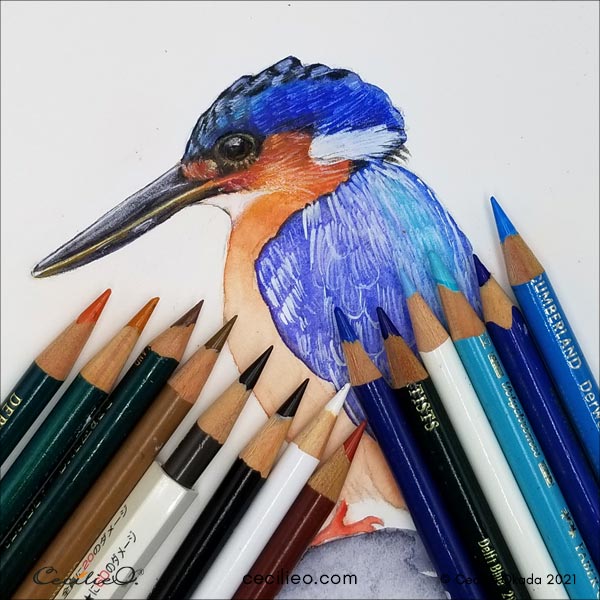
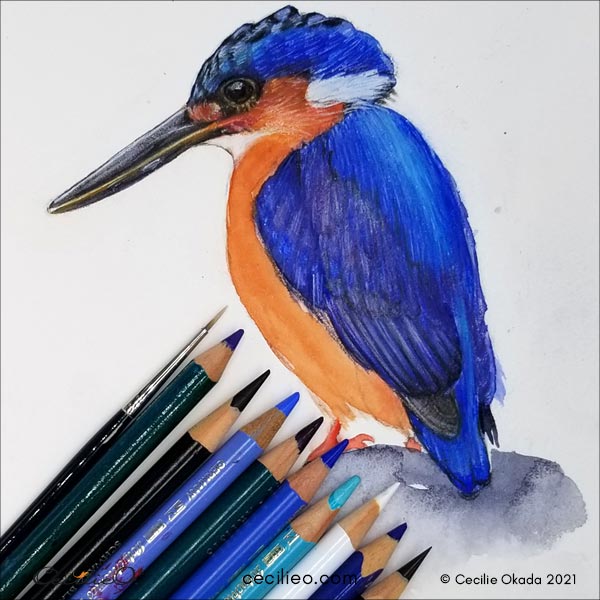
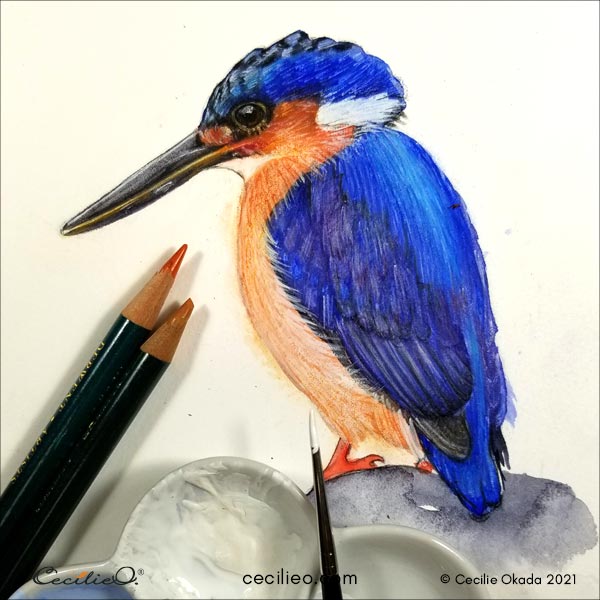
Step 6: Draw the blue feathers with colored pencils.
The same applies to drawing the rest of the blue feathers on the body.
At some point, I decided to draw with white gouache again. I also used a moist sponge to smooth out the feathers.
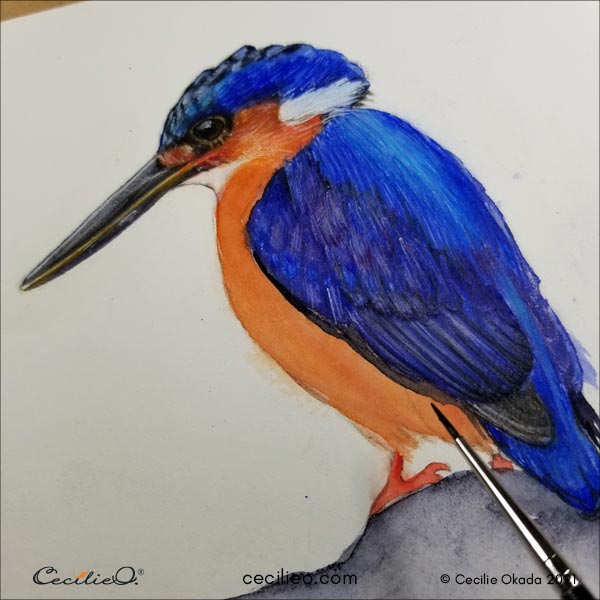
Step 7: Drawing the rust-red chest
Before embarking on drawing the chest, I painted it with a darker layer of watercolor.
Then I went about drawing another layer with colored pencils. I also used a white polychrome pencil as well for highlights.

For the orangy feathers to overlap the blue convincingly, paint a dark line next to the blue feathers.
When dry, draw fine lines with white gouache. Also, paint the lighter areas of the chest with the gouache. Draw on the dry paint with colored pencils in the rusty spectrum.
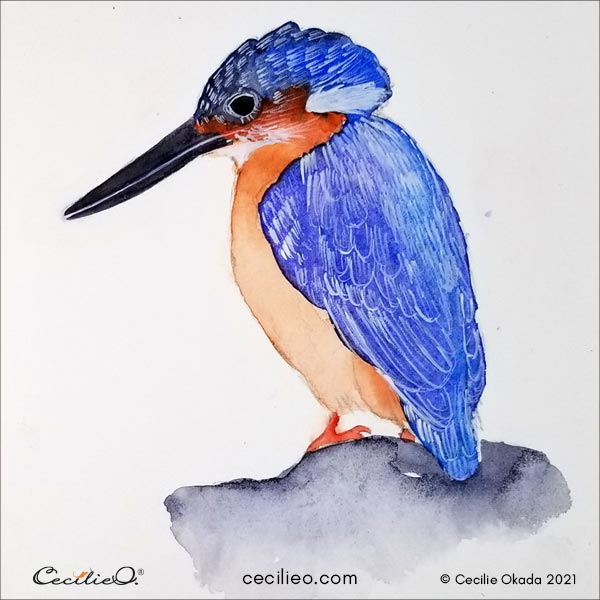
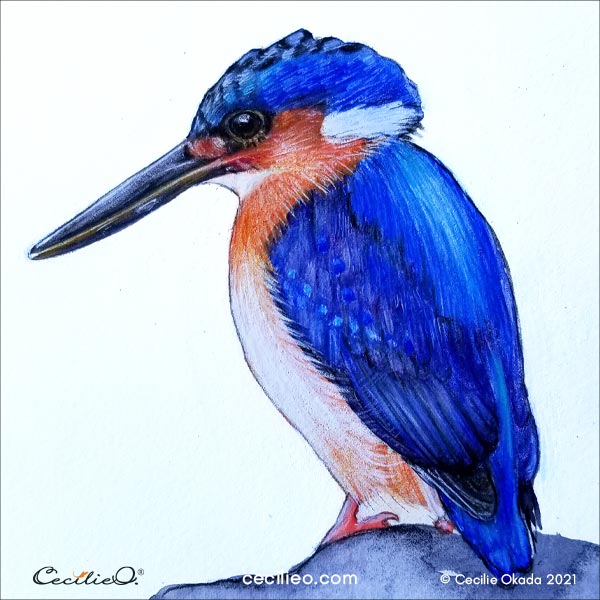
Step 8: Complete the kingfisher drawing.
It is important to step back for a day or two and not look at your artwork at all. Hide it somewhere. When you look at it again, you will be surprised at what you discover.
To complete the drawing, I did not look at the reference photo. It is easy to get hung up on details in the photo that are irrelevant to your drawing. Even a realistic drawing will diverge from the reference photo. Making a copy is not the aim. An original creation that is unique to your drawing style is the result you are looking for.
I’m happy that my kingfisher is different from the photo.
Now you know how to draw realistic with colored pencils. If you want to share your work, you are welcome to join our One Tree Art community on Facebook.
Happy drawing and painting!
My Guide to Art Supplies has all the art materials necessary for this tutorial.
There are many tutorials that teach you drawing and watercolor skills on this blog. Here are a few:


