

We are just at the dawn of art generated by Artificial Intelligence. The astonishing feats of creativity and technical skill can fool anyone. I decided to venture into the most accomplished online AI art room, Midjourney. You can use this brave new world tool ethically to inspire your art and creativity. I have made a landscape watercolor tutorial using an AI-generated “watercolor” as inspiration. Let´s dive in.
First things first: What is your pain point as an artist?
There are some things I am good at drawing and painting, and some not. I am never satisfied with my landscape art. Part of the problem is that I can´t find inspiring reference photos. That, of course, is down to my lack of practice with landscapes. I find endless photos of plants and animals that I want to paint. Why? Because I know how to tackle those subjects.
What would help are landscape watercolors painted in a style that appeals to me. I could use that as a starting point for my painting. What if I asked AI to create a specific painting that I could use as a reference?
Ethical use of AI-generated art for inspiration
When AI-generated art was new, artists and illustrators were excited. They thought, what a great tool for research and inspiration. They could not imagine AI would imitate their own work. As a result, some creators are suing AI giants for using their art in the algorithms. They despair for their livelihood and intellectual property rights.
Think about it. Somebody writes a command in the AI tool that goes like this, “A cat sitting on the roof in the style of artist Xyz”. And boom, a painting that looks like the artist made it springs to life in a matter of seconds. Even without mentioning any name, the AI algorithm can use your art if it is on the internet.
I would never use “in the style of…” any contemporary artist or illustrator for making AI art. The world abounds in great, long-dead artists. With them, intellectual property rights are of no concern.

Addressing your pain point with an AI art generator
If you have not tried out any AI art tool yet, let me explain. You write a descriptive sentence (prompt) of the art you want created. The AI generator responds by interpreting those words visually. The better you write a detailed prompt, the more specific the outcome. Learning to write a good prompt is a skill in itself.
Ask the tool to “paint” what you can´t do, addressing your pain point as an artist. I tried many of the free online AI art generators, but none made anything of interest. So instead, I paid $10 and entered the holy grail of AI art. At least it is for people who draw manga and anime-style art. It can do a lot more than that. Give Midjourney a good command, and it obeys.
Playing with the Midjourney AI art tool
Once you walk in the door to Midjourney and start playing, it gets fun and it can be hard to stop. You feel like a magician because you can make anything. Still, it is not for everyone. You have to join the social platform Discord first, which is hardly a tool for people of my generation. If you need help, your kids or grandkids will understand how to sign up and use the tool.
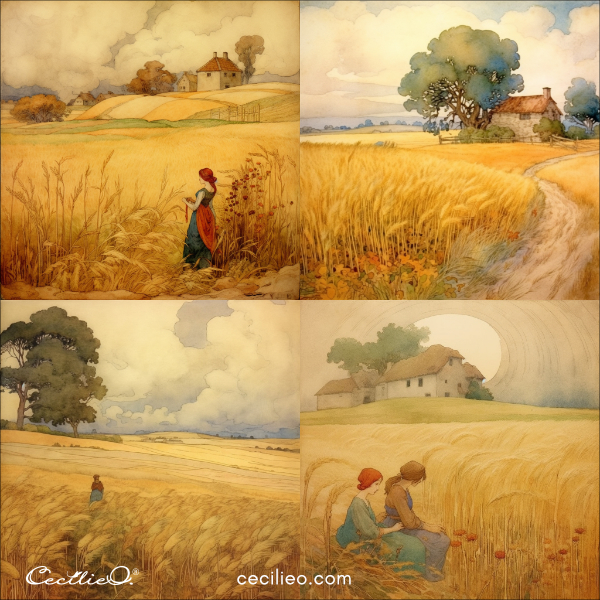
My first feeble attempts did not produce much value. It takes practice. But in the third round, good things started to happen. Before I knew it, I had a formula that produced the results I was after. It included using the names of two favorite illustrators. Boom and anything and all came out beautiful. Midjourney made a “new” style by combining those two illustrators. They are Edmund Dulac and Warwick Goble. Both artists illustrated many stories from the Near and Far East. They belong to “The Golden Age of Illustration” between the late 1800s and early 1900s. Their work is right down my alley.
Using the AI-generated art for inspiration
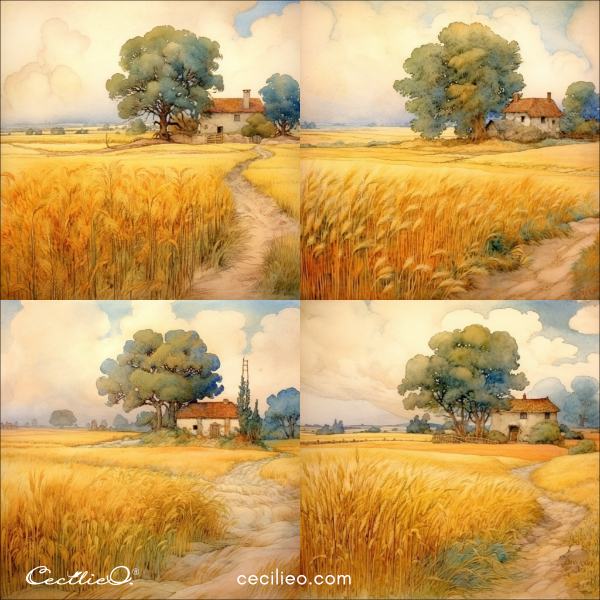
I am itching to try my hand at some of the ideas the AI art tool produced. I now have heaps of these images to help spark my imagination. For this tutorial, we will use an autumn landscape “watercolor painting”. Scrolling down this article, you have seen many of the AI versions of the autumn landscape. The algorithm spits out several versions in response to your prompt. You can request as many iterations as you want.
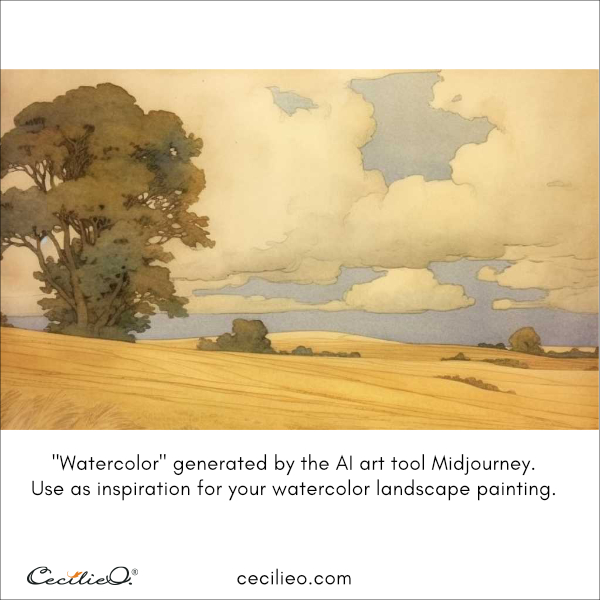
I selected one version as inspiration for my painting. My landscape looks nothing like the beautiful landscapes MidJourney created. But it was great fun to use as a starting point. I intended to paint something similar, but my brush took off in a different direction. To me, this is an excellent use of AI-generated art.
Now for the landscape tutorial. Enjoy the process, and let your creativity take over!
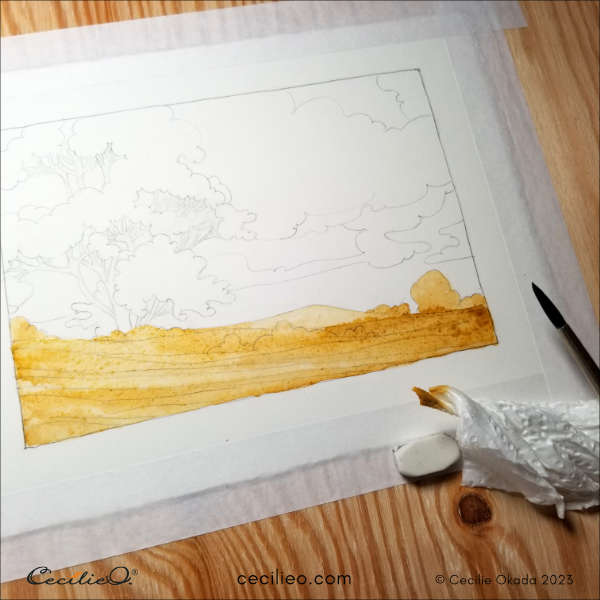
Step 1: Drawing
Draw the landscape. The undulating lines in the picture inspired my drawing. I drew a freehand version that looks similar to the AI painting.

I want to mention that in the free One Tree Art Club library, you will find line drawings for many of my tutorials. You can trace the drawings, transfer them to your paper, and then paint. Find the corresponding tutorials by typing in the search bar on the top menu of this website. If you are a member already, check your newsletter for login details.
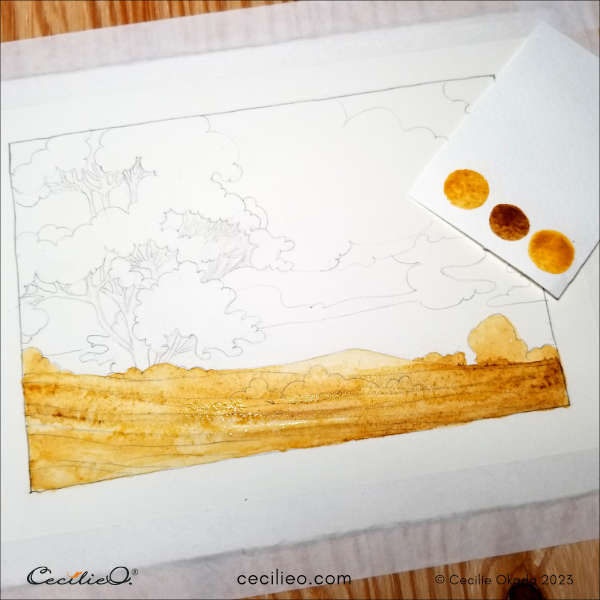
Step 2: Painting the field
Paint the ground with ochre and light brown. Be generous with water. Twist the tip of a tissue paper and draw stripes in the paint.
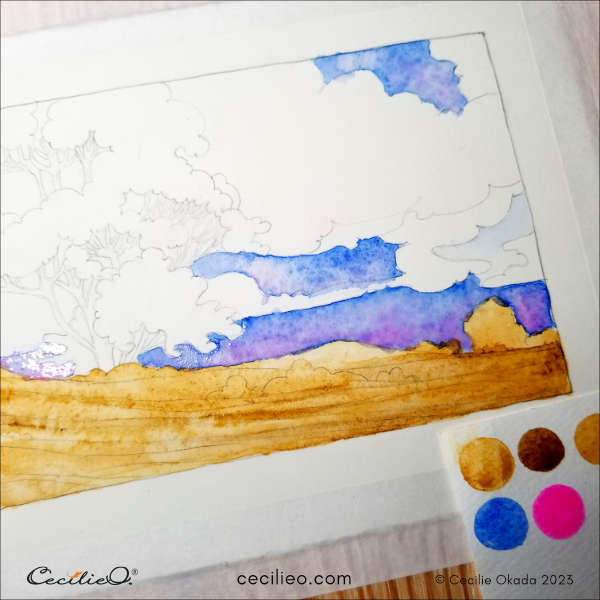
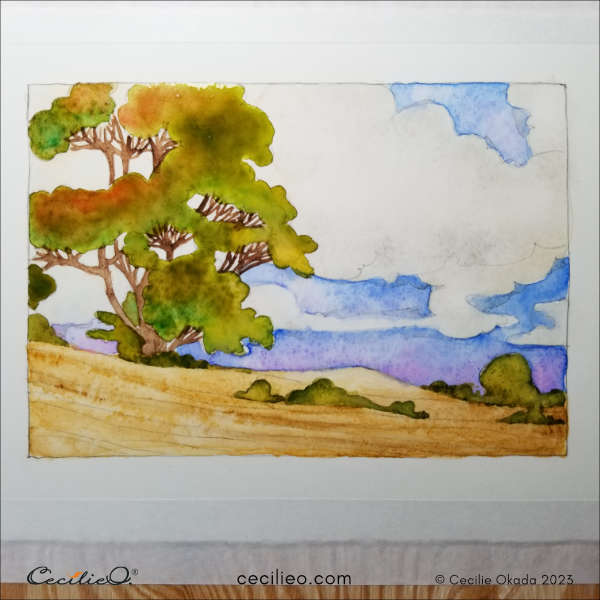
Step 3: Painting the sky
When the ochre is dry, paint the blue sky. I added pink for a more colorful look.
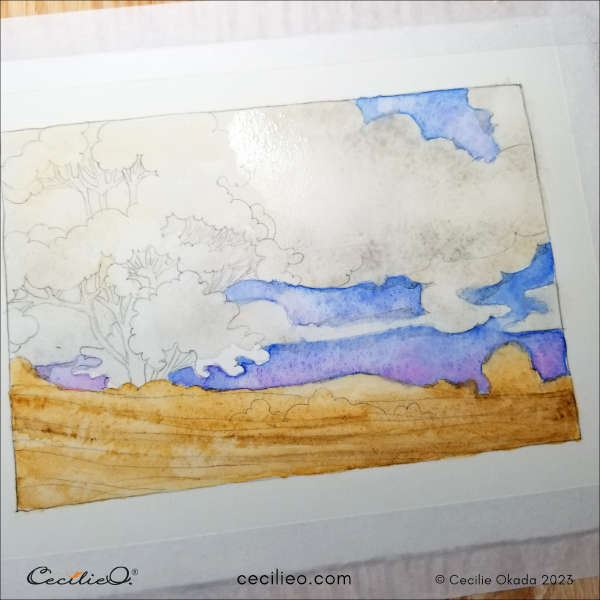
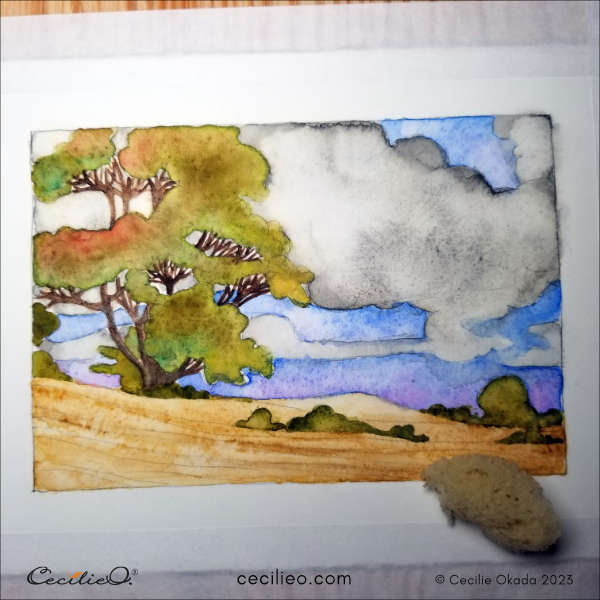
Step 4: Painting the clouds
When the sky is dry too, paint the clouds and the tree light grey. Make sure to paint some darker areas in the clouds.
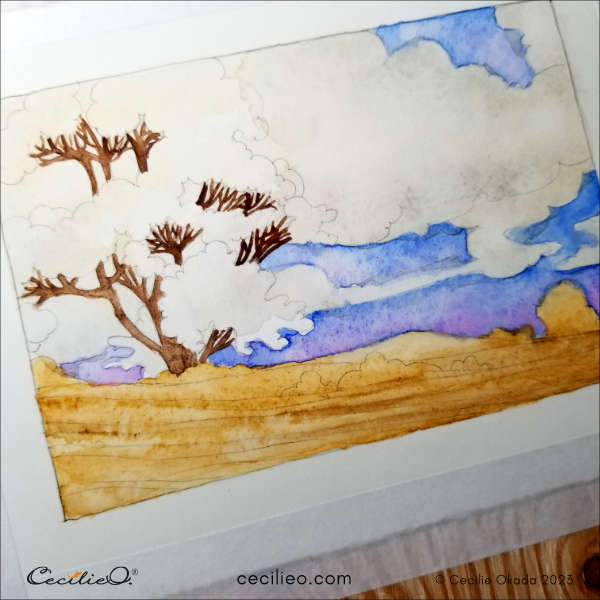
Step 5: Painting the tree trunk and branches
When all the paint is dry, paint the tree trunk and branches brown.
Step 6: Painting the leaves
When the trunk and branches are dry, you can enjoy painting the colorful autumn leaves. Use as many green, red, yellow, ochre, and brown as you like. Experiment by letting the colors flow into each other. You need a certain amount of water to create color blends that are any good. Paint the small bushes, too.
Step 6: Further work on the clouds
To create more texture for the clouds, I added more grey (diluted black). Use a sponge to make white areas.
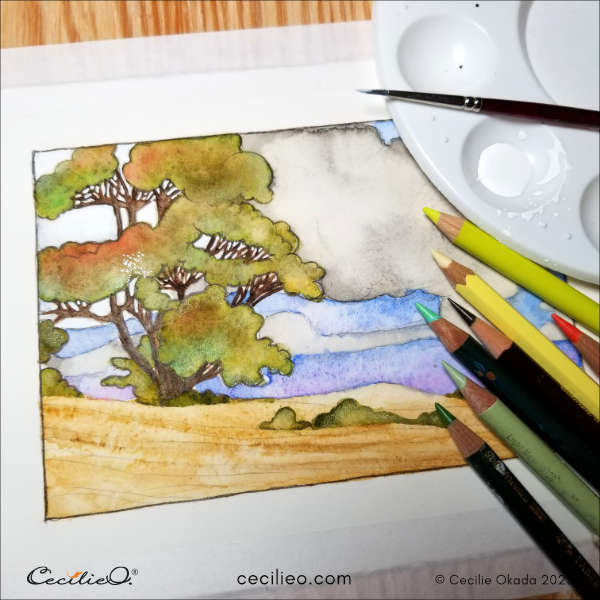
Step 7: Refing the painting with gouache and colored pencils
Paint with white gouache to lighten up the clouds and create contrast behind the branches. You can spice up the colors everywhere with a light touch of colored pencils.

Step 8: Creative completion
I drew the outlines with a dark brown colored pencil. The AI “watercolor” looks like it has light pencil lines. A few white dots on the tree painted with gouache lightened up my painting. What will yours look like?
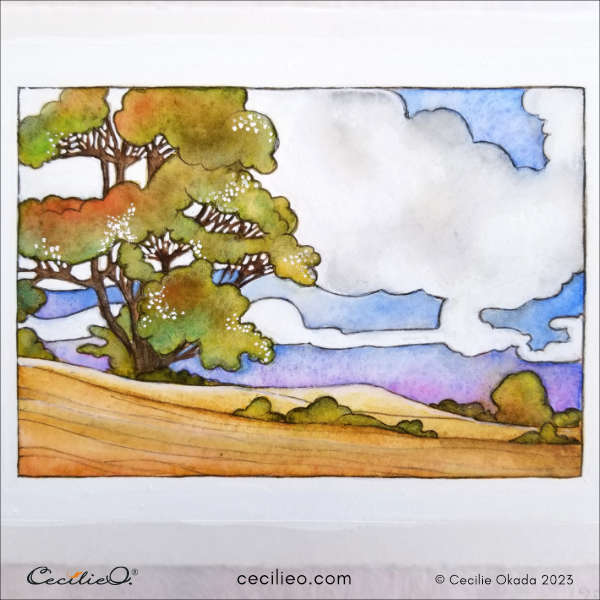
Have fun in your adventure painting the autumn landscape!
For materials used in the tutorial, check out my Art Spply Guide.
Some more tutorials to explore:


