

Estimated reading time: 9 minutes
A watercolor landscape is prone to getting muddy. The reason is simple. In a landscape painting, there will always be overlapping features in the terrain. In those places, you can not draw boundary lines between colors. There are basic guidelines for keeping the mud out and also methods that are not so obvious. In this watercolor landscape tutorial, I will show you both. Once you know what to do and not, you can say goodbye to muddy colors.
Go easy. You don’t have to follow standard watercolor rules.
Painting a landscape can look daunting. I feel the same way browsing through paintings by accomplished watercolor artists. As an illustrator, I had to invent my own technique to get by. Once in art college, my instructor caught me off guard, saying: “There are no hard and fast rules. Mix media, as long as you land with the desired outcome.” Imagine my relief. The doctrine of watercolor purity was already well ingrained in my mind. Now I was free.
First, you paint the watercolor base for the landscape. Then, add details with colored pencils. That is what I mean by freedom. In this way, there is no need to get the watercolor landscape just right. The important thing is to lay down colors that blend well. Colors that are not muddy, that can be sculpted by drawing on top. Remember, drawing is easier to do than painting.
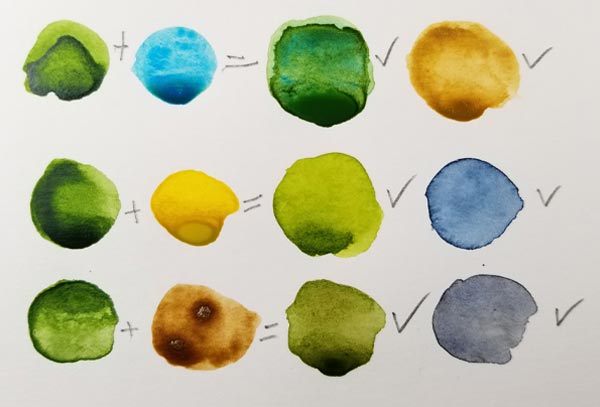
Tip # 1: Figure out the colors before you start painting.
Think about it. You are in the middle of a painting, and looking intently at your reference photo. Or a live landscape, for that matter. You take a guess and add some color. Oops- it didn’t quite work out. And.. oh no…bleeding into and messing up the color next to it.
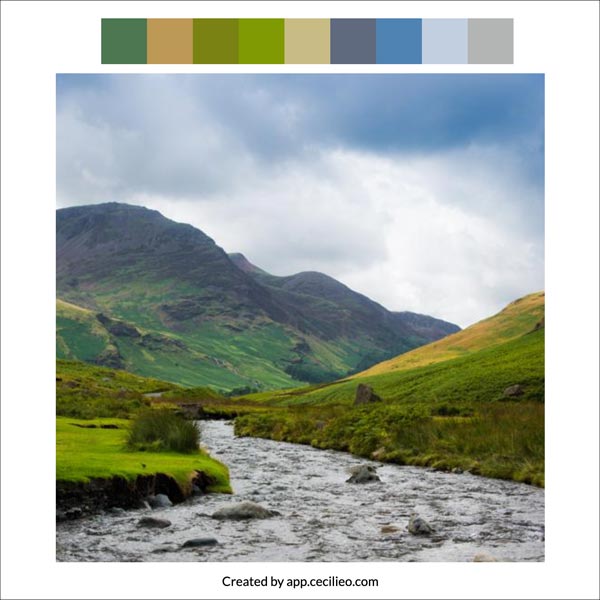
If you select the exact colors in advance, that scenario is not happening. All you have to do is upload your reference photo to our color palette tool for artists. Once uploaded, click on the image and create your own custom-made palette.
Then, pre-mix those colors. When you are painting, you may not always use the pre-mixed colors. But you pretty much know what happens when your selected colors combine. That alone will prevent things from getting muddy.
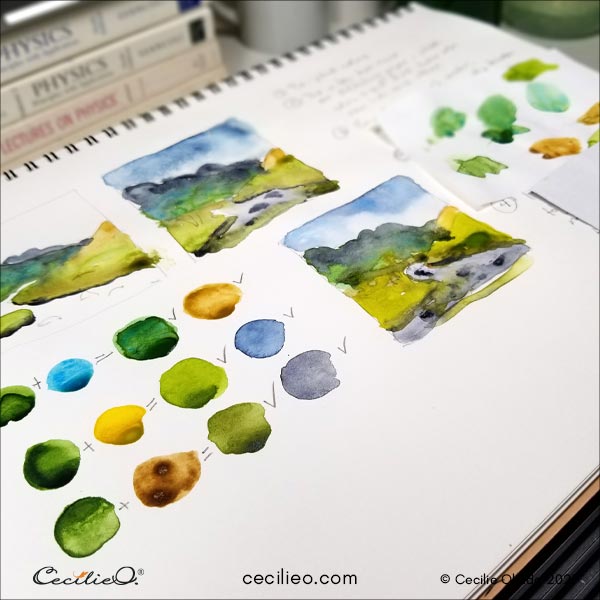
Tip # 2: Experiment with a few loose sketches before you paint your watercolor.
Take the time to familiarize yourself with the subject of your painting. This way, you will have a huge head start. Draw small sketches and play around with watercolor. Experiment with the order of colors: the sky first, the river first, or the left or right hill? You will notice where colors blend best. You see where paint has to dry first before you can paint the next color. Don’t even think about making your sketch look good. Just experiment. When you feel you know the subject well, you are ready to launch into the real thing.
Tip # 3: Keep watercolors clean before they land on your paper.
Cleaning your brush in muddy or clean water does not make that much of a difference. There is a slight disparity in the purity of colors. What DOES make a difference, is how well you clean your brush. If your brush has traces of blue on it when you go to the yellow punnet, it will turn the yellow slightly greenish.
For this reason, I always use TWO jars of water. One jar is for cleaning the brush. The other jar is for the final rinse. It is a bit like washing clothes and rising out the soap.
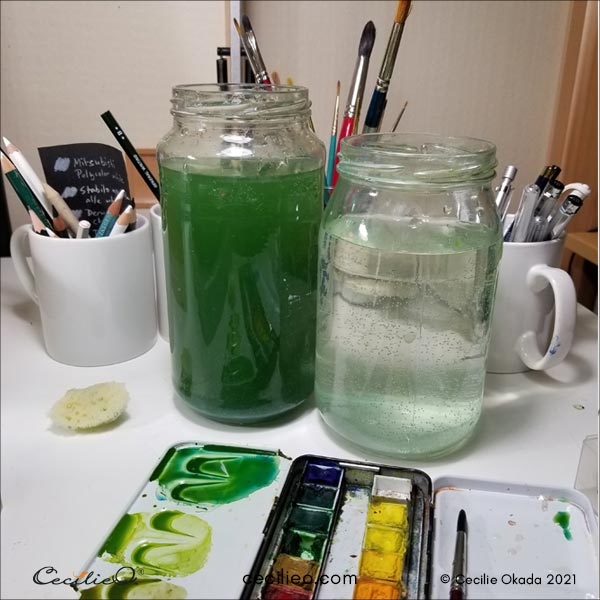
When you mix colors in your punnets, make sure they don’t bleed into each other. That is a basic rule. Good to know, is that colors mix easier in metal or porcelain punnets than plastic.
Tip # 4: Be patient. Let colors dry before applying the next.
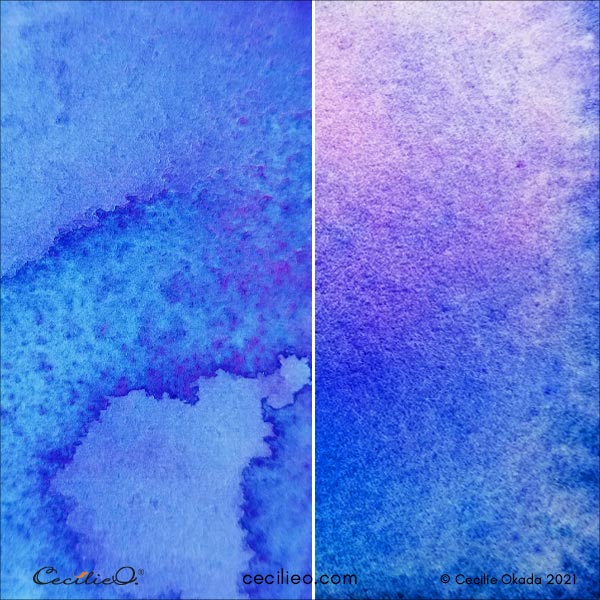
This is a big one. The no.1 mud trap with watercolor. The no. 1 reason people find watercolors difficult. Here is a tip to ease the waiting. As long as there is little water, you can use a hairdryer for fast drying. If there is plenty of water in your painting, you better wait. Unless you want to create an effect where the colors move this way or that. Interesting lines will be the result. Look at the examples below.
When you are painting in layers, i.e., one color on top of another, you need to make sure that the first layer is dry. Then you can add another one.
Colors that sit next to each other with clear boundaries also need your patience. Wait until the first color is dry. Otherwise, there will be bleeds.
Learning when bleeds are a good idea, and when it is not, is all about getting experience. The more you practice, the more you will get a feel for how the paint works. There are no shortcuts.
One way to not get frustrated by the waiting is to have two projects going simultaneously. That has been my tactic for years.
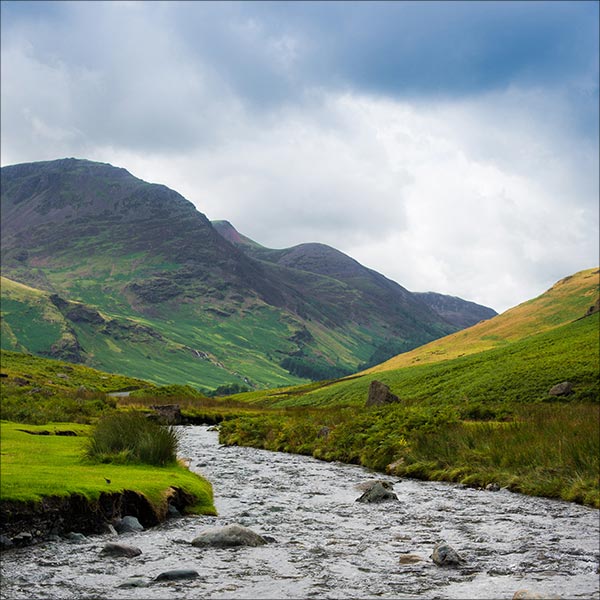
Watercolor landscape tutorial with green hills and river.
Step 1: Painting the watercolor base.
The drawing for this landscape is simple. If you would like to trace my outline, you can download it for free in One Tree Art Club.
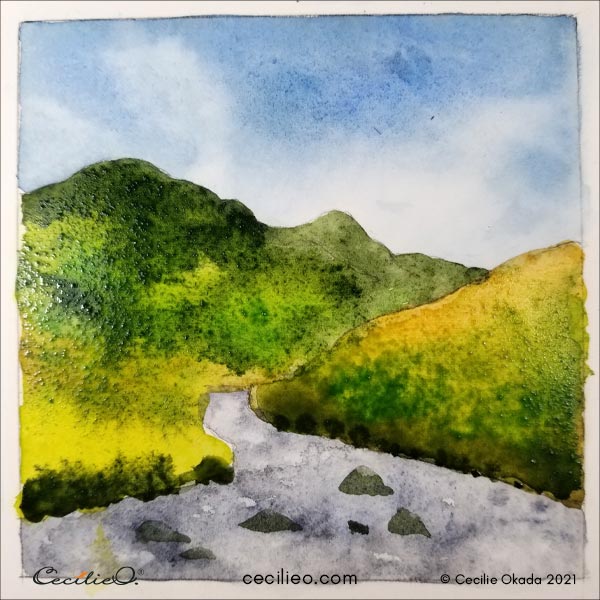
In the image below, I have painted the river first. I used a piece of tissue paper to soak up pigments here and there. While it was drying, I painted the sky.
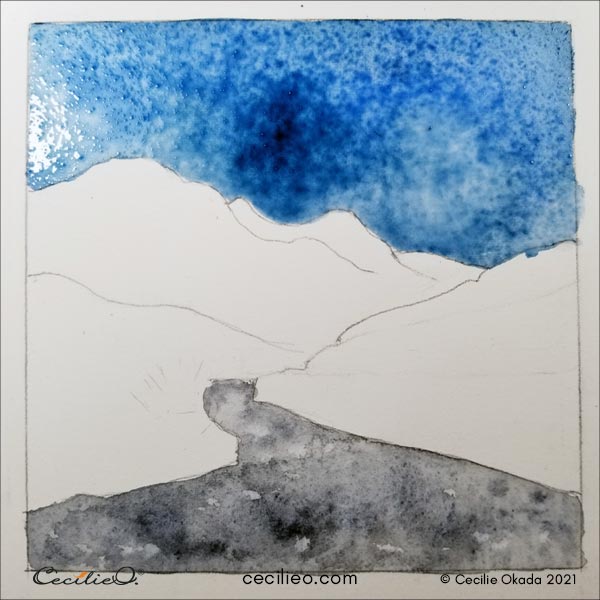
Create clouds by soaking up pigments with a watercolor sponge. Make the clouds as you like them; don’t try to imitate the photo. It will not work with this method. Let the photograph be a general guide only.

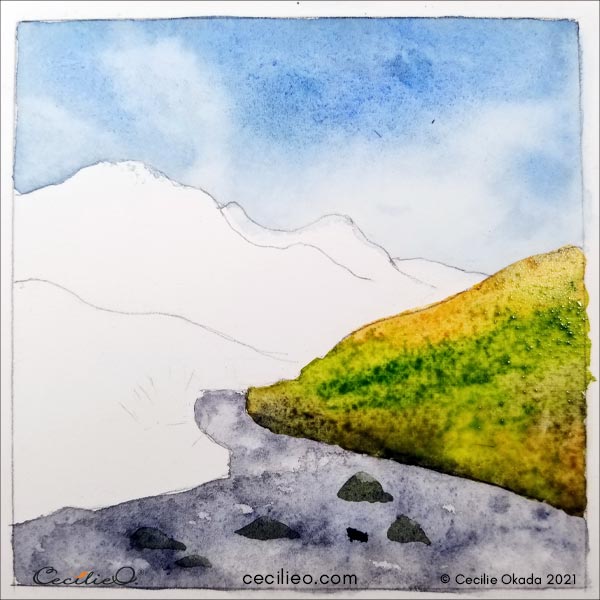
Since the river is dry by now, you can paint the hills on the right side. Letting the colors blend makes sense.
With the right side and the sky now dry, it is time to paint the hills and the plain on the left side. But first, paint the far away hills and let them dry too. That way, they will remain separate from the foreground hills.
Play with bleeding colors. You have already mixed and tested out the colors, so you are not leaving things to chance. Go gently as you allow the colors to bleed. Enjoy the flow.
More waiting before the colors are dry. Redraw the outline of the square with a sepia-colored pencil.
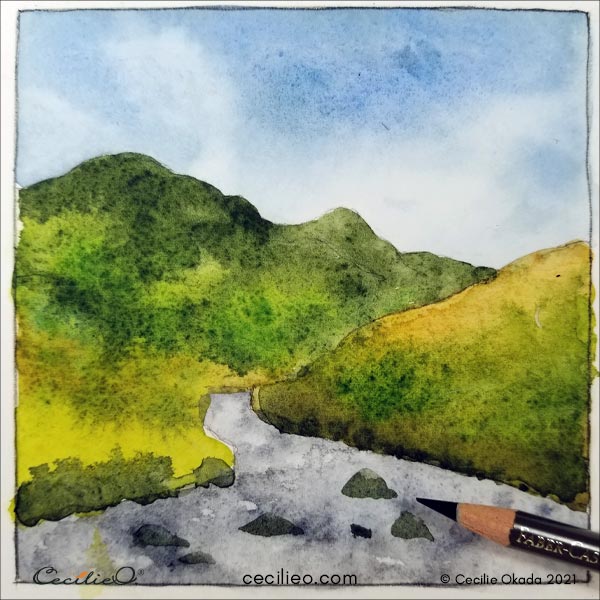
You can freely add another watercolor layer on top now. Paint the grass and other details that you want to include.
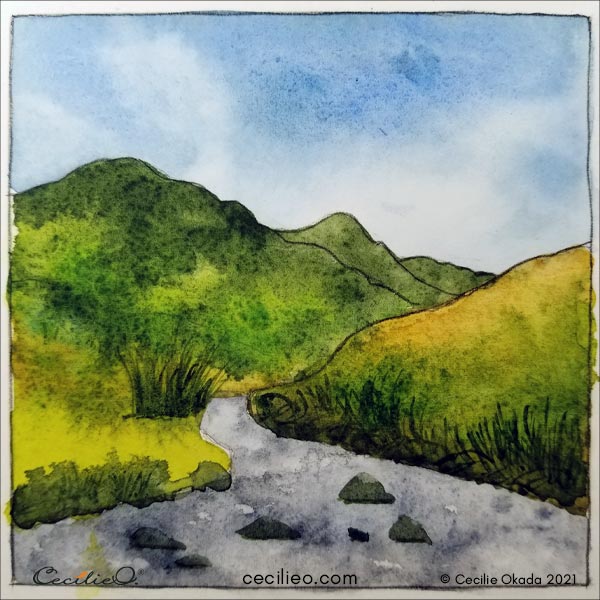
Step 2: Drawing details with colored pencils.
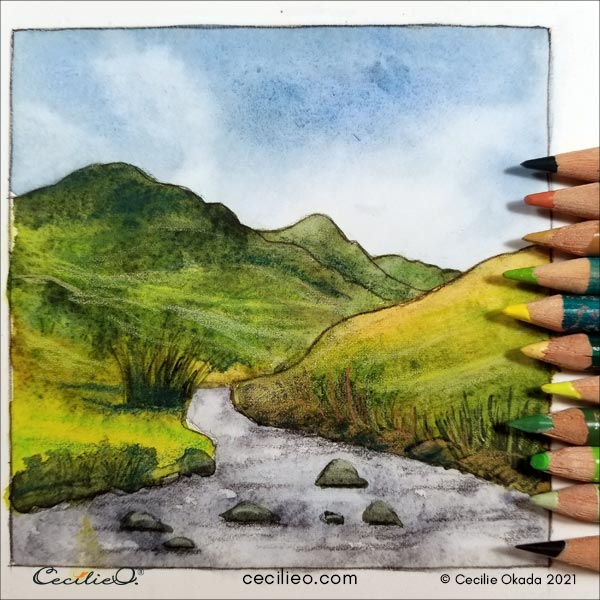
Assemble a variety of your green, yellow, ochre, and terracotta-colored pencils. Get creative and draw in the details of the landscape. Look for light and shade, and use the colors accordingly.
You are only enhancing the watercolors by drawing on top. Watercolor alone, or colored pencils alone, can never produce the same result. Magic happens at the intersection of the two.
Step 3: Painting the movement of water in the river.
Take an easy swipe at the swirling water. With a thin brush, paint random circular lines with white gouache. Use a black colored pencil to darken areas inside the swirls. Paint some more white in the foreground to imitate depth. What you are aiming for is some contrast between light and dark. This way, you imitate movement in the river.
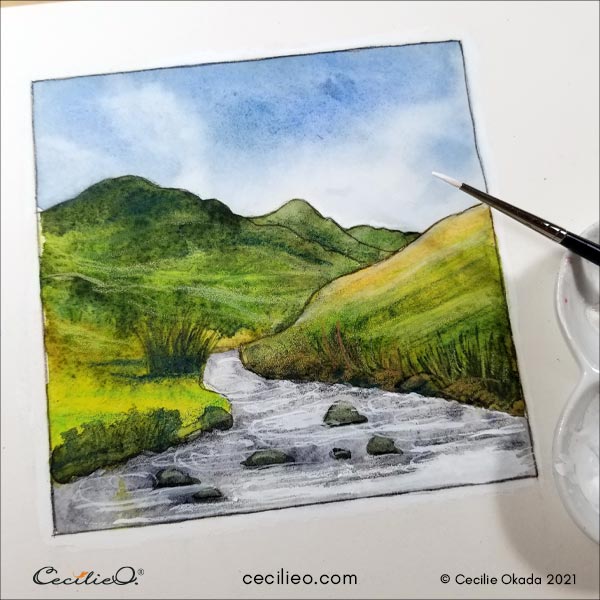
And that’s it. The watercolor landscape tutorial is completed, sidestepping difficult parts by adding colored pencils.

If you are wandering about the art materials required for this tutorials, my Guide to Art Supplies should be helpful.
Explore a large archive of watercolor tutorials on my blog. Below are a few samples:


