Estimated reading time: 7 minutes
A flying bird is the ultimate symbol of freedom. But you are not alone if you find drawing a bird in flight challenging. If the body is looking odd, the wings will look stilted. You need to create a sense of movement and draw the proportions correctly. In this tutorial, you learn a simple method to do just that.
Draw a highly simplified bird.
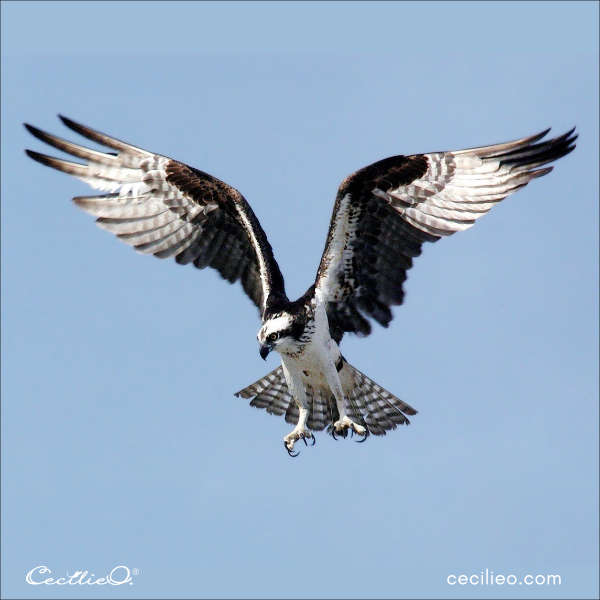
Get your tracing paper and lay it atop a photo of a flying bird. Draw a simplified shape of the bird underneath.
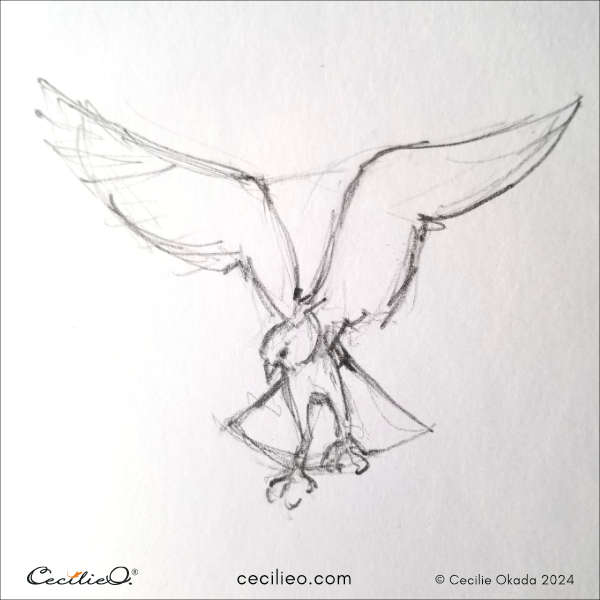
I traced this simplified shape atop my flying bird sketch, not a photo. The purpose is to demonstrate how simple, straight lines help to assess proportions.
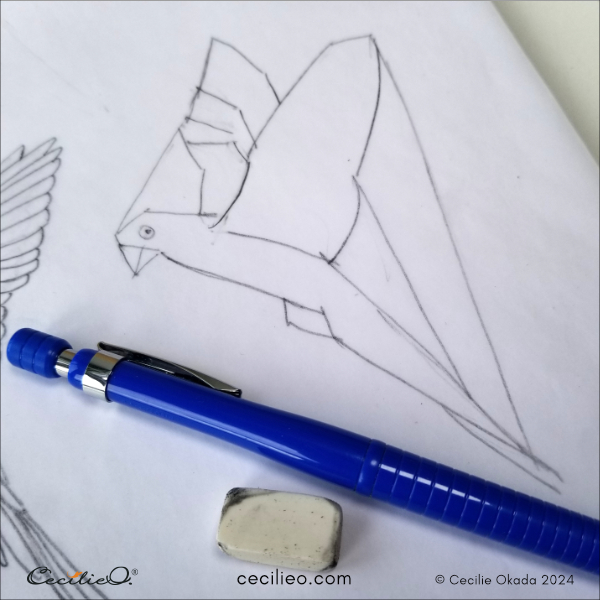
Look closely to see the straight lines between body parts. They helped me understand the all-important angles. My drawing is not exactly like the reference photo, but the bird has movement and does not look off.
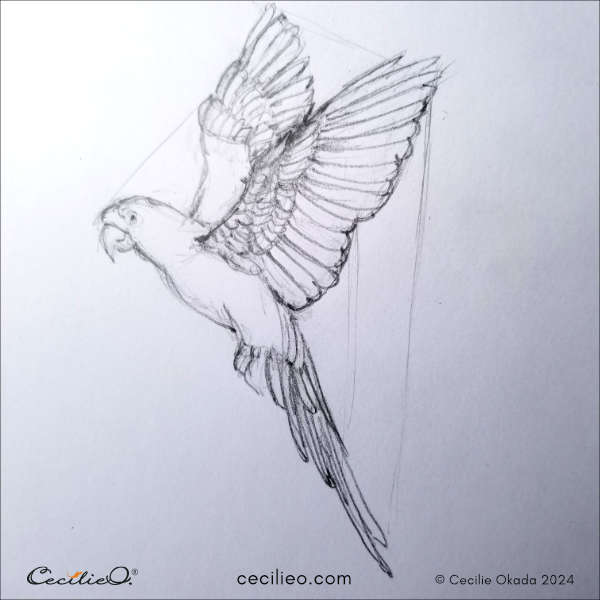
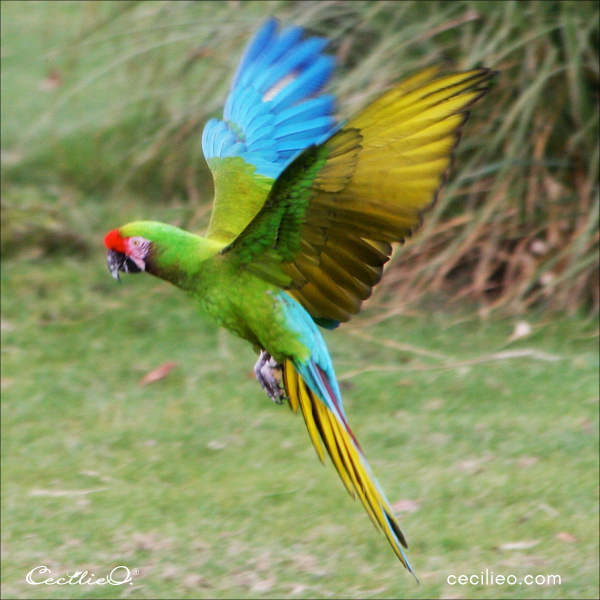
Leave out unnecessary details.
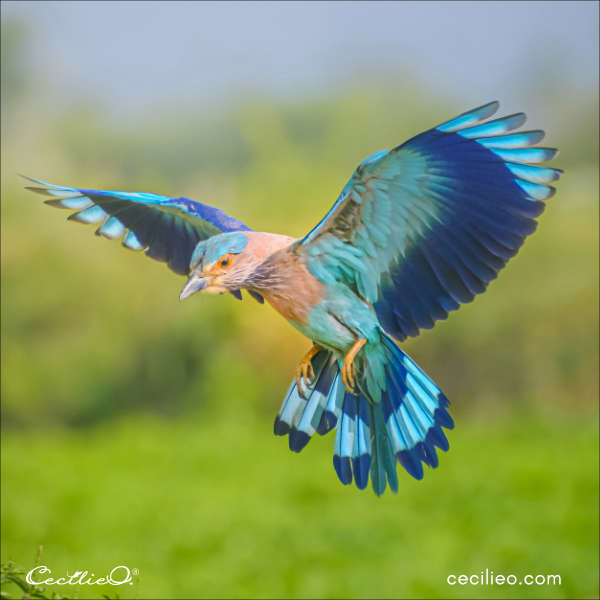
If you are right-handed, make sure the bird is facing left. (If you are left-handed, vice versa.) Starting with the head is always the easiest. Eye movement favors from left to right. Also, you draw your way toward the rest of the body without smudging the paper.
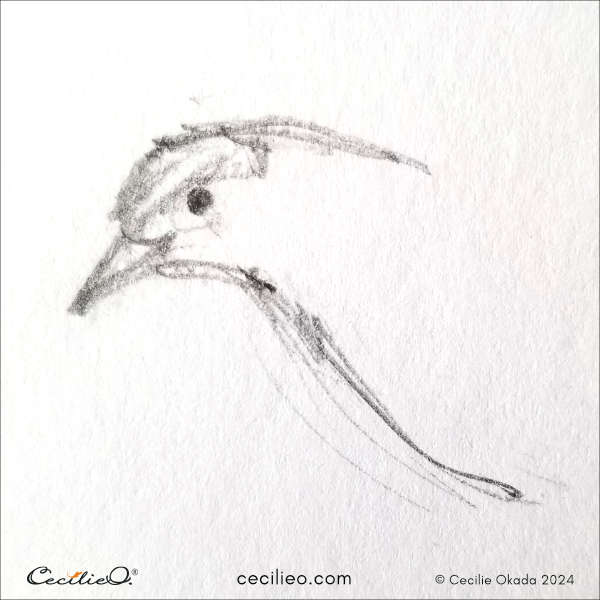
Don´t draw all the details. All you need is simplified lines, a rough representation of the bird.
Pay attention to negative space.
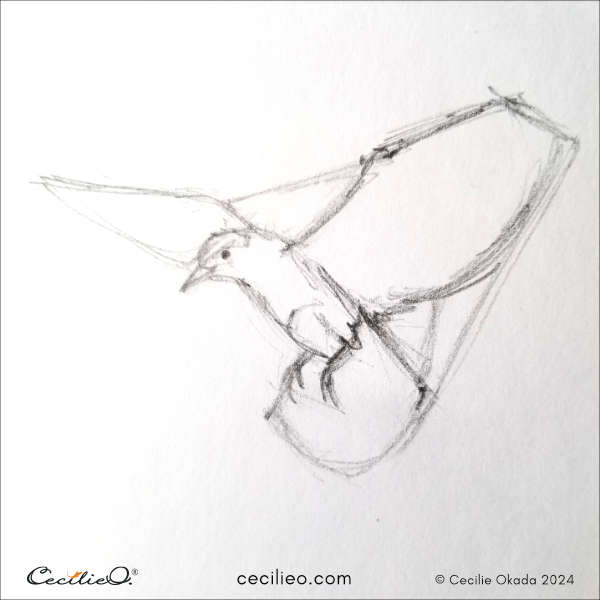
In this exercise, negative space plays a pivotal role. It is easy to assess the negative space between the two wings. It has the shape of a triangle.
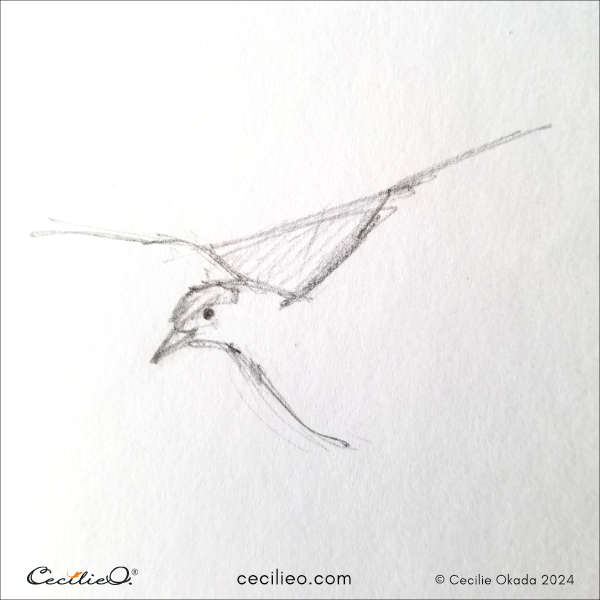
With the triangle in place, you can draw more of the body. Draw the close-by parts.
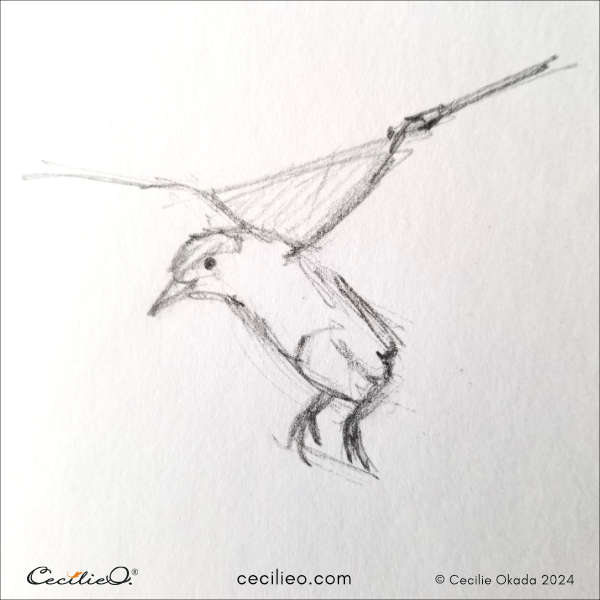
Outline wings and tail.
Assess the angles between wings, body, and tail. Mark them with straight lines. Draw simple, blunt outlines.
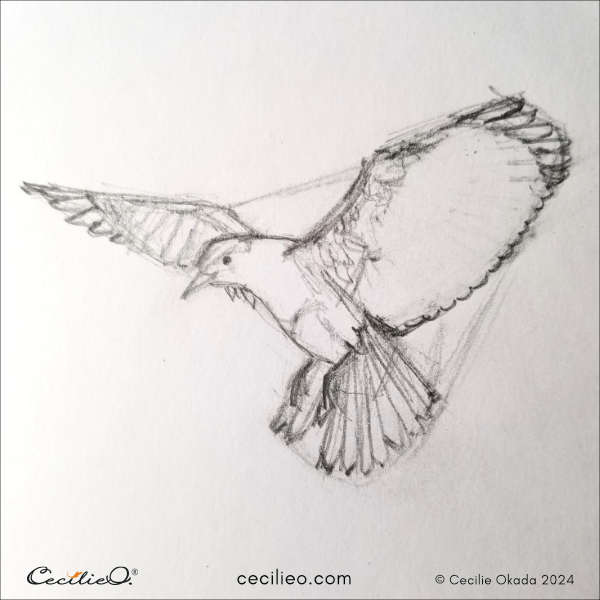
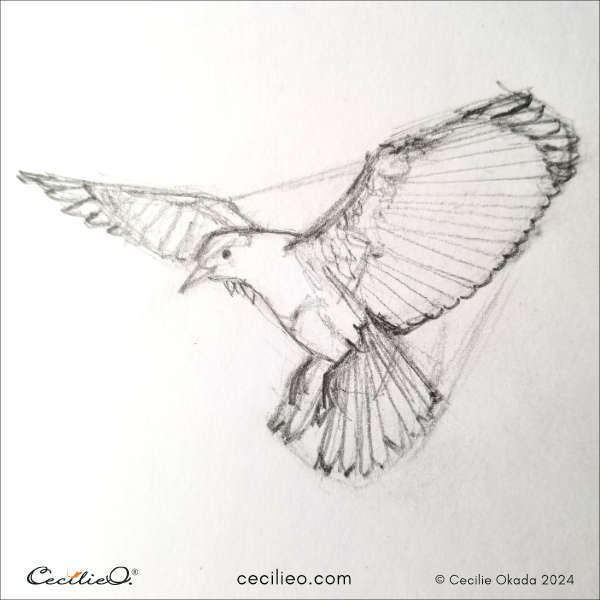
Fill in the feathers.
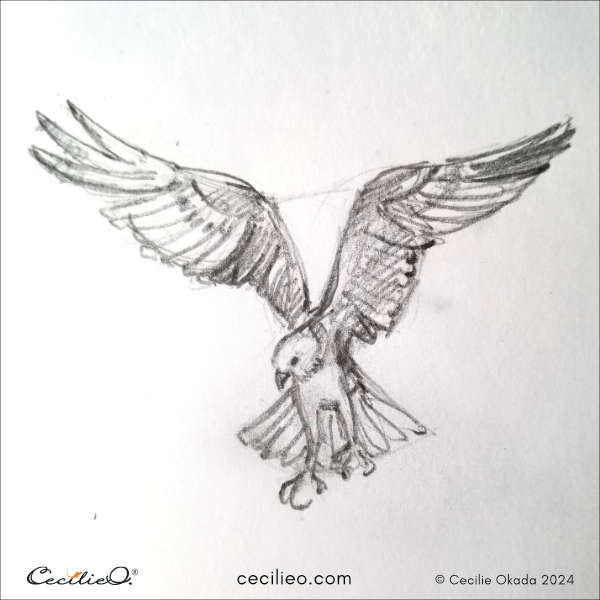
Draw the feathers when you are satisfied the general shape is correct. It is ok to fiddle and erase and redraw. Wait with the feathers until you are sure. Step aside for some time and look again with fresh eyes.
More birds in flight drawings.
Photographed from a more complex angle, let the bird below be your next challenge. You can see how I drew a simple outline first.
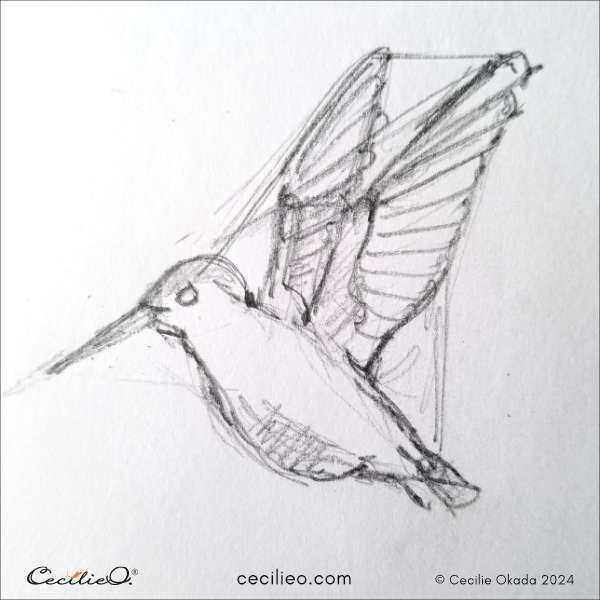
Hummingbirds must be one of the easiest bird species to draw. I can´t pinpoint why. Perhaps because most photos online show a side view? Or the even proportions between the beak, head, body, wings, and tail? In any case, try practicing hummingbirds for yourself. They are beautiful and fun to draw.

Warming up with quick sketching.
My favorite way to warm up for drawing or painting is sketching quick, tiny birds. (Yes, I´m partial to birds.)
Search “flying bird photo” on Pinterest or Google Images. You get endless reams of bird photos. Or go to my Pinterest board Color in Nature: Birds. Don´t click on any image, just draw the tiny things. You are well positioned for a quick drawing because your eyes will overlook details in these small photos. Make a fast scribble of what you see. After a while, the scribbles will take the shape of nice birds. The secret sauce is to draw small (approx 5 cm/ 2 inches) and fast.
Below are three such bird sketches.
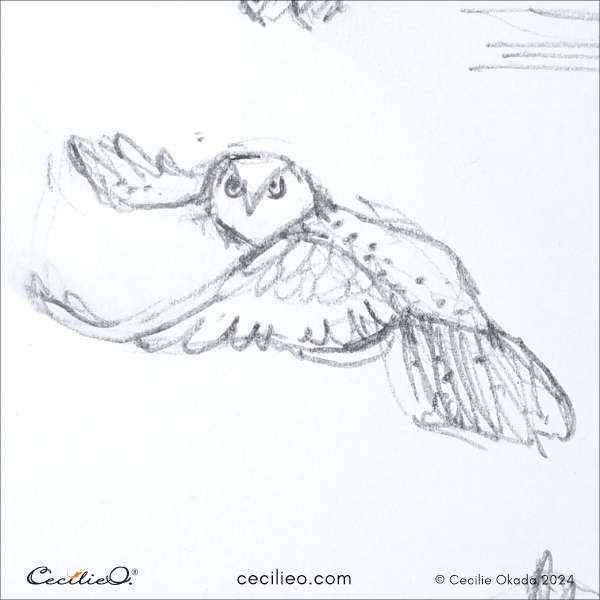
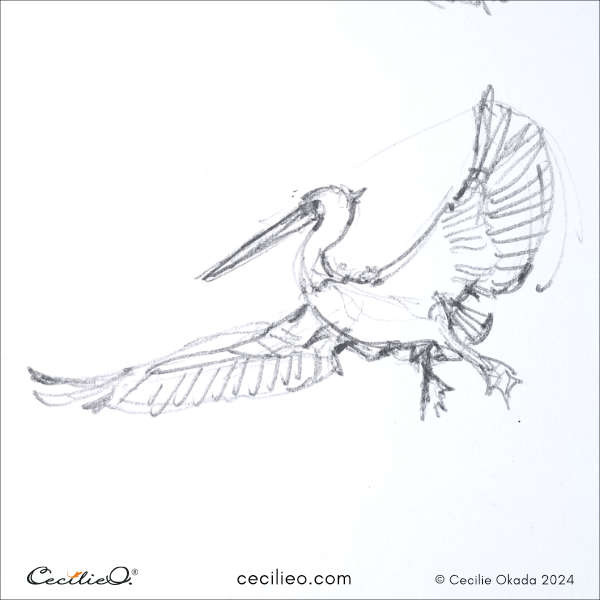
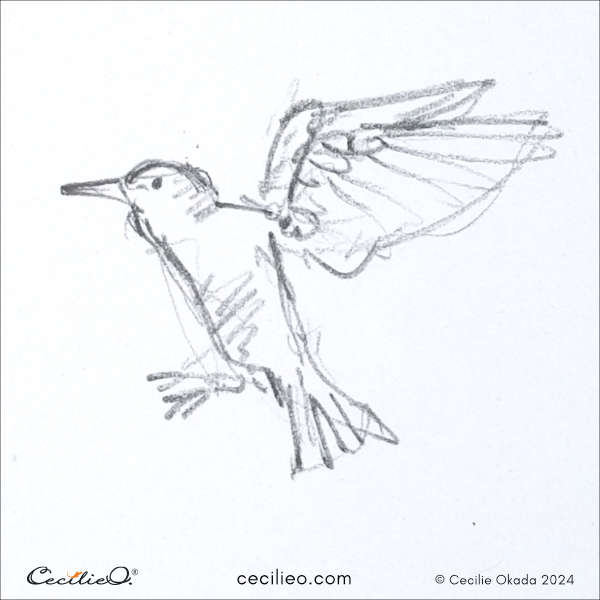
I hope this tutorial gives you the courage to experiment with birds in flight. Once you get the hang of it, you will be surprised at your own drawing masterpieces!


