

Take one look at the Japanese koi and get struck by wonder. Is nature a great watercolor artist, eh? It looks like someone splashed watercolor all over this fish with modern art in mind. No two koi fish are alike, and neither are the ones in this tutorial. Learn to paint a koi fish watercolor with vibrant movement. This easy step-by-step tutorial shows you how.
Here in Japan, Koi fish have great importance. On May 5th, large windsocks decorated with colorful koi fish flutter in the wind. Just about everywhere. It’s Children’s Day. This national holiday is in honor of children to grow up healthy, happy, and strong.
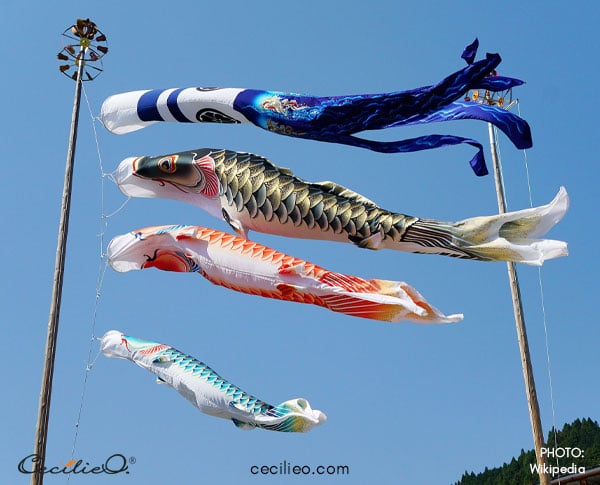
Why is koi fish such a potent symbol? Because koi, or carp, swims upstream. No matter how strong the current, they make their way. They even swim upstreams in waterfalls. Koi is synonymous with resilience and strength. In a Chinese legend, when the carp reaches its destination, it turns into a dragon. Dragon is an ultimate symbol of power and good luck in the far east.
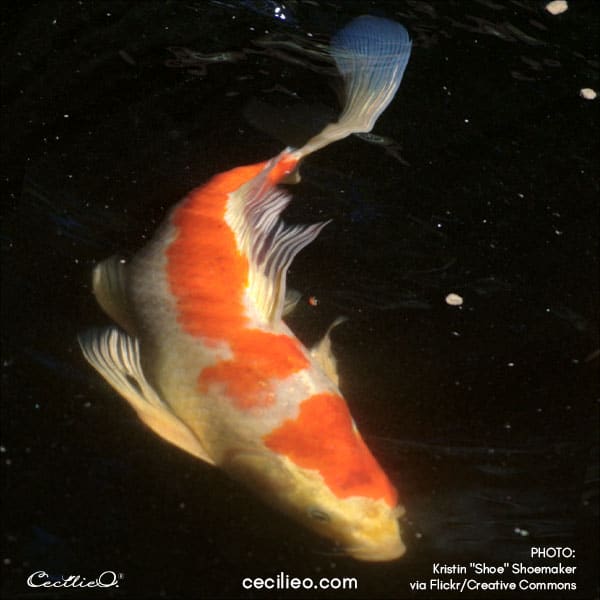
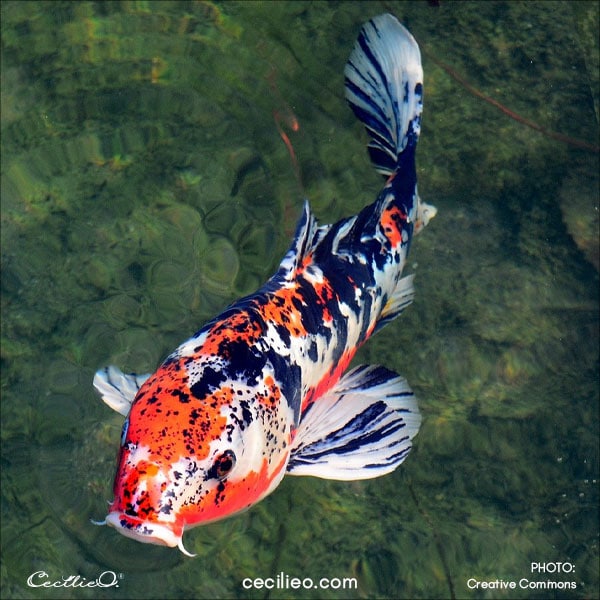
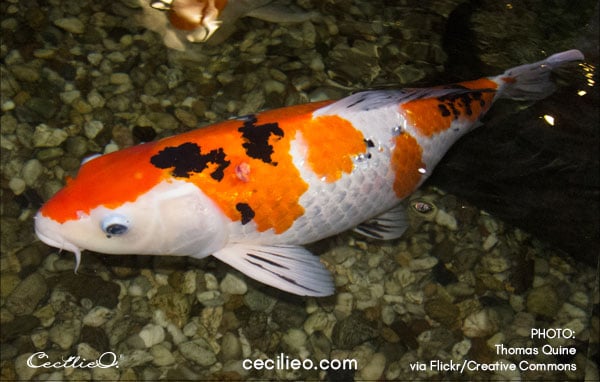
Tutorial reference photos
I’ve seen so many koi fish ponds in public gardens in Japan. Gaping with their mouths open, they are always hoping for a tasty snack from the humans staring at them. But every time I see a beautiful pose to photograph, the fish moves.
So as you can guess, these photos are not mine. Not the greatest, but we see an abundance of color splashes and movement.
Drawing koi fish
If you do an internet search for koi fish art, you will invariably find them swimming in elegant curves. The almost ornamental nature of their movement makes them attractive.
For a starter, I sketched the fish somewhat realistically. I then traced my sketches as clean outlines. To make a good composition, I cut out each traced fish and re-arranged them.
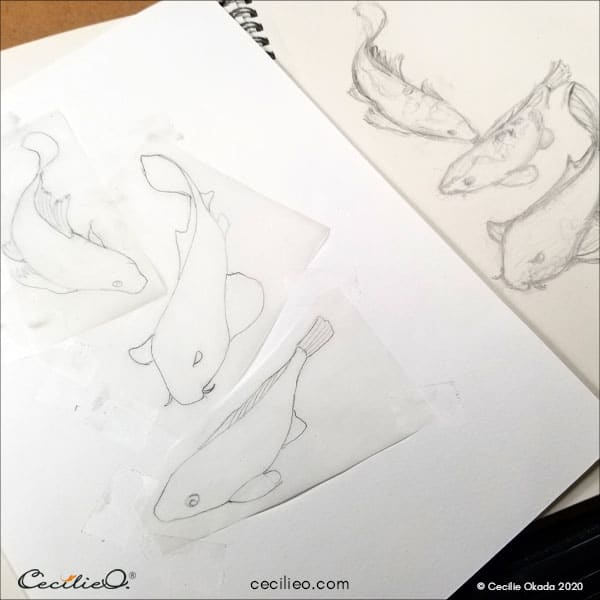
You can download the outline of the three koi fish for free in the One Tree Art Club library. (Members: check your newsletter for details). Print them out, and trace onto your watercolor paper. When you sign up, you will also be invited to join our private Facebook group. I’m looking forward to connecting with you!
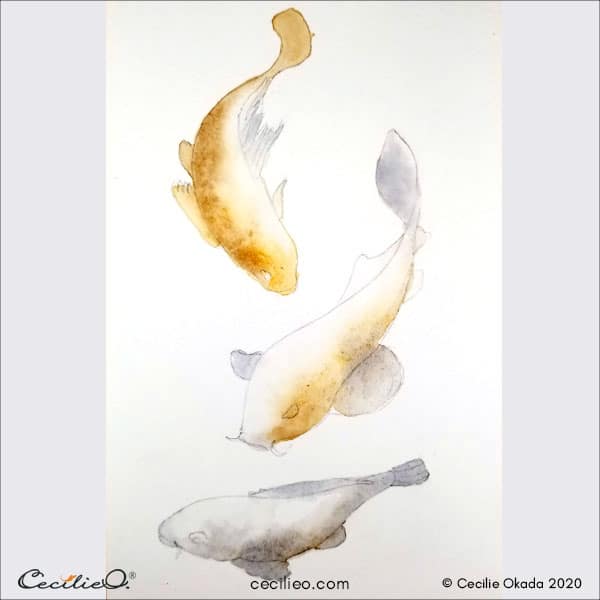
Step 1: Shading with watercolor
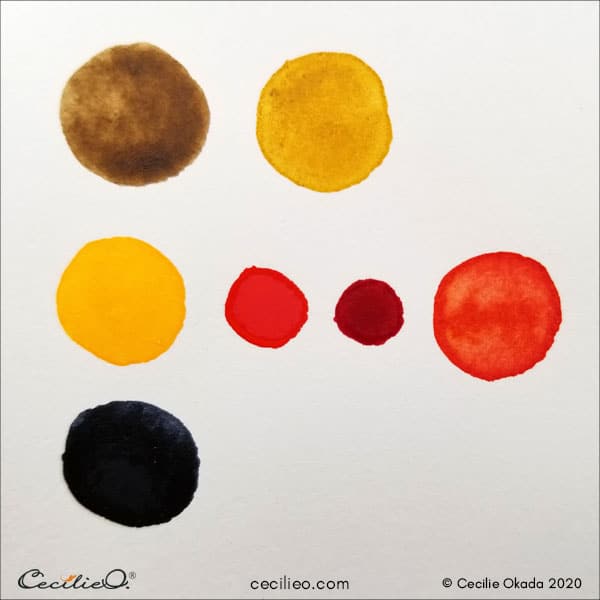
These are the colors you are going to use:
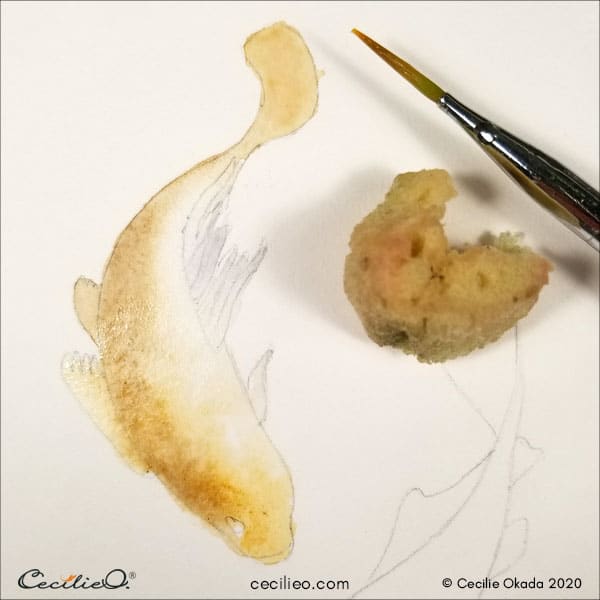
Looking at the reference photos, it is not obvious what to watercolor first. Starting with the shading makes sense because the orange and black spots are so strong. Painting the spots on top of the shading won’t cause any trouble. But the other way around might.
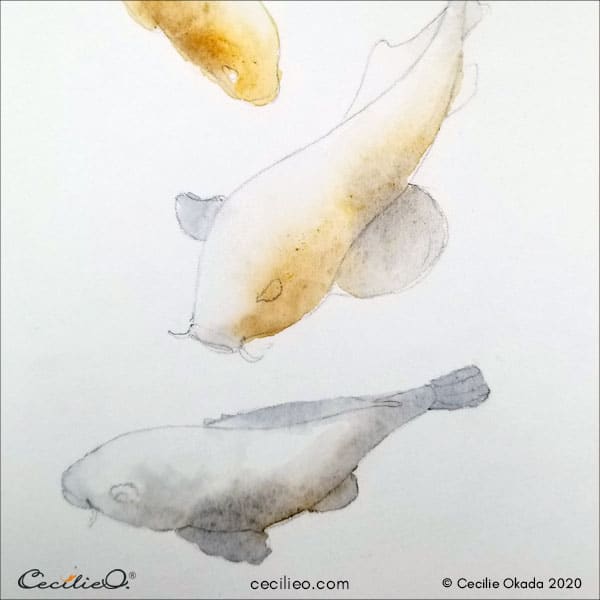
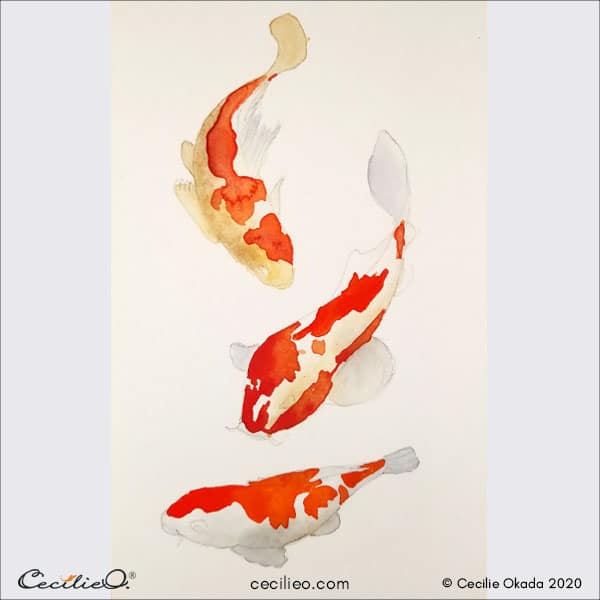
Paint the fish with a moderate amount of water first. Then gently paint the light brown and grey shades.
Use a sponge to make soft shade transitions. On the second koi, the shades are not that clear. We can take cues from the first and third koi to get it right.
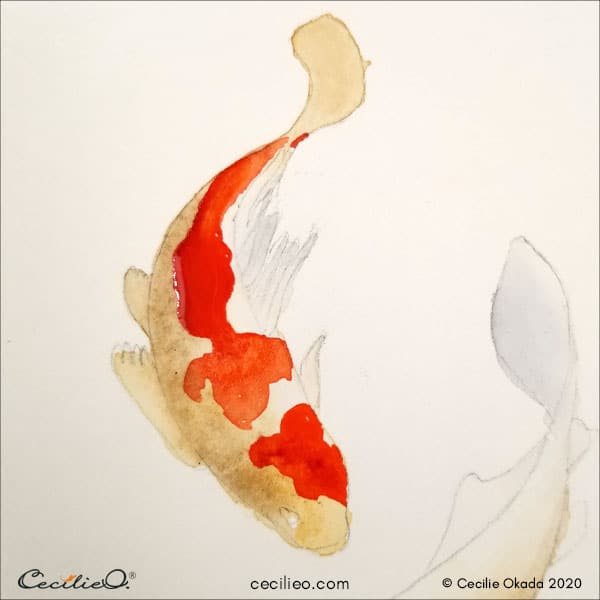
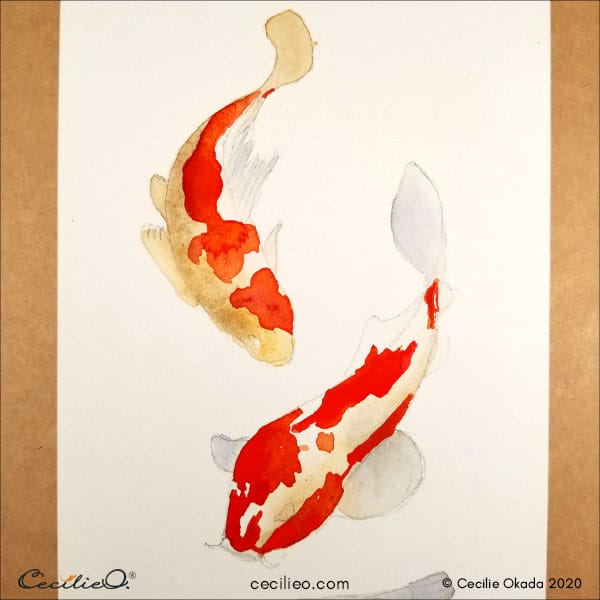
Step 2: Koi fish watercolor spots
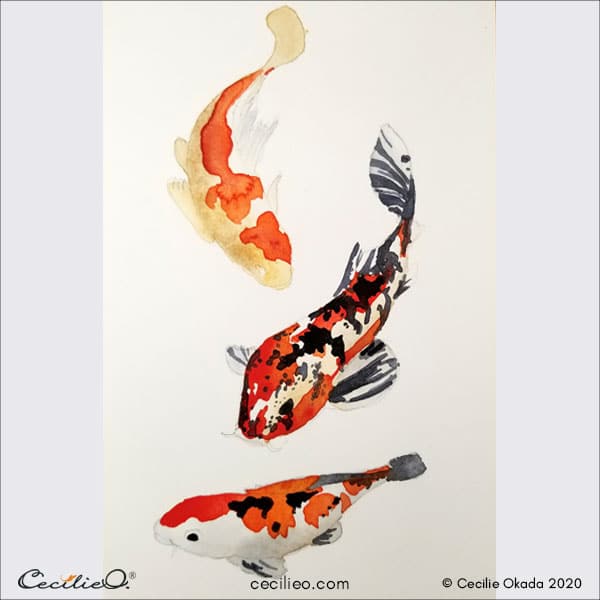
When the shading is dry, it’s time to let loose with the bold and colorful spots.
Use a moderately wet brush. When you paint the spots, look at the photo now and then. Don’t try to imitate the spots exactly. That will take the fun and freedom out of painting with watercolor. Be brave. And hey- no koi fish in the world have the same spots!
At this point, you can consider the watercolor complete. All you need to do is redraw the outline to make the shapes clear. A regular pencil will do.
You can also take the next step and paint the black spots.
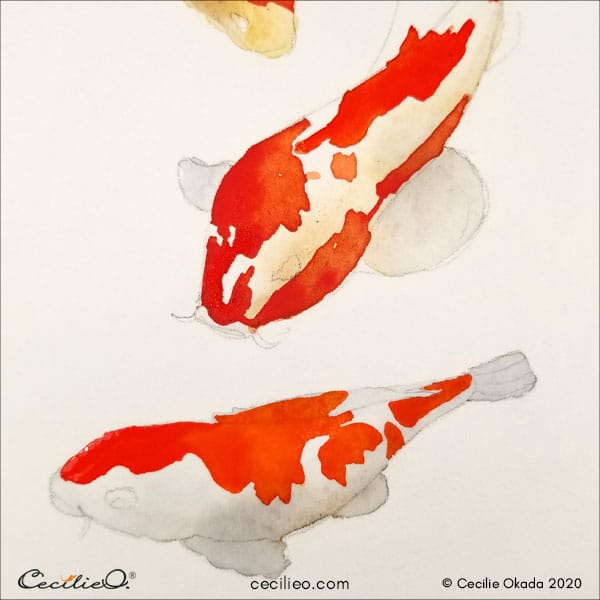
Step 3: Creating movement and 3D effect
Now that the spots are all done, it’s time to make the koi fish look real and frisky.
Using white gouache, we paint a faint line that goes along the ridge of the back. The gouache should be quite diluted so the line stays transparent. This will create the illusion of movement. (Disclosure: The white gouache link is an affiliate link, meaning, at no additional cost to you, I will earn a small commission if you click through and make a purchase. )
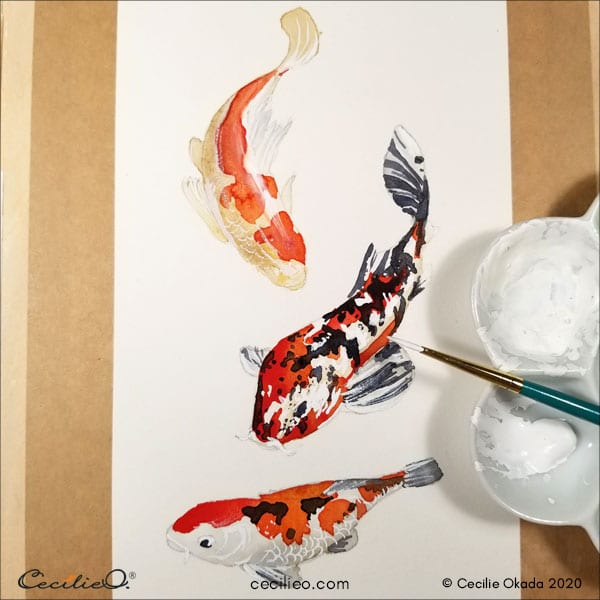
Next, we paint with opaque white gouache in places that should be properly white.

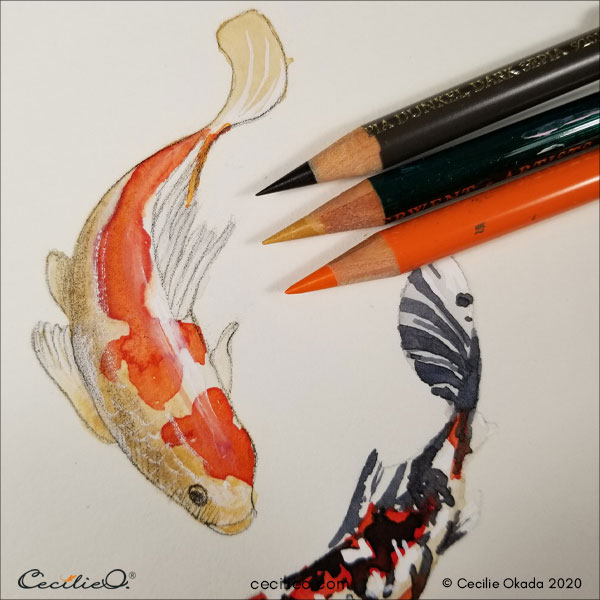
To enhance the movement and 3D effect, draw further shades with a sepia-colored pencil. Also, draw the outline of each koi with this pencil. Use ochre and orange to enhance the other shades of color. Draw gently so that you’re just lifting the colors that are already there.
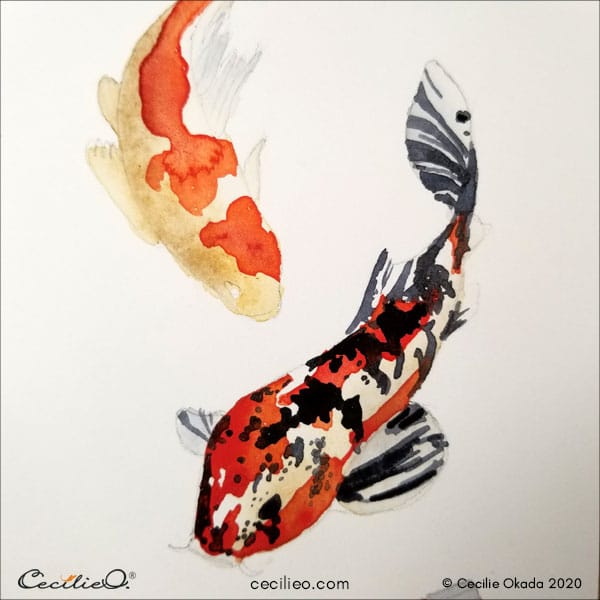
With the second koi, you can be bolder with colored pencils. Outline and draw shadows first with the sepia-colored pencil.
Paint a slight, white line on the back. Then, you can play with your colored pencils. Use orange, red, sepia, black, white, ochre.

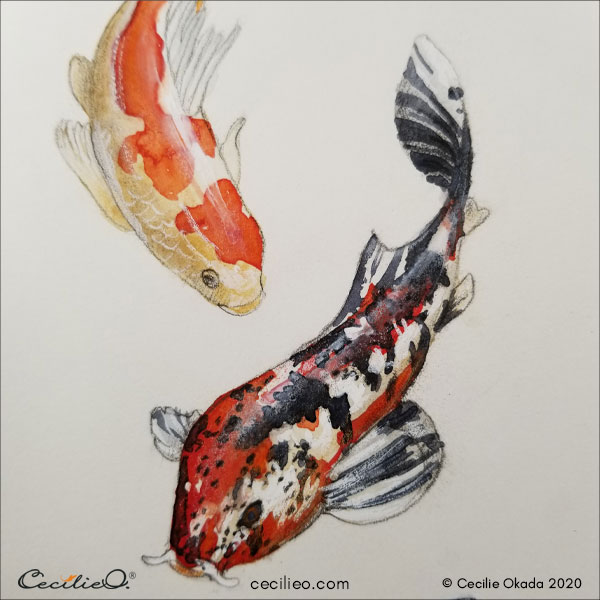
I added a lot more of the tiny, black spots on the second koi. The spots brought out the 3D effect. Why? Because they follow the curves of the body of the fish.
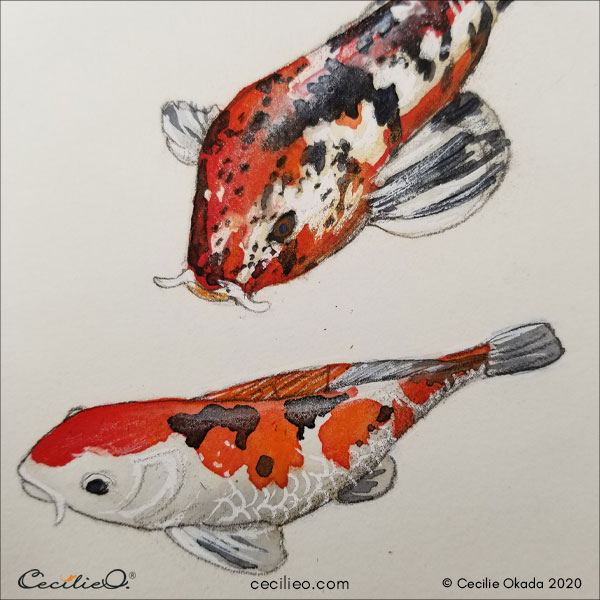
Do the same for the third koi. Here, the spots are fewer, and we see more details on the fish. Those details we have already drawn with white gouache. Colored pencil enhancement is less.
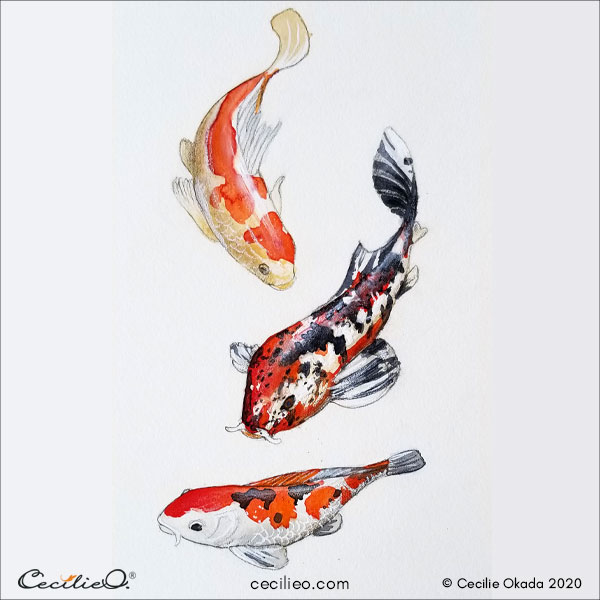
All three koi together with the colored pencils I used are below. My Guide to Art Supplies explains the tools you need for this tutorial.
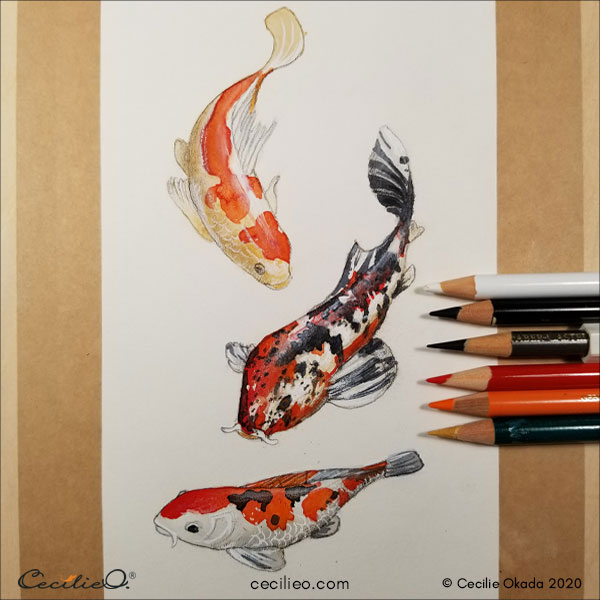
And that’s it! The three koi fish watercolors are all done.
If you’d like to learn more, here are some blog posts to take you along:


