Estimated reading time: 6 minutes
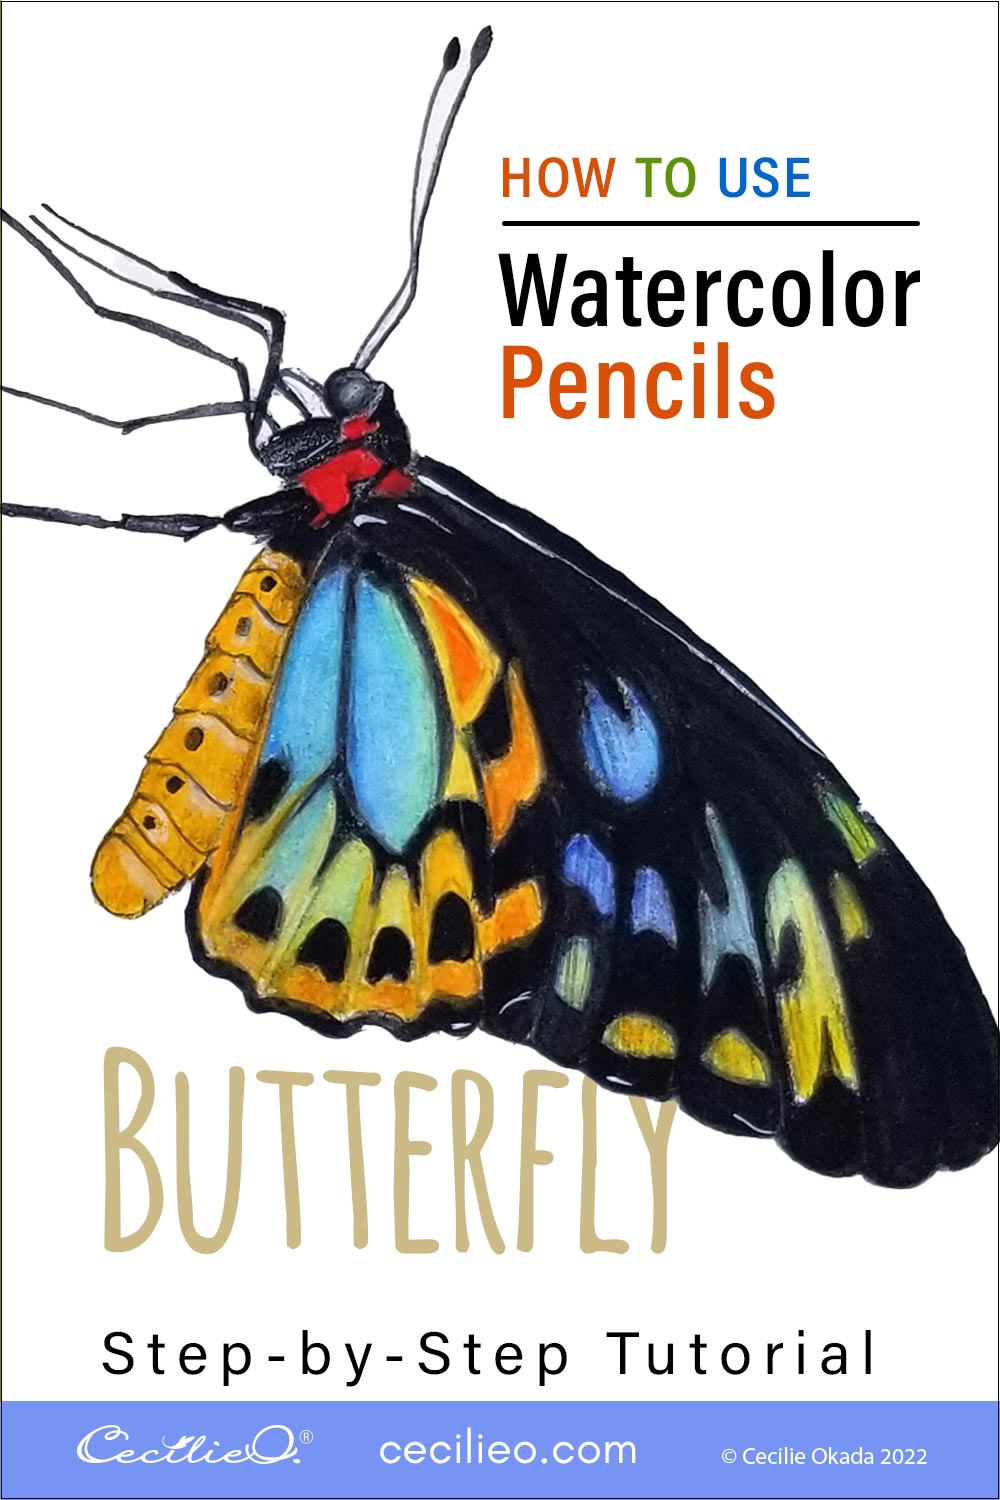
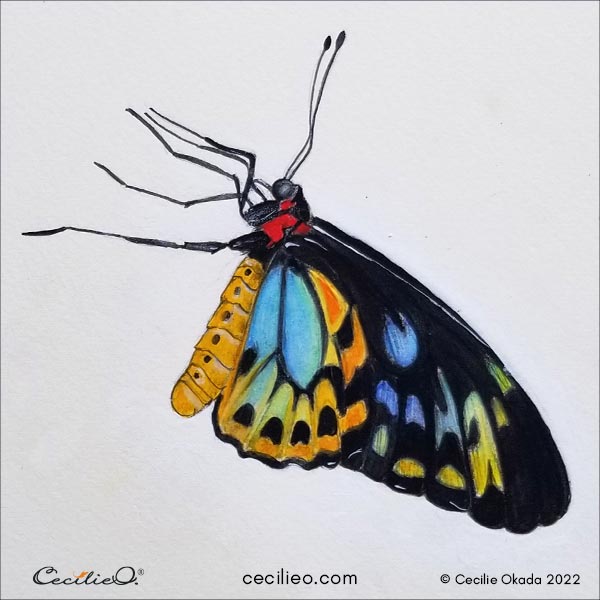
Every time a butterfly enters my field of vision, there is a sense of wonder. Seeing these lovely creatures in photos are a poor substitute, but I am still in awe. This colorful butterfly is excellent for learning how to use watercolor pencils. A bit of plain watercolor toward the end helped brush up the drawing. I will share my insights on what I could have done in a different way.

Fascinating Cairns Birdwing butterfly facts
The Birdwing caterpillar is deadly, fending off predators with colorful, poisonous spikes. The toxins come from munching the leaves of a rainforest vine. Cairns Birdwing Butterflies are native to northeastern Australia.

Watch the wonder:
Caterpillar article with beautiful photos.
Watch the chrysalis transform into a beautiful birdwing butterfly.
My Pinterest board showcases stunning butterflies and bugs.
Drawing the butterfly outline
Drawing a butterfly profile is a lot easier than the top view. A wing spread begs symmetry, which is difficult to do freehand. In another tutorial, I show you a trick on how to draw a butterfly with two equal wings. It has four butterfly examples.
For the side angle, start with the head and body. Then move on to the wing and last, legs and feelers.
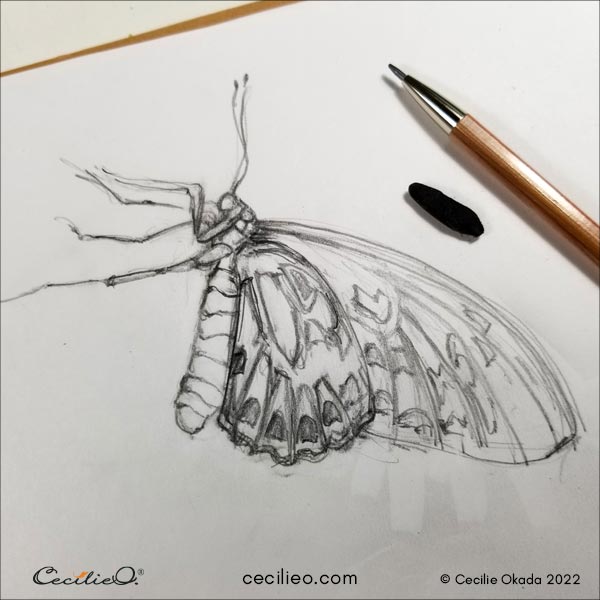
If you prefer to trace my drawing, go to Membership in One Tree Art Club | Creative on the Buy Me a Coffee platform.
The free One Tree Art Club library has a sizeable collection of free outlines for my tutorials.

Drawing with watercolor pencils
Watercolor pencils behave very differently than regular watercolors. Use water sparingly as you activate the colored pencil marks with water. If not, the colors will spread too thin.
Step 1: Head and upper body
Draw the black head and upper body with red spots and activate with water.

Step 2: Yellow body
Draw the yellow body and activate the color with water.

Step 3: Black parts
Draw all the black parts of the butterfly wings and body. Let the pencil marks follow the curve of the wing. Activate the black color with water.

Step 4: Rainbow colors
Select watercolor pencils that resemble the colors on the wings. Fill all the open spots on the wings with relevant colors. Activate with water.


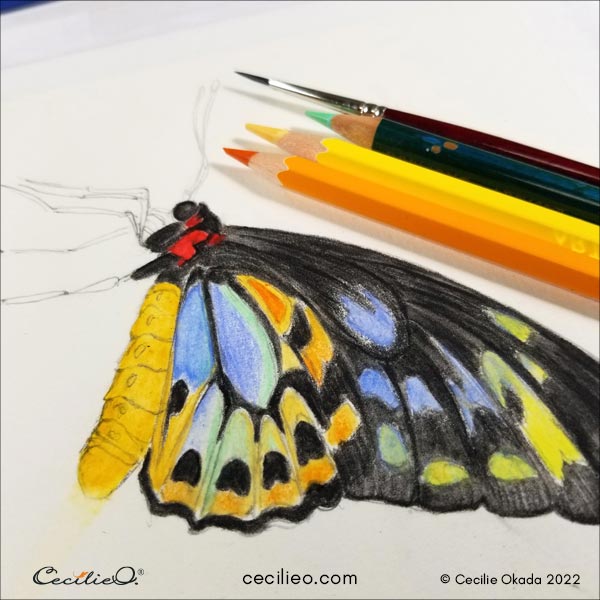
The lessons learned so far drawing this butterfly
Lesson 1: The surface turned glossy
I believed I could replicate the grainy look of the colorful spots on the wing. If I had painted with watercolor first, it would have worked. Drawing with colored pencils on top of dry watercolor can make this effect.
I discovered that dry, activated watercolor pencil marks leave a glossy surface. When I tried to draw on top for a grainy effect, the color would not stick.
Lesson 2: Black pigment seeped into the colors
I should have drawn the colorful spots first instead of the black areas. After activating the colors, I saw that black pigments seeped in. It contaminated the purity of the other colors.
To remedy the problem, I decided to paint over with regular watercolor. In that way, I could make the colors bright and clear again.
I painted the legs and feelers with black watercolor. A slim, pointed brush is best for such fine lines.

Completing with regular colored pencils
I was unable to resist a final polish with dry colored pencils. On the right half of the wing, I drew lines with a black pencil to make the grainy spots. It was not a perfect solution, but the best I could do.

Have fun experimenting with watercolor pencils!

For art material needed for this tutorial, visit my Guide to Art Supplies.
Here are some more tutorials that you may find helpful:


