

Estimated reading time: 7 minutes
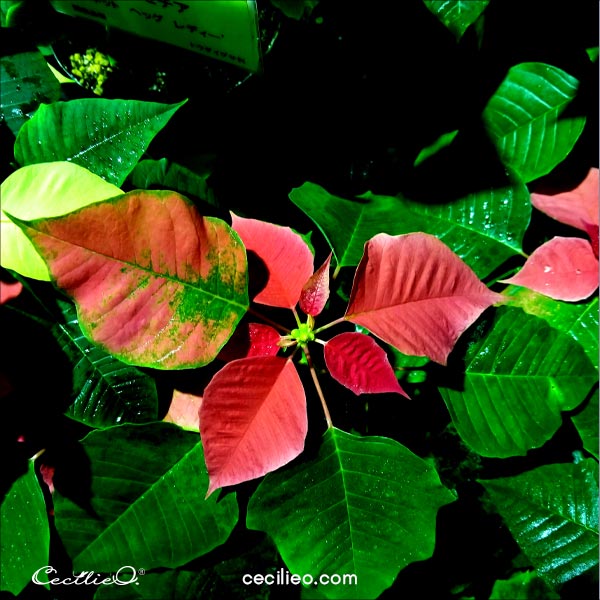
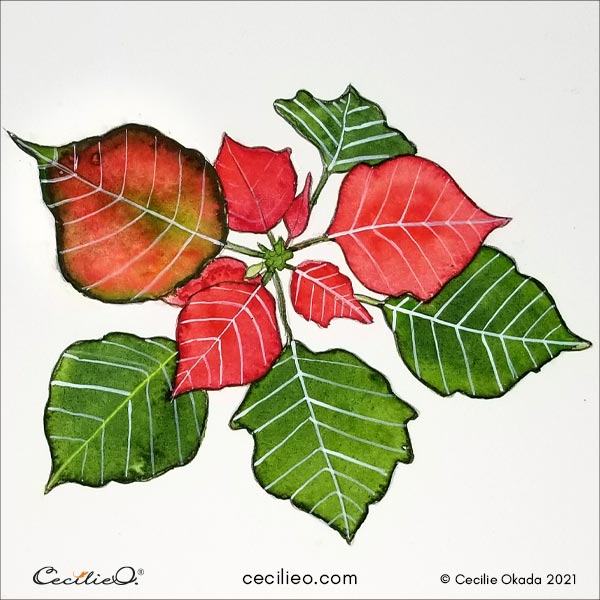
It’s the season leading up to Christmas, and poinsettias are blooming. We see red flowers everywhere, but they also come in white and pink. On a recent trip to the botanical garden in Kyoto, I found a treasure trove of “painted leaf” ( another name for them). In this watercolor poinsettia tutorial, we will paint both red and pink. To get the leaf details right, colored pencils do the job. They allow us to be less accurate with watercolor, which can be an unwieldy medium.
Poinsettia origin and meaning
There is a lovely Christmas story that goes with poinsettias. The Aztecs were the first to cultivate them. A poor Mexican child wanted to give a gift but had no means to, so she pulled up some weeds from the wayside. They bloomed and turned red and green and into the flower we now cherish. It was considered a Christmas miracle. In the 1800s a horticulturist and diplomat to Mexico started cultivating it in the US.
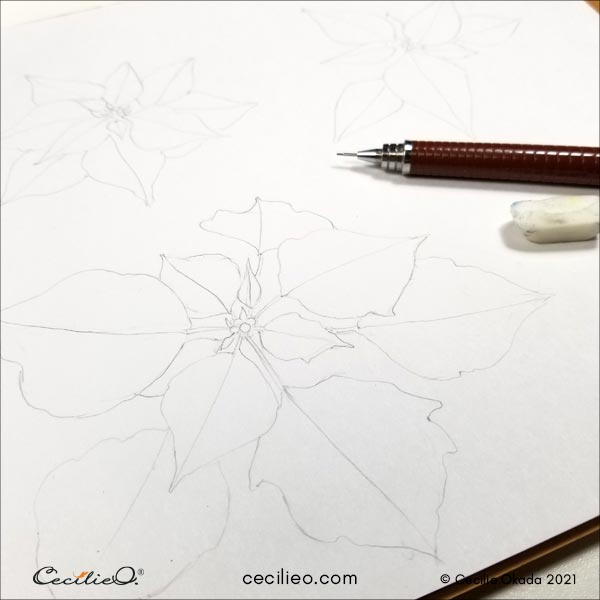
Step 1: Drawing and transferring to watercolor paper
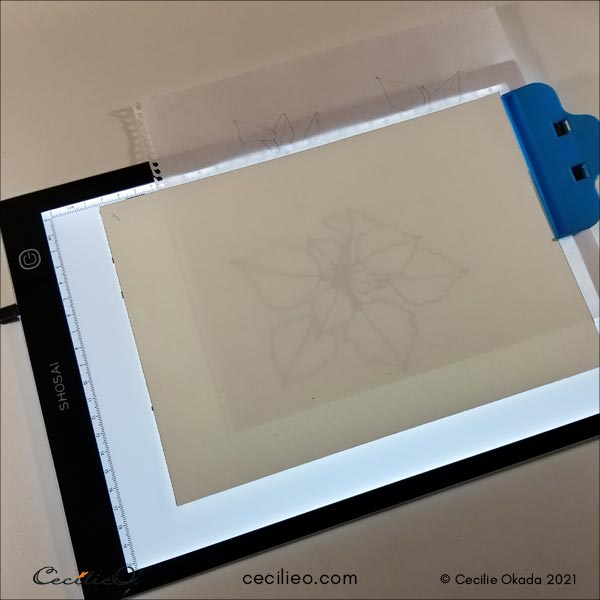
In previous tutorials, I suggest you transfer the outline with tracing paper. This time, I will show you another option. My husband found an ingenious, inexpensive little tool; an ultralight LED light tracing pad at only twenty dollars. (If you buy through the link, I earn a small commission). I have a big, chunky light table sitting in a closet because my current studio is too small.
Here we go. I drew the poinsettia with a light touch.
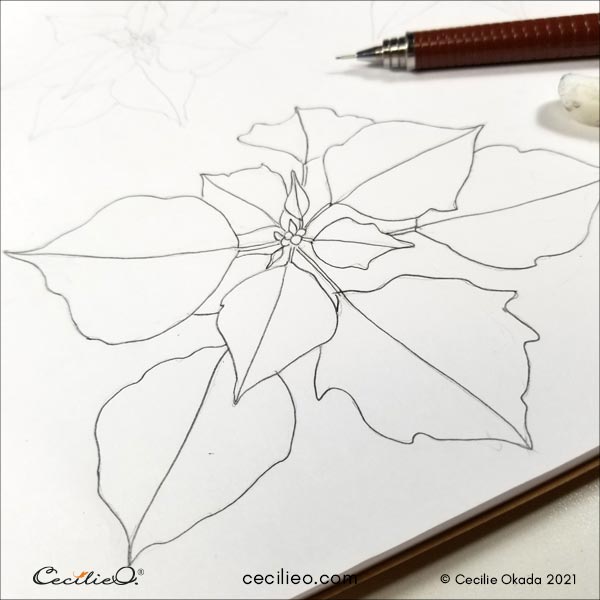
It was necessary to redraw with a darker line.
I placed the watercolor paper on top of the drawing on the light pad. Notice how easy it is to position your drawing. My original sketch underneath is way down in the left corner of the paper.
The finished outline. You are welcome to download the drawing for free from the One Tree Art Club library. (Members: please check your newsletter for the entry information).
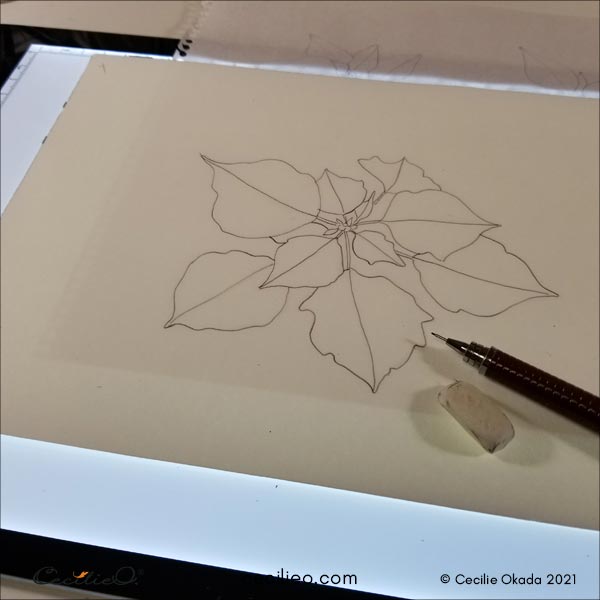
Be aware that pencil marks bond with wet watercolor paper. This happens when you wet the paper to stretch on a wood board. An eraser won’t do anymore. So better be sure about your drawing.
Step 2: Watercolor the poinsettia
The reference photo is a little dark with sharp colors. I took the photo inside the glasshouse in the evening in artificial light. The shapes are lovely, but the leaves can be redder for the Christmas feel. Still, include some pink.
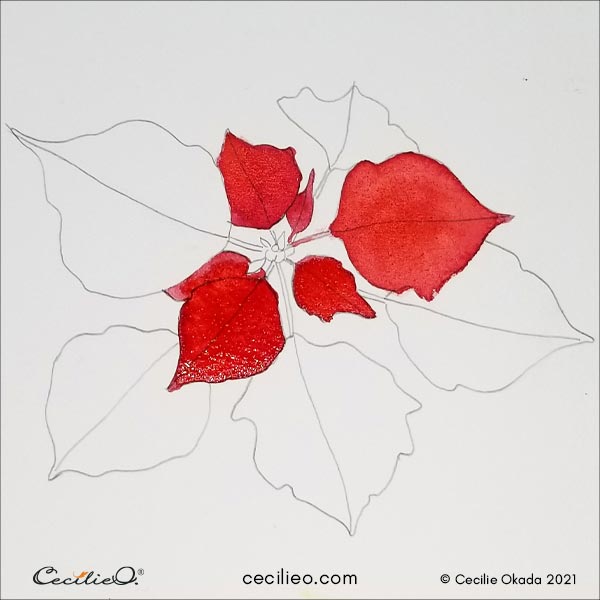
Use a moderate amount of water. You can paint the leaves one by one with plain water first. In our One Tree Art Club Facebook group, I see that people sometimes don’t use enough water. The water is what makes the colors flow and blend. If you don’t use enough water, the paint becomes chunky with visible strokes.
Use a variety of greens for the leaves. If you don’t have a darker green, mix in a tiny bit of black in a punnet before applying. A tiny bit of blue will skew the color as well. Paint with light and dark green on different parts of the leaves. Use a moist paper tissue or sponge to soak up paint where needed.
The only real challenge with this painting is the leaf that is both red and green. Make sure to blend the colors nicely with water.
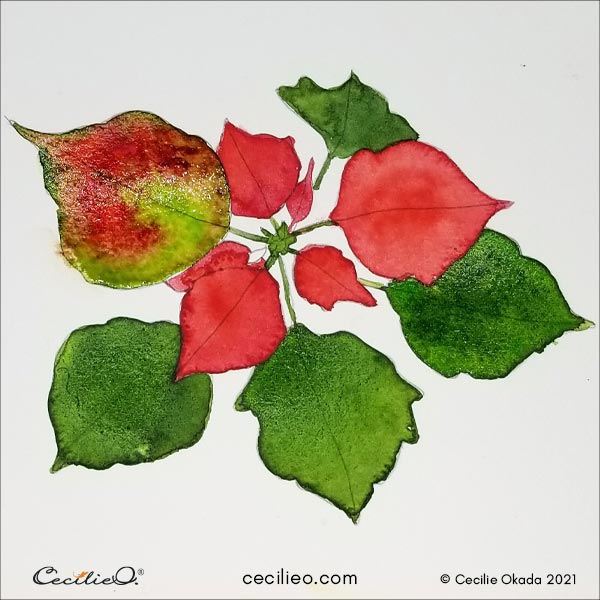
I decided to go for more red. In hindsight, it was not a good decision. The green got pushed to the edges and became too dark. I let it be, thinking I could resolve it with colored pencils later.
Step 3: Painting the stems with white gouache
But first things first: Draw the veins with white gouache. Use a fine brush and rinse it often and pull the tip. In that way, it stays sharp. Mix the gouache with water in a punnet until it is a thick soup. Not runny, not solid. You can also clean up outside the outline with white gouache.
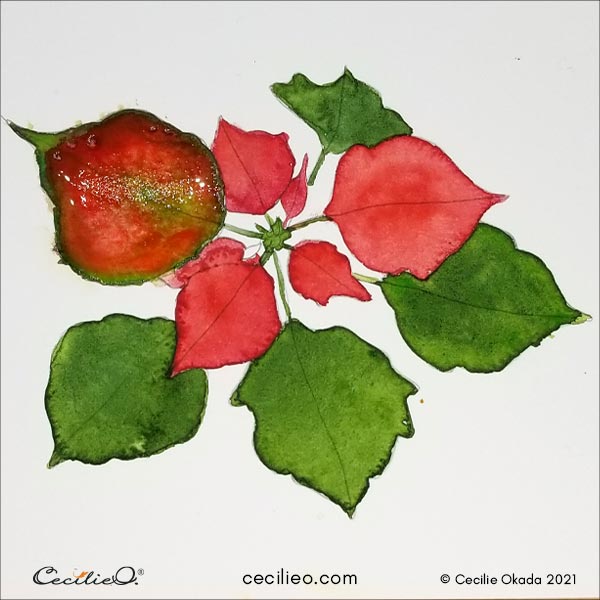
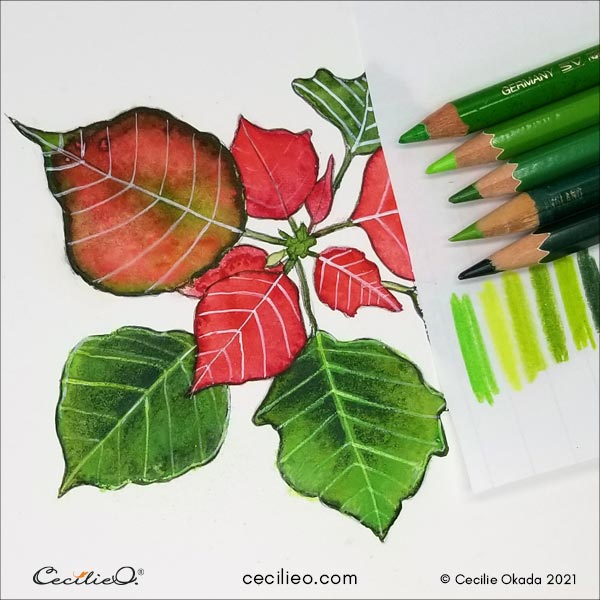
Step 4: Drawing realistic details with colored pencils.
I already outlined the whole plant with a sharp, dark brown pencil. Now for the leaves. Gather what you’ve got of green colored pencils, and look at the photo for cues. Be playful. Approach it like drawing with a regular pencil, except you are using colors instead.

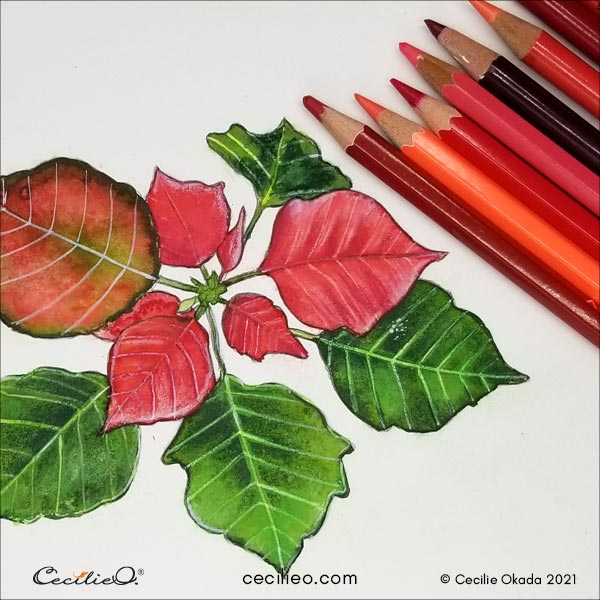
Next, do the red leaves. A white colored pencil is part of the tools you need as well. Sometimes, you may want to come back with a little white gouache here and there, or even a little watercolor. Mix and match as you work your way with these lovely leaves.
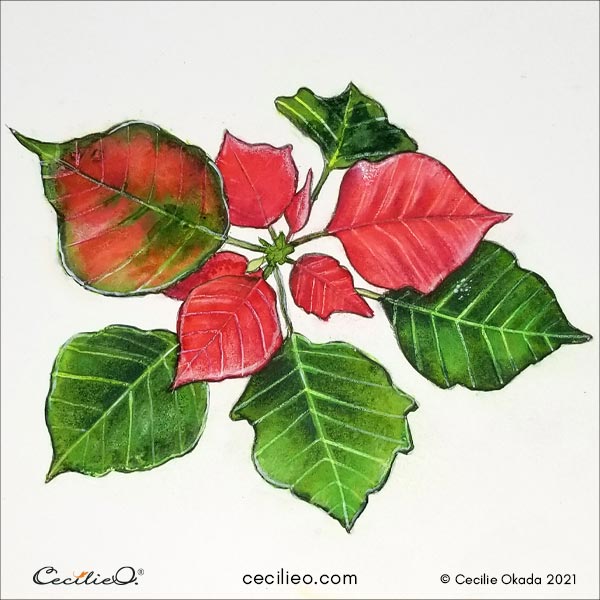
And that is it. The watercolor poinsettia is all done. Happy painting!
To get a list of the art material you need for this tutorial, go to my Guide to Art Supplies.


