

Estimated reading time: 8 minutes
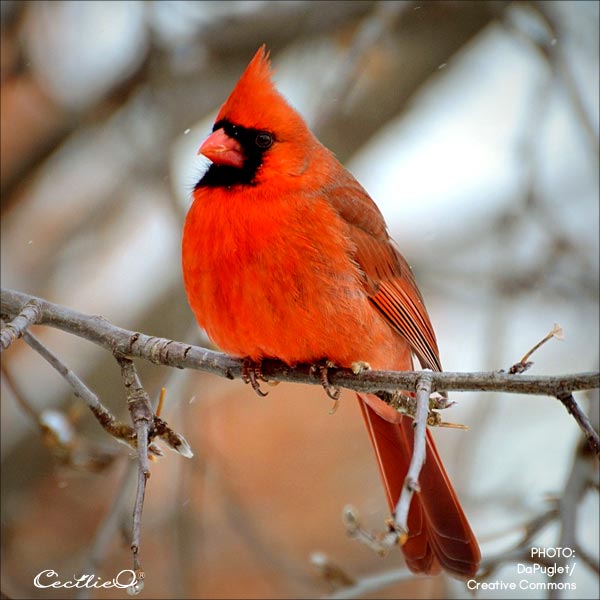
Few birds can boast such universal admiration as the red cardinal. The bright, red color lightens up gardens and its song is beautiful. Drawing with colored pencils, you can portray this charming bird with stunning detail.
If you draw on top of a watercolor base, you combine the strength of both mediums. A realistic drawing becomes so much easier. I will guide you through the steps in this simple tutorial.
Table of contents
- Cardinal symbolism
- Step 1: Drawing the cardinal with a pencil
- Step 2: Painting the watercolor base
- Step 3: Painting a foundation for the feathers
- Step 4: Drawing the feathers with colored pencils
- Step 5: Drawing the eye and beak
- Step 6: Refining with white paint and colored pencils
- Step 7: Step back, and then create 3D effects
Cardinal symbolism
Red cardinals symbolize a lot more than Christmas. They embody caring, stability, confidence, and spiritual connection. These much-loved birds even have a website dedicated to them.
Both the male and female are devoted parents, and the father is in charge of nurturing the young. The chicks are never left alone. When one parent takes off in search of food, the other stays behind. For this reason, cardinals are also potent symbols of balance.
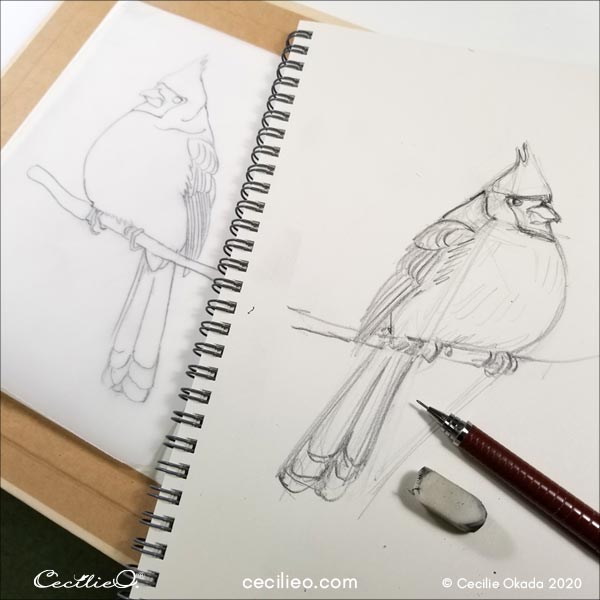
Step 1: Drawing the cardinal with a pencil
You need to first sketch the outline of the bird. To make it easy for you, I have scanned my outline and made it available in the free One Tree Art Club library. (Members: Check your newsletter for instructions). Print out and trace onto your paper.
It is one of many line drawings available in the free One Tree Art Club library. Each outline is for a blog post tutorial.
Since we are going to draw on a watercolor base, I recommend using smooth watercolor paper. The smooth variety works best for colored pencils.
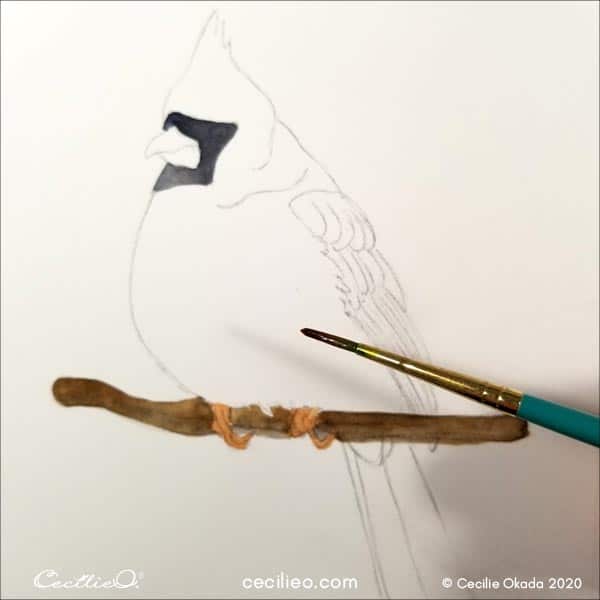
Step 2: Painting the watercolor base
Watercolor the brown branch, and the bird’s feet and black “mask”.
Paint the rest of the bird with a fresh, red color. The entire red area can be painted with water first so that the red color spreads out nicely. You don’t need to consider making interesting shades. A flat, red color will do.
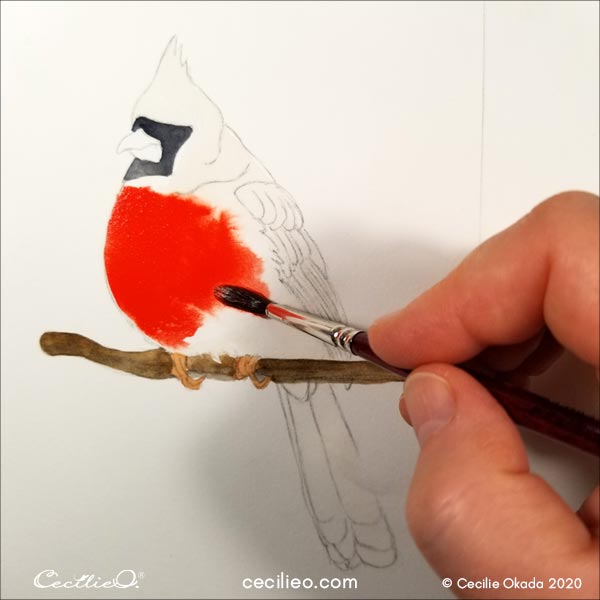
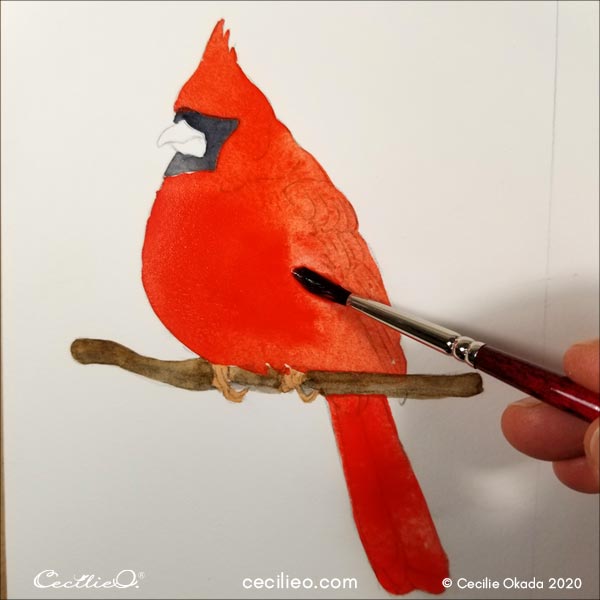
In the darker areas, add some brown or black color. Let it flow into the red.
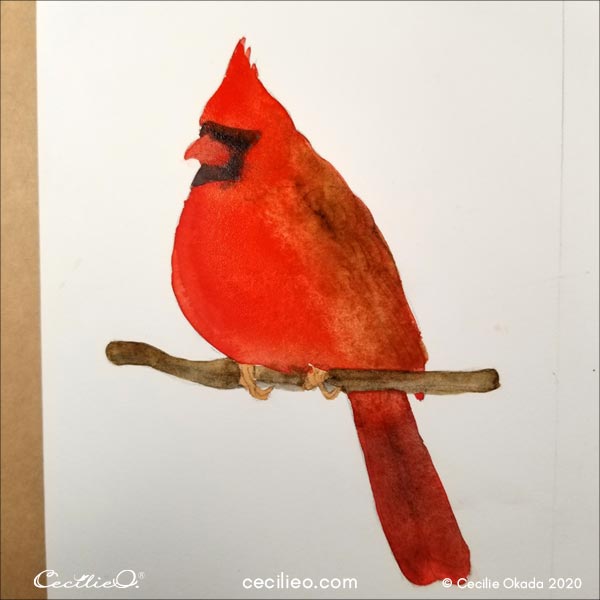
Below, you can see how the color loses some of its intensity once it is dry. The smaller brush in the photo was used for the black and brown areas. Red watercolor was applied with the bigger brush.
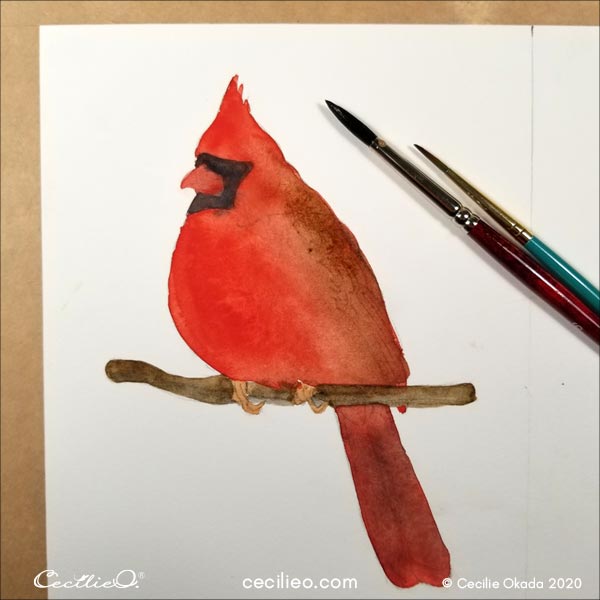
Step 3: Painting a foundation for the feathers
You will now apply the understructure for the feathers.
This is how you do it:
- Use a size 0 brush.
- After dipping the brush in white gouache, dry it with tissue paper. Add a little more paint to the tip of the brush. Make sure the tip stays pointed.
- With light, gentle strokes, draw fine lines in the direction of the feathers. Draw in layers. Follow the slant of the various feather types on the bird.
- Dip the brush as often as you need to, but always with just a little amount of paint.
Use a hairdryer to dry the white strokes, or let it dry naturally.
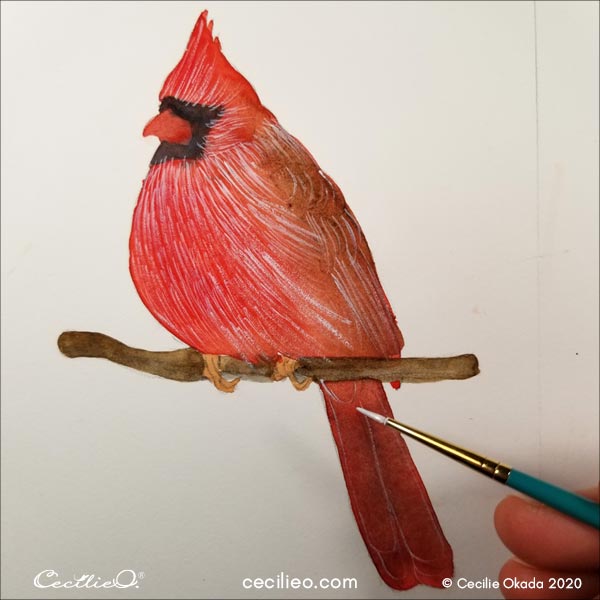
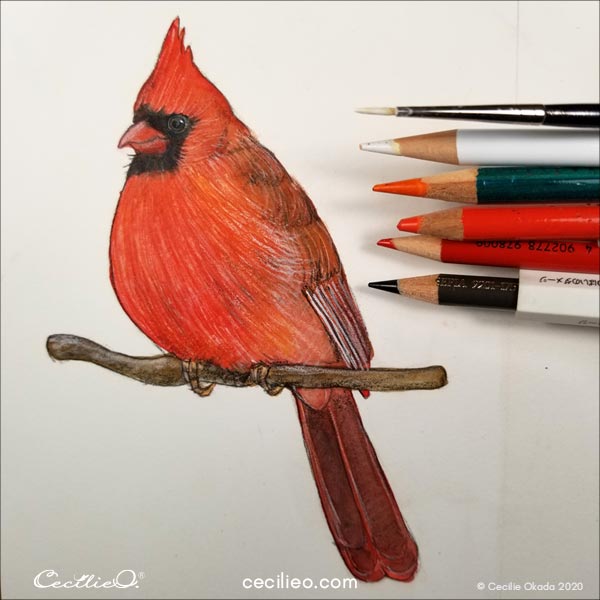
Step 4: Drawing the feathers with colored pencils
Pick up various bright red colors from your colored pencils collection. You can use light red, intense red, some darker, and even orange.
Draw with the red colors on top of the white lines. Vary the hues depending on the distribution of reds in the reference photo.
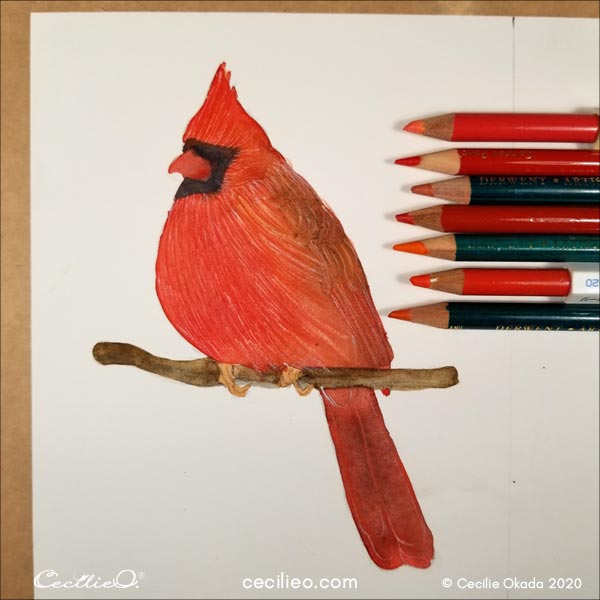
Redraw the outline of the cardinal and branch with a dark brown pencil. Draw the eye with white gouache with your size 0 brush.
Step 5: Drawing the eye and beak
Before you go on to finalize the feathers, draw the details of the eye, beak, and black “mask”.
I have enlarged the photo so that you can see these elements better.
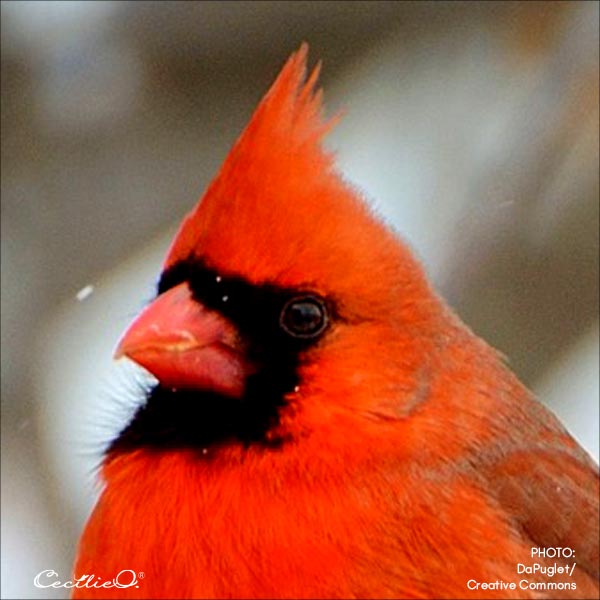
Use your creativity to portray the eye and beak. Alternate between white gouache, watercolor, and colored pencils. Use white, black, and orange. The good thing is, the white gouache allows you to redraw until you are satisfied.
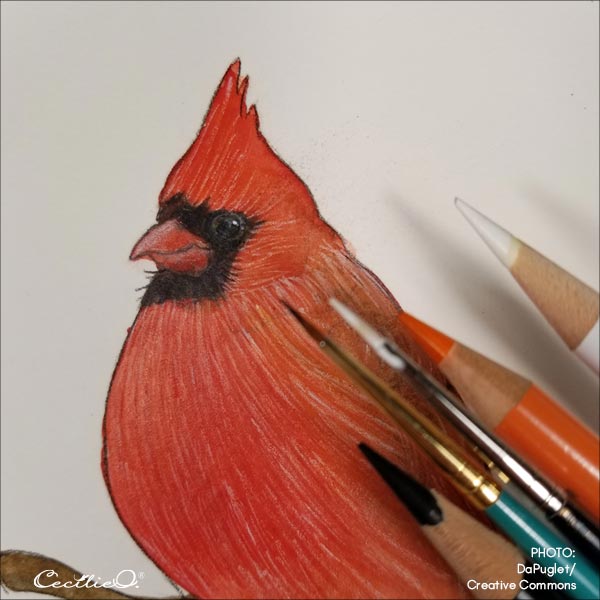
You can draw and paint the eye in this order:
- Draw a thin, white circle with the size 0 brush.
- Paint with black watercolor inside the circle.
- Draw the iris with an orange colored pencil.
- Draw the pupil with a black colored pencil.
- Draw a black line inside and outside the white circle.
- Draw very lightly with the black pencil on top of the white circles.
- Paint the white dot on the eye.

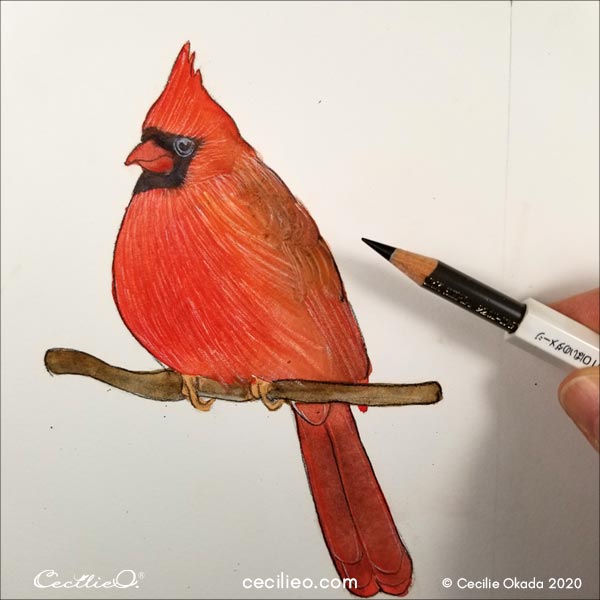
Step 6: Refining with white paint and colored pencils
Next, paint another layer of white strokes for highlights. Look at the photo for cues as to where highlights are needed.

Draw with red, orange, and white on top of the new highlights. Draw with dark brown on the darker areas to create a sense of 3D.
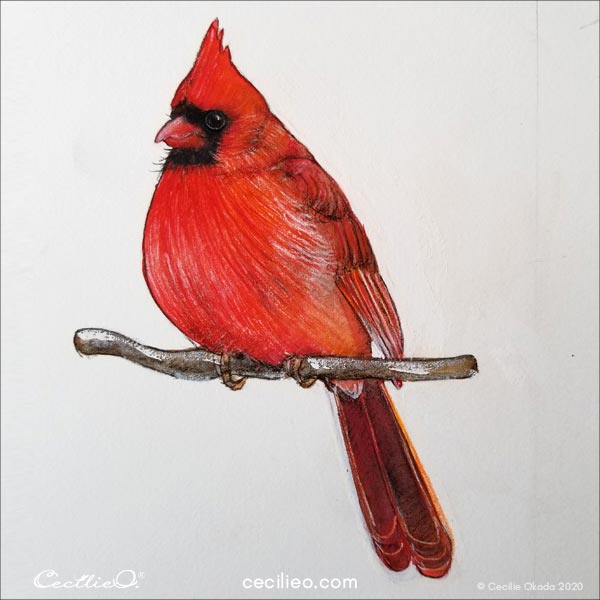
Step 7: Step back, and then create 3D effects
Put aside your drawing and come back to it a couple of days later. You have a blind spot from staring too much at the picture. With fresh eyes, you will see things from a new angle.
The bird in the reference photo is somewhat flat. It’s time to forget about the photo.
Draw white highlights and darker shadows to emulate the roundness of the bird’s form. Crimson red watercolor tends to have dense pigments, so you can paint some red too. It will stick on top of the coloring done with colored pencils. Use very little water and draw rather than paint with your brush. Use more red colored pencils. Be bold!
Upgrade light and shadow on the branch too.
Now this red cardinal bird is finished.
Best wishes for your drawing and painting! If you are wondering what kind of art materials you need for this tutorial, my Guide to Art Supplies should be helpful.
Here’s a couple more of my bird tutorials, and three flower tutorials:


