Estimated reading time: 7 minutes
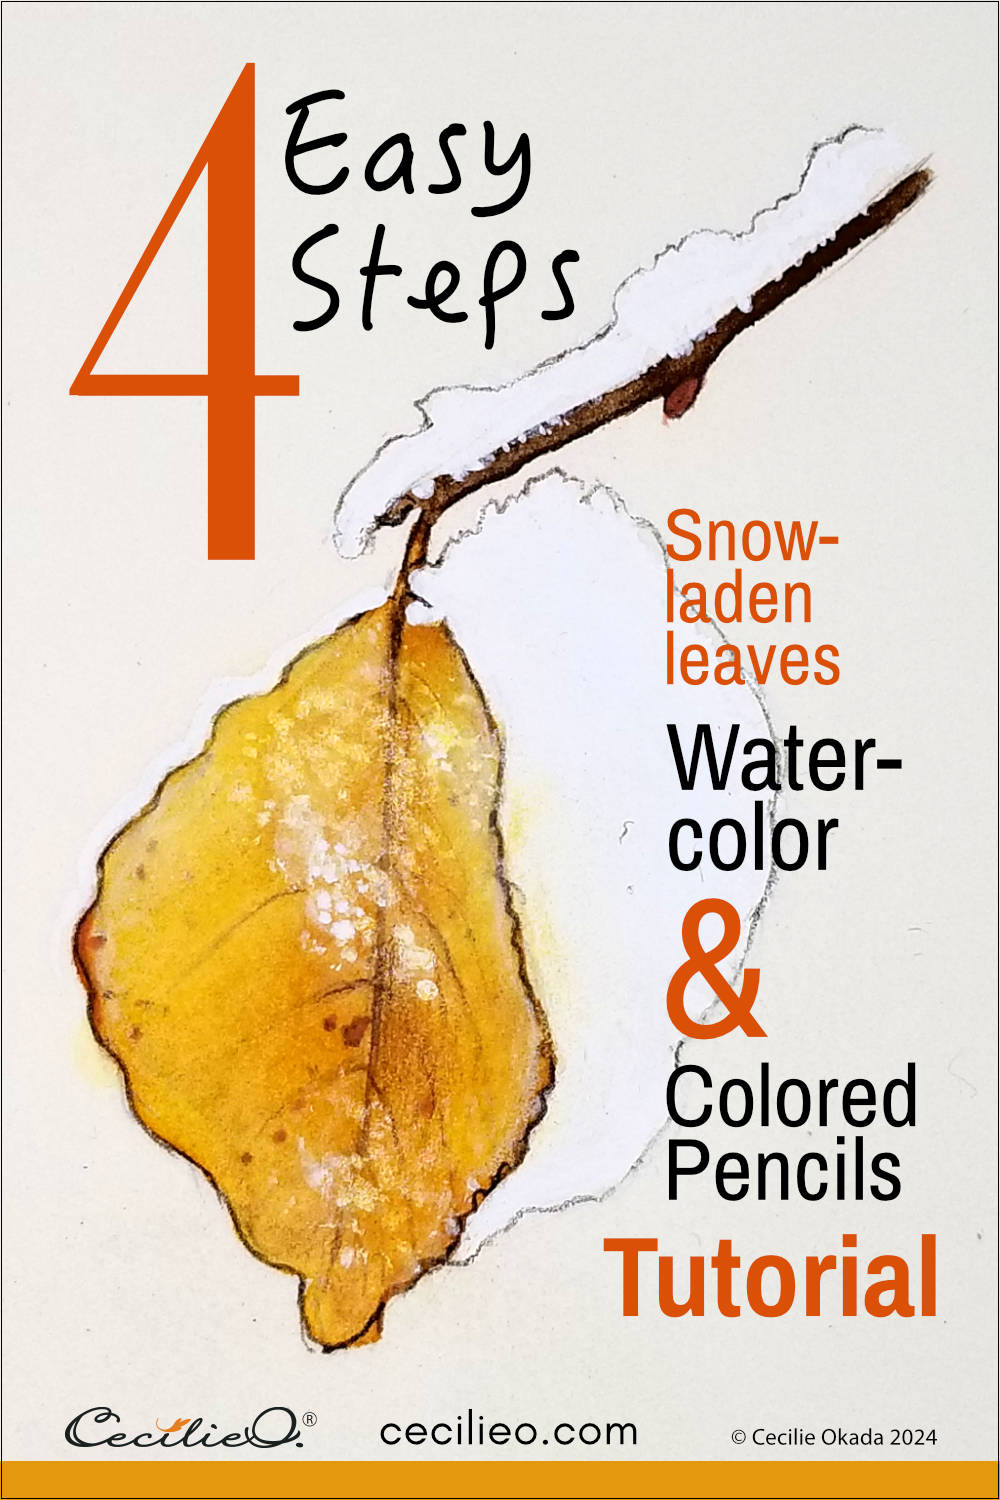
Painting leaves in watercolor is a fun and easy project for beginners. Sometimes, snow falls when trees are still full of leaves. It is a beautiful sight. Painting snow is simple when you don´t bother with the details of shadow and light. This exercise builds on my previous watercolor leaves tutorials. (Scroll to the end for a list).
I snapped many photos of gorgeous leaves when the first snow fell this winter. I have selected three for this project. You will need watercolors, white gouache, and colored pencils to follow along. You don´t need the same colored pencils as mine. Use whatever you have at hand.


Step 1: Draw the leaves
If you want to paint all three leaves next to each other as I have done, divide the paper into three equal parts. When you have drawn the leaves, erase the helplines.

Joining One Tree Art Club- Creative, you can download and trace my leaf drawings. And much more.
The One Tree Art Club library has free outlines for several tutorials. (Members: check your newsletter for login details).
Step 2: Paint with loose watercolor
Before you start painting colors, paint the leaf with water.

These are the watercolors and colored pencils I used for the project.

You don´t need to mix the colors in advance. Instead, mix the colors directly on the leaves. Let the colors blend and play by moving the pigments. You will be surprised to see the beautiful shades that just happen. Using sufficient water is the key here. You won´t get beautiful blends otherwise.


The quality of your paper has a lot to do with the result. I used hot-pressed, smooth watercolor paper.

For leaves #1, I painted the veins with a thin brush, using white gouache. Gouache is opaque.

When the white paint was dry too, I let loose with colored pencils to add more details.

For leaf #2, the veins can be painted with dark brown first. Add some dots.

When dry, spread the color with a wet brush to get a realistic look.

For leaf #3, paint a mix of white and dark veins. Add dots for this leaf, too.

Step 3: Paint abundant snow
White gouache is perfect for snow. How you use water is crucial for getting a realistic look. First, paint opaque snow here and there. Where the snow should look like a thin layer, use water to dilute the white paint. I used three sizes of brushes to get the snow right. First, the big brush. Then the medium brush to refine, and lastly, the thin one for dots.

Step 4: Add details with colored pencils
If you have followed more tutorials on this blog, you know that I always add details with colored pencils. First, draw the outline, then spice up the whole painting. This last step is not possible to describe with words. It is a process where you immerse yourself in the creative flow. It´s the most fun part. Look at the reference photos for inspiration.


And that´s all there is to it. Happy painting!
Here are more tutorials about watercolor leaves:
- The Little Known and Easy Way to Watercolor Leaves
- How to Paint a Water Drop in Watercolor: Leaf Study
- 21 Days Easy Watercolor Leaves Challenge
- How to Watercolor Light and Shadow on a Magnificent Leaf
- How To Paint Watercolor Maple Leaves
In my Guide to Art Supplies, you can find the art materials used in this tutorial.


