

Estimated reading time: 7 minutes
Painting water drops may look like a daunting task. But the truth is, it is pretty simple. All it takes is highlights and shadows in the right places. In this tutorial, I will take you through the process from drawing to finished water drops. You will learn how to paint a waterdrop in watercolor the easy way. Follow each step carefully, and you will paint watercolor droplets in no time.
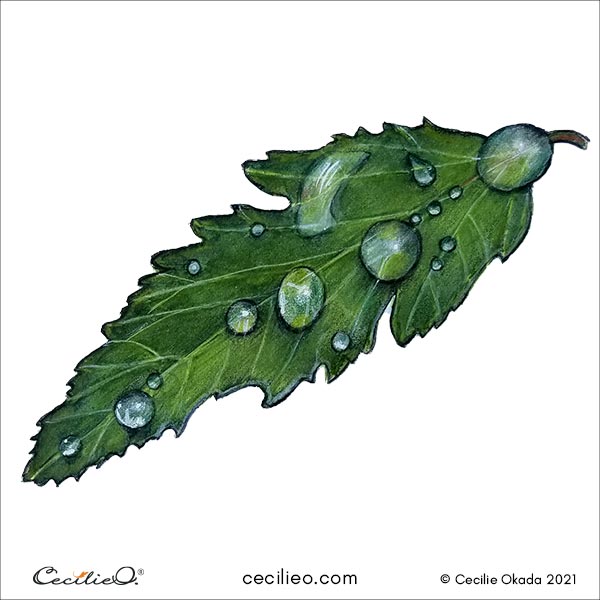
The leaf in the reference photo is tiny. That’s why the water drops are so big. I took the photo one beautiful morning in Heiwa-no-Mori Park in Tokyo. The name means “forest of peace” … I was stunned that my Samsung mobile camera could do such a good job.

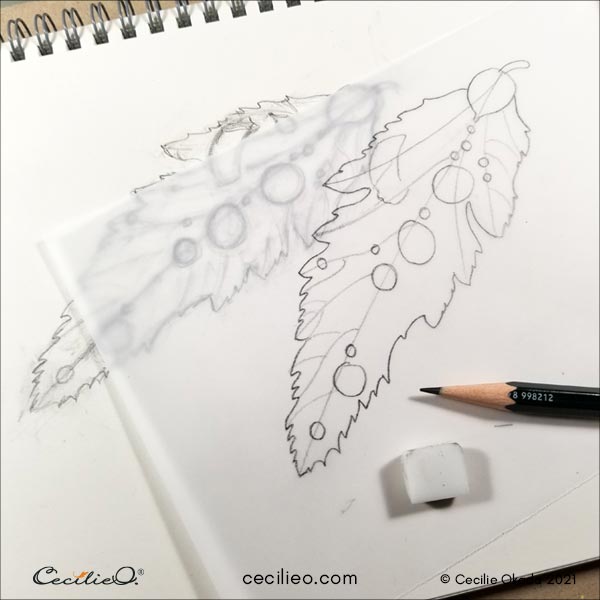
Step 1: Drawing the leaf.
I thought that drawing a leaf with water drops would be simple, but to my surprise, it was not. You are welcome to download my drawing and trace it onto your watercolor paper.
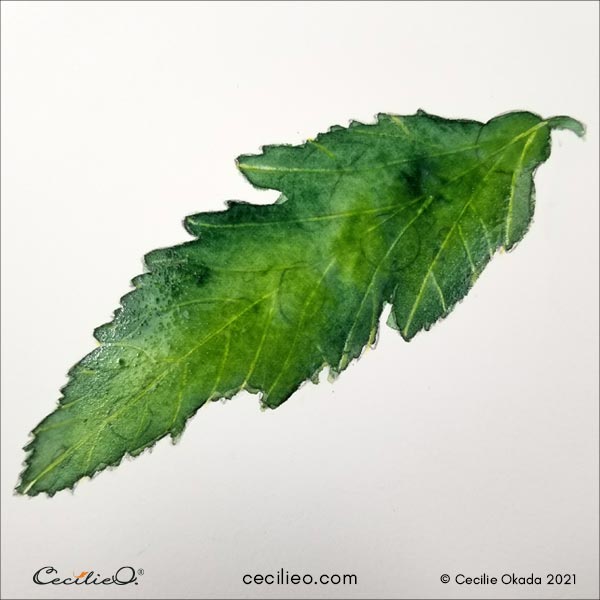
Step 2: Painting the green watercolor base.
The leaf has an olive green color. In the image below, you can see how to mix this color.
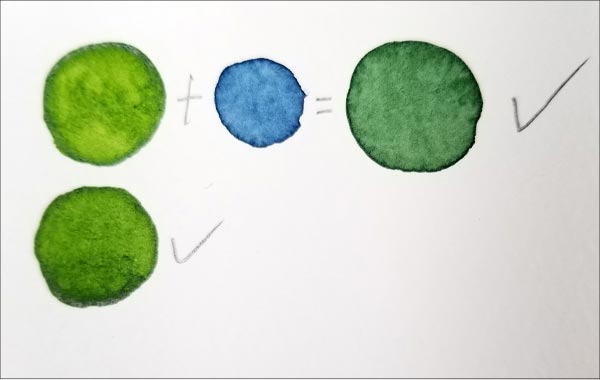
When you paint the first layer, make sure to add some fresh grass green too. Paint the leaf with plain water first. In that way, the colors will flow easily.
Step 3: Paint the veins with white gouache.
When the green watercolor is dry, paint the veins with white gouache. Use a fine brush. Make sure that you have a sparing amount of paint on your brush. This way, you can paint fine lines without suddenly getting lumps of white.

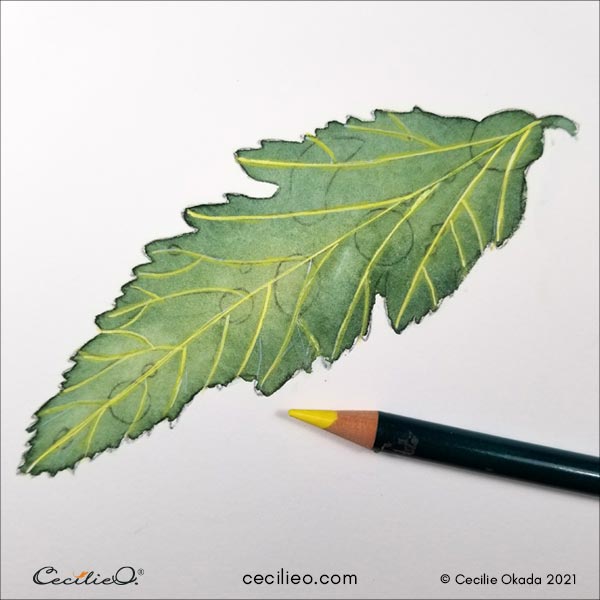
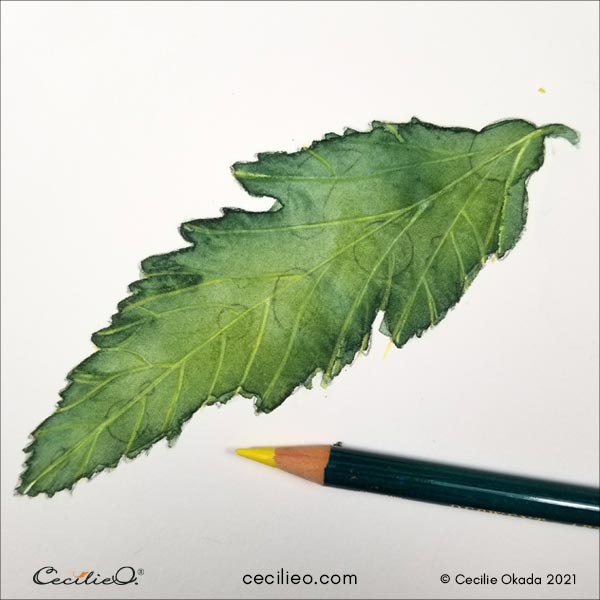
Step 4: Draw over the white lines with a green pencil.
Use a light green colored pencil to draw over the white veins. Don’t use watercolor pencils for this painting. The reason is that you are going to paint one more layer of watercolor green. If you use watercolor pencils, the green color will smudge.
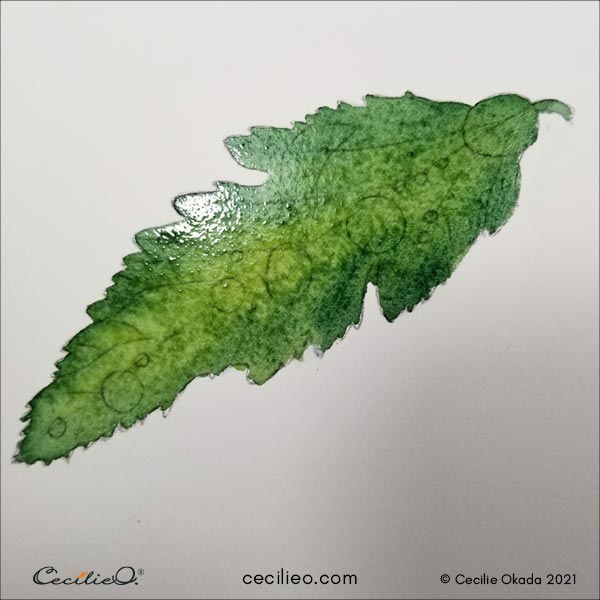
Step 5: Paint second green watercolor layer.
If you leave the veins as is, they will protrude and be too strong. The leaf in the photo has more subtle veins. For this reason, paint a second green layer. Use plenty of water. Don’t move the bush a lot. If you do, the lines under will dissolve. Dab shades of green on the leaf.
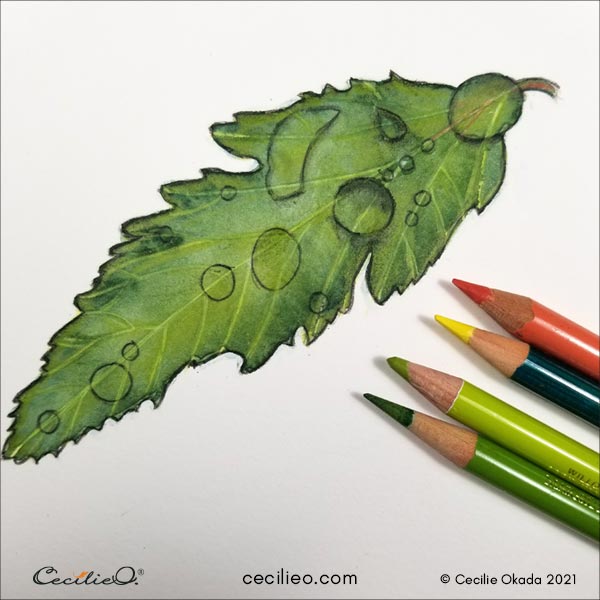
Step 6: Color the veins again.
Use the same light green colored pencil and draw over the veins. You can also draw on other areas of the leaf that have a lighter green color.
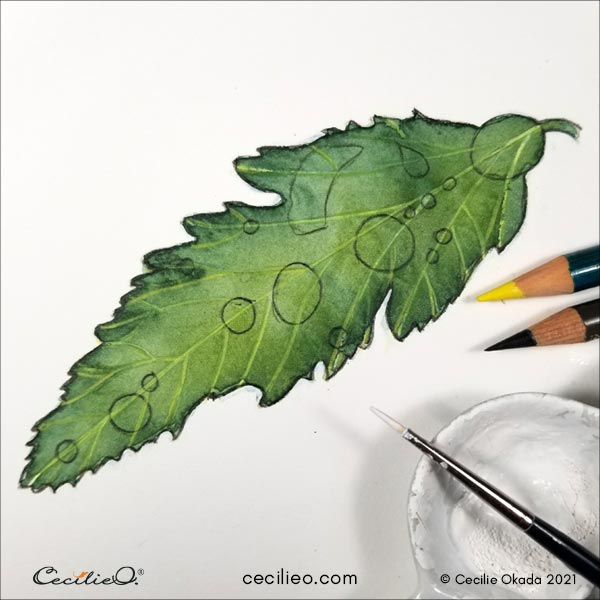
Step 7: Time to tidy up the drawing.
Get your dark brown colored pencil out. Redraw the leaf outline, as well as the water drop outlines.
No matter how carefully you paint, some watercolor always bleeds. Clean up the outline with white gouache.
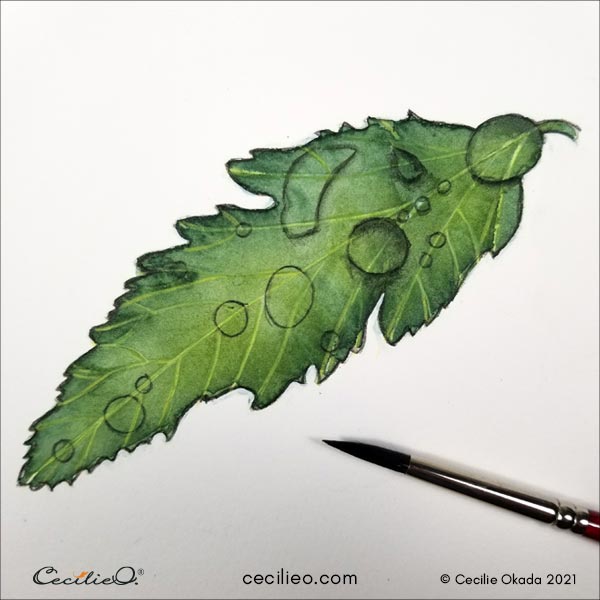
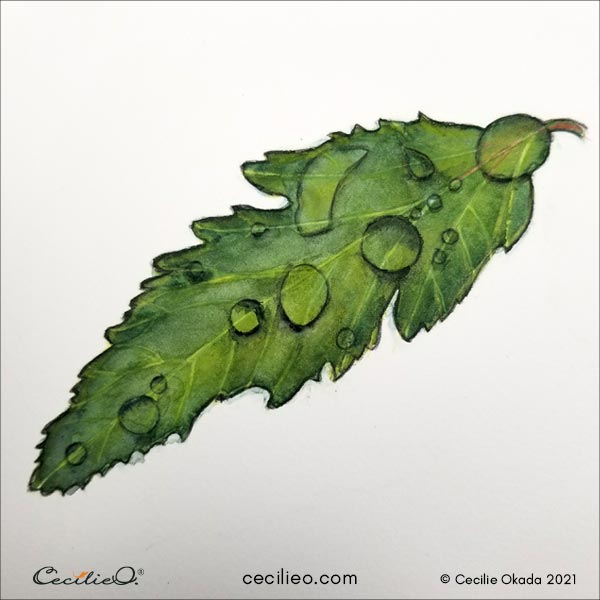
Step 8: Watercolor shadows.
Look carefully at the reference photo. Paint the shadows on the first two water drops. To get smooth transitions with the dark watercolor, do the following: Use a little bit of water. Gently spread the dark paint.
Step 9: Freshen up the leaf color with colored pencils.
Draw with fresh green colored pencils to lighten up the leaf color. See where you need to draw a light reddish-orange on the first drop.
Step 10: Complete the shadows.
With dark green watercolor, complete the shadows for the droplets. Each drop has a shadow underneath, another on top. The darkness and size of the shadows vary from drop to drop. Don’t try to be exact.
Step 11: Paint each droplet with transparent white gouache.
Instead of using white gouache as an opaque paste, make it transparent. Add more water and it will be see-through just like ordinary watercolor. Paint each droplet with a thin, white layer.
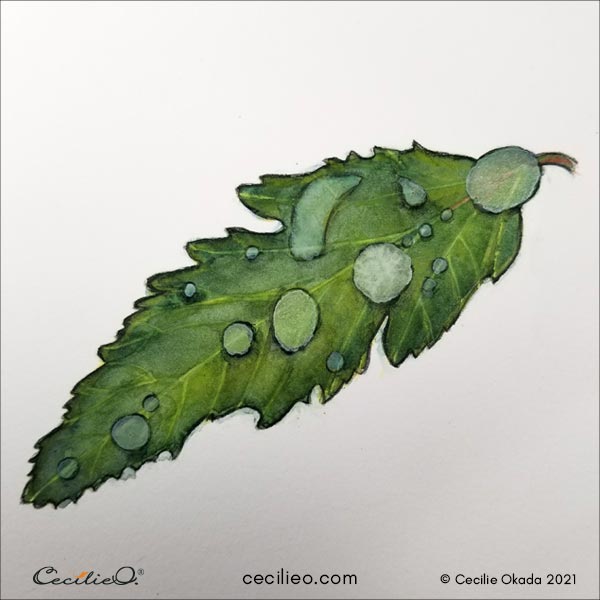
Step 12: Add white highlights.
While the white layer is still moist, add highlights. Paint the highlights with white gouache as a paste.
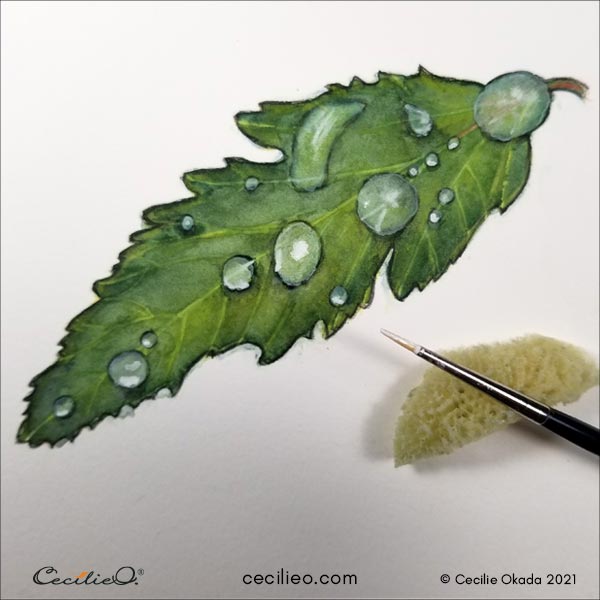
Step 13: Draw shadows and green highlights with colored pencils.
In the picture below, you see a wide variety of colored pencils and the brush with white gouache. Redraw the outlines. Refine your artwork with various colors and white paint. This is the truly creative stage where you refine what you have already created.


Step 14: Come back the next day to complete.
Come back the next day and keep refining your artwork. That’s what I did, and now I am satisfied with both the leaf and droplets. The tutorial on how to paint a water drop in watercolor has come to a happy ending.
Enjoy painting!
All art materials, including white gouache, are listed on my page Guide to Art Supplies.
Here are some more watercolor tutorials on my blog:


