There are many ways to watercolor trees. Do you go for the general shape, or make something out of leaves and shadows? This blog offers a few approaches. In this tutorial, we explore yet another simple way to watercolor trees.
Last year, I tested Midjourney, an Artificial Intelligence image generator that can fool anyone. The AI coughed up a large number of pretty images from my prompts. One of the images ended up as a reference for a landscape tutorial.
Watercolor exercises
Recently, I realized how all those images could inspire many watercolor exercises. In one prompt, Midjourney made Persian gardens in the style of two British illustrators. (Their illustrations are over 100 years old, so there are no copyright issues.) I set out to draw and watercolor the trees in those AI gardens.
Inspiration from my Pinterest boards: Stunning Persian Art and Tree Art.
Let´s dive in.
Step 1: Take a good look at the reference images
What interested me with these AI images, is the use of dark dots and tiny lines. Instead of elaborate leaves or shades of color, the dots and lines describe the trees.


Step 2: Drawing the trees freehand
The tree shapes are simple. Drawing a freehand sketch inspired by the trees in the two images is easy. Let loose and pay no attention to likeness with the reference images.
Many of the watercolor tutorials on this blog have free line art in the One Tree Art Club library.
The line art for this tutorial is in the Level Up library. As a Level Up member, you also get a video recording of the watercolor process.
Drawing A
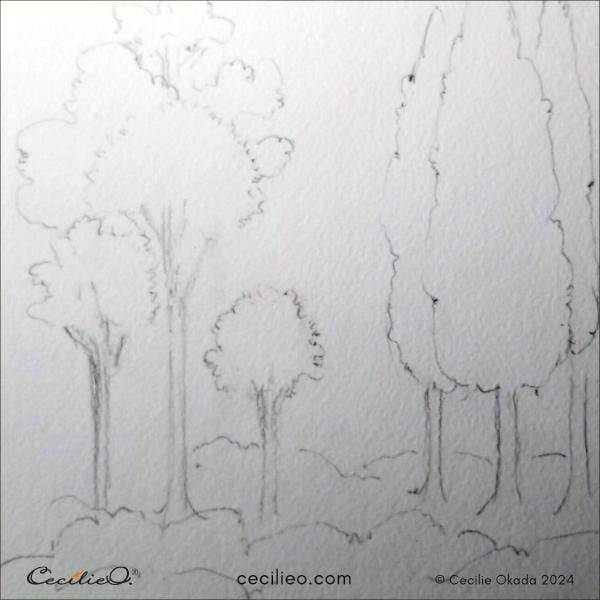
My first loose sketch
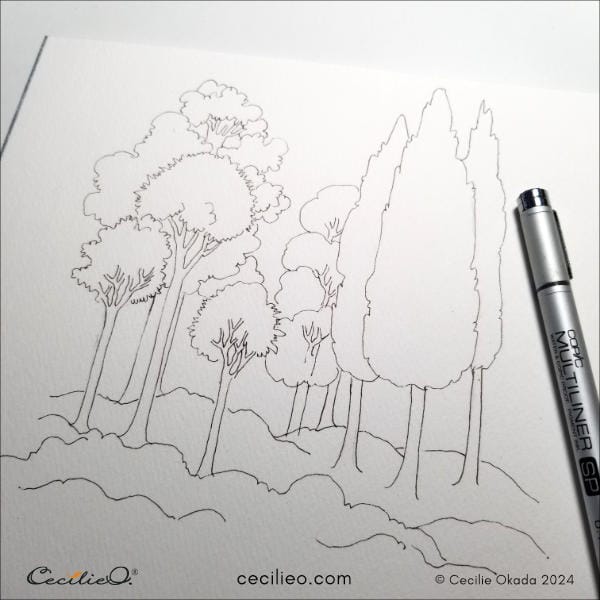
Drawing B
Drawing over the pencil lines with a Copic marker (a fineliner that does not bleed when exposed to water).
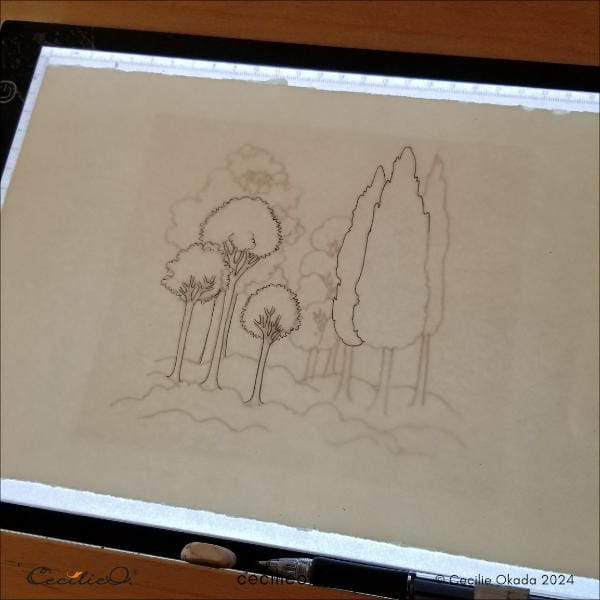
Drawing C
My drawing was too big, and some trees needed improvement. So I scanned and printed out a smaller version. I traced it with a soft pencil on my LED light tracing pad.
Drawing D
The finished drawing. Before painting, I wet it and stretched it on a wooden board. This way, you avoid bumps in the paper.
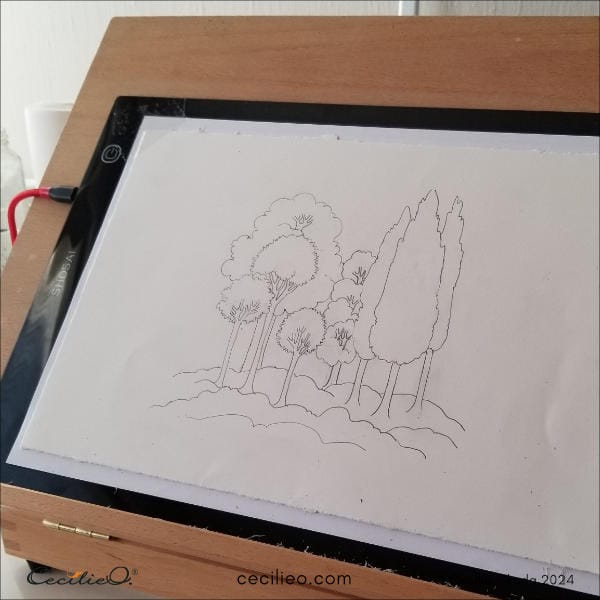
Step 3: Painting the orange trees
Paint the orange trees with plain water first. Then, dab on some red, yellow, brown, and ochre. Let the colors swirl and see what happens.
As a Level Up member, you can watch a video of the watercolor painting process for this tutorial.
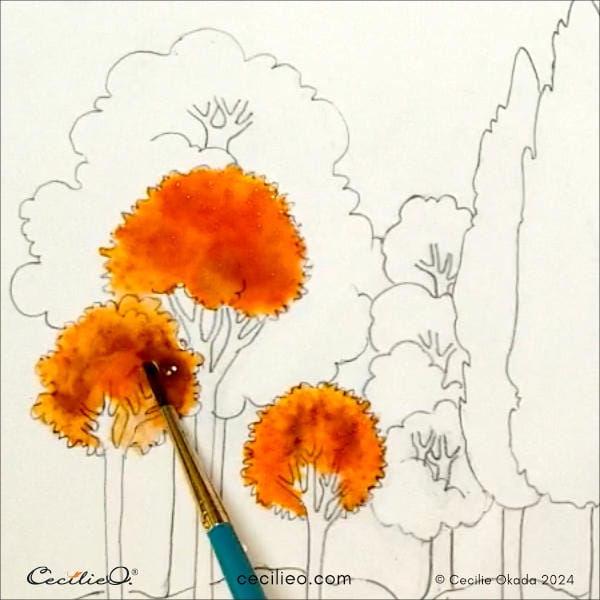
Step 4: Painting the green trees on the right
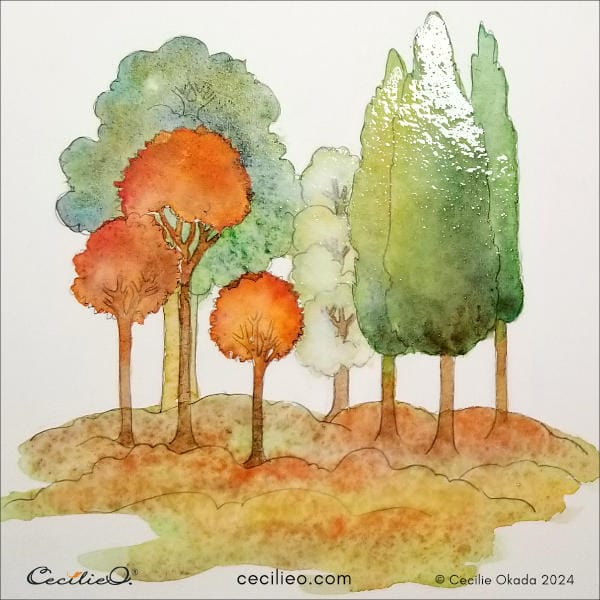
Use the same method as the orange trees. Let loose with various greens and ochre. My watercolor set has a white punnet, so I used a little white too. When you mix in white, you get a pastel color.
While you are at it, paint the brown tree trunks. Unless you want the colors to flow between trees, you must wait until everything is dry for the next step.
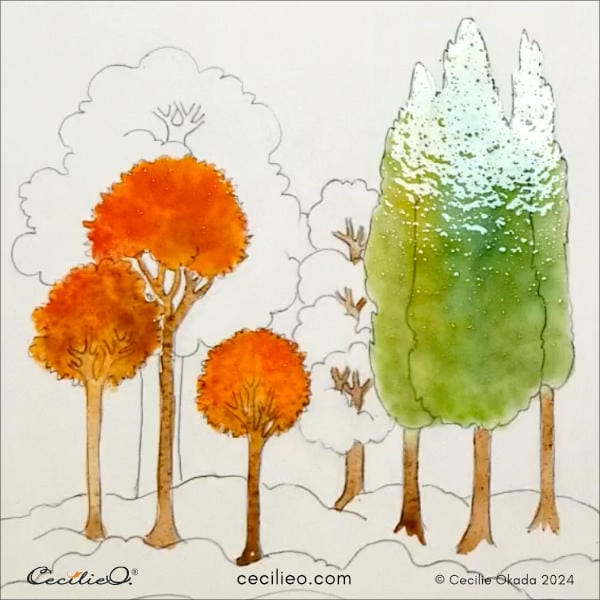
Step 5: Paint the remaining trees
The darker tree on the left became too dark, so I lifted some color off with a sponge. The lighter tree in the middle has a lot of white watercolor.
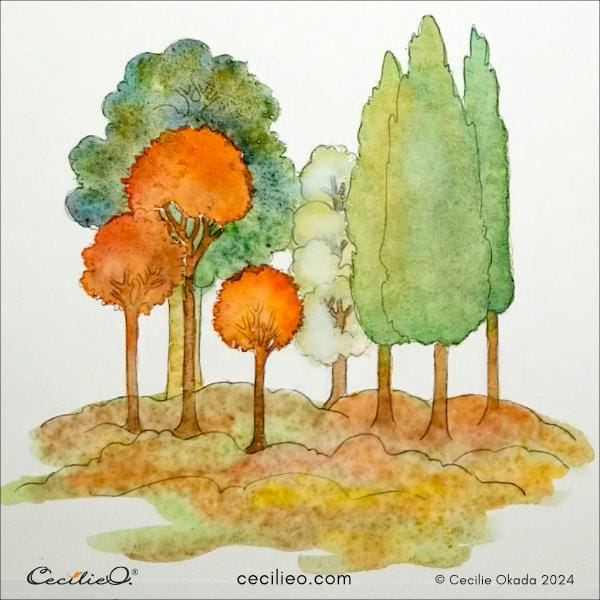
Oops- the long trees needed more contrast. I used black to achieve some contrast.

Step 6: Details with colored pencils
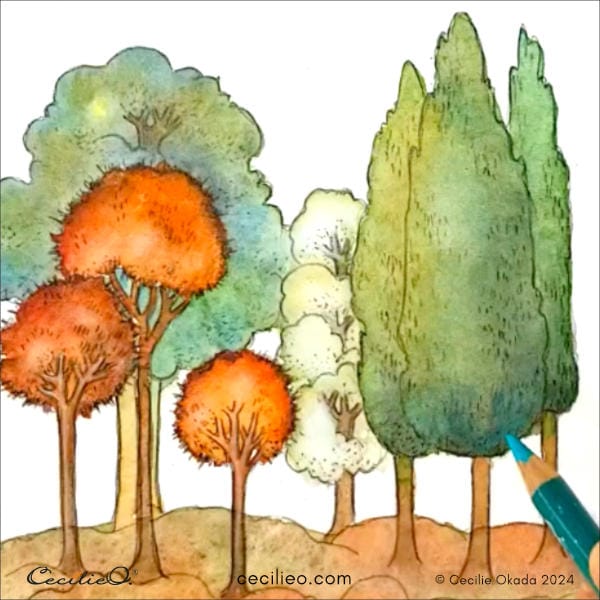
The painting must be bone dry before you draw with colored pencils on top. You can add the dark dots and stripes with a fine brush and watercolor. I used a dark brown colored pencil because it is easier. I also spiced up the painting here and there with different colored pencils.
Step 7: Watercolor a light yellow sky
I liked the yellow background in the AI image, so why not? Paint the background with plain water. Then, paint the sky with a tiny bit of yellow.
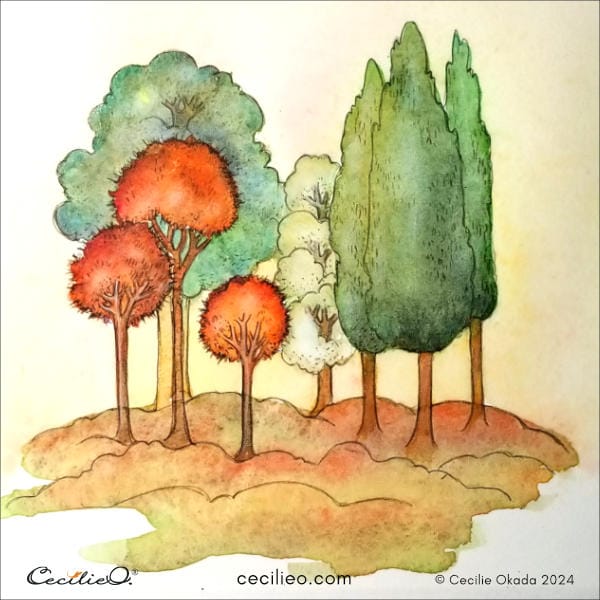
And you´re done!
Level Up Video:
More tree inspiration
If you are adventurous, take inspiration from more AI images below. Remember: The more you experiment, draw, and watercolor, the better you get at it. Use AI art for inspiration – and nothing else.


Happy painting!
Guide to Art Supplies
Here are some more watercolor tutorials:
How to Watercolor Trees Inspired by Oriental Art
How to Watercolor Trees in 3 Easy Steps
The Little Known and Easy Way to Watercolor Leaves
How To Watercolor An Amaryllis Flower


