

Estimated reading time: 5 minutes
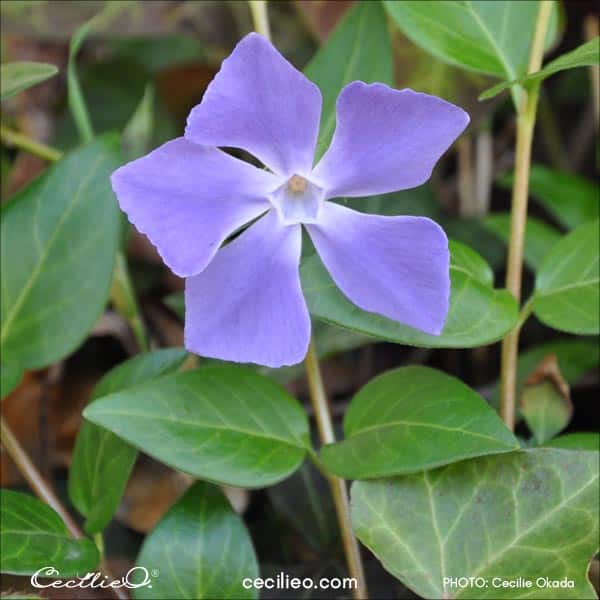
There is an unassuming, light blue flower that grows by the wayside. It flourishes anywhere it is allowed to take root and grow. Blue periwinkle is perfectly suited as a watercolor for beginners. The form is simple and the color is beautiful.
Since periwinkle grows all over my neighborhood, it was easy to capture the flower on camera.
Step 1: Draw the flower or trace my drawing.
I have made a somewhat stylized drawing to provide an outline that you can trace. Download from the free One Tree Art Club library, print out, and trace (if you are already a member, check your newsletter for download information). For the best result, use watercolor paper. But if your aim is practicing, good sketching paper will do.
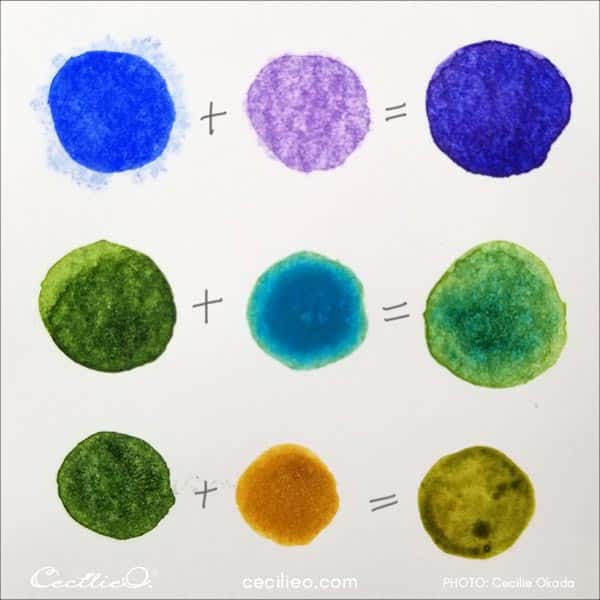
Step 2: Select and mix your color palette.
If you don’t have the light indigo watercolor, you can mix it as shown below.
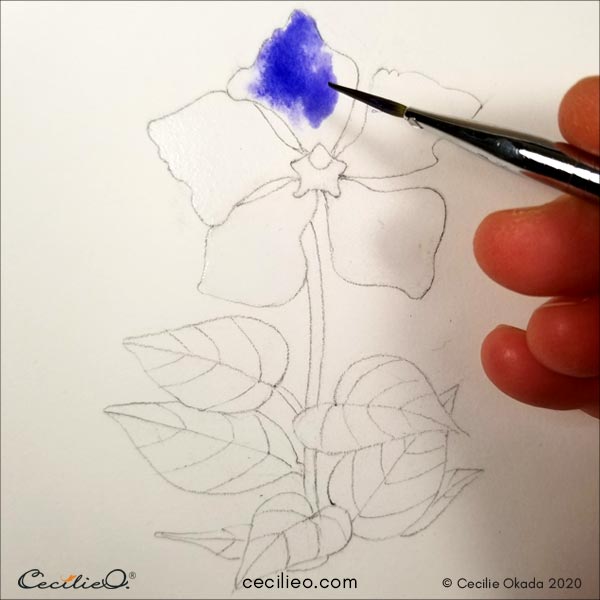
Step 3: Watercolor the blue petals.
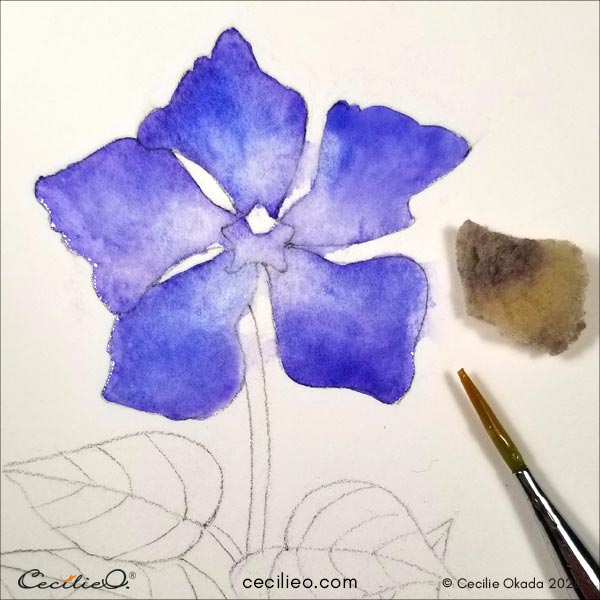
Start by painting the blue petals. Paint with plain water first, then paint the color. The uneven distribution of pigments makes it more beautiful. Be careful not to use too much color. That way you avoid dull, dark petals.
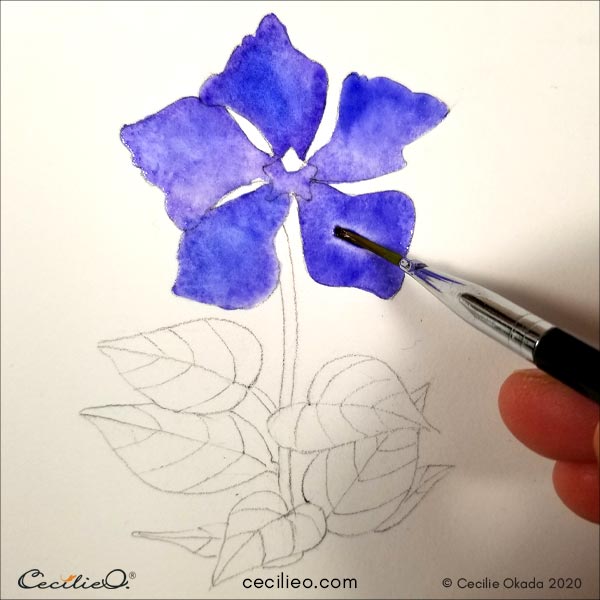
While the watercolor is still wet, use a sponge to soak up pigments in the center of the flower. If you wait until it’s dry, the sponge will leave uneven marks. When the paint is still wet, you will get a soft transition from light to dark.
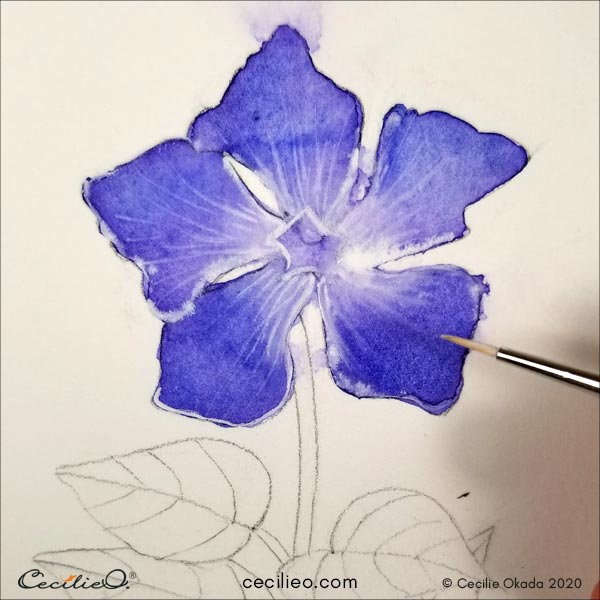
When the petals are half dry, it is time for white gouache. Gouache is opaque watercolor. If the underlying color is too wet, the gouache will bleed. If it is dry, you can paint clean lines.
Below, you can see how the white gouache created loose bleeds as well as clean lines. I could experiment because the blue watercolor was half dry. Don’t try to make it perfect. Be playful.
Step 4: Watercolor the leaves.
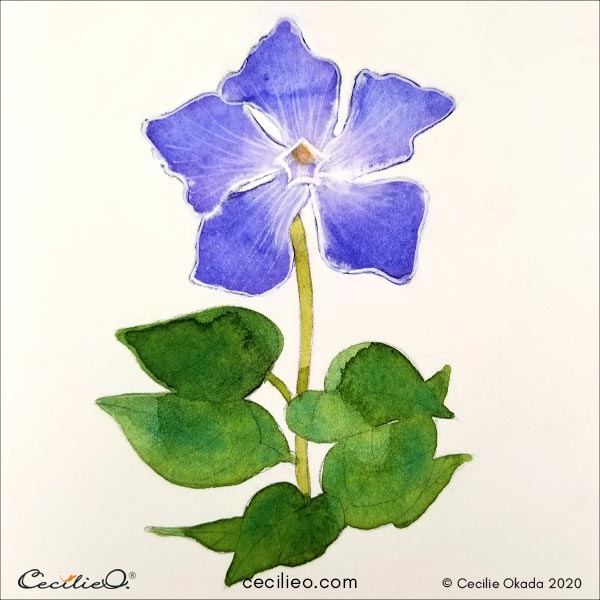
When you paint the leaves, use a wet brush (but this time no need to paint with water first). Make sure to use both the grass green and turquoise so that you get a bit of variation. Fluctuate the push on your brush as well for uneven shades.
Paint the ochre center of the flower and the moss green stem.
You can clean up the bleeding edges around the plant with white gouache. Use a fine brush.

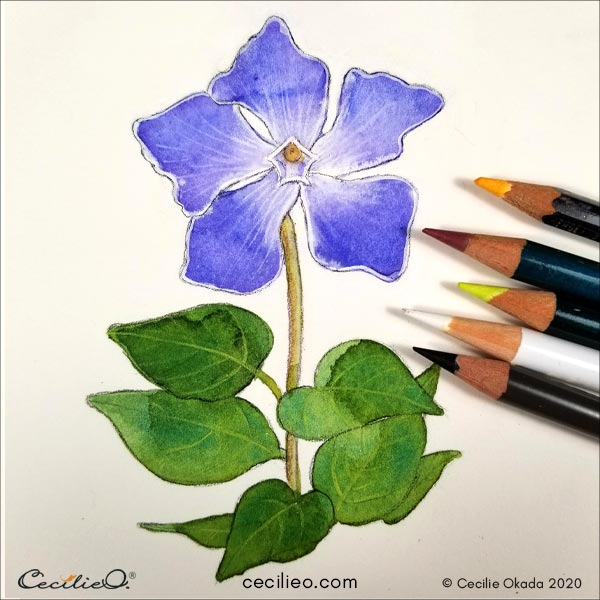
Step 5: Draw veins and enhance with colored pencils.
When the leaves are dry, you can draw the veins with a light green colored pencil. I erased some of the green lines to make it uneven.
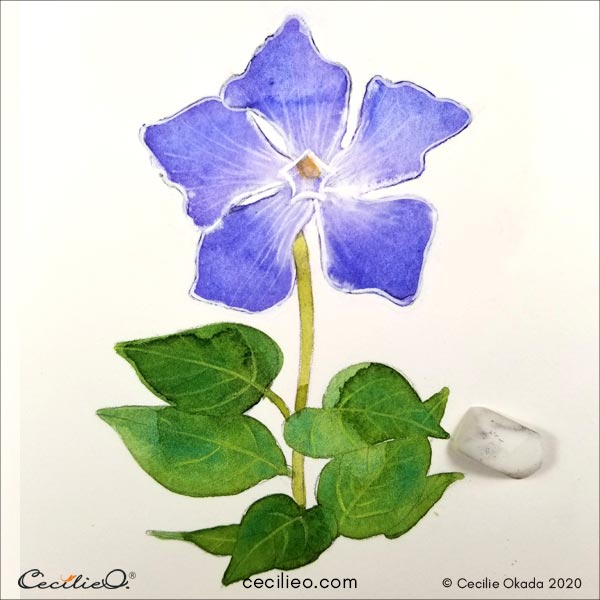
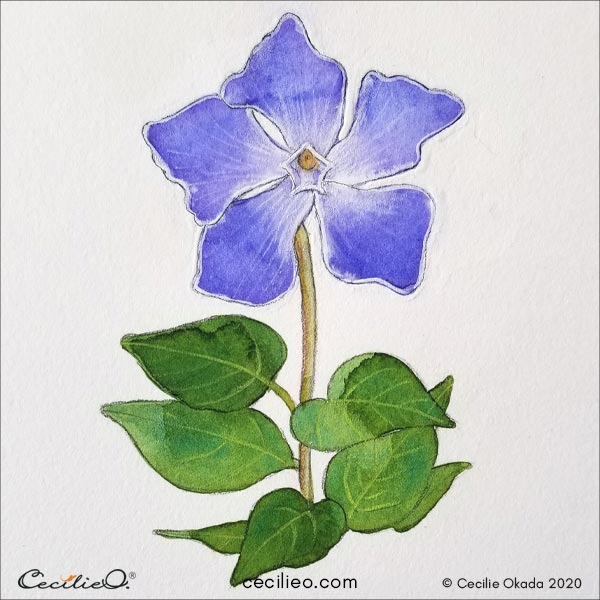
To finish up the project, I drew a dark brown (sepia) outline around the flower, stem, and leaves. I also touched up the yellow center and the stem with colored pencils. I used a white colored pencil to touch up the petals, ever so lightly.
The watercolor is done. Periwinkle is said to be a symbol of new beginnings. If you are a beginner watercolor artist, this flower is an auspicious start.
Happy painting to you!
If you wonder about the art materials needed for this tutorial, my Guide to Art Supplies has the information.
Here are some more of my flower tutorials:


