Estimated reading time: 7 minutes
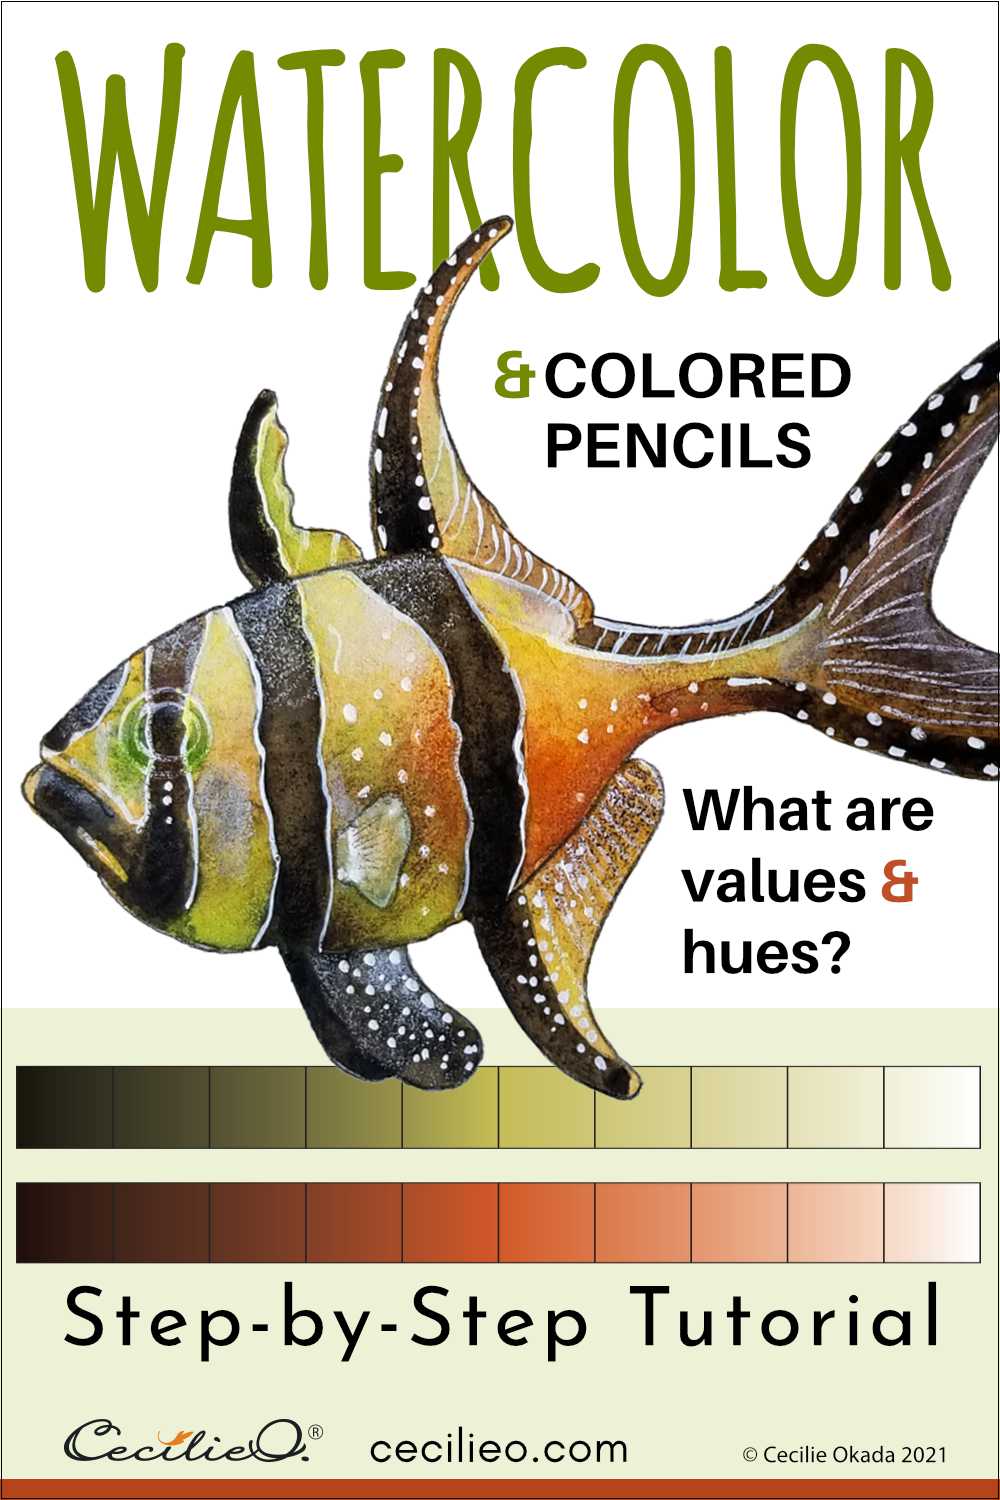
Sometimes I wonder if nature is an accomplished painter. It looks like nature had fun splashing white dots on this cardinal fish. Dots apart, this popular aquarium fish is an excellent example of color values ranging from 10 to l. Watercolor values are a confusing topic. It is because the term is used alongside other color words that are just as baffling.
A brief introduction to values, tones, and hues.
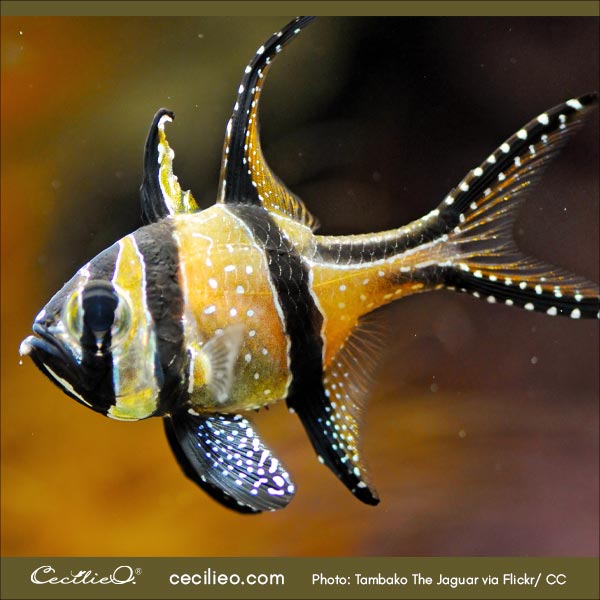
Let’s take a look at the lively fish that we are going to watercolor in this tutorial. The white dots and dark stripes fall on opposite sides of the value scale. By the way, don’t you think the dark stripes, too, look like somebody painted them? Never mind the eye is in the way. A stripe across the eye is just the thing for fashionable fish.
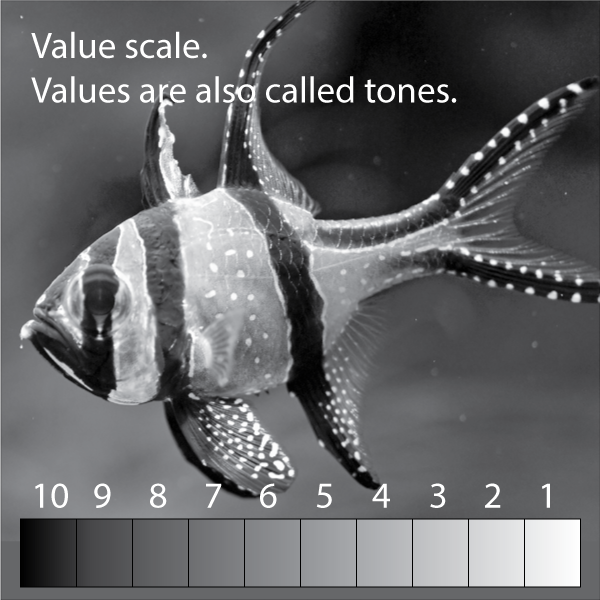
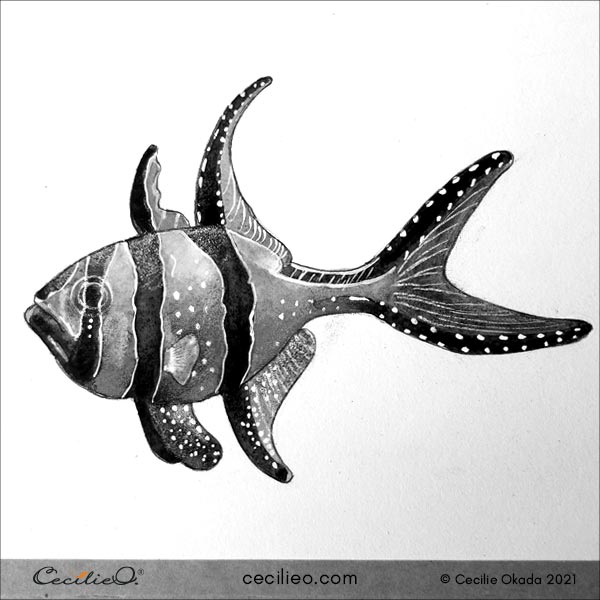
I have turned the fish photo into a greyscale picture. Now it is easy to see that there are values all across the spectrum from 10 to 1.
If you look at the background, the bottom terracotta and top left green have the same value. But the two colors are two different hues.
Sometimes, the word tone is used in place of value. Oh my, why not stick to just one term.
The image below is an effort to illustrate these words with watercolors.
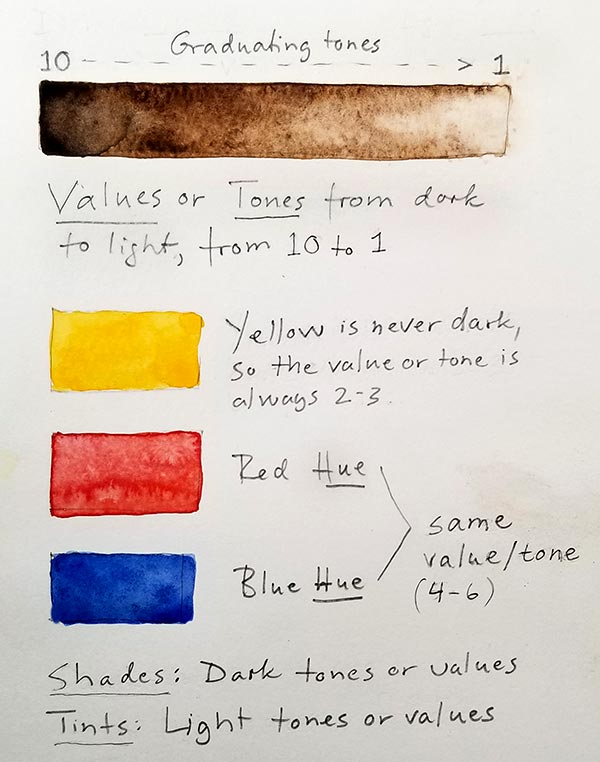
You can see that there are two more words to take into account. Dark tones are usually called shades, and light tones tints.
When watercolors dry, they are lighter than when they are wet. Keeping track of how colors look when wet or dry is part of the art.
Let’s turn our attention to painting the fish.
Step 1: Drawing the fish.
A fish is a simple object to draw. You can also download the outline from my free One Tree Art Club library (members: check my newsletter for access details). Trace and transfer the drawing onto your watercolor paper.
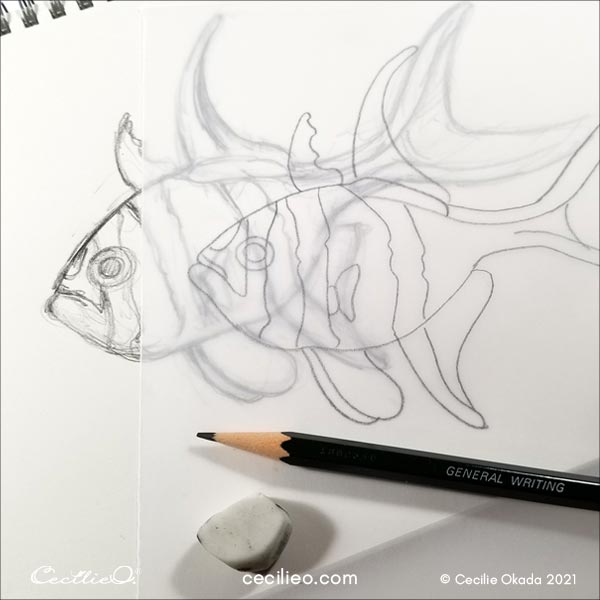
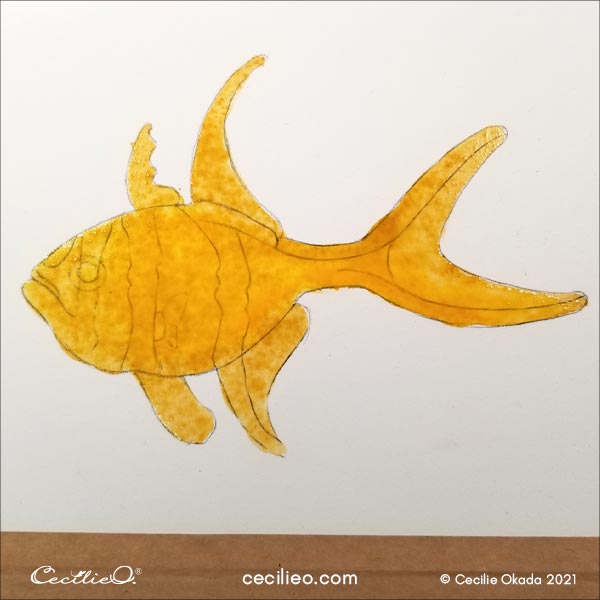
Step 2: Painting the base color for the body in light to medium values.
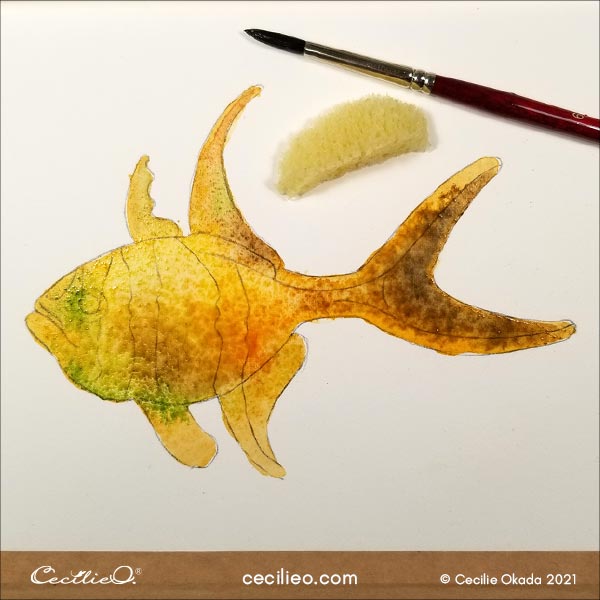
Paint the whole body with water, then add ochre. Paint some yellow here and there to create variety. The water will make the two colors blend nicely together.
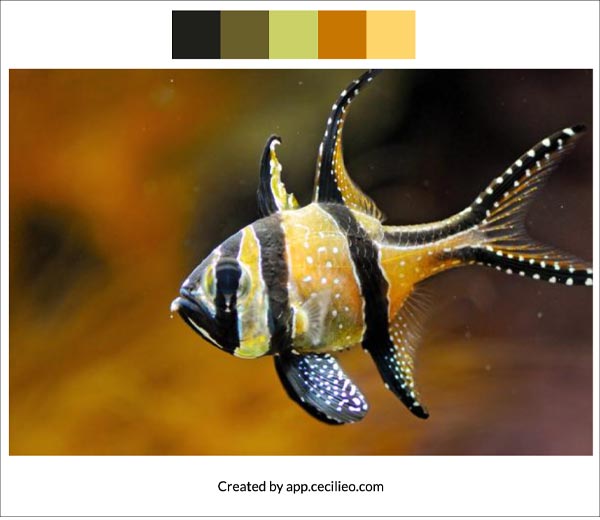
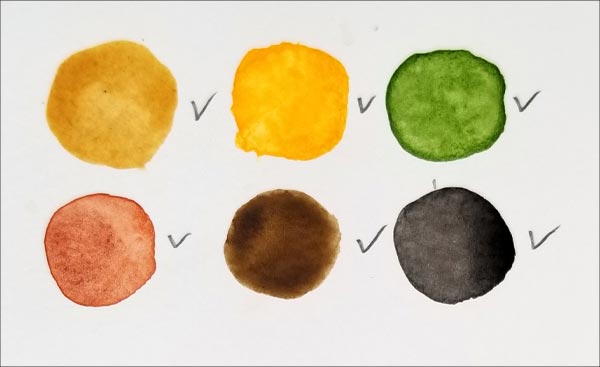
Paint some watercolor green, terracotta, and brown. Look at the photo for the distribution of these colors. Use a sponge to soak up pigment at the top of the fish. The light and dark areas give the fish a 3D effect.
Step 3: Paint the dark stripes.
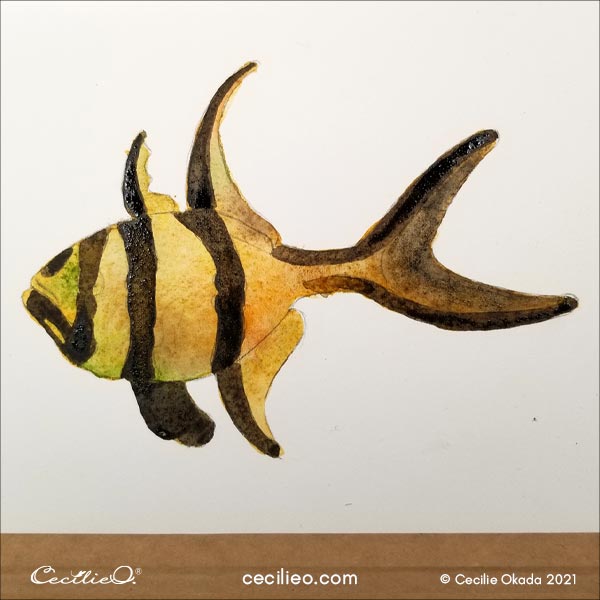
When the underpainting is bone dry, paint the dark stripes. Mix some black with a dark brown to make the color dark. If the ochre is not dry, you will not get lines with crisp borders.
Step 4: Freshen up the watercolors.
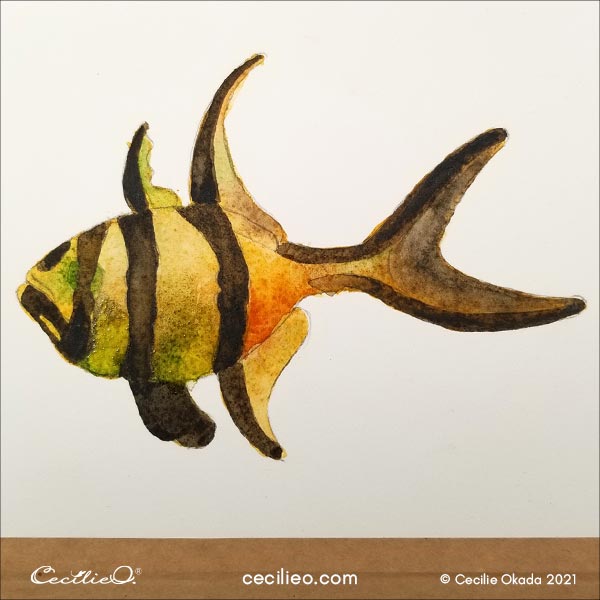
The colors became lighter when the watercolors dried. I repainted the green, brown, and terracotta. When you add a new layer of paint on top of another, make sure to spread out with water. Otherwise, you get uneven color transitions.
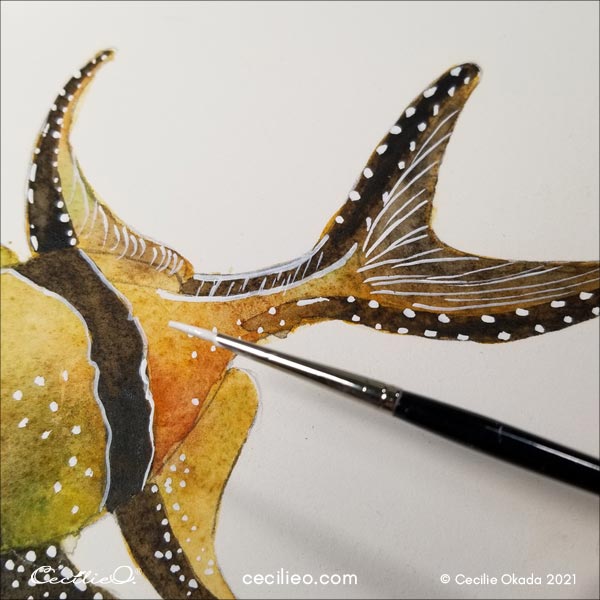
Step 5: Paint white dots and stripes with opaque gouache.
To paint the white dots and stripes, you need to use an opaque watercolor. Only gouache paint can do this job. Gouache is a highly concentrated watercolor.
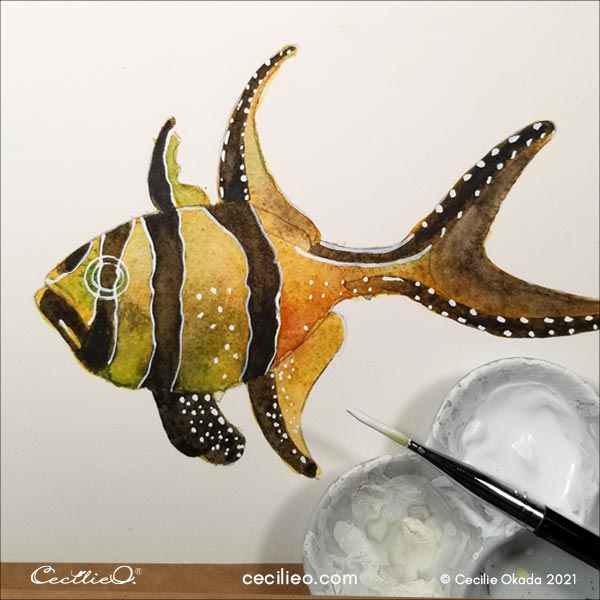
For some parts with thin lines, you will need to use a fine brush.
Step 6: Finetune details with colored pencils.
In the picture below, I have cleaned up the outline of the fish with the white gouache. I also painted a transparent white on some of the fins. Add water to the gouache to make it transparent.
Draw the outline first with a dark brown or sepia pencil.
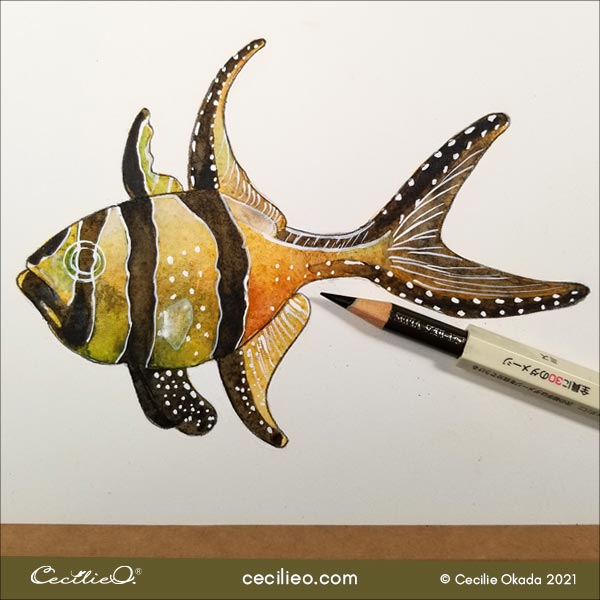
Get creative with a variety of colors as you can see in the photo. Enhance the watercolors by drawing on top of them. Create depth and freshness with colored pencils.

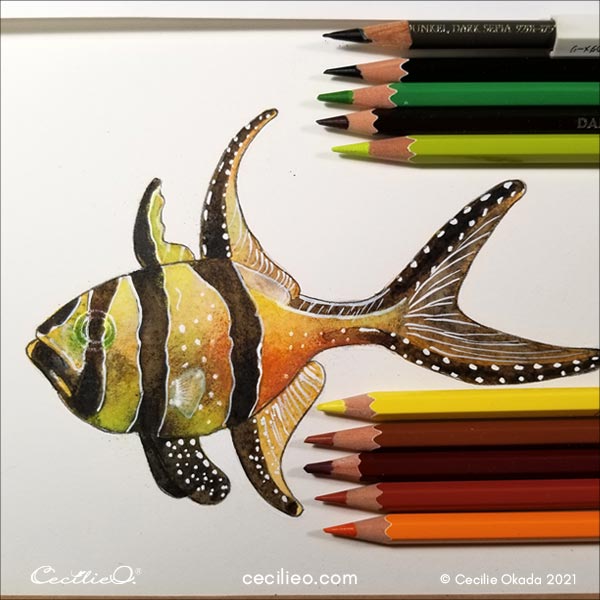
Step 6: Draw light and darkness with colored pencils.
Use a white colored pencil to draw a sheen of light over parts of the fish. Look at the photo and emulate. With a dark brown and a black colored pencil, draw the shadows. Draw gently, so that you get smooth transitions.
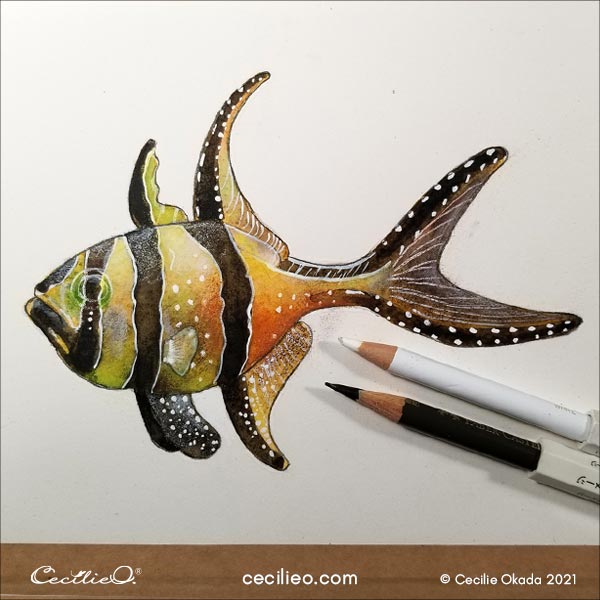
And that, my friend, is how you watercolor a lively fish and enhance it with colored pencils.
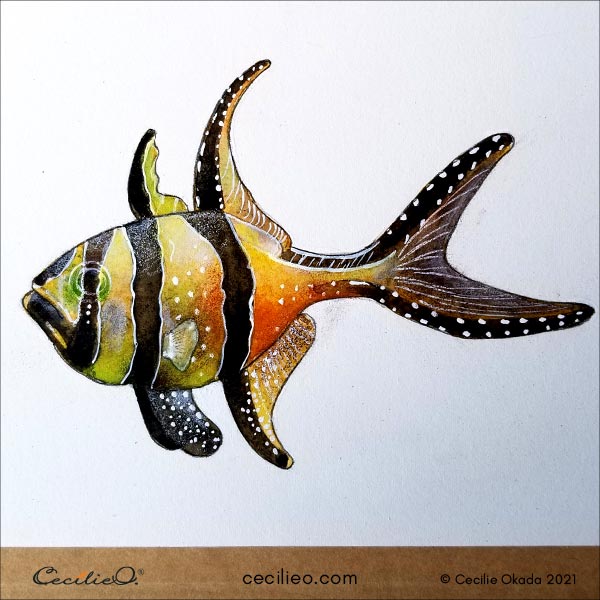
I transformed the picture to greyscale so that you can see how the watercolor values penned out.
Happy painting to you! My Guide to Art Supplies will help you find the art material you need for this tutorial.
Here are some more watercolor tutorials:


