

Cherry blossoms are synonymous with Japan. The iconic blooms are prevalent in all branches of Japanese art and design. How do you watercolor the ephemeral, wafer-thin petals of the cherry blossom? Learn a little-known method to watercolor white flowers in this tutorial. Instead of shadows, we will paint white highlights with gouache. Gouache is an opaque type of watercolor that is easy to handle.
Estimated reading time: 7 minutes
Cherry blossom symbolism in Japan
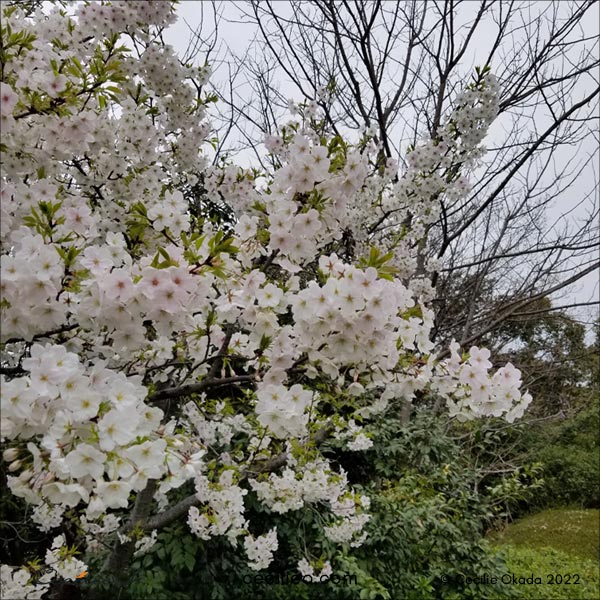
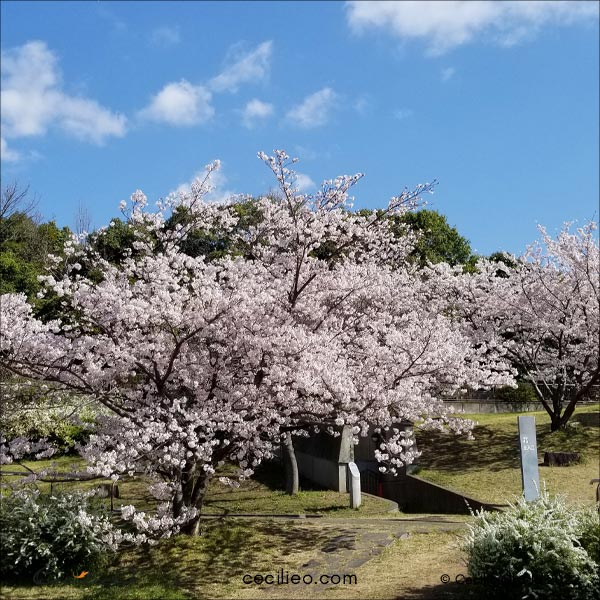
When the cherry trees bloom, my neighborhood is like a white and pink symphony. The Japanese plant sakura trees everywhere. Parks and river walks are crowded with people enjoying picnics under the trees. It is a national tradition called Hanami.
Cherry blossoms are the harbingers of spring and have a deep symbolism of renewal and hope. But only a week after they bloom, the ground is blanketed in petals. The transcience of life easily comes to mind. Sakura lore is anchored in this idea and closely associated with Buddhism.
Japanese art and design abound in sublime renderings of cherry blossoms and trees. From kimono patterns to woodblock prints, it is a perennial theme.
My Pinterest board Japanese Art and Design has more than 1500 beautiful pictures. Many of these include cherry blossoms. I also have a board with stunning Japanese textiles.
Drawing cherry blossoms
Some flowers have a clear-cut shape. Cherry blossoms are not one of them. Unless, of course, you go for a simplified sakura design. That is often the case in Japanese renderings. In this tutorial, we are going to paint realistic blooms. If you are not up to drawing a realistic outline, you can access mine. Go to the Membership tab of One Tree Art Club| Creative on the Buy Me a Coffee platform. Print out the PDF, trace, and transfer it.

In the free One Tree Art Club library you can access many free outlines. Each drawing corresponds to a watercolor tutorial on this blog.
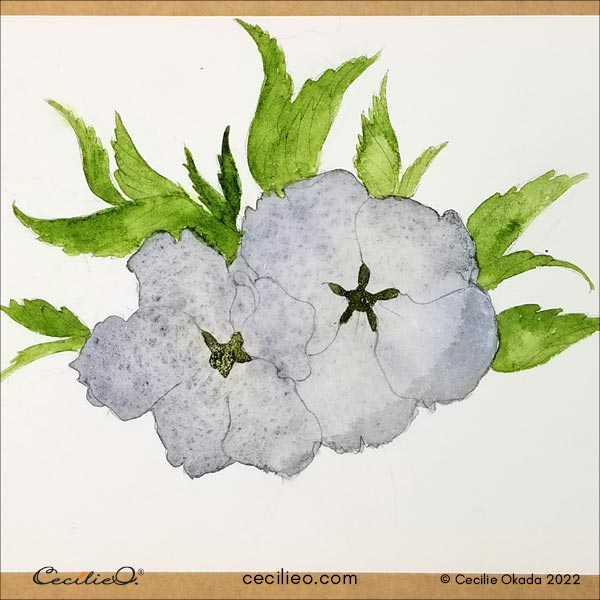
Painting a watercolor base for the flowers and leaves
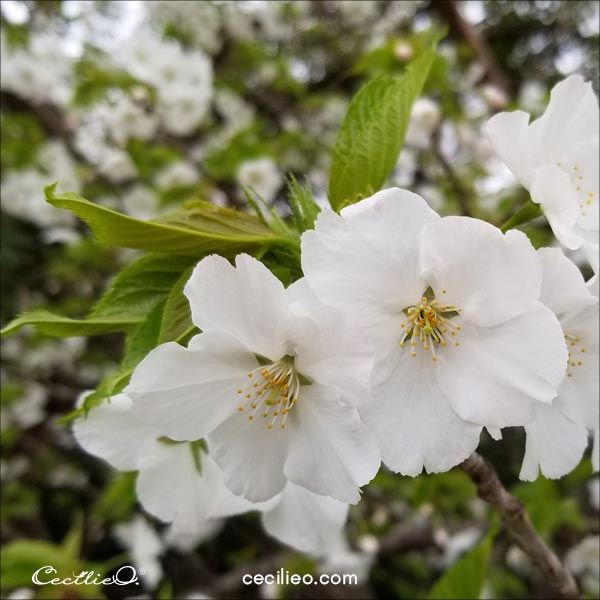
In the reference photo, we see that the shadows come in various tones of grey. For this reason, paint the flowers grey at first. Use plenty of water, and add a little bit of ochre too. Make sure the colors flow.
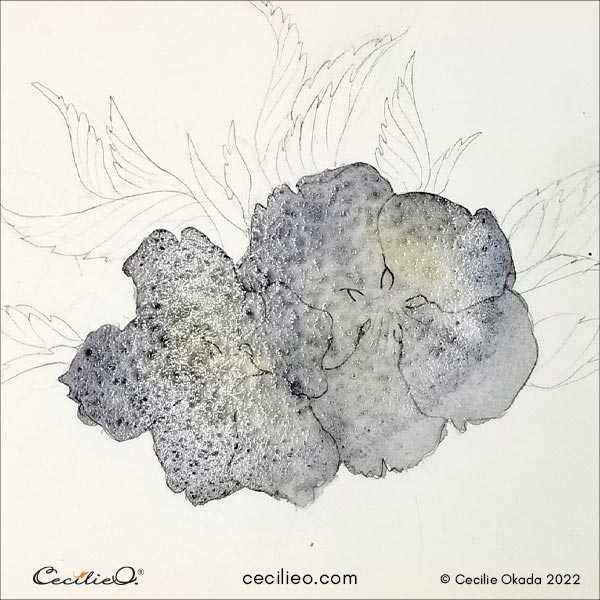
When the grey is dry, paint the center of the flowers a dark green. Watercolor the leaves a fresh green.
Painting highlights with white gouache
Painting the highlights of the petals is a 3-step process. Mix the white gouache with water into a fairly loose paste, and paint the first layer.
Squint your eyes when looking at the reference photo. The highlights and shadows will become clear. Without squinting, it is hard to recognize them on such light petals.
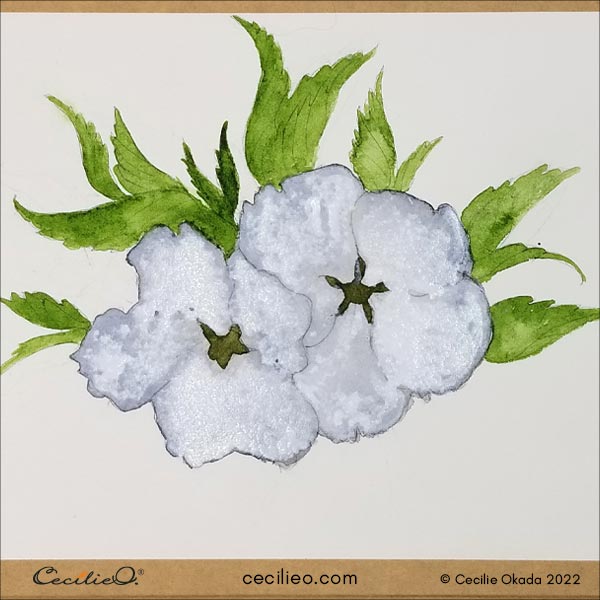
When the first layer is dry, mix white gouache with less water to be more solid. This time, paint some details. In addition to highlights, the petals have a lot of lines. Paint these lines drawing your brush from the center outwards. Also, the rim of the petals has a light outline.
Roll a tissue paper into a fine tip and wet it. Use this to remove white paint where there are shadows.
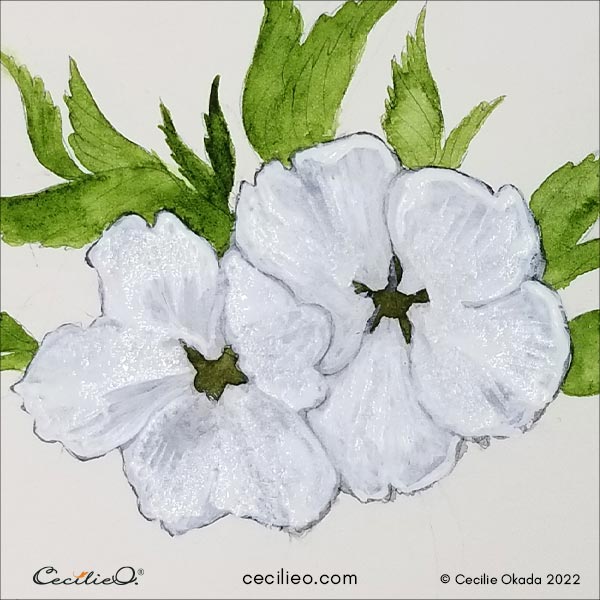
Adding more details
Paint a new layer of green watercolor on the leaves. Add yellow and ochre to create variations on the leaf surface. Use plenty of water.
Mix a little bit of yellow with white gouache for the stamen. Use little water to have thick paint. Dab the small, yellow dots with a pointed brush.
Start refining the details of the cherry blossom watercolor painting
First, outline the flowers with a very sharp, brown colored pencil. Clean up stray watercolors with white gouache.
Draw leaf veins with a light green gouache. Mix a little bit of green to white gouache to get the right shade.
Looking at the rough painting, observe that the petals still lack depth. It is time to smooth the surface of the petals with more pronounced shadows and highlights.
A white polychrome pencil is very helpful in this regard. Before you use it, heat the painting with a hairdryer. The grease in the pencil tip will become soft when drawing on a warm surface. It makes the pencil marks stick, and you can smooth out the brush marks.
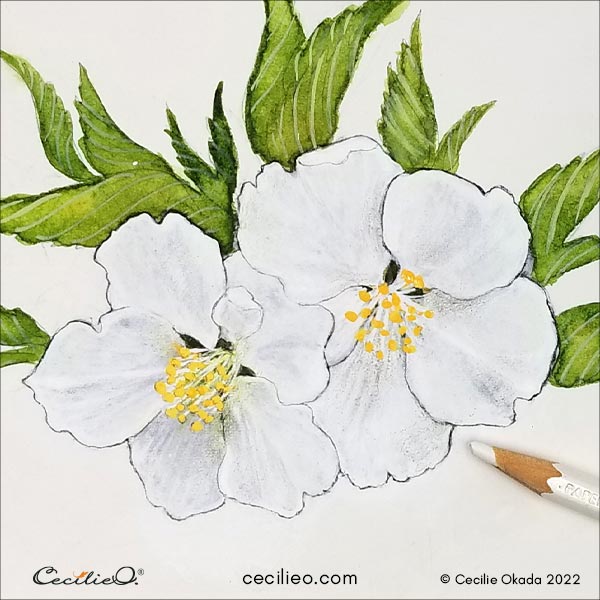
Get your colored pencils out, and draw more shadows. The process of refining the painting may include more gouache paint as well. This stage is purely creative. At some point, the reference photo becomes irrelevant.
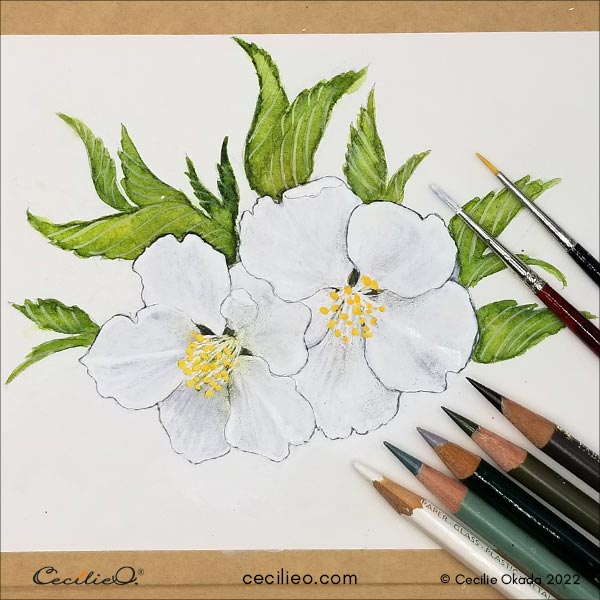
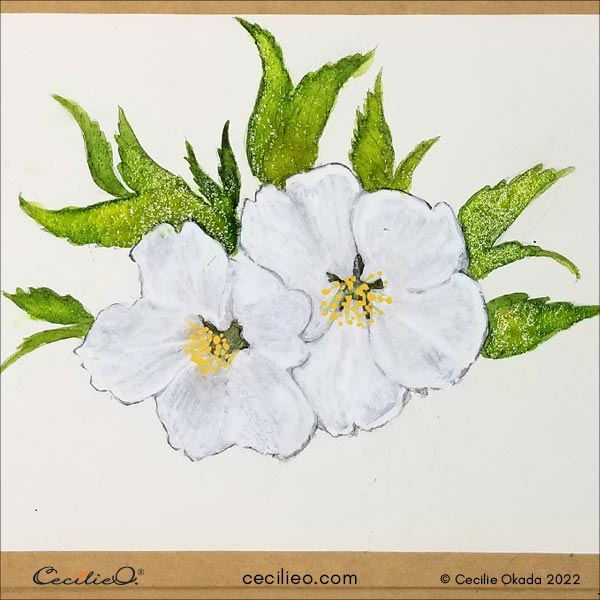
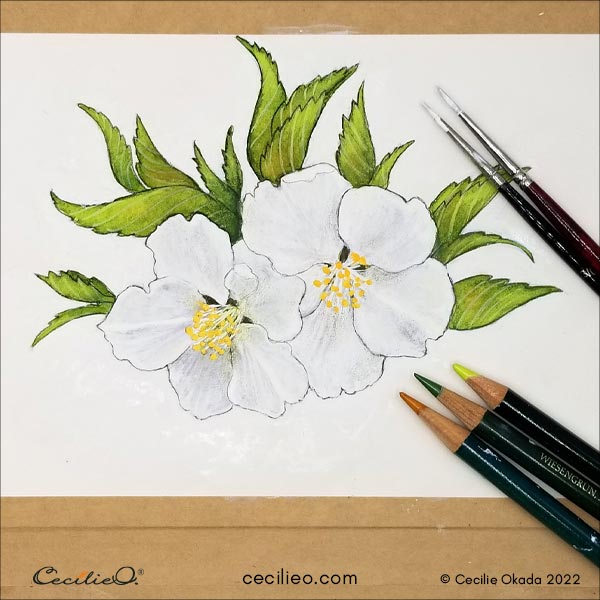
Making the leaves look fresh and alive
Draw with colored pencils on the leaves to create beautiful shades. Use light green, dark green, and ochre. Be creative. Outline the leaves with a sharp, dark brown colored pencil. Clean up the stray watercolor with white gouache.
Come back to your painting in a day or two and look with fresh eyes for tiny improvements.

The watercolor cherry blossom is all done a ready.
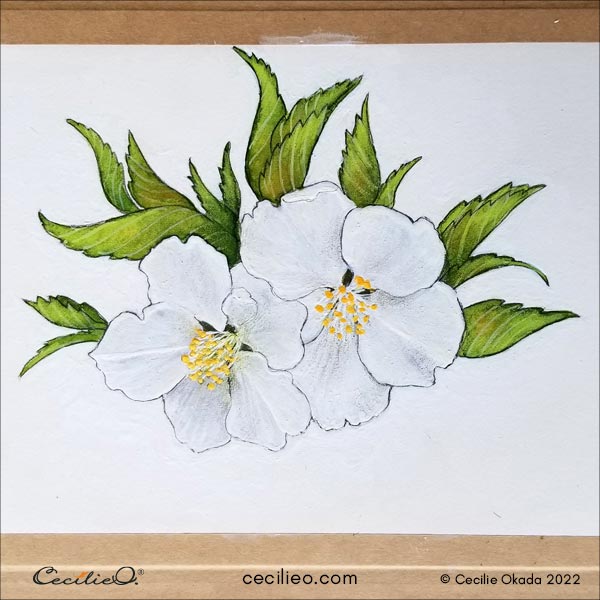
Happy painting!
You can find the art materials needed for this tutorial in my Guide to Art Supplies.
More watercolor tutorials:


