

Estimated reading time: 7 minutes
Snowdrop is the first flower to burst through the snow to announce that spring is on the way. If you are looking for a watercolor spring flower project, this is an easy one. The shape is simple to draw, and the only colors to contend with are green, white, and shadows. A contrasting background will bring this innocent, white beauty to life.
You can also watch me draw a simple snowdrop design in the video below .
Snowdrop symbolism
Snowdrop is a symbol of overcoming obstacles, as well as rebirth, hope, and purity. These are the self-evident meanings peoples of many cultures have ascribed to snowdrops. Pushing its way through snow is not every flower’s kind of deal, that’s for sure.
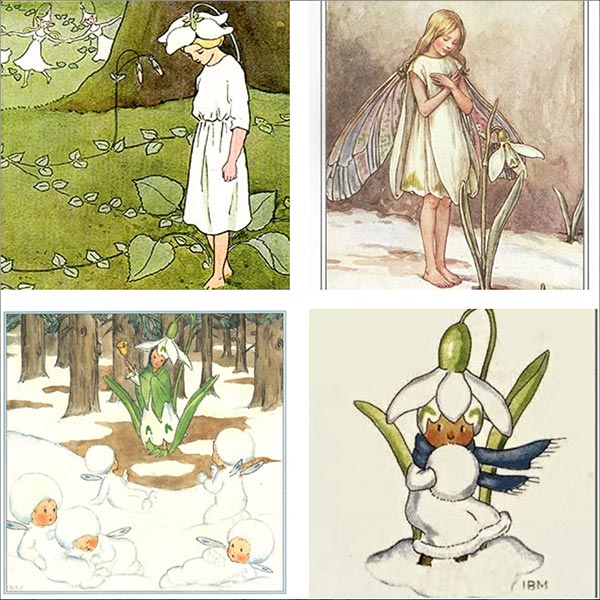
There are many lovely vintage illustrations with snowdrops. These four are some examples. The top left is by Elsa Bescow, a Swedish illustrator who loomed large in my childhood.
Let’s start our watercolor project.
Step 1: Drawing a snowdrop flower
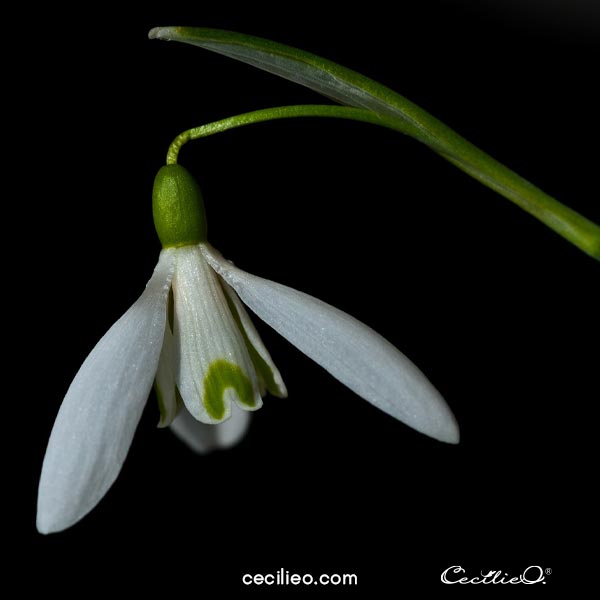
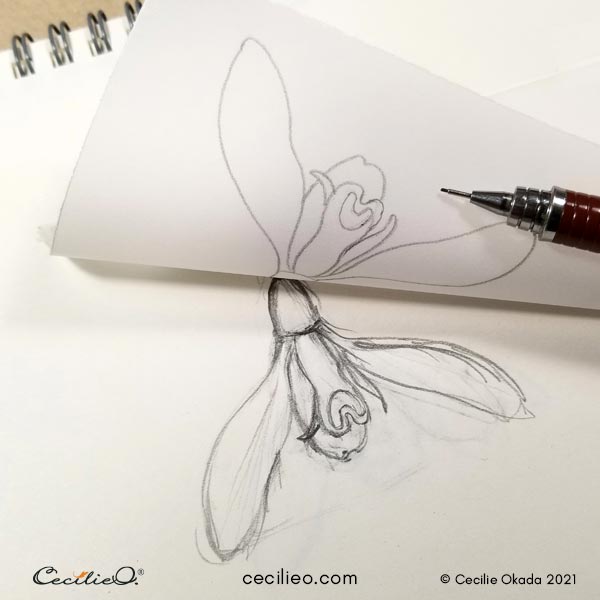
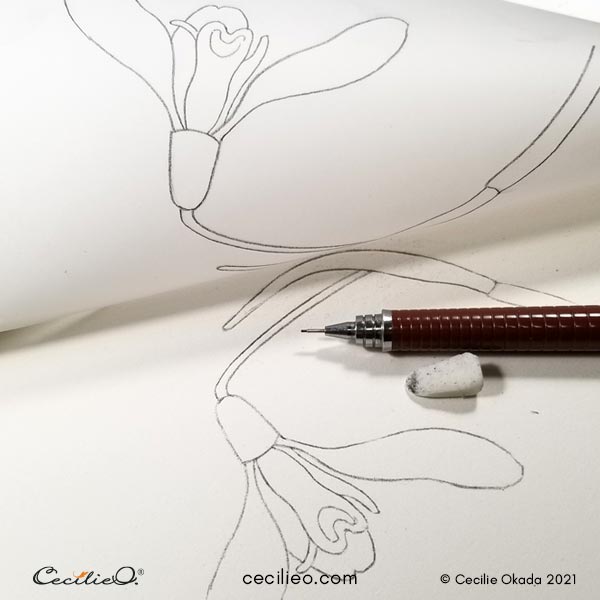
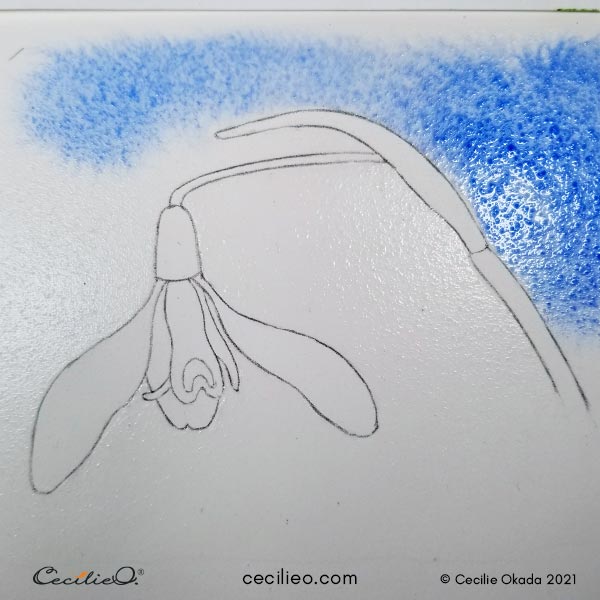
Looking at the reference photo, I created a loose sketch first. I then traced a clean outline and transferred it to watercolor paper. You can download my drawing for free in the One Tree Art Club Library. (Members: check your newsletter for access info).
Step 2: Painting the blue watercolor background
Although the photo has a black backdrop, I decided against replicating it. Black certainly looks elegant and intriguing, but I wanted my flower to be more cheerful. I chose a blue sky, one of my go-to background colors. I simply love the fresh, blue color.
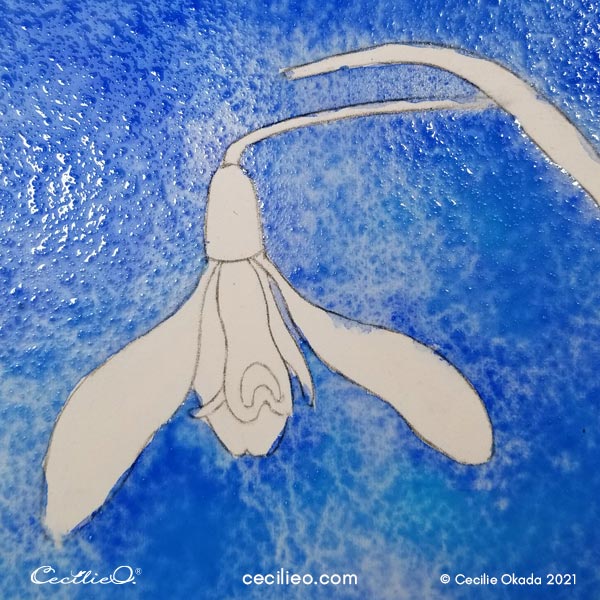
You need to keep the blue watercolor away from the flower. How to achieve this? By painting the surrounding area with plain water first. Be meticulous not to stray into the flower outline. While the paper is still wet, apply the blue color. If you have tiny spills, use rolled up, pointed tissue paper to soak up while it is still wet.
Move your brush with small, circular motions. It creates a kind of textured look. You are moving pigments around by doing that.
You can mix in some turquoise to create variations in the blue. Even a tiny dash of pink. Wait for the background to dry before you venture into the next step.
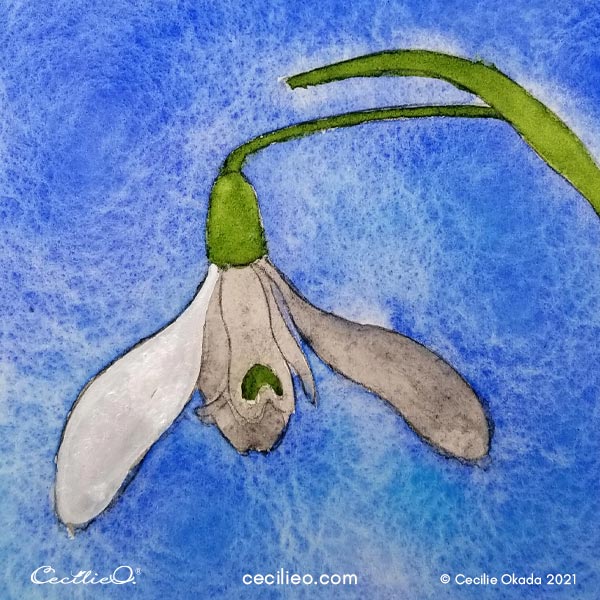
Step 3: Painting the watercolor grey and green base for the flower
Logic tells us to paint some gentle grey brushstrokes for the flowerhead. This way, the paper makes up the white color. But it’s not how we are going to proceed. Instead, paint the flower head grey. Exclude the green, upside-down “V”.
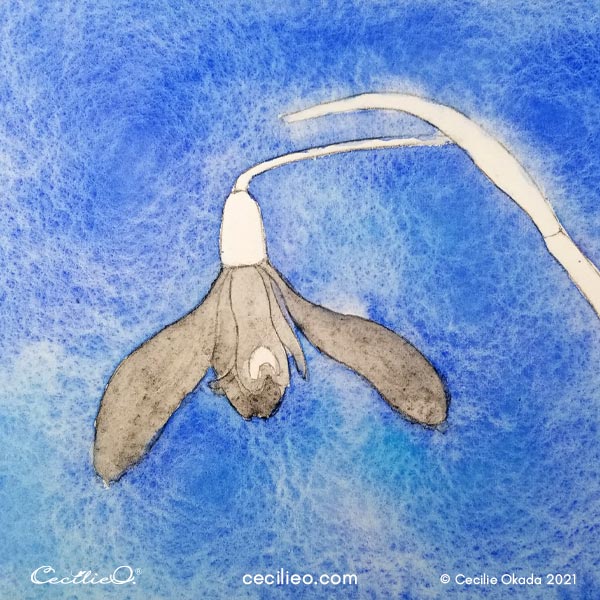
Next, paint the green parts.
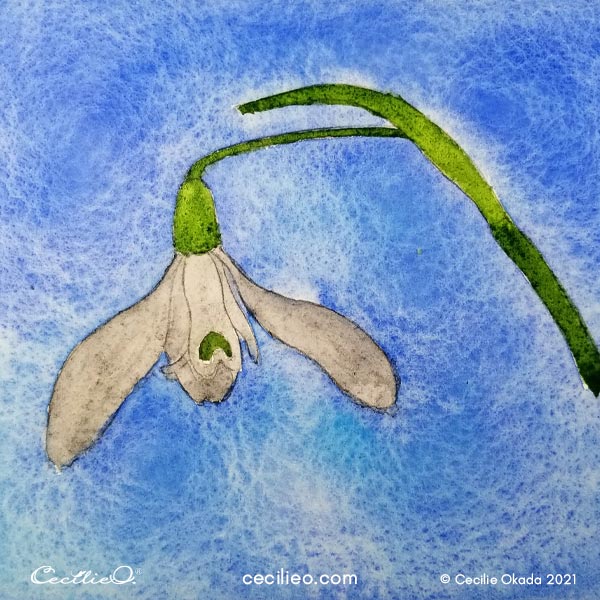
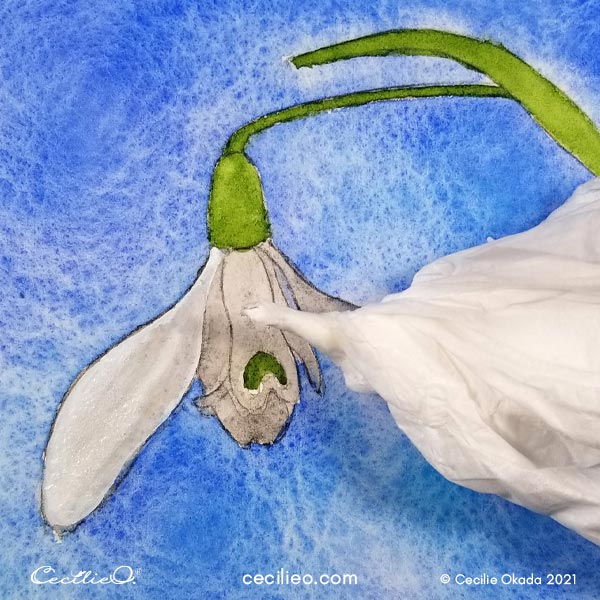
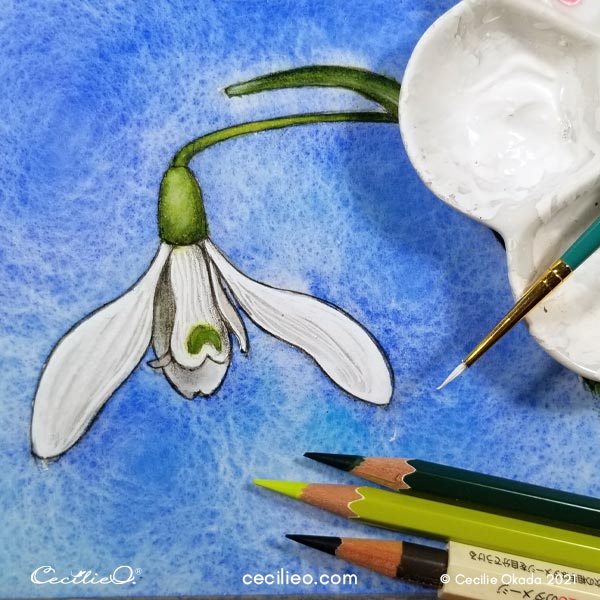
Step 4: Using white gouache to paint the white watercolor spring flower
First, paint a thin layer of white gouache on the left petal. (Note: I earn a small commission if you buy through the link). The grey color must be completely dry to avoid making a mess.
Let the first layer of white dry. With plenty of white gouache on your brush, paint again. While the paint is still wet, use pointed tissue paper to draw stripes. You can wet the tissue paper point a little bit.
When dry, use a pointed brush to paint solid white stripes. You now have both shadows and highlighted stripes.
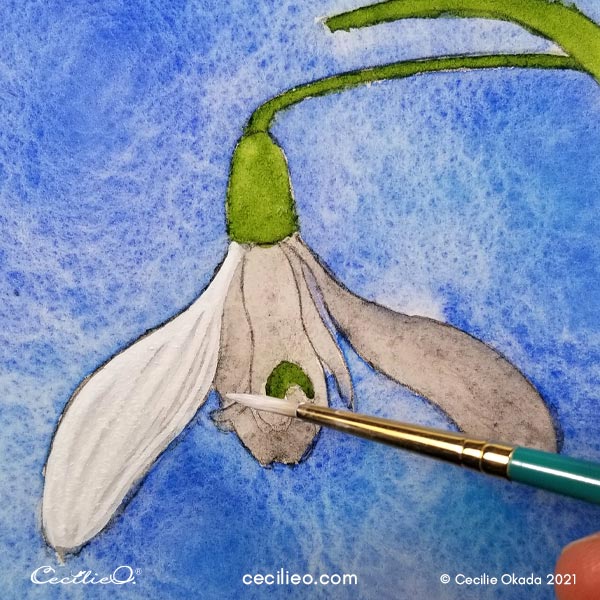
Follow the same procedure for the middle and right petal.
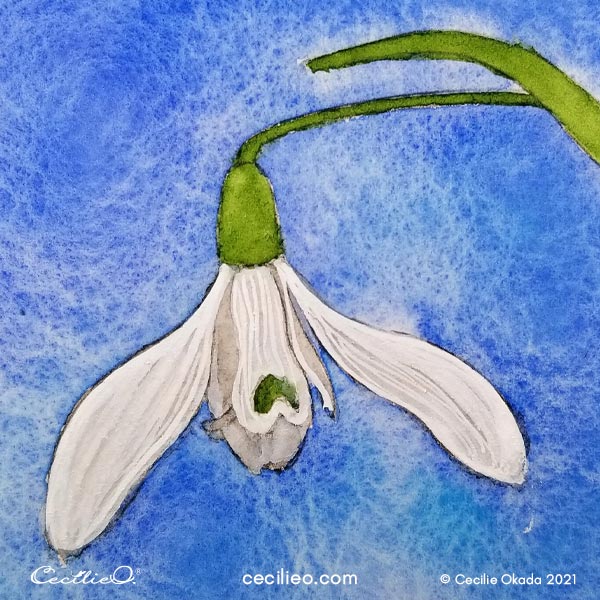
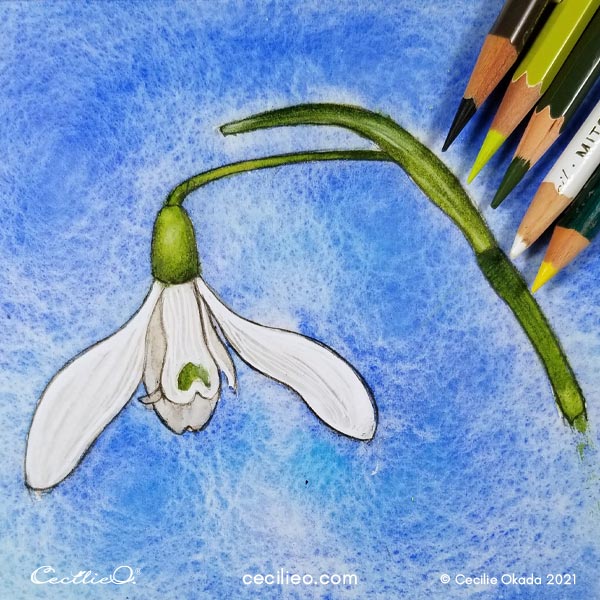
Step 5: Draw details with colored pencils
With a sepia-colored pencil, outline the flower, stem, and leaves. Pick your light and dark green colored pencils and draw on top of the dry, green watercolor. Use a white colored pencil for highlights.

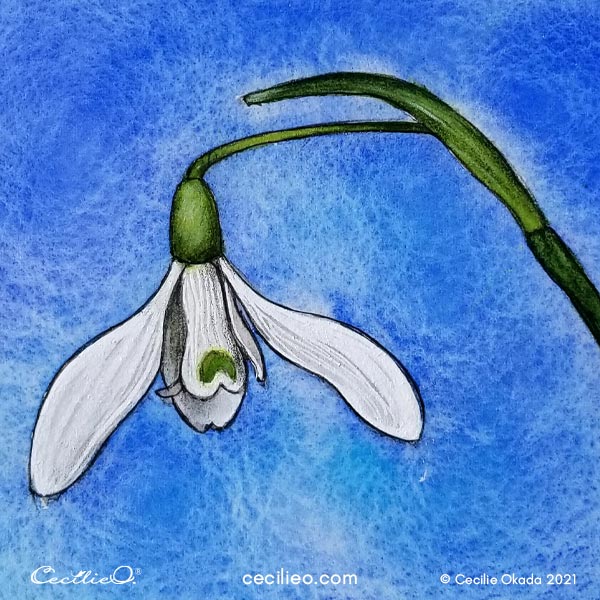
Step 6: Paint light and draw the shadows
Look at the photo to gauge where to paint white light and where to draw shadows. I decided against the shadow at the top of the left leaf. The reason is that I love how the white color contrasts the blue background. A shadow would dampen this effect. I know because I tested it. A great thing about using colored pencils for details is that you can change your mind. Just use the eraser.
And that, my friend, is the completion of the watercolor spring flower. An unassuming, little snowdrop is blooming on my paper. Let it bloom on yours too.
If you wonder what art materials you need for this tutorial, my Guide to Art Supplies should be helpful.


