Estimated reading time: 7 minutes
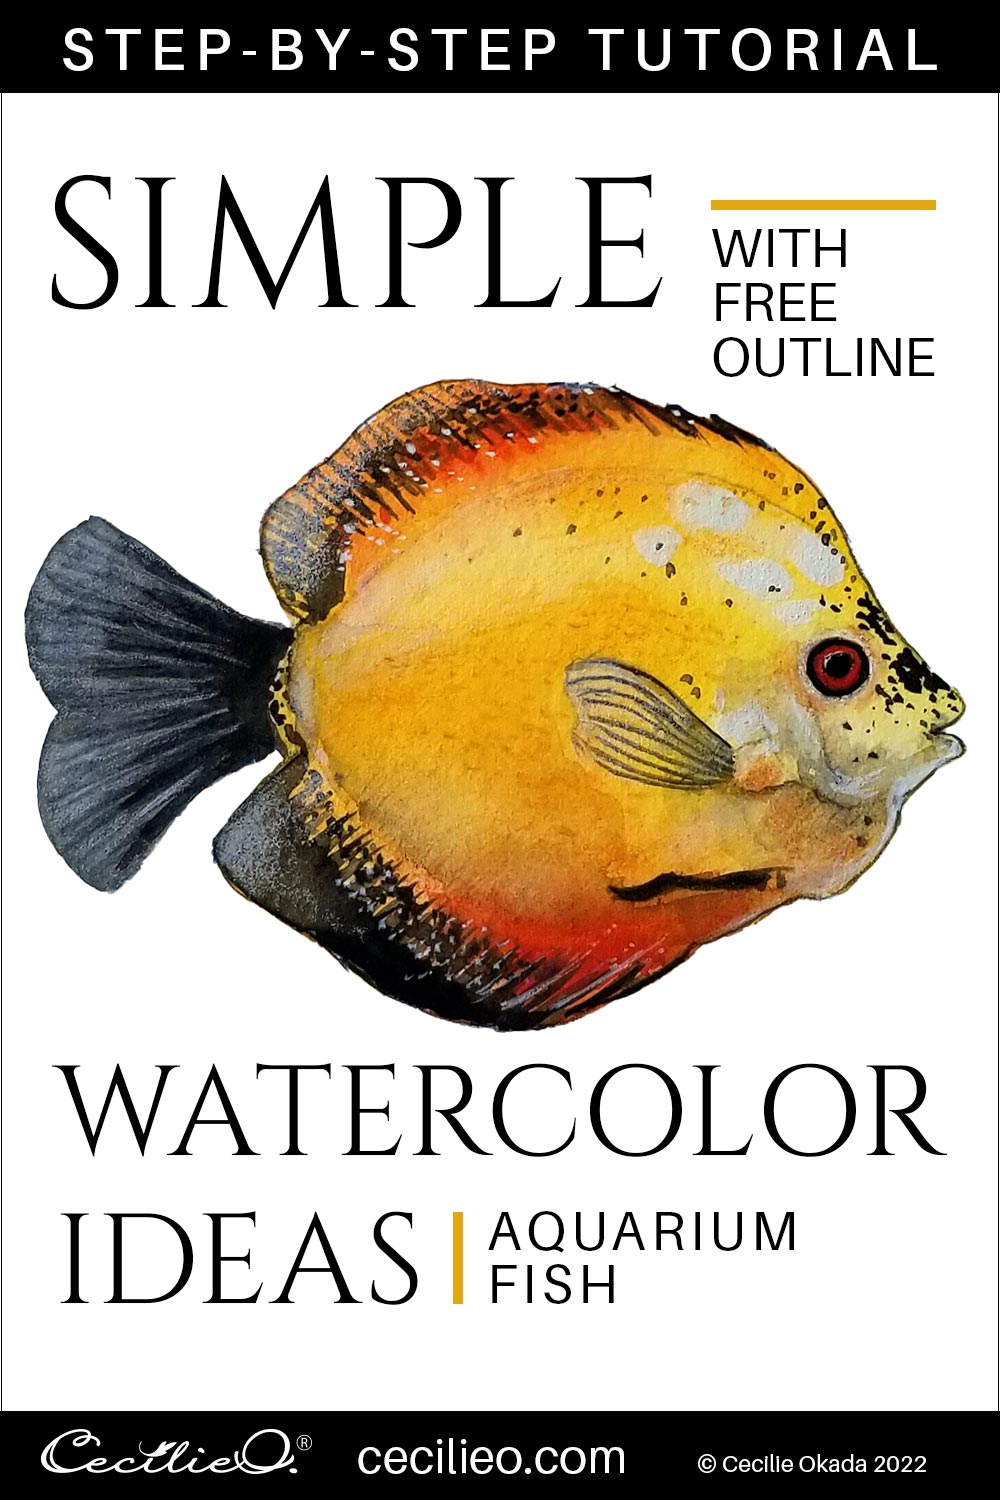
Fish are some of the easiest things to draw, and some of the most fun to watercolor. Aquarium fish come in a breathtaking array of shapes and colors. Nature must have had a field day when creating this underwater pageant. It was not easy to select a fish for this tutorial. One round, yellow, and dotted fish illustrates these simple watercolor ideas. It provides a good springboard for diving into the ocean of colorful fish.
Enjoy sketching a few fish before you start watercolor painting
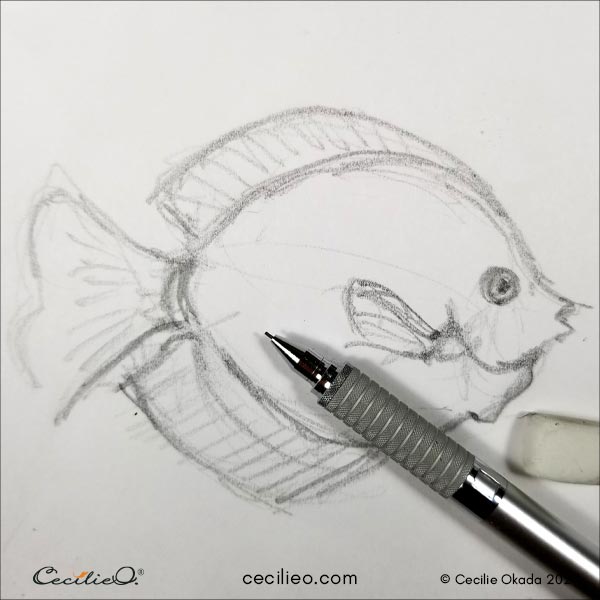
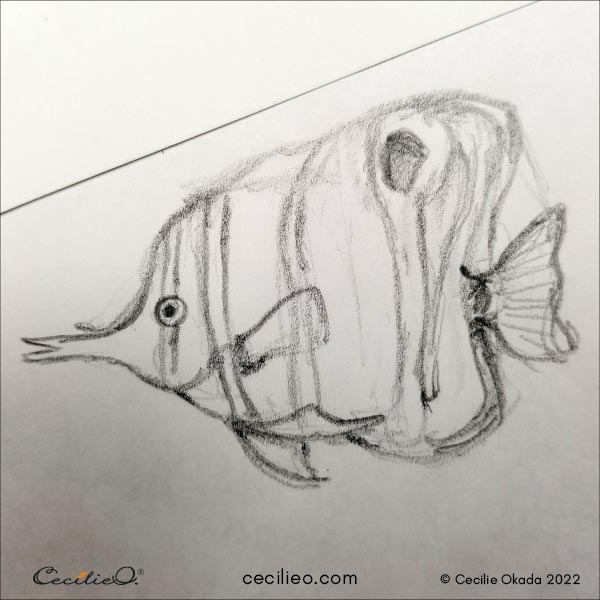
Before you start to paint, it is wise to do some warm-ups for your hand. Sketching is a great way to do that. It’s relaxing too. There is no shortage of photos of aquarium fish on the internet. Do some loose sketches from photos that take your fancy. Below you can see some of my drawings. And remember, don’t be precious. Let your hand play with the lines.
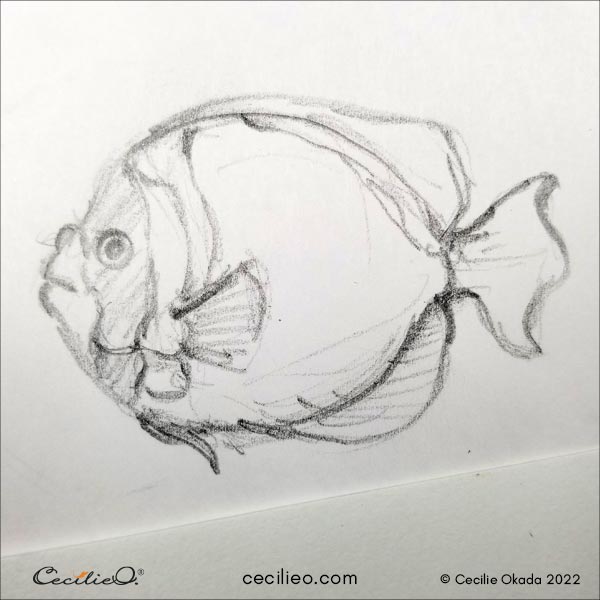
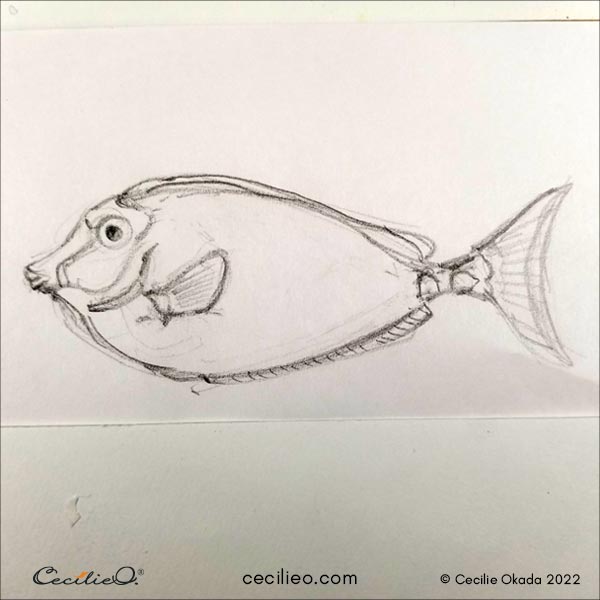
Create a simple outline of the fish you want to watercolor
First, I selected one out of the many rough sketches. For simple watercolor ideas, I thought this fish aced the others. You can see in the image below that I traced it to make a simple outline.
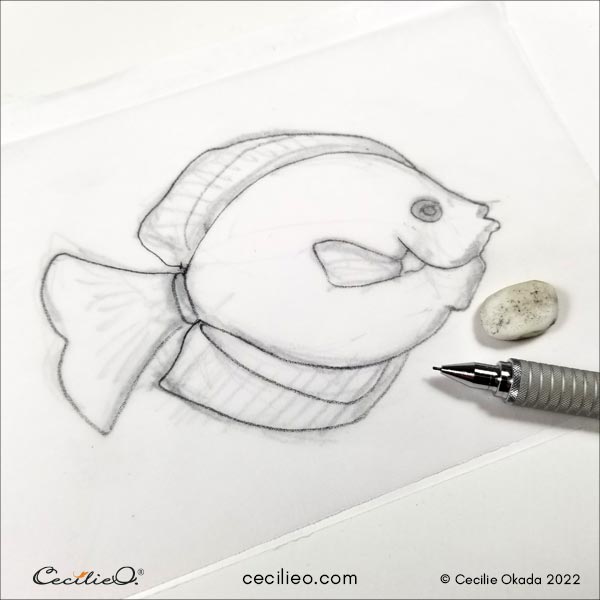
If you want to use my outline, you are welcome to download it from the free One Tree Art Club library. You can then trace it onto your watercolor paper. Either with tracing paper or by using a thin LED light tracing pad.
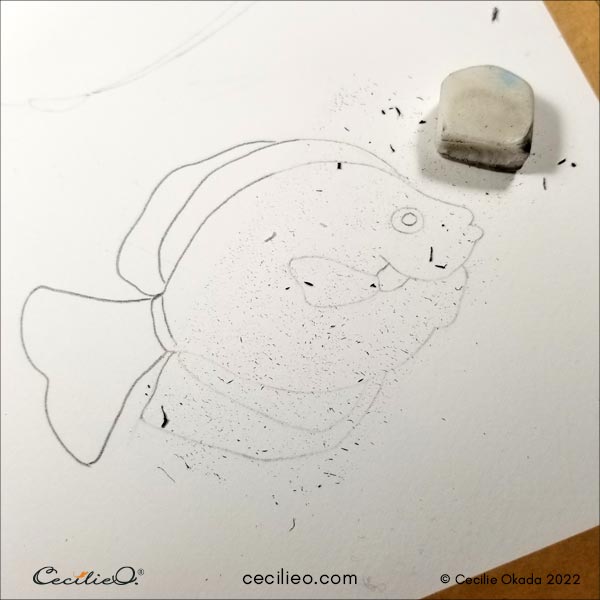
I realized that a lighter outline was more practical for this watercolor. So I lightly rubbed out graphite leaving only a faint outline.
Painting with watercolor in stages
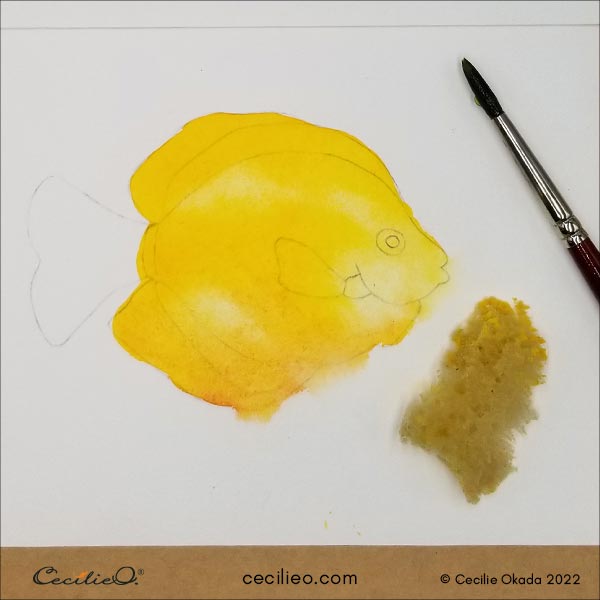
Stage 1
First, paint the yellow body of the fish. Use both sun-yellow and lemon-yellow. Make sure to have enough water on your brush. If not, the colors will not bleed nicely. For the lighter areas, use a sponge to soak up the colors.
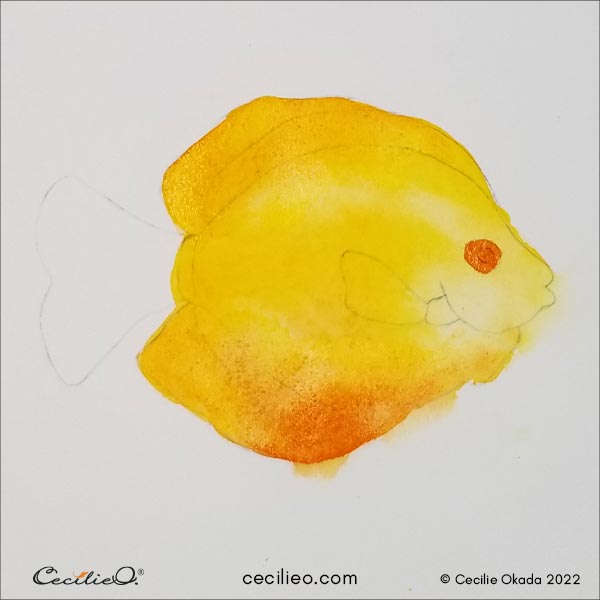
Stage 2
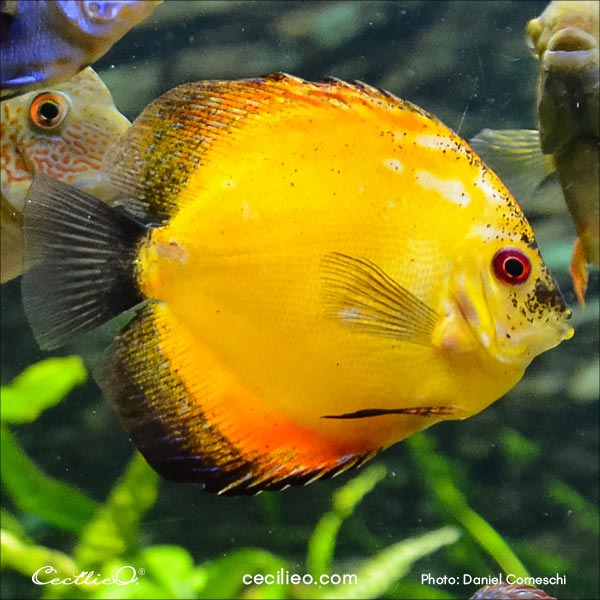
To deepen the yellow in certain places, blend with light orange. You get orange by mixing yellow with a tiny bit of red. Add orange color to other parts. Look at the reference photo for guidance. Note that you can paint the whole eye orange since it is no problem to paint black on top of it afterward.
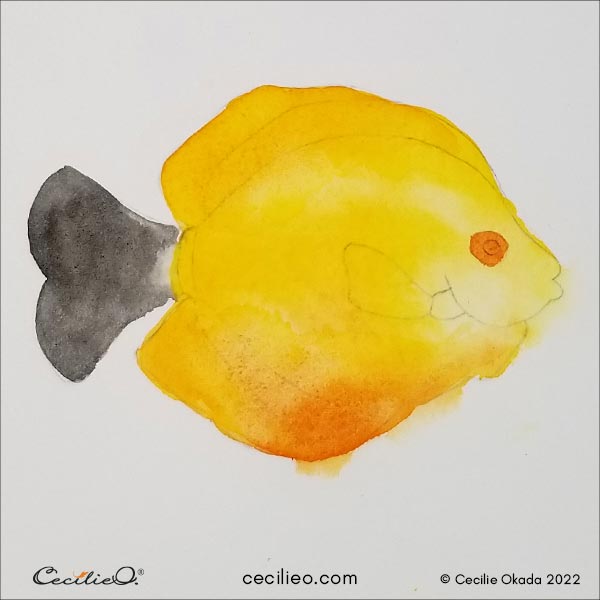
Stage 3
Paint the black tail with watercolor.
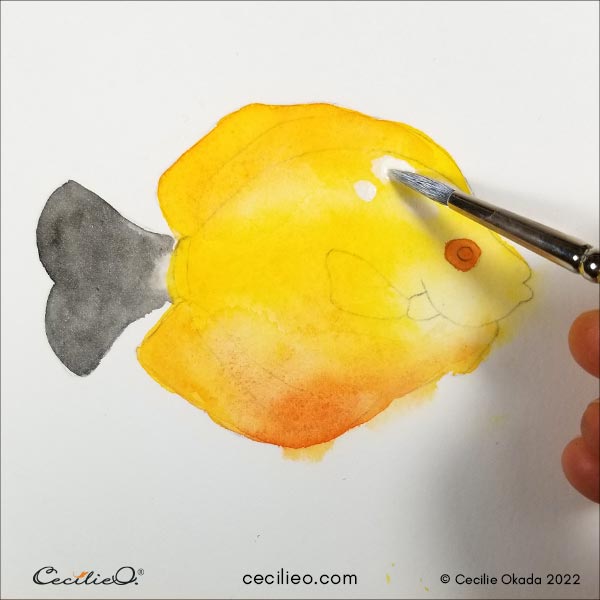
Stage 4
Paint white highlights with gouache (opaque watercolor).
Stage 5
Start painting the lower fin with black. Use a drier brush so that you have a more concentrated black. There are dots everywhere on this fish, including the fins.
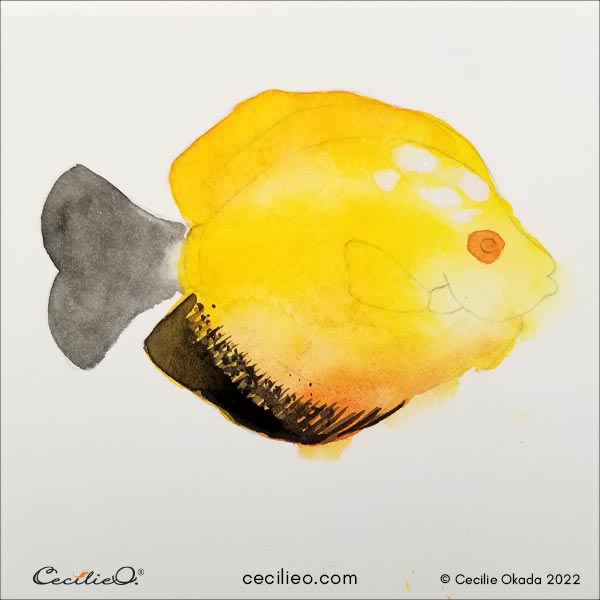
Stage 6
Expand the black dots to all areas of the fish. I stopped at the upper fin because I realized it needed some orange first.
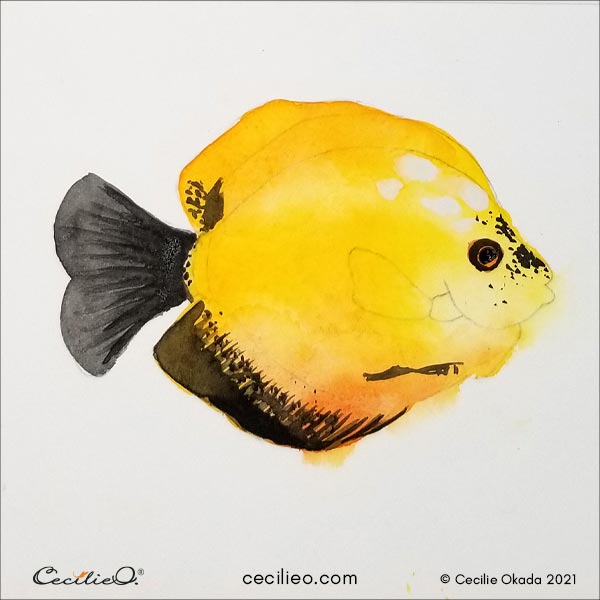
Stage 7

Observe the reference photo.
Paint a second layer of deep orange to make it stand out more. Add black stripes to the fins. Create a 3D effect to the body by painting with ochre and diluted black here and there. The eye ended up all black. I later corrected it with concentrated red paint and a dash of gouache. By concentrated red, I mean use little water on the brush.
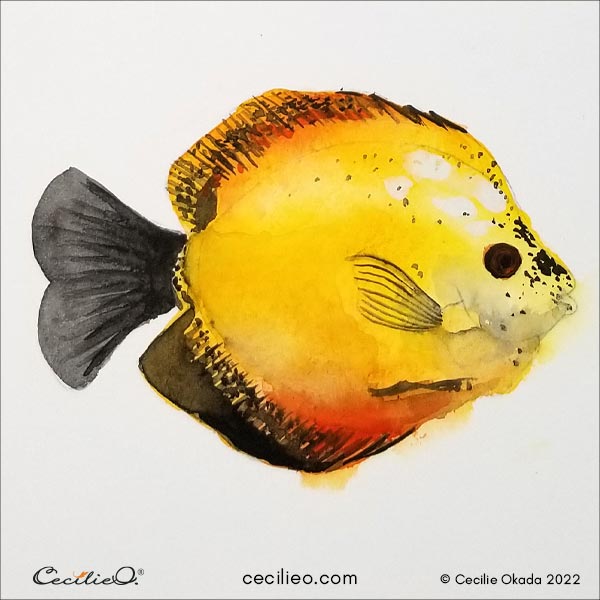
Adding details with colored pencils and white gouache
The last stage of the watercolor is somewhat hard to describe. With the watercolor base in place, you can use colored pencils to refine your piece. Drawing with colored pencils is no different than an ordinary pencil. You can create shadows and highlights with ease. Except that with colors, you can get even more exact. With the white gouache, you can create highlights.
Use the colored pencils as if you are simply fortifying the watercolors.
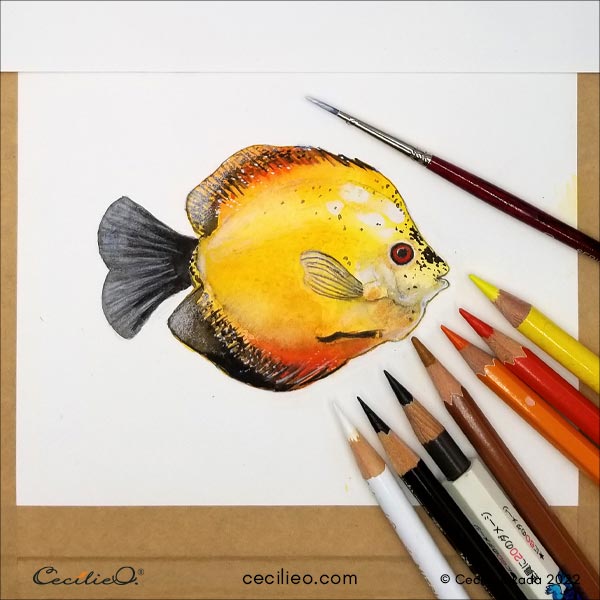
This last stage is where you can get into a deep creative flow. Mix and match and let the photo guide you. But make it your own. Each yellow fish in the aquarium is different. That includes your watercolor fish.
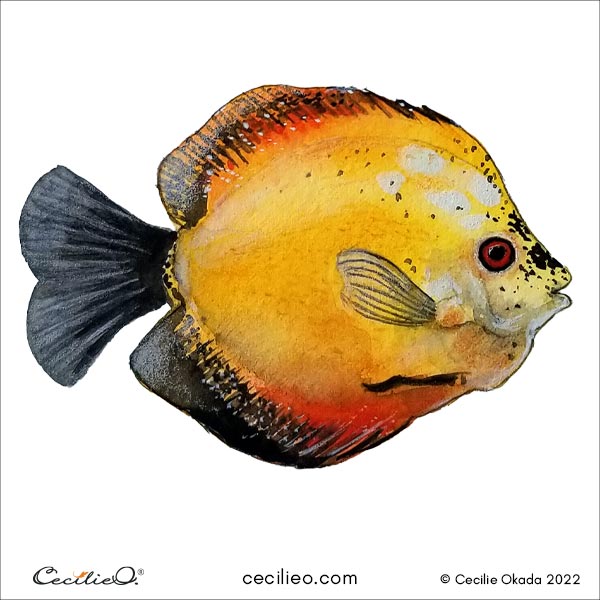
Simple watercolor ideas from a bunch of aquarium fish
I advise you to assemble many photos of aquarium fish and start painting them. Each fish will present you with new and interesting options. Why? Because the stripes and patterns are arranged so differently. The fish shapes are easy to draw, and the colors and patterns are a riot.
When you search for photos on the internet, remember this: You can also use terms like colorful fish, tropical fish, or even the names of species.
To learn about the art materials needed for this tutorial, go to my Guide to Art Supplies.
Happy drawing and painting!
Here is a selection of more watercolor and colored pencils tutorials:


