Estimated reading time: 6 minutes
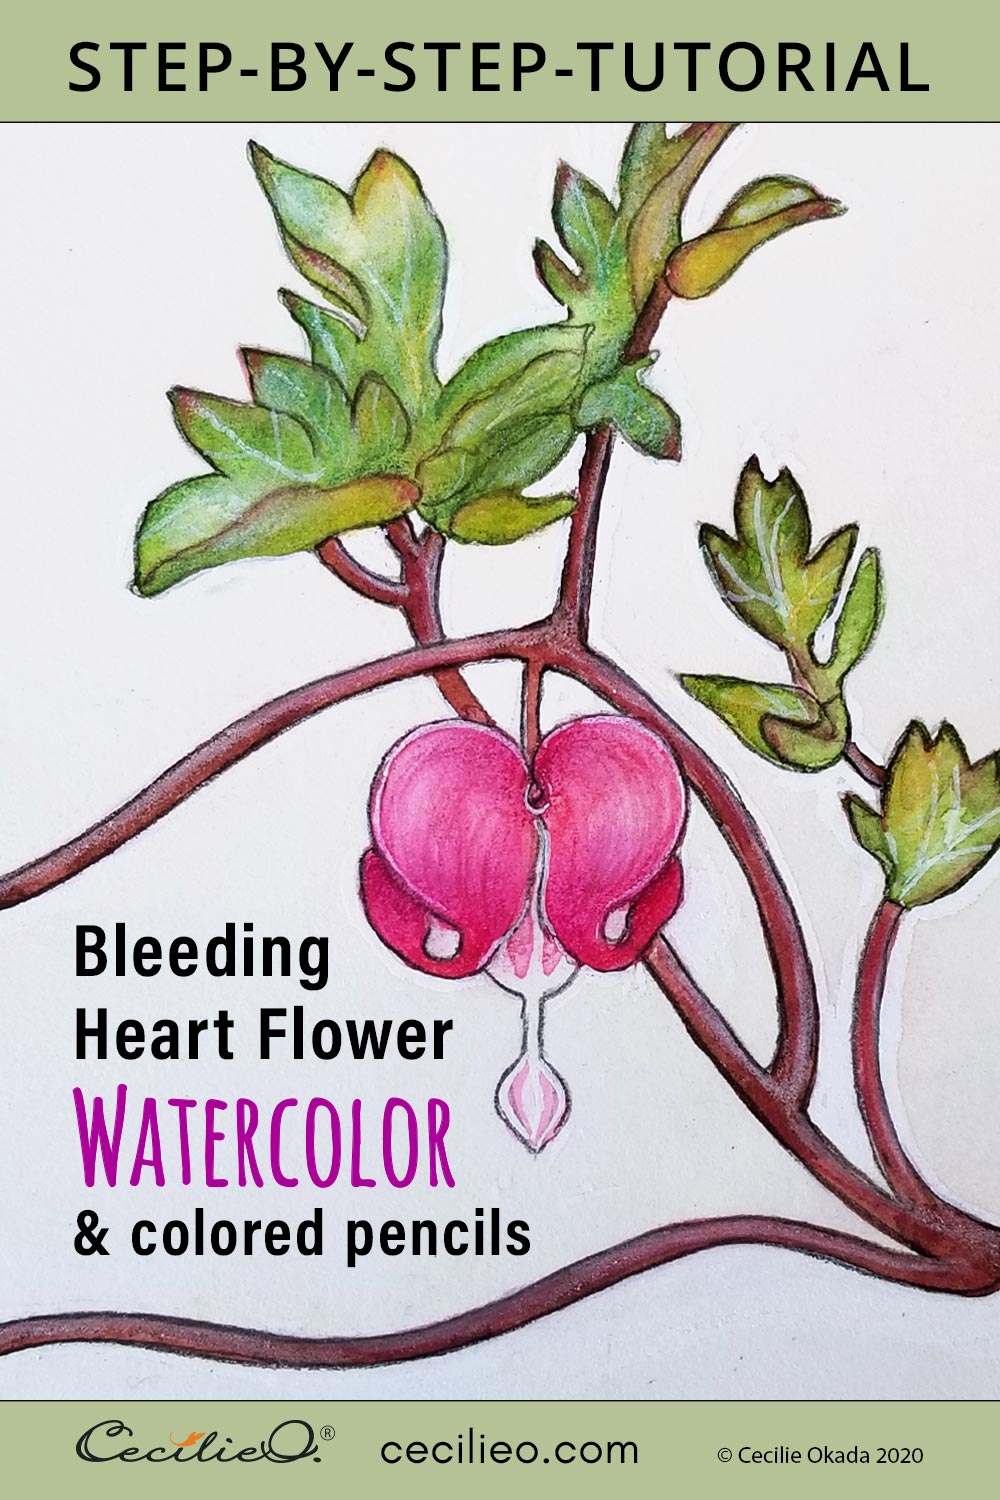
Few flowers can boast ornamental beauty like the bleeding heart flower. The shape itself nominates it to the ultimate flower of love. Romantic love, selfless love- all kinds of love. The bush comes with many hearts gracefully arranged along branches. In this step-by-step watercolor tutorial, we are going to focus on one heart alone. A watercolor bleeding heart flower is easy to do, especially with a little help from colored pencils.
Like so many beautiful flowers, it originates in the East. Compassionate love for all creation is associated with this flower. You would think it has to do with a broken heart, but no. That’s not the symbolism we attach to it. The bleeding heart flower is a perfect Valentine’s Day gift, and it’s often used for weddings too. One creature that loves its nectar is the shimmering hummingbird.
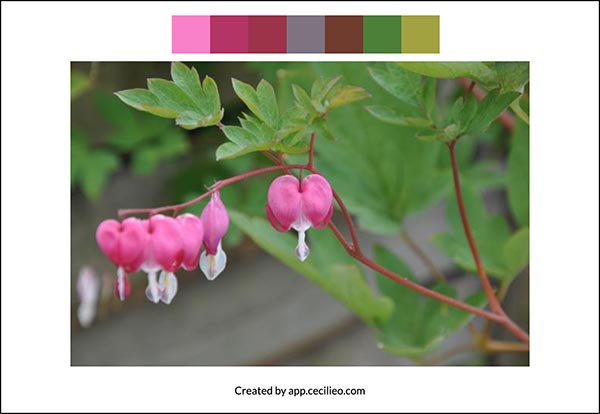
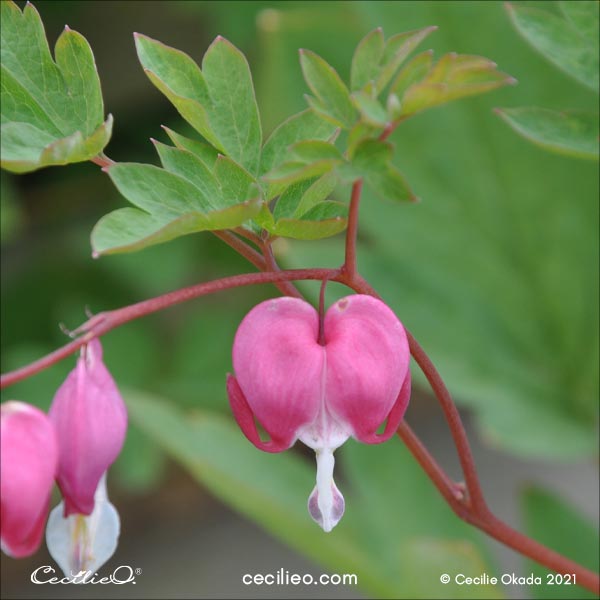
The reference photo
I discovered this photo when I was going through my folders with flower photos. Over time, there are lots. I used my Nikon camera for this one. The truth is, I have no technical know-how about the camera. Sometimes pictures come out good, sometimes not. I like this photo. The ornamental beauty caught my attention, and with Valentine’s Day coming up soon, I thought: Yes.
Selecting a color palette from the photo
I used our new color palette tool to select the colors for this watercolor. To the naked eye, it looks like light and dark pink is it. Clicking on the darker parts of the flower, which are just shadows, a burgundy shade is revealed. The leaves, on the other hand, are quite simple. Fresh green and a more yellowish-green. The reddish-brown stems will not be an issue, either.
You don’t need to do any pre-mixing of colors for this watercolor bleeding heart. You can blend colors as you paint.
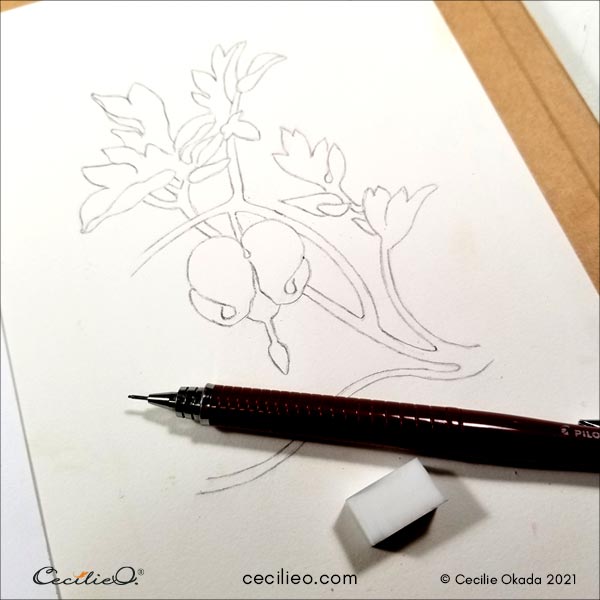
Drawing the flower
It is a bit tricky to draw the leaves of this flower, but you don’t have to. You can download my drawing for free, and then trace it onto your watercolor paper. The heart-shaped flower head is easier to draw. I love the way the stems form ornamental curves, so I emphasized that in my drawing.
Painting a watercolor foundation
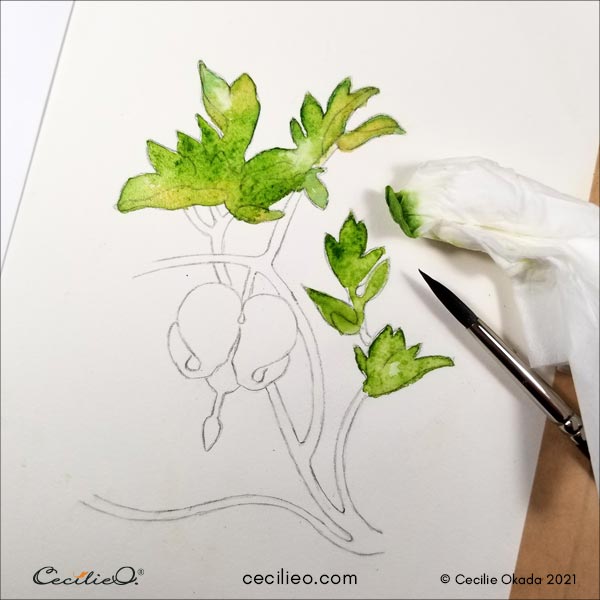
Paint the top left leaves first. First with water, then add a plain, green color. While the paint is still wet, add some ochre and other variants of green. This will give the leaves interesting shades. Don’t worry about distributing greens like in the photo. Paint freely. Enjoy how the colors interact on the paper instead.
Make a pointed tip with tissue paper, and soak up pigments where you want lightness.
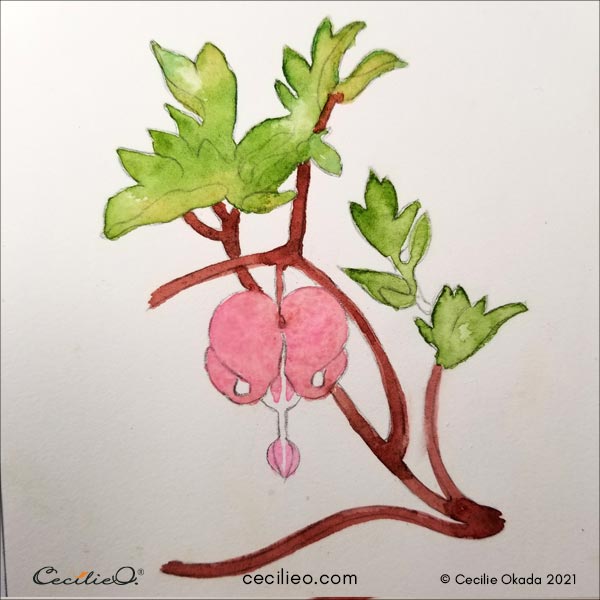
When both bundles of green leaves are dry, color the flower pink and the stems brown. You can see that the pink is a bit muted. Some brown from the stem bled into the pink, and I mixed it in. Since the pink in the photo is muted too, it was a good accident. For the stem, mix some burgundy with brown.
Taking help from a dark pink watercolor pencil
The stripy structure we see on the flower surface is nothing more than ordinary petal veins. The shape of the flower makes them unique. Watercolor pencils retain some of the linework after adding water. Looking carefully at the photo, you will see how the lines follow the heart shape. Draw this with a dark pink watercolor pencil.
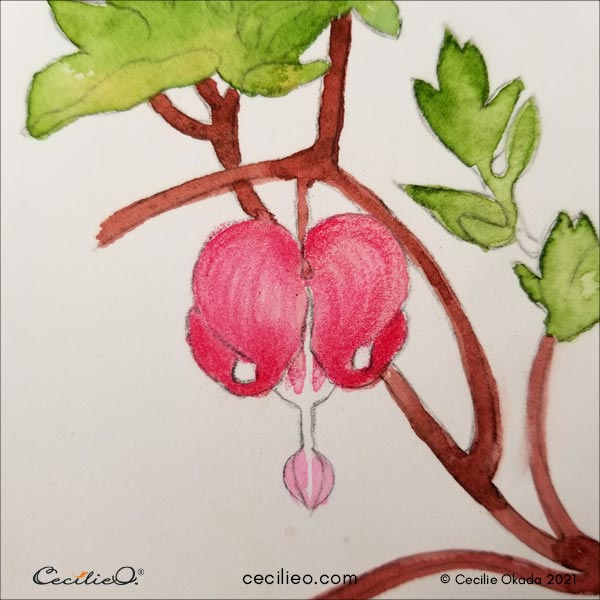
Activate the pencil marks by adding water.
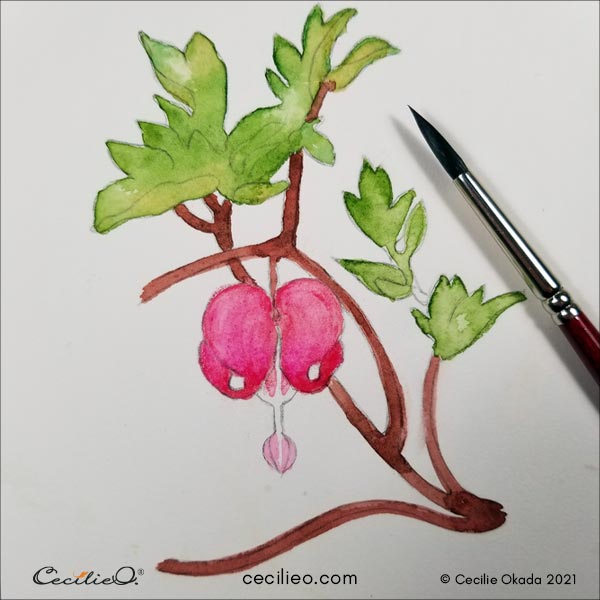

Drawing details with colored pencils and white gauche
First, outline the entire shape with a sepia-colored pencil. The leaves are full of shades and color nuances. Paint light veins on the leaves with white gouache. Select a variety of burgundy, greens, and yellow colors and draw in the details freehand. There is no set way to do this. It is a matter of artistic freedom, of drawing with a sensitive, light touch.
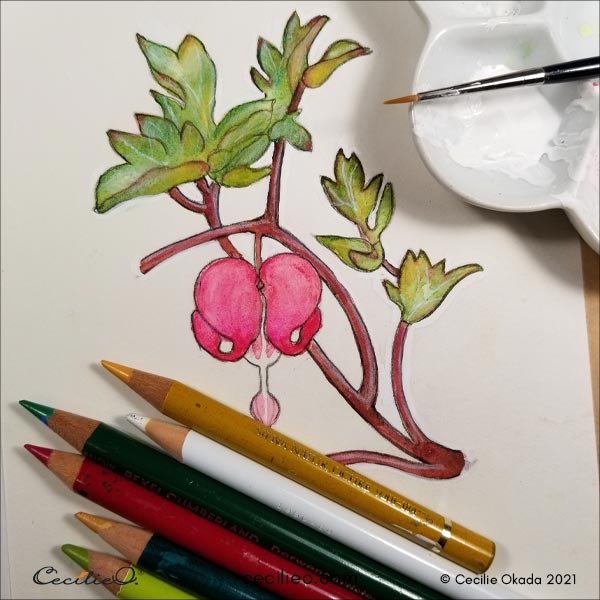
For the pink heart, use ordinary colored pencils to draw in shades and deeper colors. The white polychrome is for highlights. Use a pointed tissue paper again, this time to smudge the colored pencils.
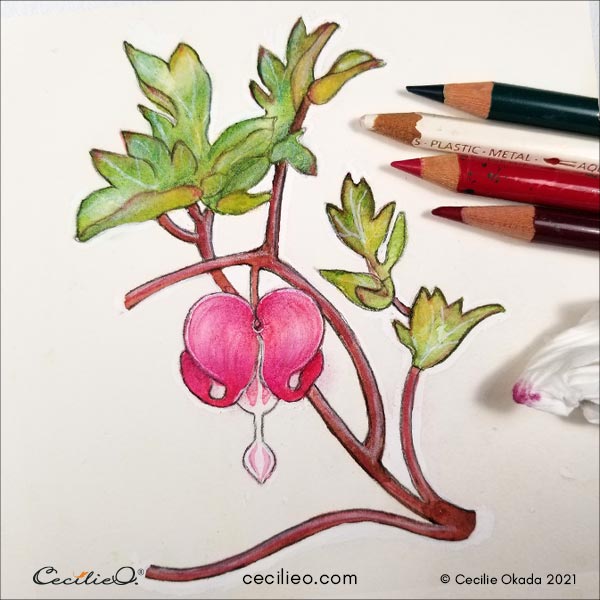
In the end, I decided to extend the branches. The watercolor bleeding heart flower is complete. My best wishes to you as you go about painting yours!
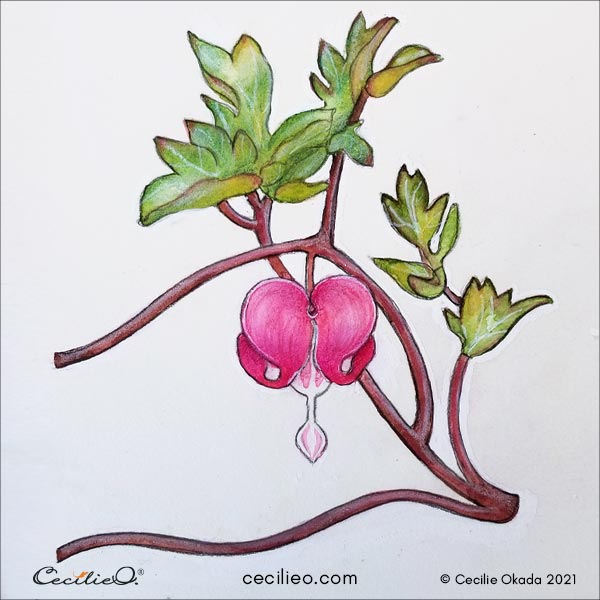
If you wander about the kind of art materials that you need for this tutorial, my Guide to Art Supplies should be of help.
More tutorials:


