
Estimated reading time: 6 minutes
Seashells come in a fascinating array of shapes and patterns. They spark memories of lazy days by the sea collecting nature treasures. A beautiful collection of shell photos on Flickr made my fingers ache for my paint brushes. I invite you to join the fun in this watercolor seashells tutorial. The photograph I selected has simple shell shapes with circular patterns. You will also learn about the mistakes I made along the way.
Let’s dive right in.
Step 1: Selecting a color palette and drawing the shells
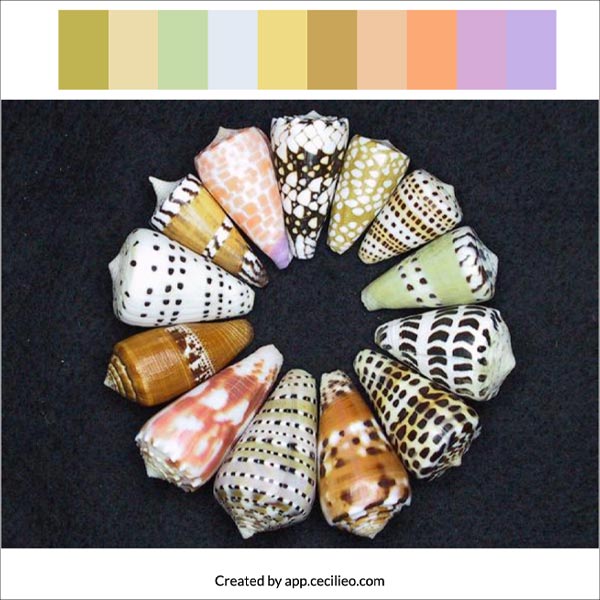
The photographer has arranged the shells in a stunning circular display. I wanted to get a clear sense of the colors for my watercolor. Below, you can see the palette I made with our free color palette generator for artists.
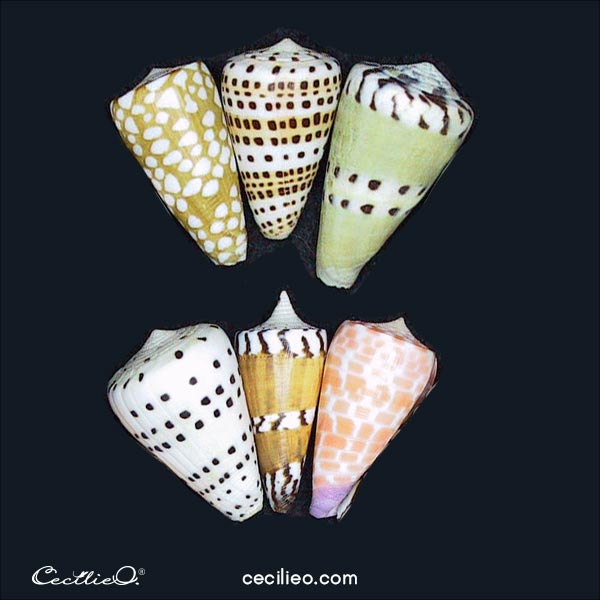
I thought it would be confusing to have all the shells in front of me while painting. To make it easier, I cut six of them loose in Photoshop. This is the full collection of shell photos by Dennis Hill. You can also search for more seashells in our Ideas from Unsplash and Ideas from Flickr tools.
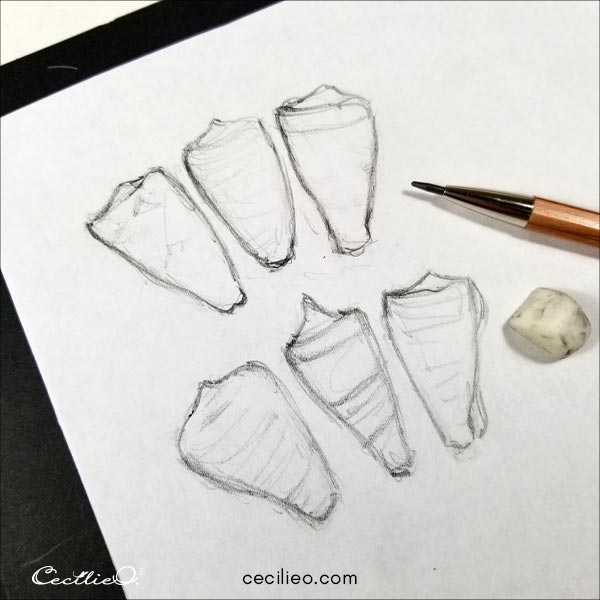
Since the shapes are simple, it was quick to draw a sketch.
You can download free outlines for most of my tutorials in the One Tree Art Club library. (Members: Check your newsletter for details).
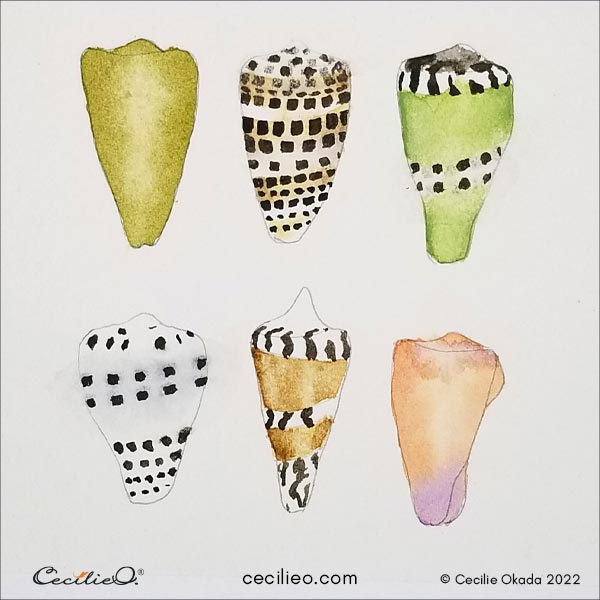
Step 2: First layer of watercolor
As you can see in the image below, I drew the final outline in a grid. All I did was trace the sketches while turning the paper for each shell. It was at this stage that I made my first mistake.
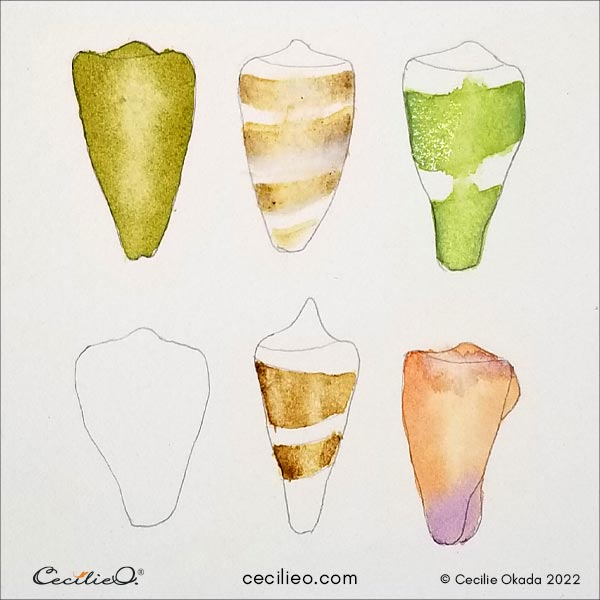
When I looked at each shell in the photo, I thought it would be a piece of cake to paint the patterns. Not so! The error was to leave the outlines empty. I should have drawn circular lines to guide the placement of the pattern details.
The base watercolors give some direction for the pattern, but not nearly enough. Paint with sufficient water to have the colors blend well. Use a sponge or some twisted, moist tissue paper to soak up paint down the middle of each shell. It makes for a round shape.
Step 3: Patterns and shadows on the watercolor seashells
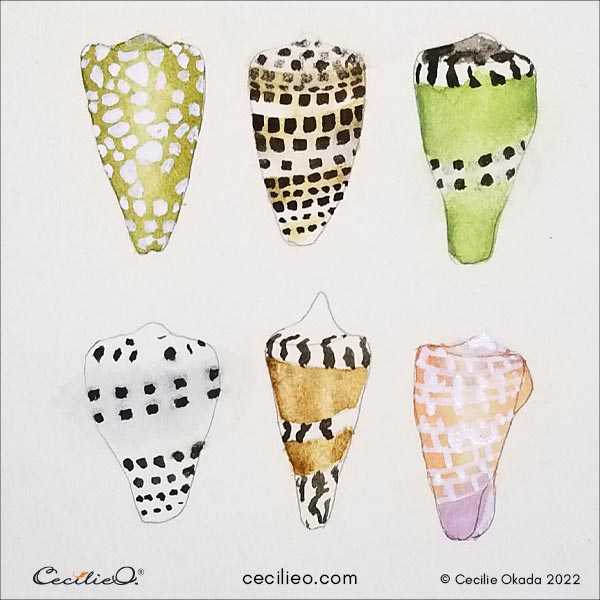
Make sure the base watercolors are dry. Paint the spotted patterns with dark brown watercolor. You can see that my patterns did not flow in smooth circles. They are somewhat choppy.
Next, use white gouache for the white patterns.
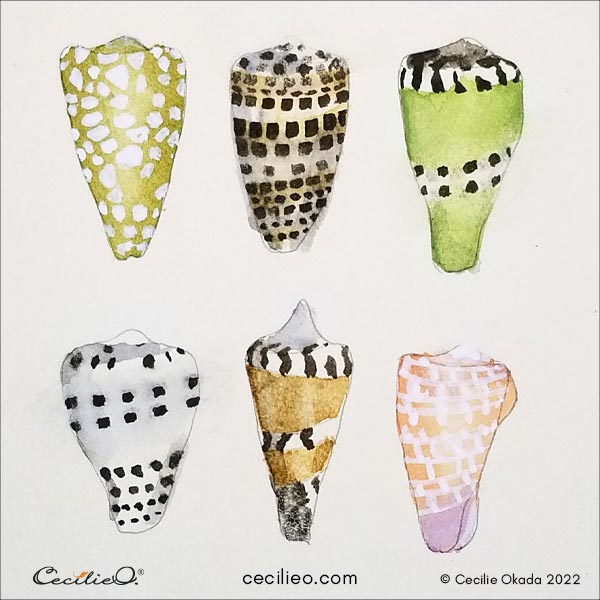
To enhance the round shape of the shells, paint shadows with light grey. Some of the shells started to look a bit messy. I thought it would be simple to watercolor them, and here I am making yet another mistake.
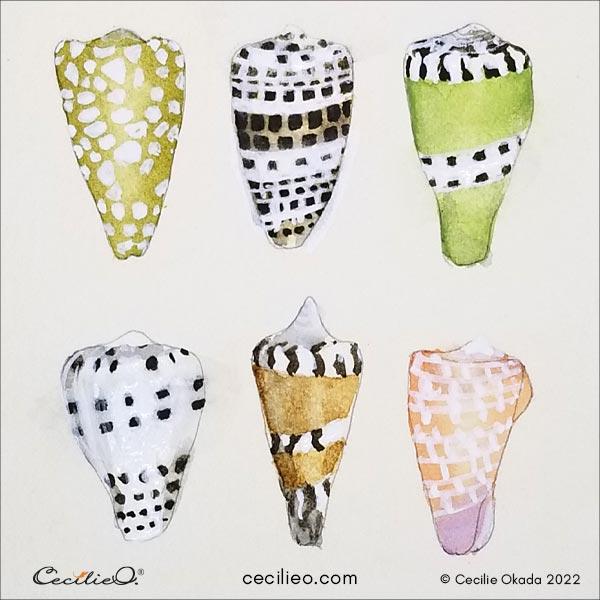
Step 4: Cleaning up the mess
To clear the mess, I grabbed my go-to tool for watercolor renovation: White gouache. I used it generously to reconstruct the patterns. Also, use white paint to reinforce highlights.
Step 5: Polishing with colored pencils
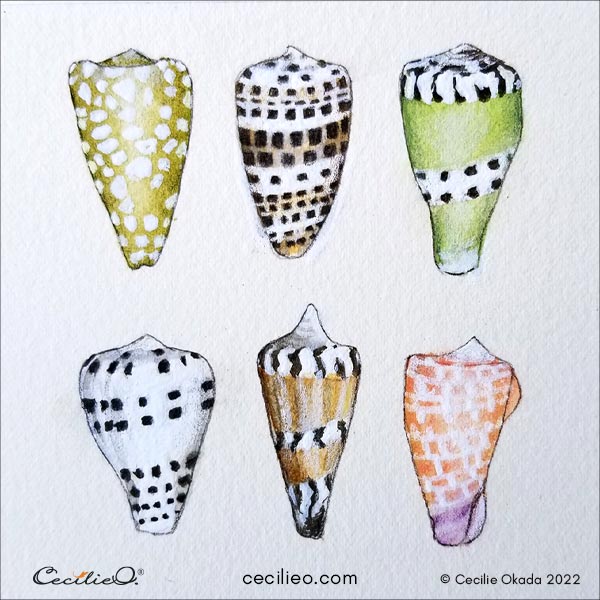
Colored pencils can always be relied on for 3D shading. Make the shells look more realistic with colored pencils enhancement. I selected a variety of pencils for this job. Depending on what colors you have available, draw some details. To me, this is always a fun part. Notice the dark brown outline. Use a dark brown colored pencil for this.
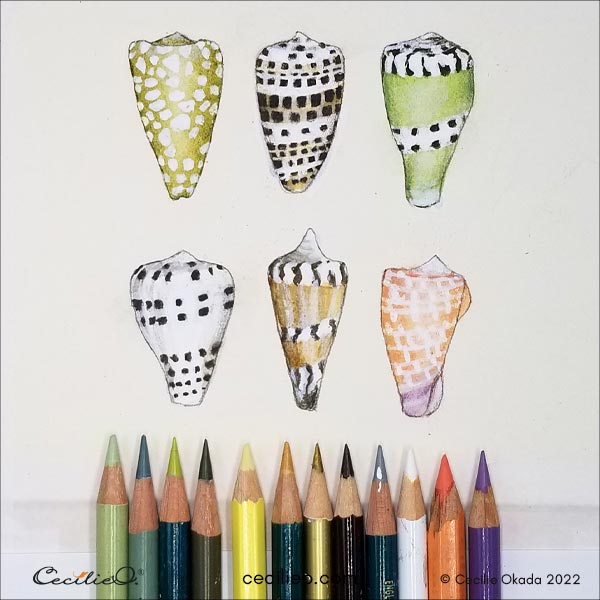
The finished result is not too bad. Somehow, I managed to rescue my watercolor seashells.
I have drawn circular lines to indicate the paths for the patterns in a new outline of the shells. If you would like to trace it for your watercolor, you can download it in One Tree Art Club | Creative. It is on the Buy Me a Coffee platform.
A list of art materials, some of which are used for this tutorial: Guide to Art Supplies

Happy painting!


