

Estimated reading time: 9 minutes
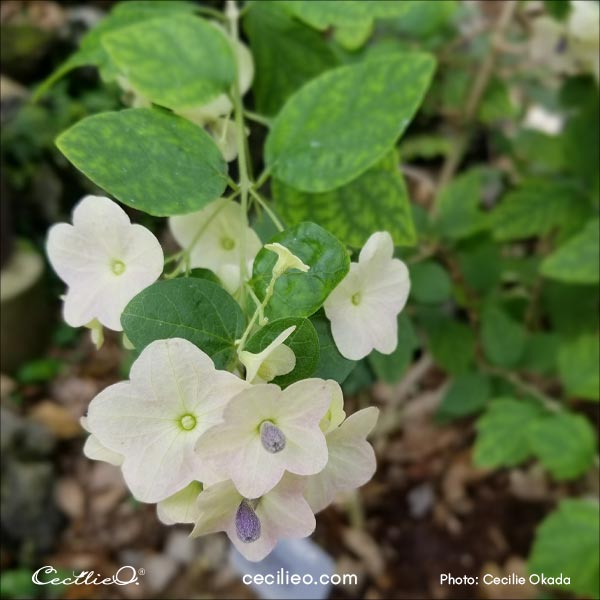
Painting a white watercolor flower may feel like an impossible task. But if you look closely at any photo of a white flower, you will discover a host of colors. Indeed, pure white is not that dominant. Shadows and veins on petals create beautiful, ethereal effects. In this tutorial, we take the simple path and use white paint for white. We paint white on lightly colored shadows.
I spotted this cute little flower in Kyoto Botanical Gardens. It is called Tahitian hat plant. Reportedly, butterflies and hummingbirds love the nectar from Karomia Tettensis (the Latin name).
Step 1: Figure out the actual colors on the white petals
You can see light green and pink on the white petals in the photo. To explore more colors, let’s use our free manual palette generator for artists.
Greens and purple are the obvious colors. Shades of grey on the petals are less so. This color palette is a good starting point for our watercolor painting.

It is always a good idea to mix colors ahead of time. You won’t need to stop and wonder what comes next while painting. You can remain in the creative flow without interruption.
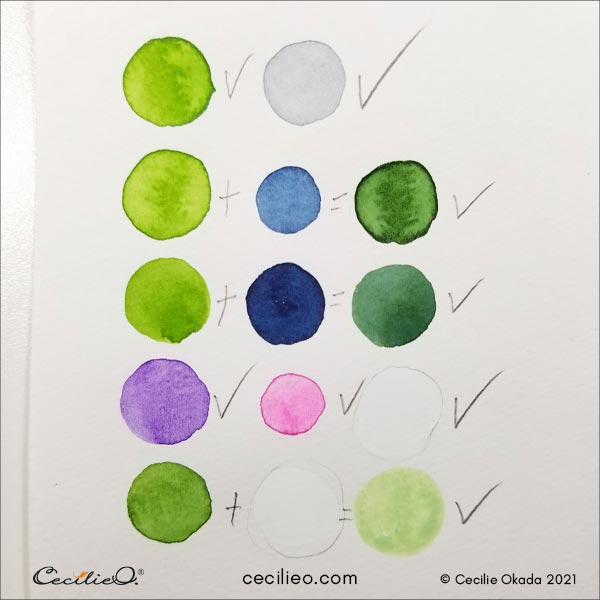
Take note that for the pastel-colored stem. I mixed green with white to get a rich, pale tone.
We use white gouache for this painting, a concentrated form of watercolor.
Step 2: Drawing the flower
The flowers and leaves in the reference photo are a bit complex. If you want to trace my drawing for your watercolor, please do. Download for free in the One Tree Art Club Library. (Members: check your newsletter for entrance info). How to trace onto watercolor paper.
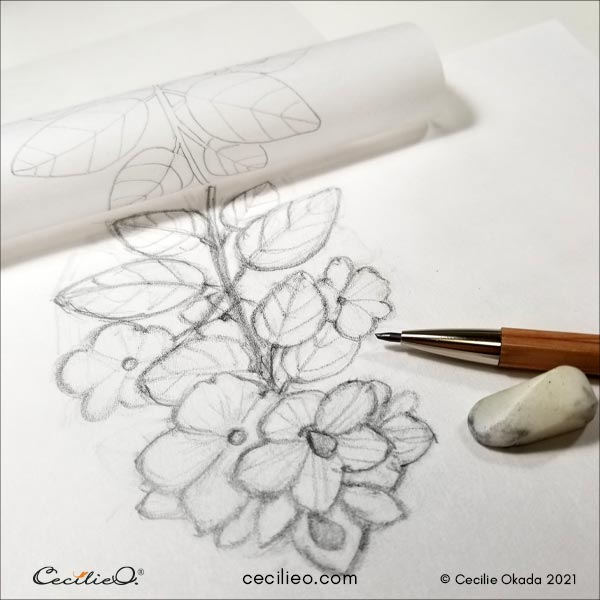
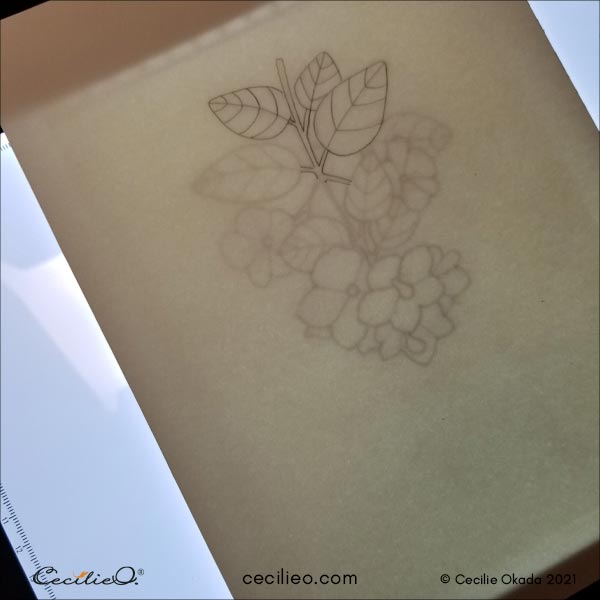
You can see how I simplified my sketch by outlining it on tracing paper.
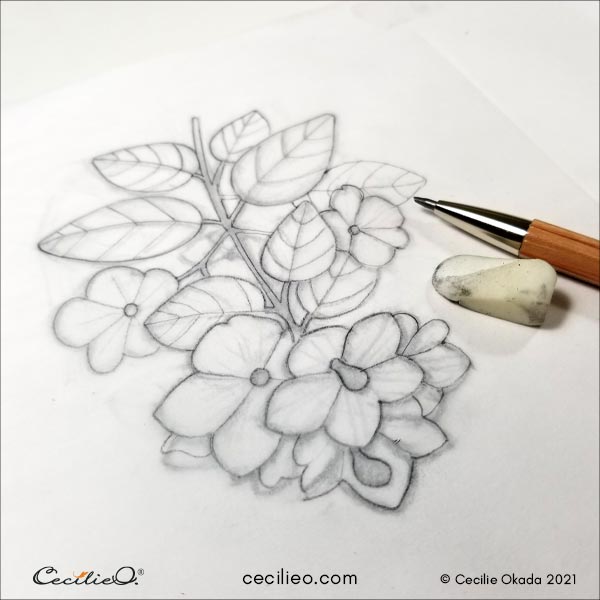
I then traced it onto watercolor paper using a simple LED light tracing pad. (It is 3 mm thick, A4, and attached to my laptop with a USB cord.)
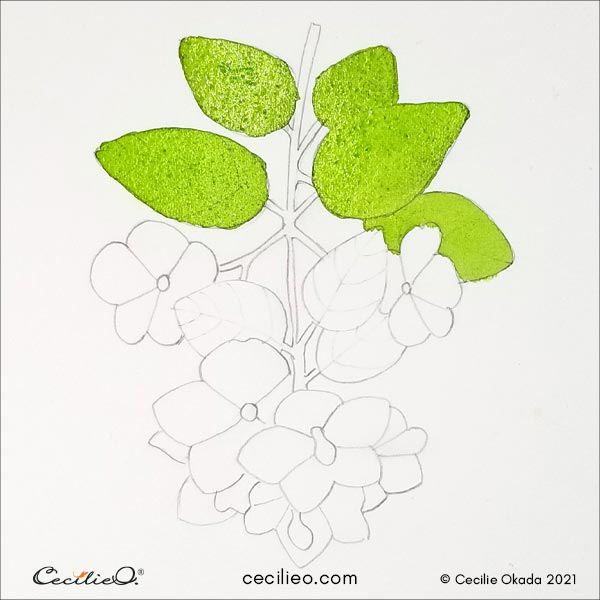
Step 3: Painting the watercolor base colors
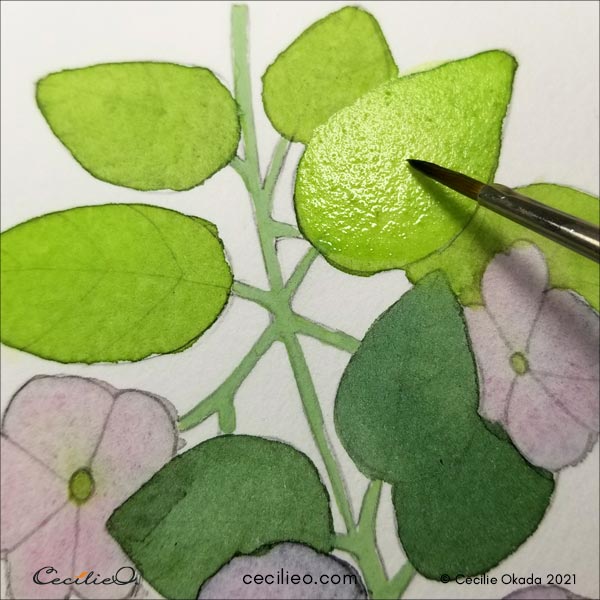
Paint the light green leaves first. Make sure to use sufficient water so that the color spreads out fluidly.
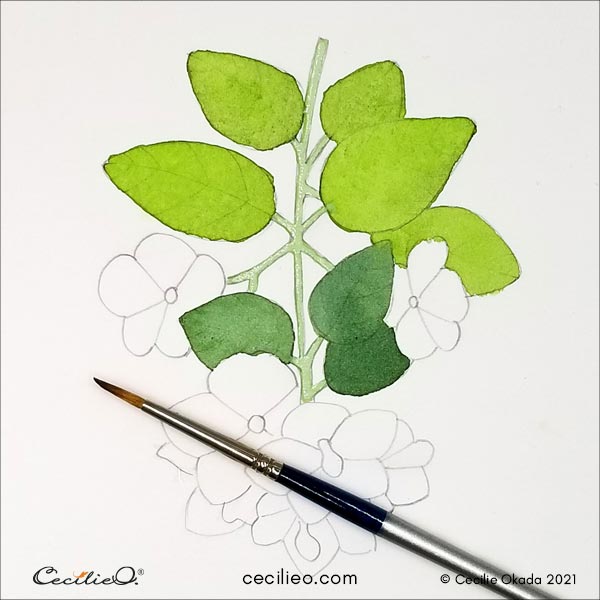
Next, paint the darker leaves and the pastel stems.
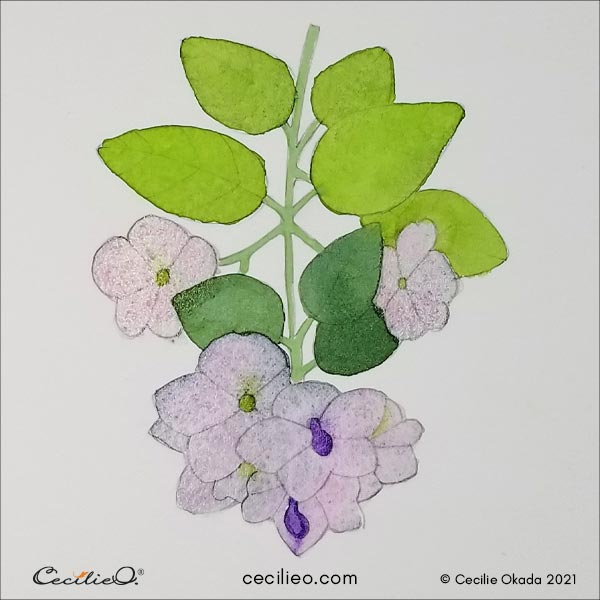
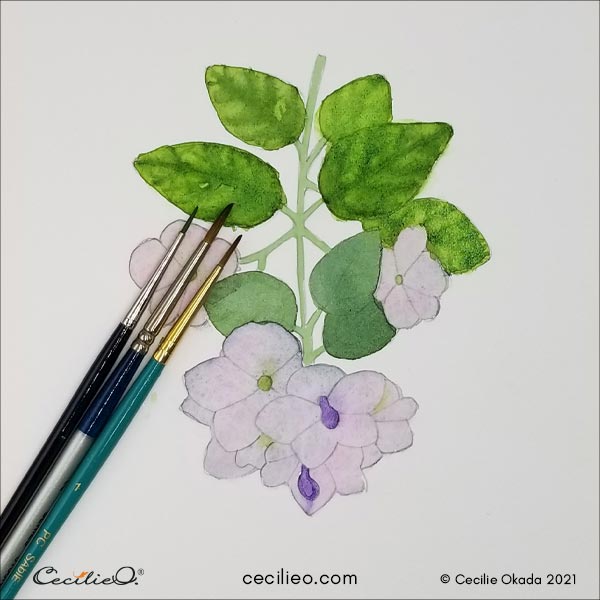
Paint the green and purple centers of the flowers with watercolor.

Time to get on with the white petals. Use a tiny amount of black to paint a grey base. Use water to spread it out evenly. Add a little bit of pink, green, and purple to make for the variations you can see in the photo. This is delicate work with a fine brush.
Step 4: Watercolor details on the leaves
Start with the light, speckled leaves. I could have done this step while the light green base color was wet. Instead, I painted over with plain water one leaf at a time. The reason is that the veins on these leaves look like bleeding watercolor. But the leaf should not be too wet. Otherwise, the lines will bleed too much. You may practice on another paper first to suss out the right amount of water.
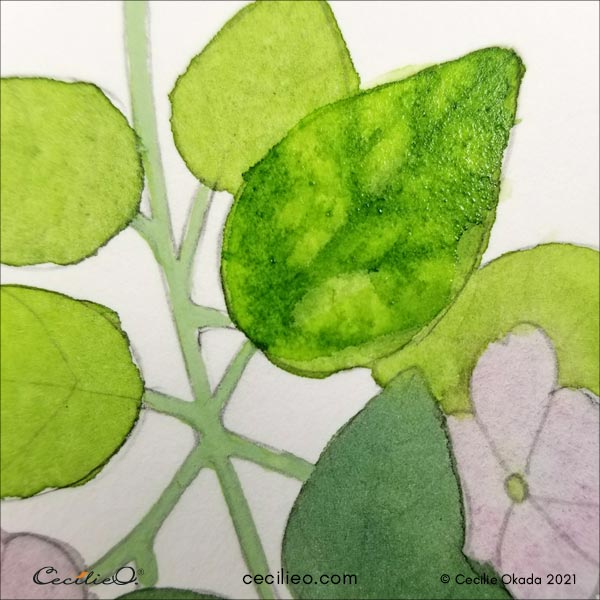
I used three different brushes for the veins, each smaller than the next.
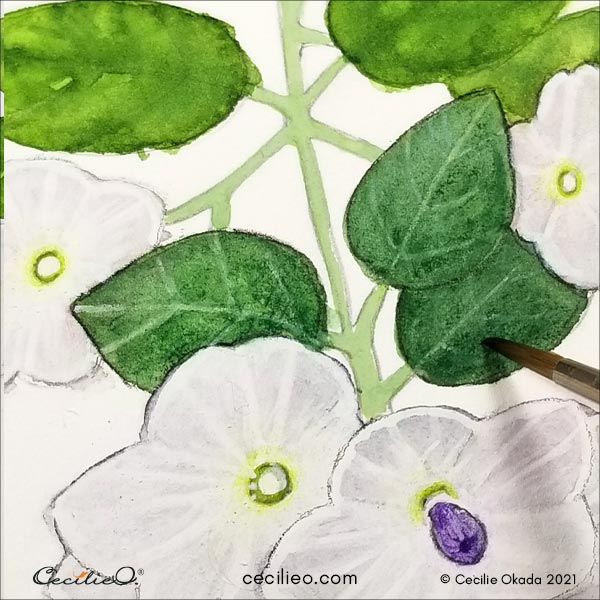
Step 5: Get on with the white paint
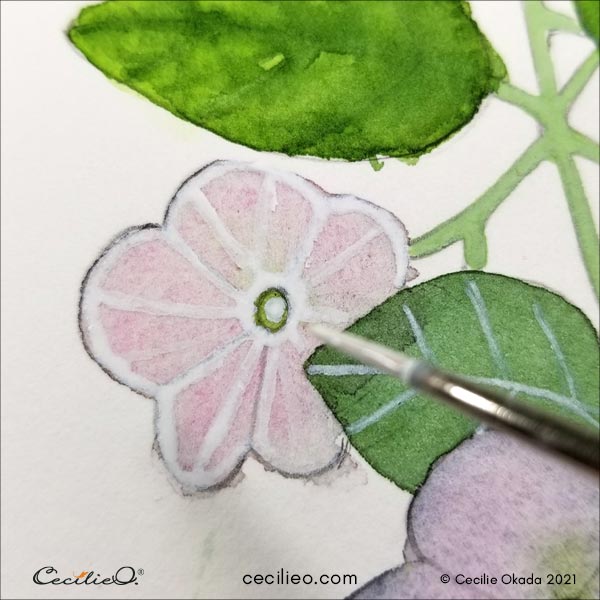
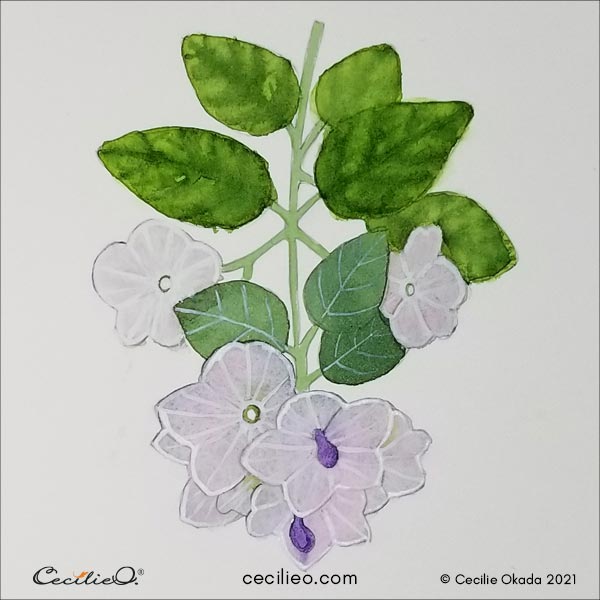
The first thing we are going to do is paint white outlines on all the petals. Also, thin white veins on the darker leaves.
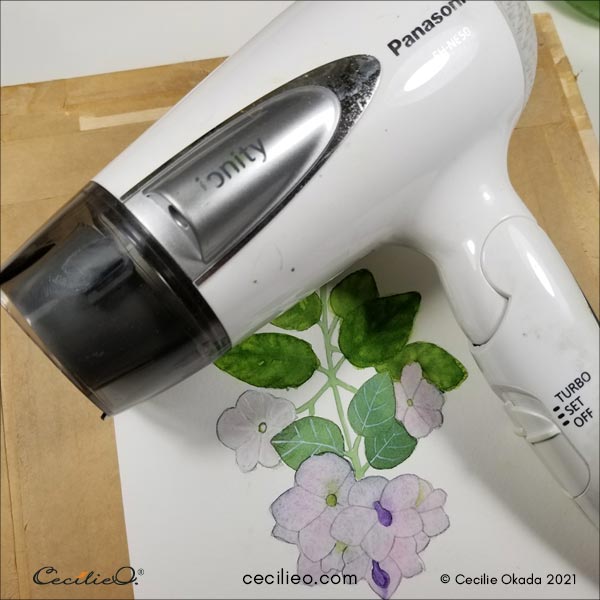
Use a hairdryer every time you need to dry the paint quickly. A hairdryer works wonders on watercolor that is not runny and wet.
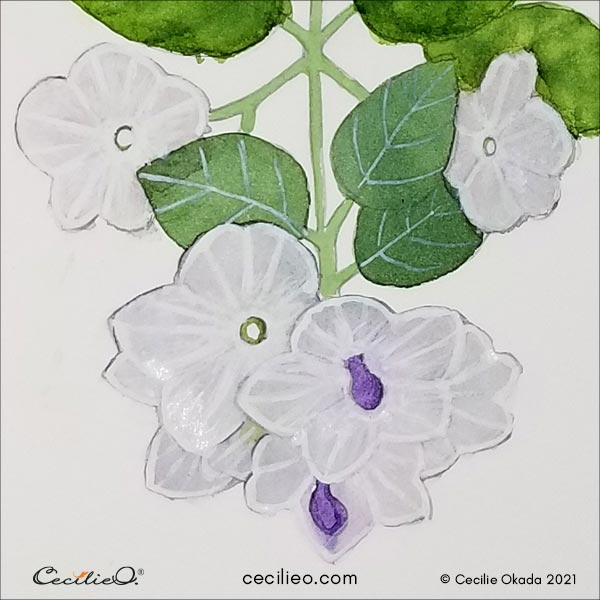
Then, paint a new layer of white on the petals. Fortify the white lines. Use the hairdryer in-between. When the paint is wet, it may look very white. The dry paint will be less so. Look at the reference photo to decide where the petals should have more white.

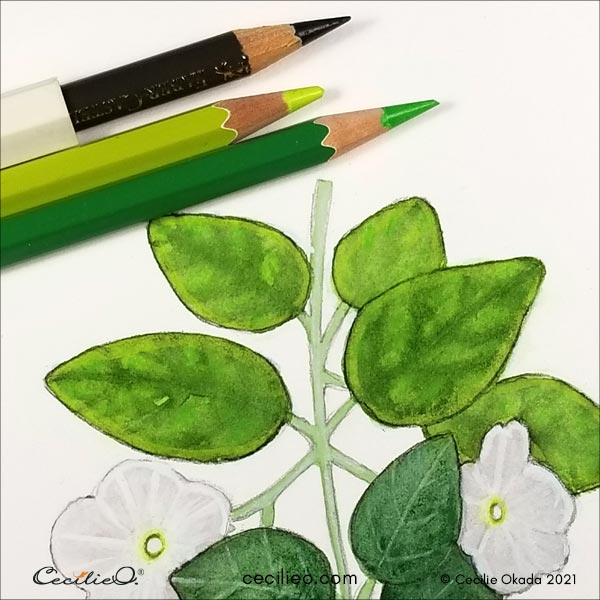
Step 6: Finish the details with colored pencils
It is now time to add some more detail with colored pencils. Again, this is subtle, detailed work. Use the colored pencils with a very light hand.
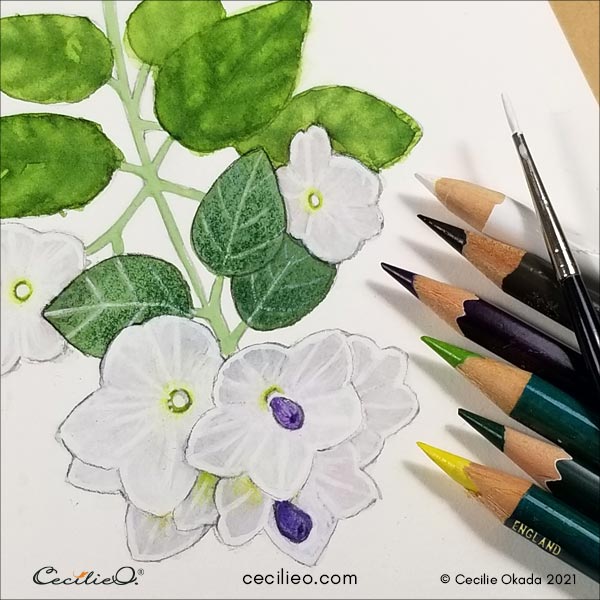
Be careful when you outline the flowers, stems, and leaves. You can use dark brown. But it must be sharp and draw very lightly. Otherwise, the beautiful, ethereal quality of the flowers will be lost.
I drew shading on the dark leaves with a watercolor pencil. Draw over the veins with a colored pencil; they are green, not white. Use either more watercolor, regular colored pencils, or a watercolor pencil for the shading. Experiment to see what works best for you.
Add detail to the light, speckled leaves with light green colored pencils.
Step 7: Completing the white watercolor flower
To complete the painting, put it aside for a day or two. When you come back and look at it with fresh eyes, you will discover bits and pieces to improve.
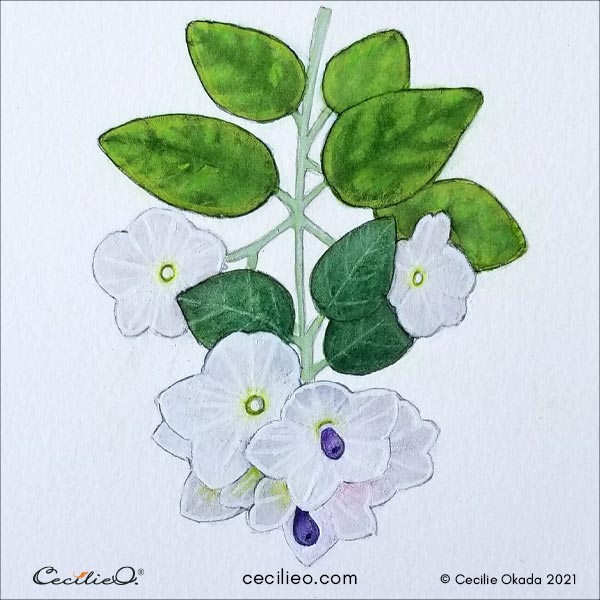
The white flower watercolor is complete!
If you wonder about the art materials that you need for this tutorial, my Guide to Art Supplies will help you.


