

Estimated reading time: 7 minutes
The roundish and simple bullfrog is an excellent choice for realistic watercolor painting. The green-brown hues blending into a light beige are suitable for practicing gradients. In this step-by-step tutorial, we will combine watercolor with colored pencils. You can achieve a 3D effect without demanding watercolor techniques. Paint a watercolor frog that will leap to life!
My bullfrog story
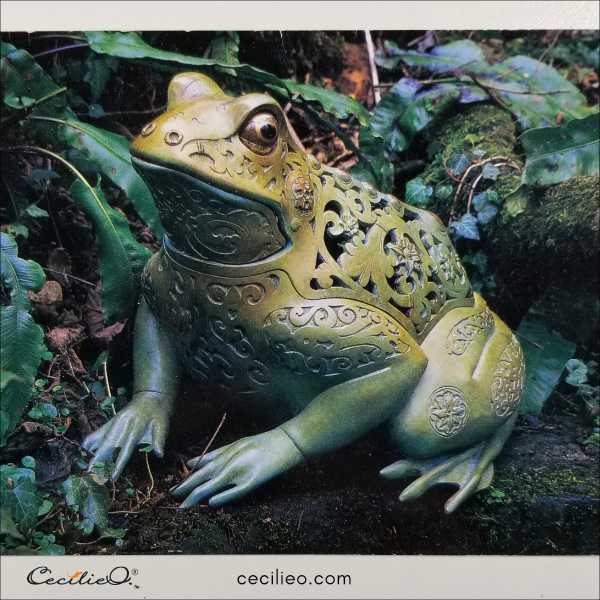
For as long as I can remember, I have been collecting postcards with beautiful artwork. Sifting through my treasure box, a beautifully ornamented garden frog caught my attention. It reminded me of a magnificent frog photo I saved some time ago. What if I combined the two? A realistic frog with gilded ornamentation? I could use my watercolor gold paint.
There is only one hitch. When I started painting, I had forgotten that I don’t have my gold powder now. It is on its way across the ocean from Japan to Norway. Even so, the tutorial follows the steps that include the gold pattern. I will add the gold paint later. Keep an eye out for the gilded frog.
About the croaking bullfrog
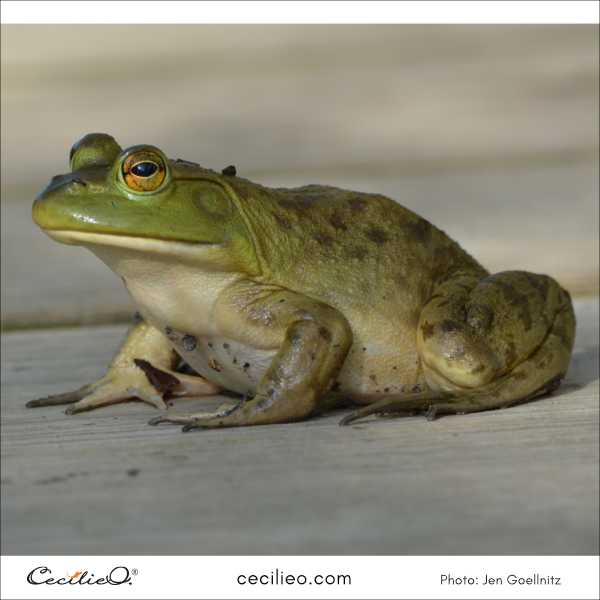
Bullfrogs croak day and night, and the sound is a deep baritone, like a bull. They live across the globe but originated in North America. Not picky with their food, anything that fits in their mouth goes. They can get pretty big, up to 8 inches (20,32 cm). Not to speak of the tadpoles; 6.75 inches (17.1 cm). I always thought of tadpoles as small!
Because of the transformation from tadpole to frog, frogs are symbols of transformation. As a spirit animal, the frog is a lucky creature. “Cleansing, renewal, rebirth, fertility, abundance, transformation, metamorphosis, life mysteries, and ancient wisdom”.
So, let’s start painting our lucky charm.
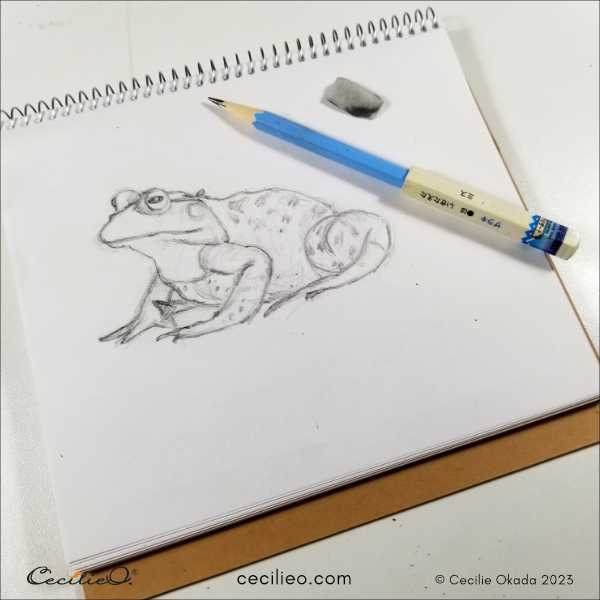
Step 1: Draw the bullfrog
Compare the real frog and the garden frog, and your imagination might take off as mine did. The golden frog lives happily in the Cotswolds in England alongside the famous Dragonfly Maze.
When you draw the frog, focus on getting the proportions right. Forget about shadows and volume.
You can also download my frog drawing to trace as a member of Buy Me A Coffee.
The free One Tree Art Club library has many outline drawings for watercolor tutorials on this blog.
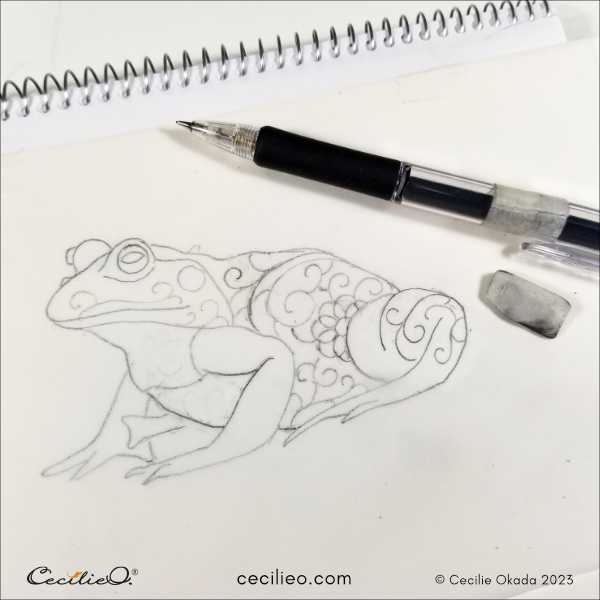
I traced my own drawing and added the ornament. Then, I traced this outline onto watercolor paper on my LED light tracing pad.
Step 2: Painting a loose watercolor layer
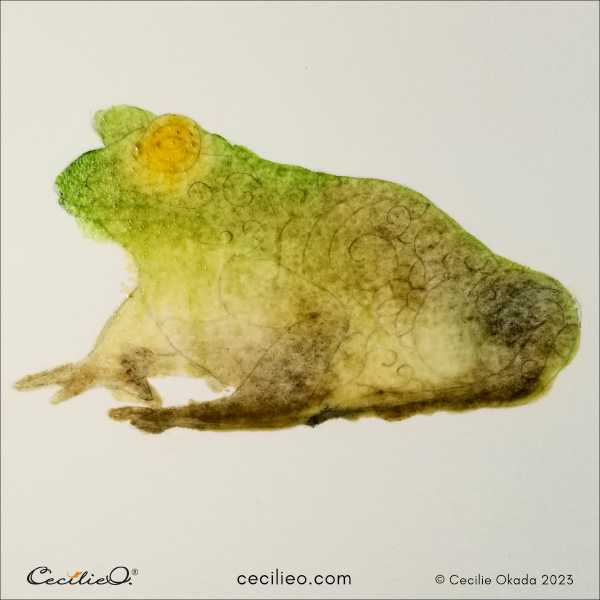
You know the frog is green and brown with flowing colors that merge into one another. For this first layer, no details are necessary. But make sure to use enough water. Otherwise, the colors will not blend nicely. With a sponge, soak up watercolor where the frog is light beige. Still, no details.
Step 3: Getting your bearings with the frog shape
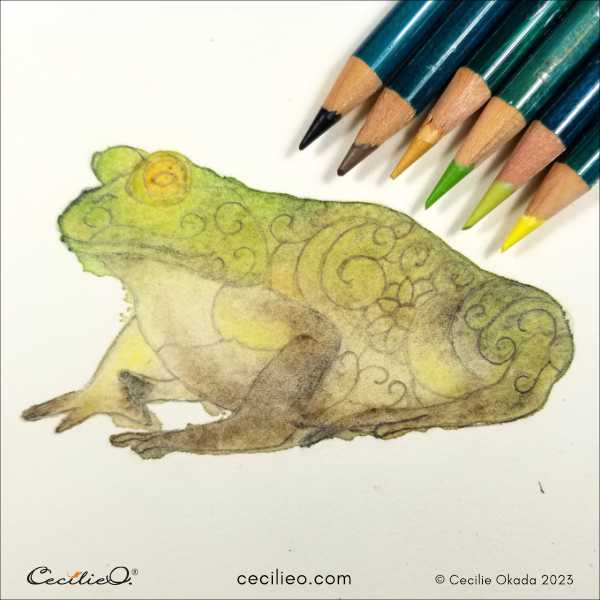
Drawing is easier than painting. When you draw with colored pencils, you can control where the color goes. By regulating the pressure on the pencil, you get shading. Draw with colored pencils to figure out the frog. Where is it light, and where is it dark? How far does the green go, and where does it blend into green-brown? Use an eraser when necessary. Remember that the watercolor must be completely dry before you draw on it.
Step 4: Redrawing the lines
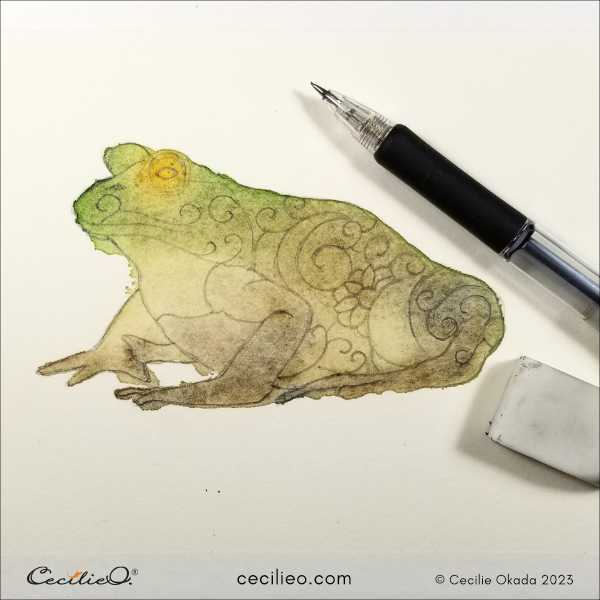
Since I intended to add gold ornament to this frog, it was necessary to redraw all the lines. Otherwise, the curly lines would disappear under the watercolor and colored pencils. It is also helpful to redraw the frog shape for clarity.
Step 5: Painting watercolor gradients
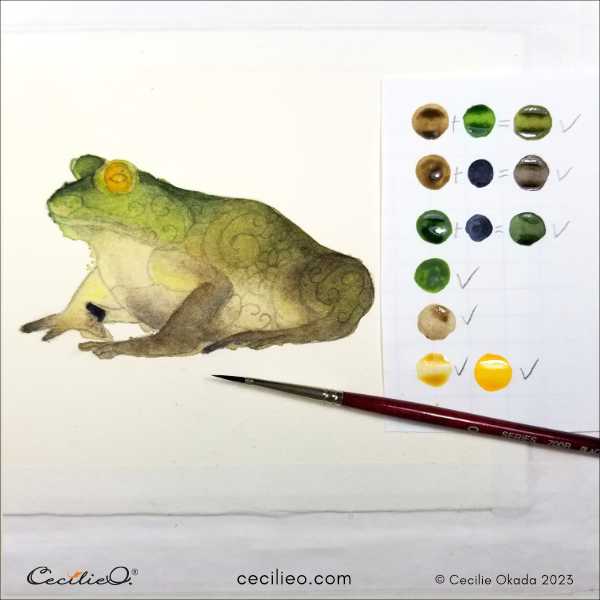
Now it is time to do gradient painting. The chart to the right shows how I mixed the darker colors before painting. When you watercolor a gradient, do the following:
- With a moderate amount of water, paint the area in question. Moderate means that the paint should not be runny but not dry.
- Clean your brush. With plain water, paint towards the area you just colored. Still, use a moderate amount of water. You start the brush movement away from the colored patch.
- It is helpful to practice on another sheet of paper before you do the frog.
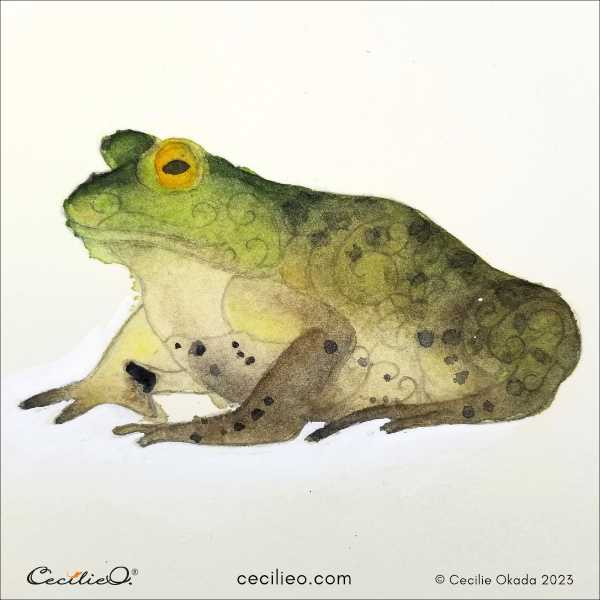
Step 6: Adding dots to the watercolor frog skin
For the dots on the upper part, use the same gradient technique. They don’t have sharp edges. But the smaller dots on the lower part of the body are more clear-cut.
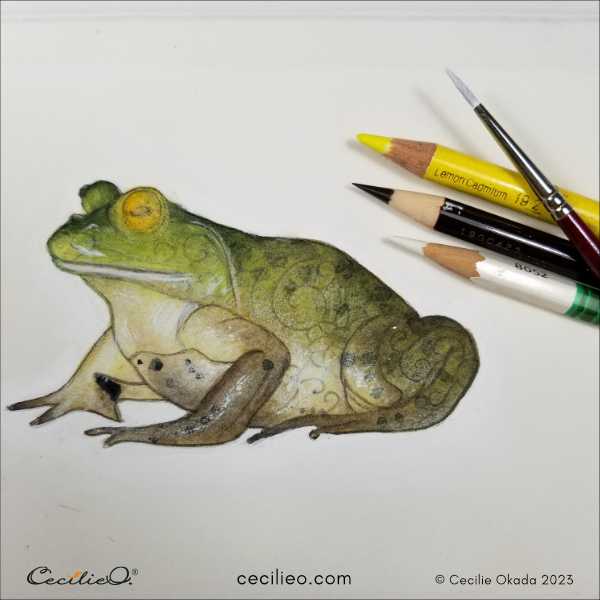
Step 7: 3D effect with white gouache and colored pencils
The last step is to make the 3D effect. It is the fun part. Before you get going, clean up the outline with white gouache. You will see the frog clearly when there are no messy bleeds.
- Redraw the outline with a dark brown pencil, including the mouth.
- With a white polychrome pencil, draw all the highlights.
- Draw shadows with a dark brown or black colored pencil.
- Paint the brightest highlights with gouache. For this, you use a nearly dry brush. The paint comes off unevenly.
Step 8: Complete the watercolor frog
Lastly, I painted the eye. My first attempt did not work, so I cleared the paint with a sponge. You can see the eye is sketchy in the previous picture.

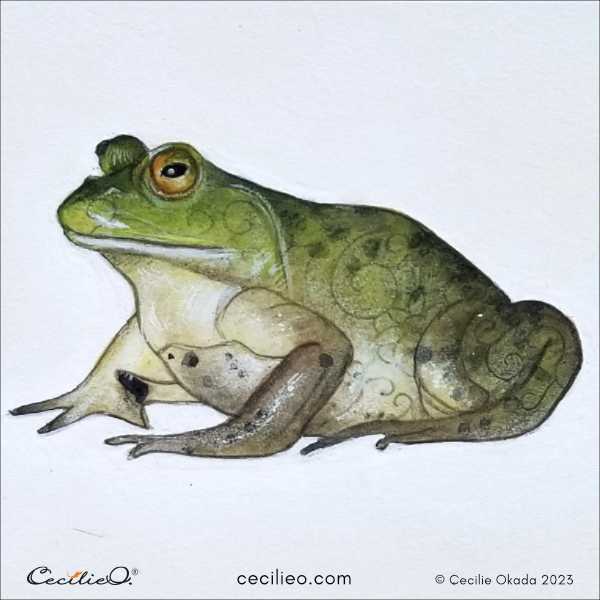
Add finishing touches and enjoy your frog leaping to life!
Step 9: Gold paint embellishment- not yet
As you read at the beginning of this tutorial, the golden, ornamental swirls will be added later. Stay tuned.
For a list of art materials for this tutorial, go to Guide to Art Supplies.


