

Estimated reading time: 5 minutes
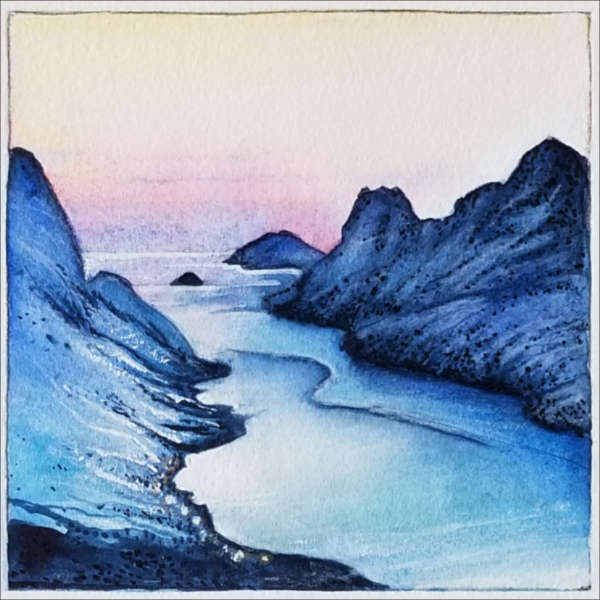
Watercoloring mountain slopes can be challenging. In this tutorial, we practice painting light and shadow. You learn to watercolor a beautiful, realistic mountain landscape with a sunrise glow. Capturing the subtle reflection of the morning light on the water is part of the painting.
Inspiration
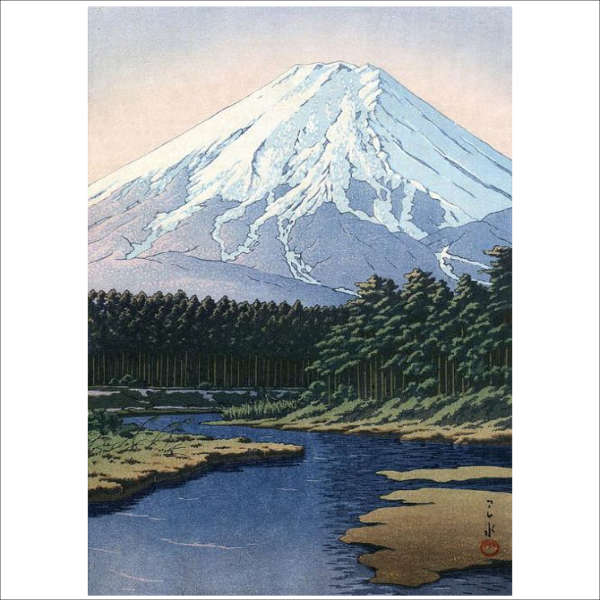
As inspiration for this tutorial, I want to show you a woodblock print by the Japanese artist Ohara Koson. I am a big fan of his subtle, evocative landscapes, flowers, and birds. Notice how he draws simple lines to delineate light and shadow and the light color of the shadows. Mt. Fuji sits on a throne of light in this print. The reflection of light on the water is similar to our reference photo.
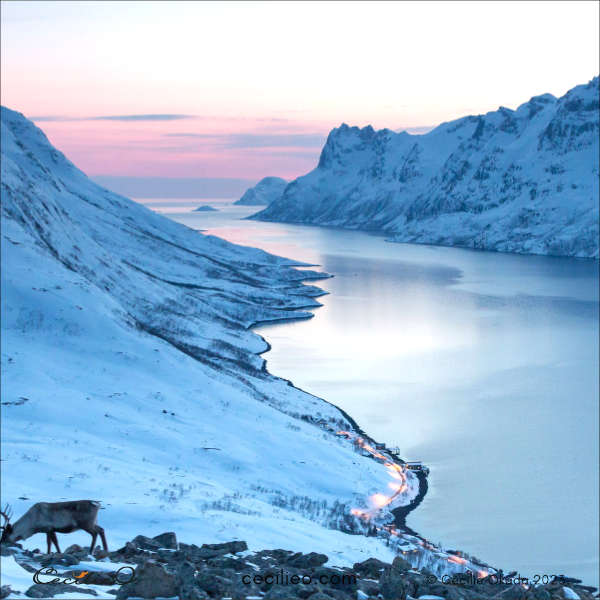
In our reference photo, the dim early morning light reduces contrasts. So does the snow covering the mountains on both sides of the fjord. The result is that the uneven pattern of creases on the mountain slopes is not very pronounced.
Grab your paintbrush, and let’s get started.
First, you need to draw the landscape. Draw a simple, clean outline.
The free One Tree Art Club library has loads of free outlines for my watercolor tutorials.
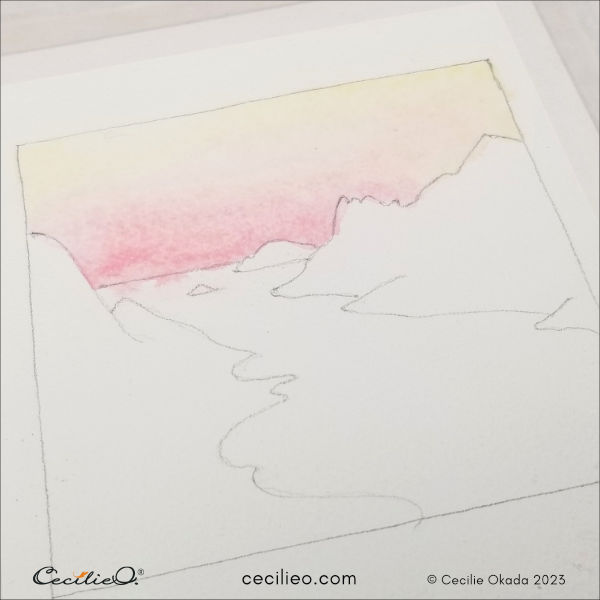
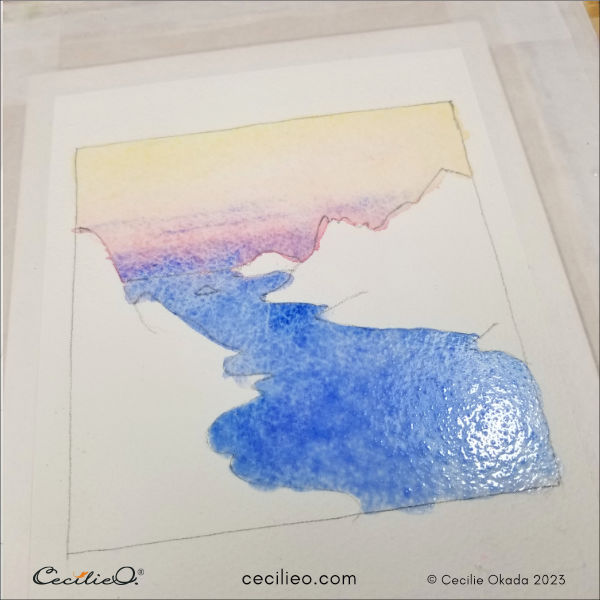
Step 1: Watercolor the sunrise sky
Paint the sky with sparse water, then paint the lower level pale pink. Starting from the top and painting downwards, paint a faint yellow color. Give attention to where the two colors overlap so that they don’t mix and create an orange color. The gradient means that the two colors must blend but with minimal overlap. It’s a good idea to practice on scrap paper first.
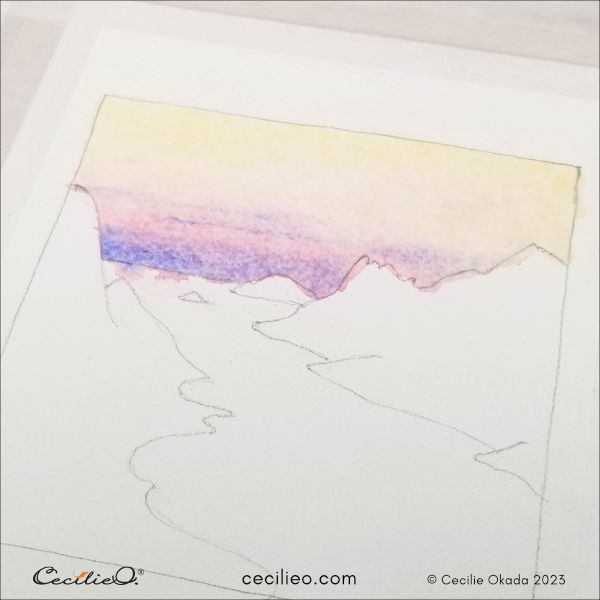
Add the blue color when the colors are nearly dry but still moist. You want to prevent the blue color from running wild into the pink and yellow. Still, the paint should be a little wet to get a soft transition.
Step 2: Watercolor the blue fjord
To watercolor the blue fjord is pretty straightforward. Make sure to use enough water so that the color spreads evenly. Use a sponge to soak up pigment for the light reflection.
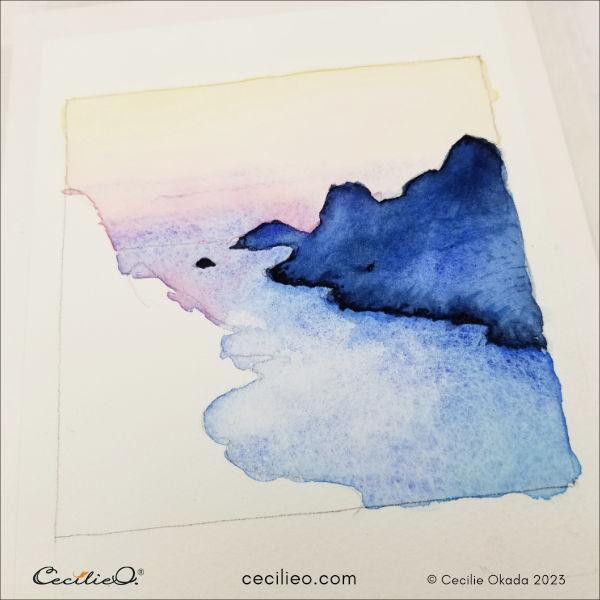
Step 3: Watercolor the creases on the right mountain slopes
These mountains are riddles with creases sticking out under the snow. Paint with a dark blue color.
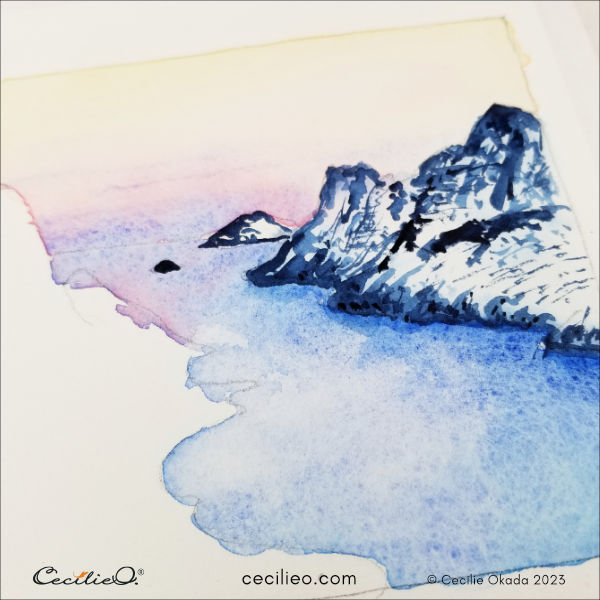
When they are nearly dry, but still moist, watercolor over the creases with another blue. It will soften the edges. My painting became too dark at this point, but no need to be just like the photo!
Step 4: Get going with colored pencils
The ice on the water creates a lovely curve that you can draw with a blue colored pencil.
Draw shadows with dark blue and highlights with a white pencil. Use a bit of turquoise on the water.
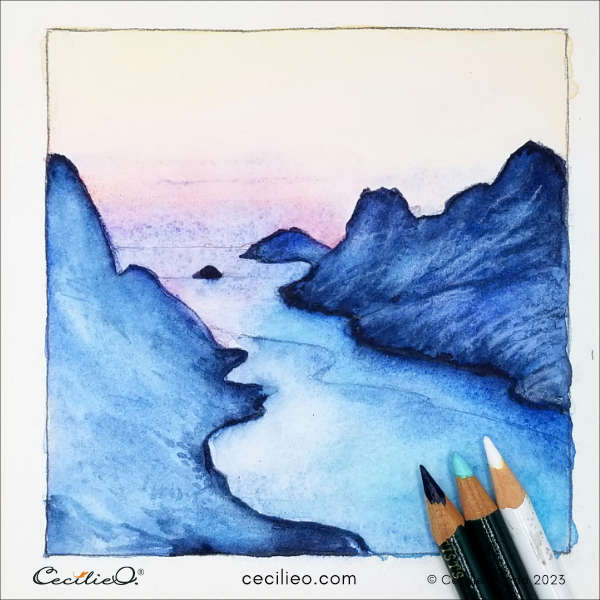
Step 5: Enhance the reflection on the water
Paint over with a small amount of white gouache on the light on the water. When it is dry, soften the edges with a moist brush. Paint a few white lines to add more water effects. Behind the peaks on the right, the sky is very bright. Paint a white outline around them, softening the transition with a moist brush.

Step 6: Finish the watercolor with more details
To complete the watercolor, paint the light snow on the left side with white gouache. Afterward, enhance with white pencils. Paint the dark creases with dark blue. Add dots with black paint on both sides to make them more realistic.
You can see that I exaggerated the light and shadow. Not because I planned to. It just turned out that way. Have fun painting your watercolor mountain landscape!

For information on the art materials you need for this tutorial, visit my Guide to Art Supplies.


