

Estimated reading time: 6 minutes
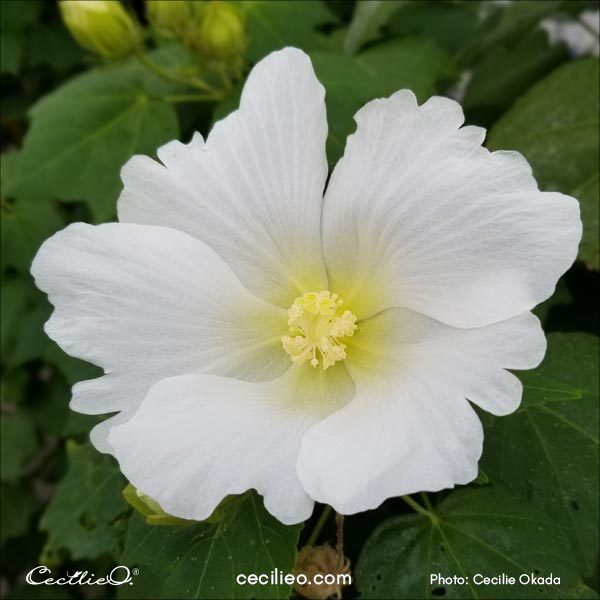
Hibiscus flowers come in a stunning array of colors. In this watercolor tutorial, I show you how to watercolor a white hibiscus. When you watercolor white flowers, you have two choices. You can let the paper itself represent white color and paint the shadows, or you can go the opposite route. Here, we will do the opposite. We first paint shadows and then layer on the white petals. Gouache is an opaque watercolor and works well for this purpose.
Symbolism and the many qualities of hibiscus flowers
The white hibiscus is a symbol of purity. Some devotees of the Hindu god Ganesha supposedly ingest it for higher consciousness. Drinking hibiscus tea regularly is helpful for maintaining stable blood pressure. It is also rich in antioxidants and valuable for keeping healthy blood sugar levels. The red hibiscus is the most common and a symbol of passion. In some cultures, it is even used as a magical potion to induce passion.
Step 1: Drawing the hibiscus flower
The shadows and highlights of a flower can be deceptive. I discovered how I missed the fact that the upper half is much longer than the bottom half of this flower. For clarity, I traced the photo on the computer screen onto tracing paper. Then I drew it freehand. Never paint a tracing of a photograph. It invariably ends up flat, awkward, and lifeless. It’s a freehand drawing that infuses vitality into your painting.
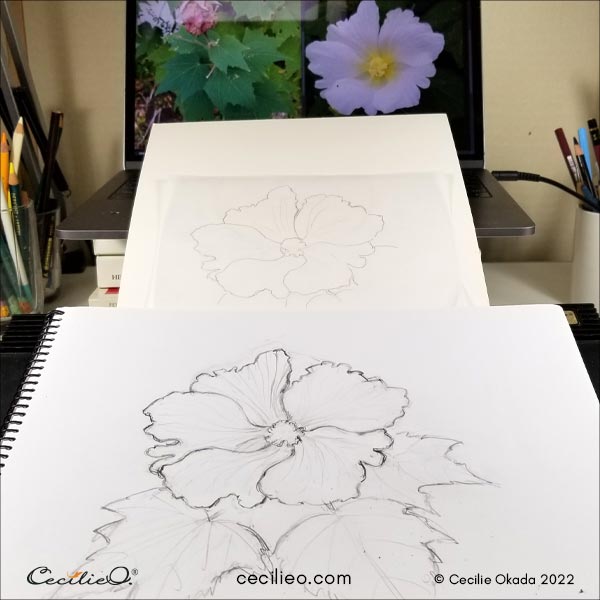
The free One Tree Art Club library has many outlines corresponding to tutorials on this blog. (Members: Check your newsletter for details).
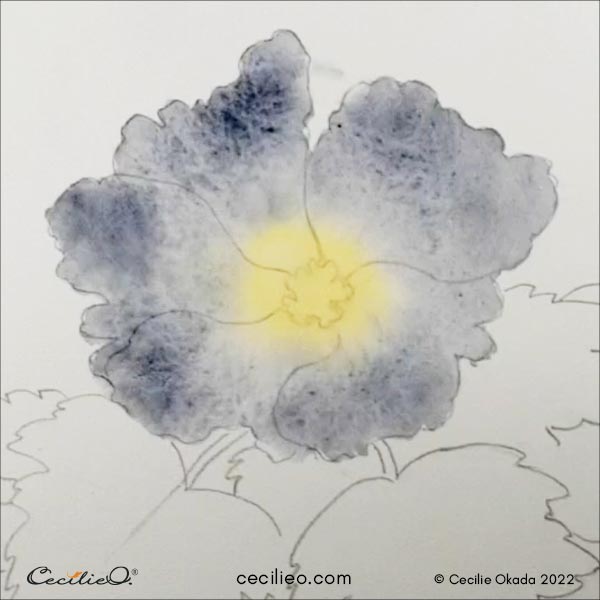
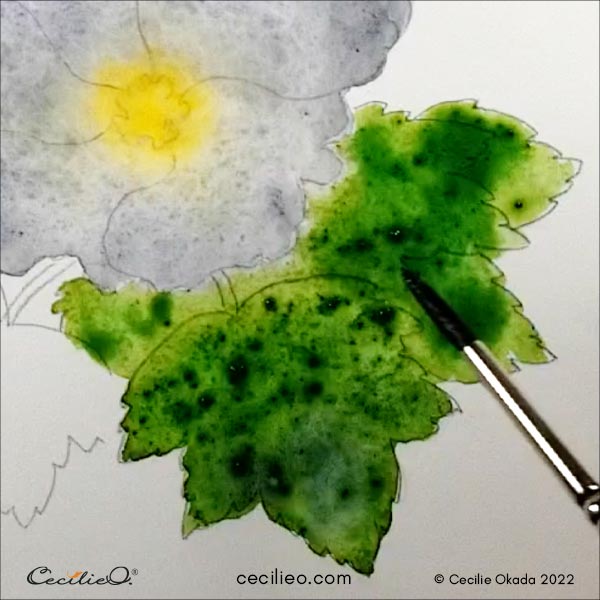
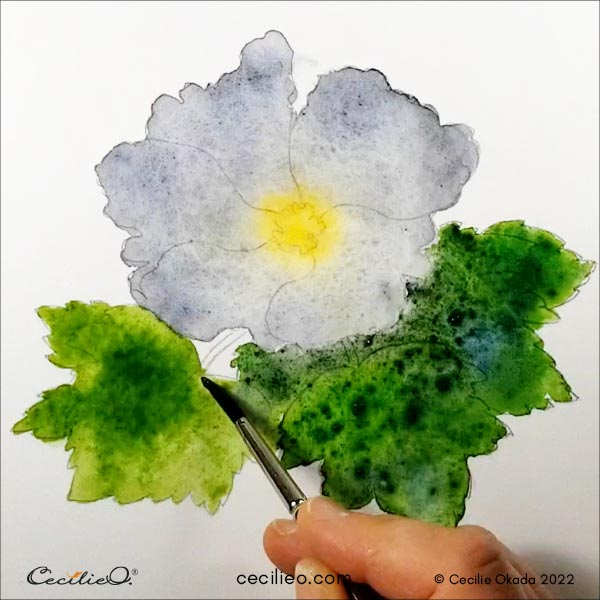
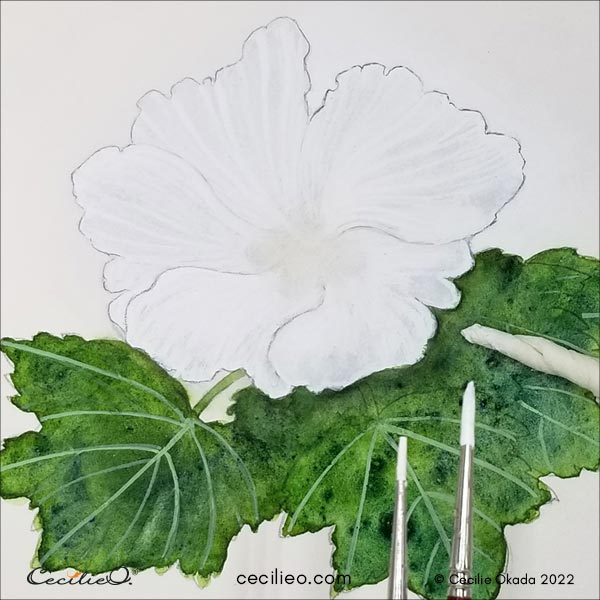
Step 2: Grey, yellow, and green watercolors
Using a generous amount of water, paint the petals grey and the center yellow. Use a sponge to blur the transition between yellow and grey.
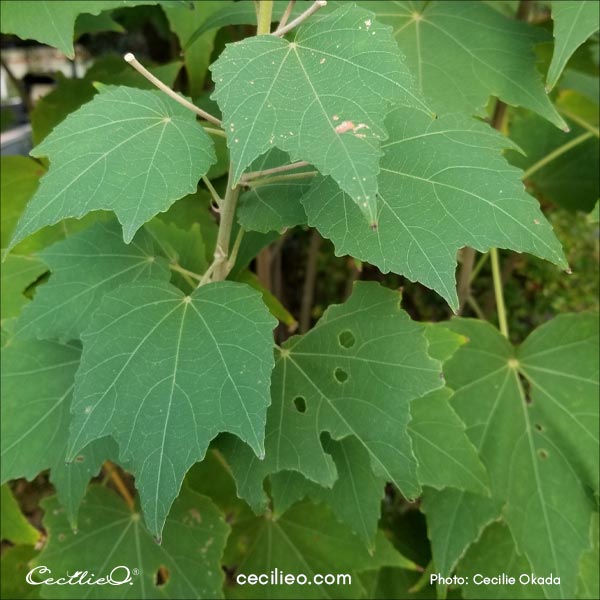
For the leaves, you also need a lot of water. Different green colors blend into a free-flowing pattern on the leaves. Play with colors.
Step 3: Layering the petals with white gouache
I thought that the gray color on the petals was too dark. Looking back, perhaps it was not. In any case, I gave the grey petals a thin layer of white gouache to make them lighter. If you do this, make sure you can see the outlines and redraw them.
Paint lines with an abundance of paint on the brush. When dry, paint over with a thin layer of white. In the highlighted areas, there are no lines.
Before working on the petals, paint the veins on the leaves. Mix a tiny bit of green watercolor with white gouache and draw with a fine, pointed brush.
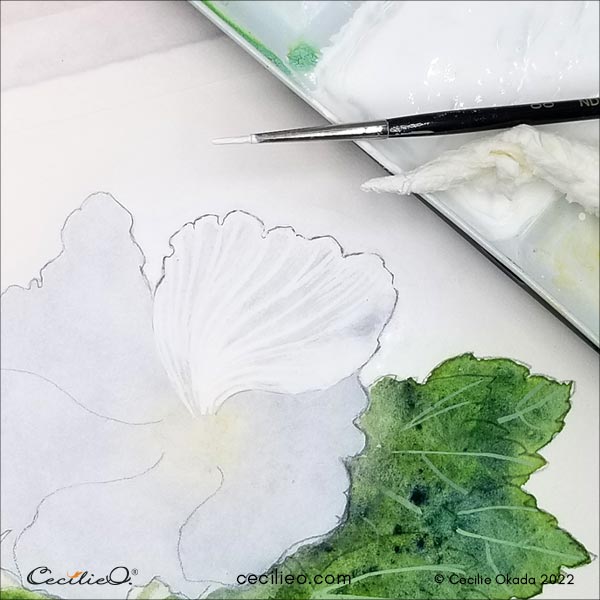
Important: When you smooth out areas, always move the brush along the lines.
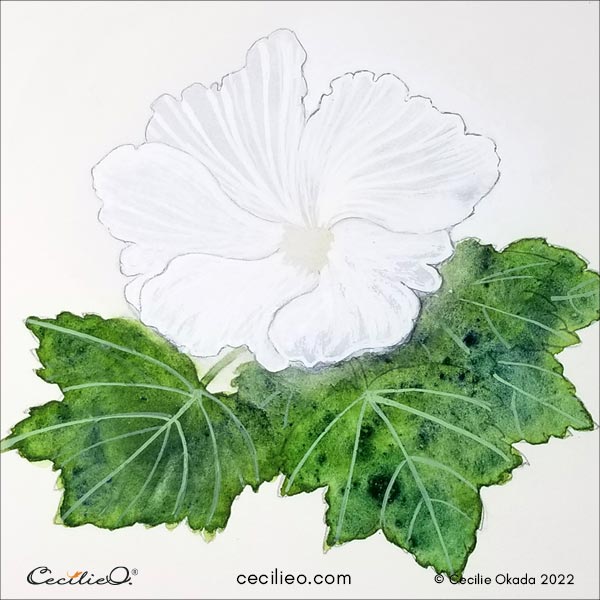
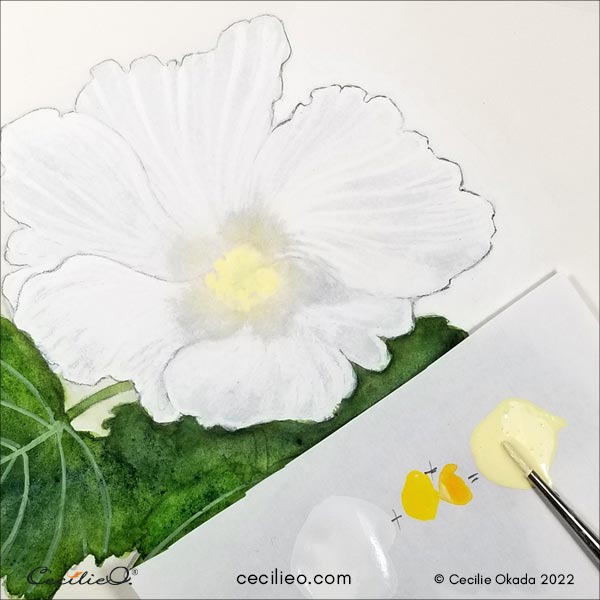
Step 4: Paint the yellow center of the flower
I was uncertain how to work the center of the flower. It can be tricky to paint with watercolor on top of a dense layer of white gouache. For this reason, I cleared out the center with wet tissue paper.
Mixing white with a tiny bit of yellow, paint the center a pale yellow.
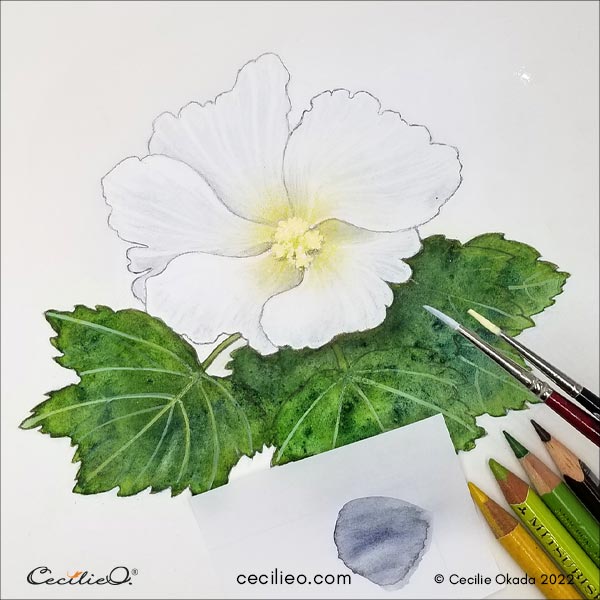
- Draw the shadows around the center with colored pencils.
- Paint a thin layer of white on top of the pencil lines.
- Gently paint over the shadows with light grey watercolor.
- When dry, redraw the outline.
- Draw the yellow “halo” around the center with a colored pencil.

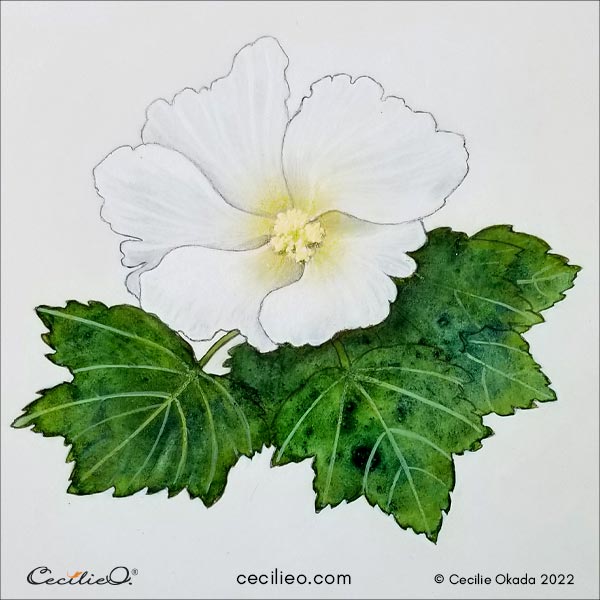
Step 5: Complete the white hibiscus watercolor
Step back for a day or two to see the finished painting with fresh eyes.
Make the last adjustments, and voalá, all done!
In my case, the shadows on the petals are too light. But I will leave it like that because that’s how I want it. At least for now.
Happy painting to you!
For a list of art materials for this tutorial, check my Guide to Art Supplies.
More watercolor tutorials:


