

Estimated reading time: 6 minutes
Oranges are great for watercolor practice. When you get the hang of the round shape, you can easily watercolor any other round object. It’s a matter of getting the shadows right. In this tutorial, we will play with lush leaves as well.
Taking a look at the orange’s actual colors
Like many of the reference photos for my tutorials, I took this photo in Kyoto Botanical Garden. You can see the glasshouse in the background. I love the contrast between the fresh green and bright orange and the arrangement of the leaves.
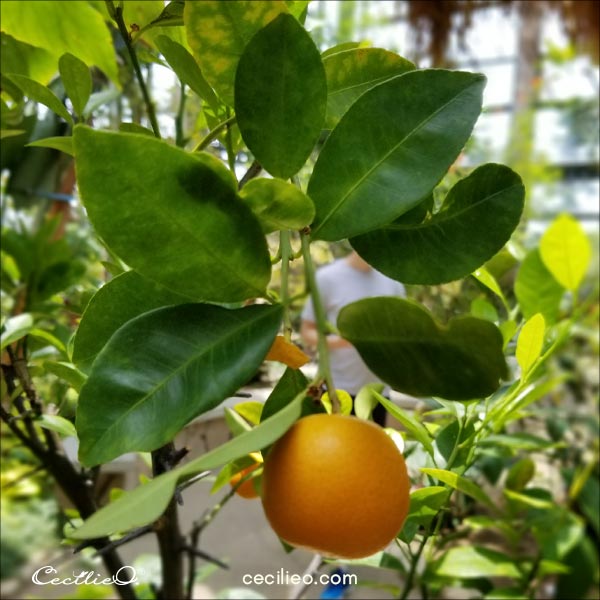
I have a free tool on my website that lets you pick up colors from a photo. It is helpful for painting. When you look at the orange dangling beneath the leaves, it is not easy to decipher the colors of the shadows. Using the color picker, we can see that the shadows consist of various shades of brown. There is, in fact, no bright orange in this photo.

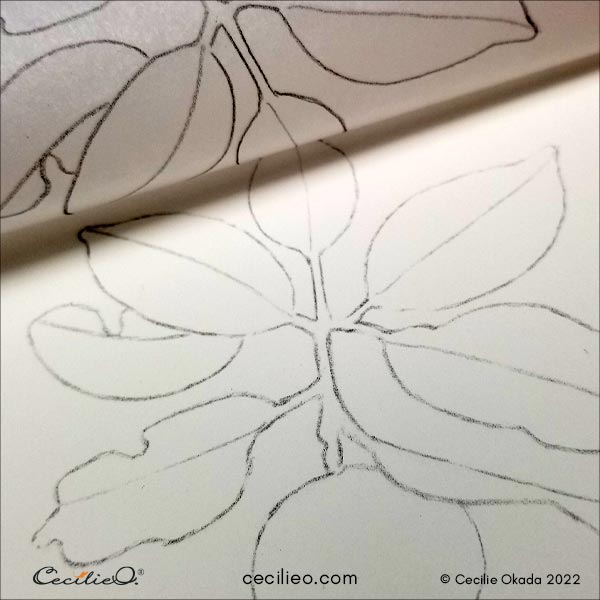
Draw the orange branch and transfer the line art to watercolor paper
Relax and have a go at drawing the leaves. Don’t bother with getting the proportions just right. It won’t matter. Focus on getting the round orange shape more or less correct.
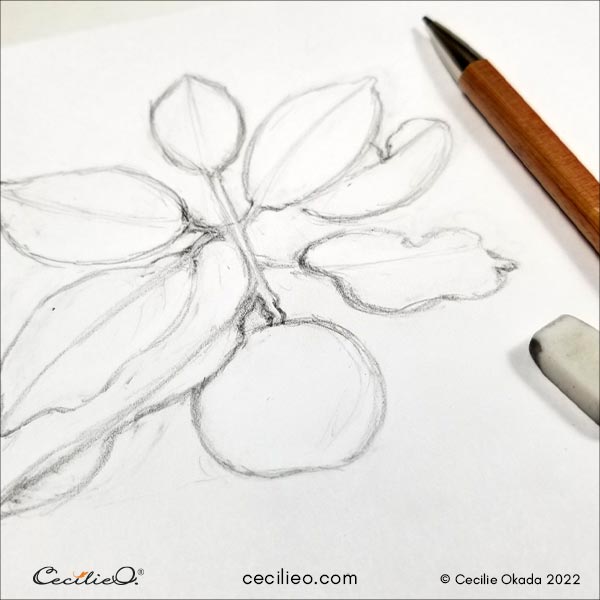
In the free One Tree Art Club library, there are free outlines for many tutorials on this blog. Feel free to access them.
I transferred my outline to watercolor paper by using a transparent tracing sheet.
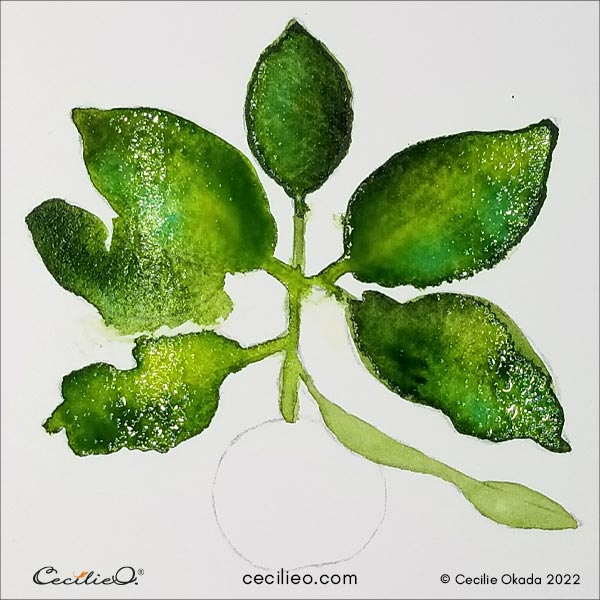
Play with green watercolor for the leaves
I encourage you to play with various green watercolors for the leaves. To make colors blend freely, paint the leaves with plain water first. When you apply colors, you will see how they float and blend in beautiful patterns. I started with grass-green. Then I added a touch of black for shadows and some turquoise and yellow here and there. It will look different when the watercolor dries.
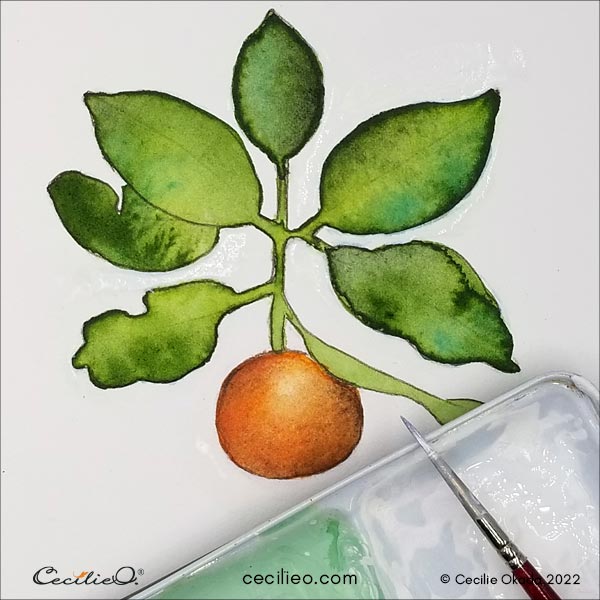
Watercolor smooth shadows on the orange
Well, you start by painting the orange bright orange. Never mind what the color picker told us. If you haven’t got orange in your punnets, make it by mixing a little bit of red with yellow. Here, you should use just enough water to make the color look smooth. You will have trouble painting the shadows if you use a lot of water. If you use too little water, the color will look blotchy.
The color picker has kindly helped us figure out our next move. Paint the rim of the orange a terracotta brown.
How to get smooth transitions for the shadow
Dry your brush with some tissue paper. But not too dry, because otherwise, this won’t work. Move the color towards the edges with your brush.
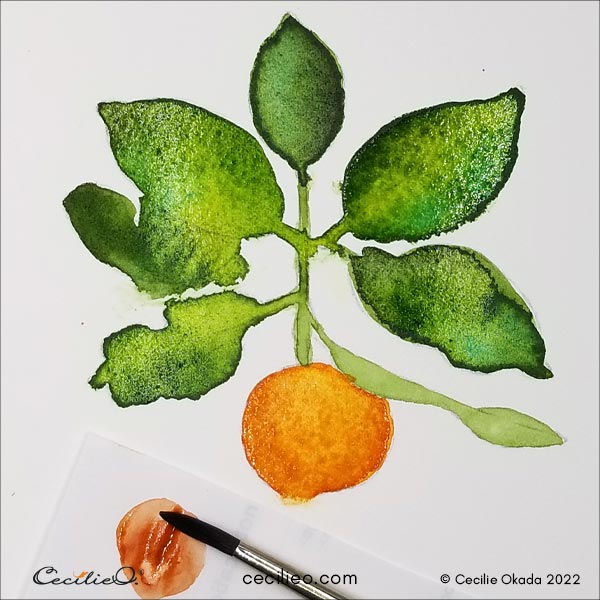
Now it is time to paint two darker shades of brown. Look at the photo where the darkest brown goes. Use the same method as described above to push the colors away from the bright highlight.
Twin some moist tissue paper into a point. Use it to soak up pigment where the highlight of the orange is. It is this highlight that gives the round shape its final 3D look.
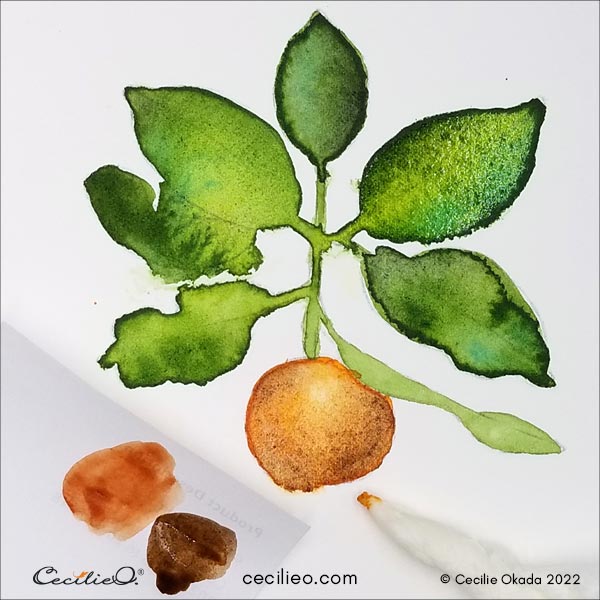
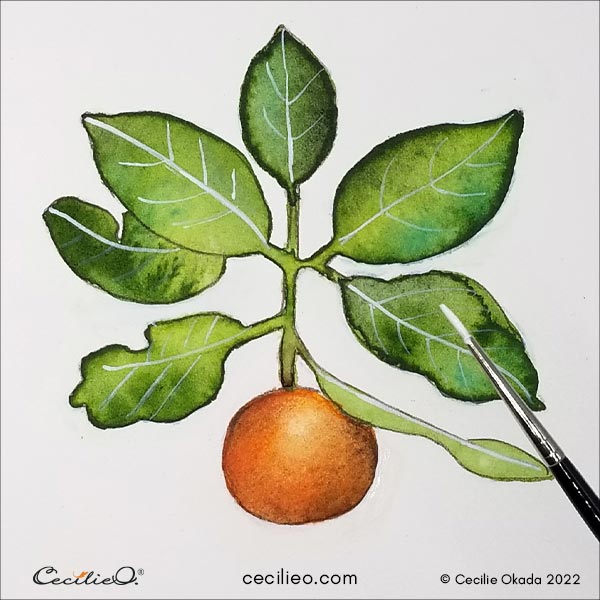
Brush up the orange with colored pencils
My orange was not nearly orange enough. If I applied more orange watercolor, I would have to start over again and paint shadows. So I chose the easy way out. When the orange fruit was dry, I selected some orange-colored pencils. I gently drew over the whole thing. Then, I redrew the shadows with a darker brown pencil.
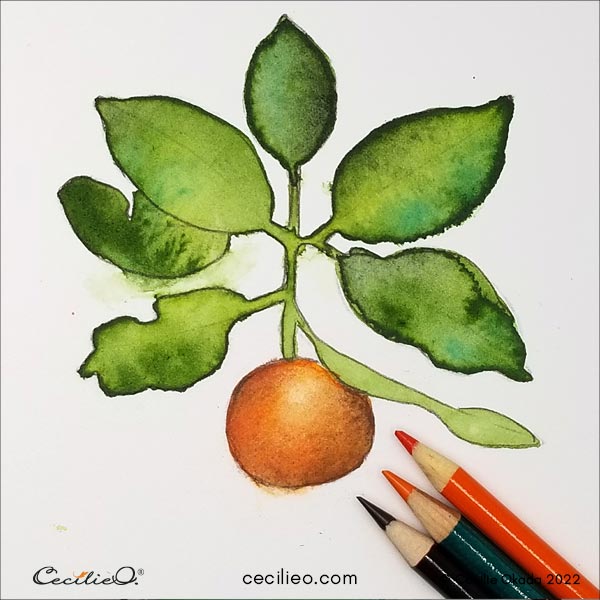
Adding some details to the leaves
This step is not necessary. The leaves are ok the way they are. But I have a thing for details, so I continued. First, I used white gouache to tidy up messy bleeds. I redrew the outline with a dark brown colored pencil.
Then I painted the veins with white gouache.
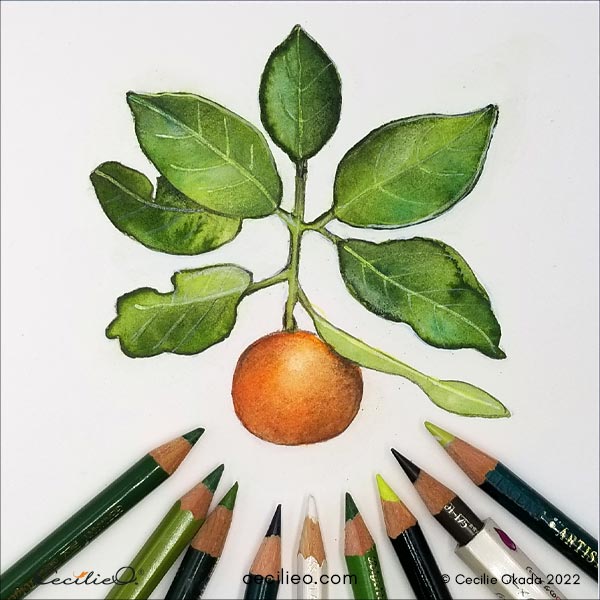
With a selection of green colored pencils, I let loose to add some detail. You can see that I drew over the white veins.
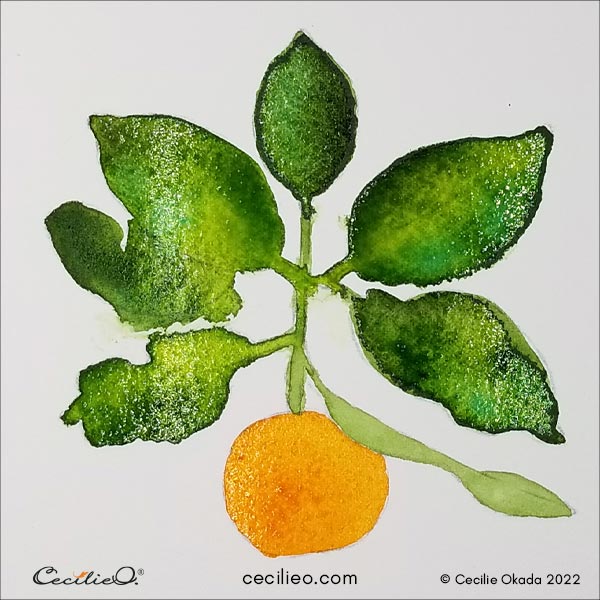
I took the photo below of the finished painting outside in natural light. You can see that the colors are brighter. It is more accurate.
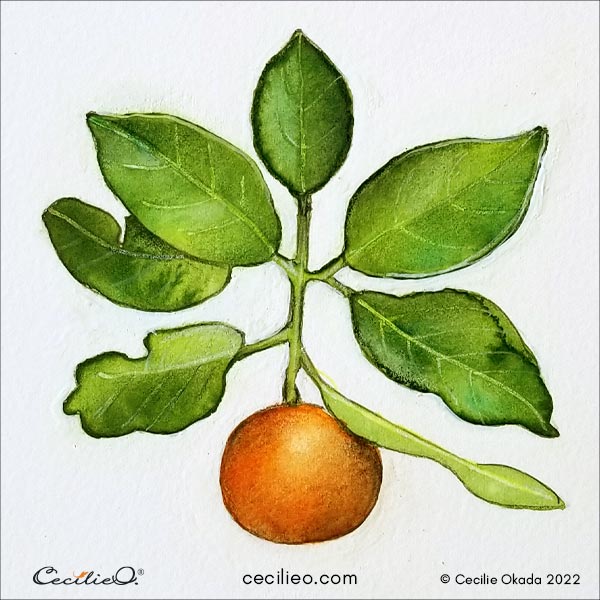
Have fun painting your watercolor orange surrounded by bright leaves!

Get a list of art materials needed for this tutorial on my Guide to Art Supplies.
If you’re looking for more watercolor tutorials, here are some:


