Estimated reading time: 5 minutes
Mastering watercolor pencil techniques is all about practice. In this watercolor pencil tutorial, you will learn how. It is helpful to experiment with how the colors work with water. The pigments in each pencil differ. Some are dense with pigment, and some are less so. It is not about the pencil brand but rather the attributes of the pigments for each color.
The “Miner’s Lettuce” flower
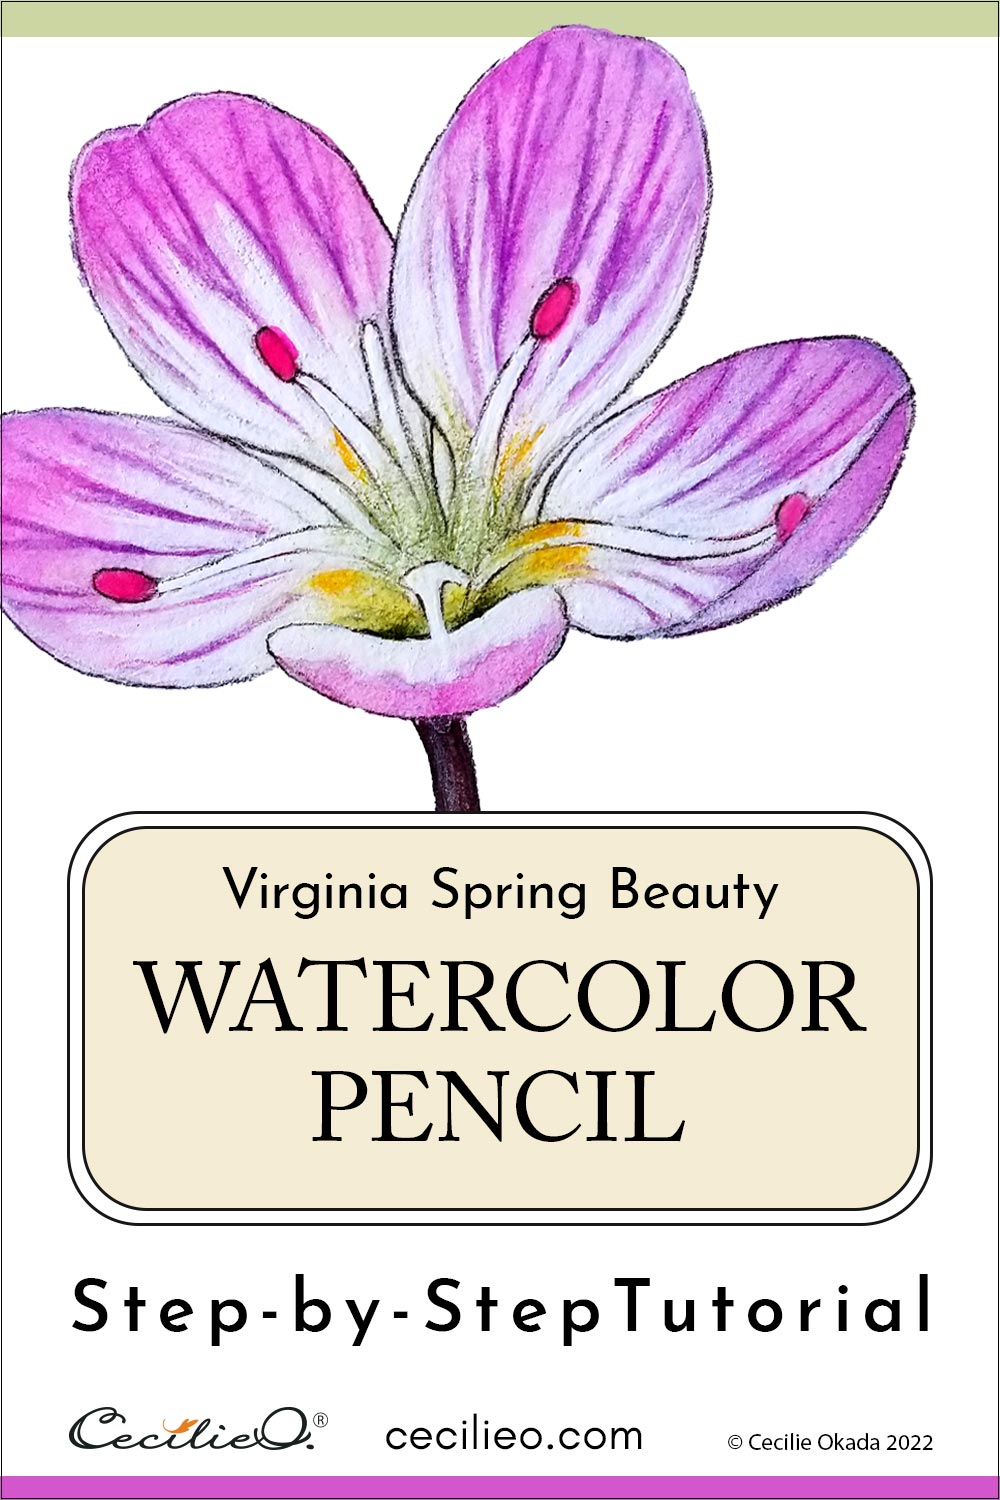
I discovered this sublime photo of a Virginia Spring Beauty some time ago. The colors look like candy, and the flower displays a serene vitality that attracted me. I was not sure how to paint it. Until I remembered that stripy flowers do well with watercolor pencils.

I don’t remember ever encountering Virginia Spring Beauty. But if you live in the northeastern US, you may have seen plenty of it in the spring. In the old goldrush days in Virginia, miners ate it to fend off scurvy. The whole plant is rich in vitamin C and other nutrients. Flowers, leaves, stems, and roots are nutritious additions to your diet, both as a salad or cooked.
Drawing an outline of the Virginia Spring Beauty
The main challenge with this photo is that the contrast between the white stamen and petals is unclear.
Let’s have a go.
Drawing the flower is not hard. Focus on getting the proportions right. Members of the One Tree Art Club | Creative can download a PDF of my outline. Trace onto your watercolor paper.

The free One Tree Art Club library has multiple outlines for my watercolor tutorials. (Members: Check your newsletter for details).
I traced my drawing using a low-cost LED light tracing pad.

Watercolor pencils tutorial step by step
Before commencing, I selected a few relevant colors.

Start with the easy part, and draw the pink veins on the petals.

Reinforce where the lines are thick and leave the thinner parts faint.

Draw the yellow and green sections of the flower and the pink stamen heads.

Add light shading to the top part of the petals.

Before activating the colors with water, test them out on some scrap paper. Experiment with the amount of water on your brush. As a rule, very little water is necessary.

All the colors have been activated. Next, paint the white stems with white gouache. Also, the white parts of the petals. But be careful to leave the pink gradients intact. Paint with very gentle brush strokes.

The center of the flower is a deep indent. When your picture is dry, draw with a darker green for depth. At this stage, do not activate with water. Draw outlines with a sharp, dark brown pencil first. I used some regular colored pencils too for details.


Activate the dark green at the center and add your finishing touches. The watercolor pencil tutorial is complete. Except I forgot to include the brown stem, but that is easy.

Happy drawing and painting to you!
For the art materials needed for this tutorial, visit my Guide to Art Supplies.


