Estimated reading time: 6 minutes
Who is not in awe of a beautiful sunset? It’s an easy task to watercolor provided you stick to yellow, red, and pink. These colors blend without any trouble. But the moment you include a blue sky along with these glorious hues, you’ve got an issue. When the blue and yellow watercolors flow into each other, the sky turns green. In this tutorial, you will learn how to paint a watercolor sunset that is part blue and part golden light. You will also learn how to watercolor silhouette trees to adorn the sunset.
Step 1: Watercolor the blue sky
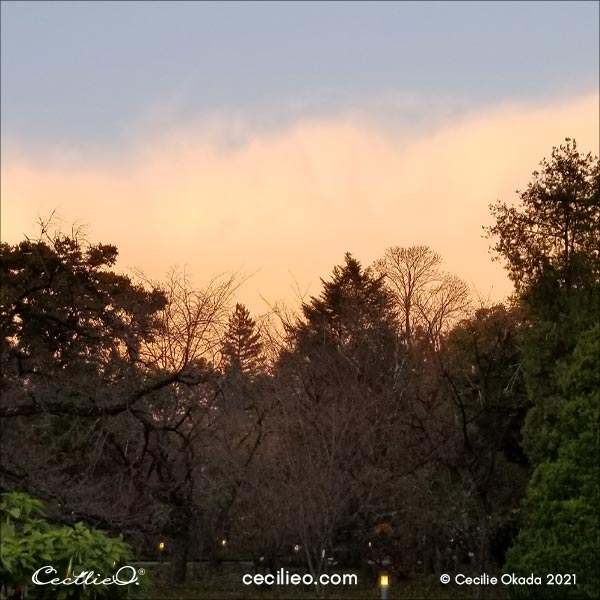
My mobile phone camera is great for close-ups of flowers, but not for landscapes like the photo below. It did not do the stunning, breathtaking sunset any justice. So let’s use our imagination when we apply colors.


Instead of the dull blue, use a fresh, beautiful blue. Paint the whole area with water before applying color. Use a sponge or some tissue paper to soften the edge of the blue color.

When painting a watercolor landscape, it’s a good idea to define the space. I used a small square. Once you know how to paint this sunset, you can scale up to a larger painting.
In the free One Tree Art Club library, there are loads of outlines for flowers, birds, and more in the library. (Members: Please check your newsletter for entry info).
Step 2: Paint a white buffer zone
Before we paint the golden color, we are now going to create a wall of white color. With plenty of white gouache on your brush, paint the white wall. Let the white color bleed into the blue. I know, I know. This is an unorthodox way of painting a sunset. But it’s how I do it and you can too.

Step 3: Watercolor with yellow and pink to your heart’s content
Now you can paint with golden yellow and pink below the white wall. The white color creates a buffer zone that prevents bleeding. It stops yellow and blue from blending and turning green.

Step 4: Create light
Use a sponge to soak up yellow and pink colors. The areas with less pigment will create the illusion of a glow.

Step 5: Watercolor a brown foreground
Make sure the golden colors are dry. Paint the lower section of the square with various browns and green and let it dry.

Step 6: Watercolor silhouette trees
Use a pointed, slim brush and a very fine brush to paint the first tree. The exact shape does not matter; a loose resemblance will do. With the fine brush, paint some details. Add a little more paint on parts to create variety. Water will help the pigments to blend softly.

Take a tissue paper and twist a part of it into a fine tip. Soak up paint here and there to make holes in-between the leaves.

Continue with the next three trees. Remember that you only need approximate tree shapes. You can use a sponge to soak up pigments here and there.

Paint the last tree with just dots of paint. In the solid areas, let the dots blend.


Step 6: Enhance the colors with colored pencils
I’m one for using colored pencils for finishing touches. If you have followed any of my tutorials, you know this. It is an easy way to spice up your watercolor. Only one thing to remember: Draw gently. Smudge some colors, leave some for texture.

And that’s how you paint a watercolor sunset with blue, gold, and pretty trees against the sky.
Happy painting!

Some more tutorials you may enjoy:
The art materials needed for this tutorial are listed in my Guide to Art Supplies.


